manuals.online logo
Brands
  1. Home
  2. •
  3. Brands
  4. •
  5. Allegion
  6. •
  7. Lock
  8. •
  9. Allegion Falcon 25-WDC User manual

Allegion Falcon 25-WDC User manual

*640060-00*
640060-00
Concealed Vertical Rod Exit Device
Dispositivo de salida con varilla vertical oculta
Appareil de sortie de la tige verticale couverte
25-WDC
Installation Instructions
Instrucciones de Instalación
Notice d’installation
#10-24
2" (51 mm)
Use to lock down pushbar
Utilícela para asegurar
hacia abajo la barra de
empuje
Utilisé pour verrouiller la
barre antipanique
Dogging Key
Llave del trinquete
Œillet vissé
© Allegion 2014
Printed in U.S.A.
640060-00 Rev. 01/14-e
Customer Service Servicio al cliente Service à la clientèle
1-877-671-7011 www.allegion.com/us
5
3Mark 4 Holes
Marque 4 orificios
Marquer 4 orifices
Plastic template
Plantilla de plástico
Gabarit en plastique
4
¹⁄₈" (3 mm) X 1" (25 mm)
1
2
RHR Shown
Se Muestra el RHR
RHR Illustré
RHR LHR
Device
4³⁄₈"
(111 mm)
Prepare 4 Holes
Prepare 4 orificios
Préparer les 4 orifices
Device
Dispositivo
Dispositif
Rod
Barra
Tige
6
2³⁄₄"
(70 mm)
If sexbolts are in box, see Sexbolt Preparation on page 7
Si los pernos macho-hembra se encuentran en la caja,
consulte preparación de pernos macho-hembra en la página 7
Si les colonnettes sont dans la boîte, voir
« Préparation de colonnette » à la page 7
!
See “Door Frame
Preparation” on page 8
Consultar "Preparación
del Marco de la Puerta"
en la página 8
Voir « Préparation du
Cadre de porte »
à la page 8
Install Top Strike & Release Bracket
Instale el cerrojo en la parte superior y libere
la ménsula
Installer la gâche supérieure et le support
de dégagement
If Installing Trim,
Go To Trim Instructions
Si instala la moldura,
vaya a las instrucciones
de moldura
Si installation d'une
garniture, voir «Instructions
de Garniture »
Trim
Moldura
Garniture
Mark Vertical Center Line (C
L )
Marque la línea central vertical (C
L )
Marquer l'axe vertical (C
L )
Mark Device Center Line (C
L)
Marque la línea central del dispositivo (C
L)
Marquer l'axe du dispositif (C
L)
8
9
¹⁄₈" (3 mm)
⁷⁄₁₆" (11 mm)
10
7
6' 8"
7' 0"
7' 2"
7' 6"
7' 10"
8' 0"
8' 6"
8' 10"
9' 0"
9' 6"
9' 10"
10' 0"
–
1'
1'
1'
1'
2'
2'
2'
3'
3'
3'
–
4"
10"
6"
2"
6"
2"
–
6"
2"
–
–
–
Height
Altura
Hauteur
Prepare Top Rod Length
Preparar la longitud de la barra en la parte superior
Préparer la longueur de la tige supérieure
Drill New Hole, if Necessary
Perforar un orificio nuevo, si es necesario
Percer un nouvel orifice si nécessaire
Attach Top Rod to Latch
Fijar la barra superior al seguro
Fixer la tige supérieure au verrou
*Do not cut threaded end of top rod
*No Cortar el Etremo Roscado de la Barra Superior
*Ne pas Couper L'embout Fileté de la Tige Supérieure
Extension Required
Extensión que se Requiere
Longueur Nécessaire
*Rod Cut Required
*La barra Requiere Corte
*Coupe de Tige Nécessaire
Place Top Latch, Centerslide and Bottom Latch in
Door Cavity
Colocar el seguro en la parte superior, deslizamiento
central y seguro en la parte inferior en cavidad de
la puerta
Placer le verrou supérieur, coulisseau et verrou
inférieur dans l'encoche de porte
Bend
Flexionar
Plier
13
12
11
¹⁄₈" (3 mm) X 1" (25 mm)
14
Thread Rods onto Centerslide
Barras roscadas en la corredera central
Filets de tige sur le coulisseau
15
¹³⁄₃₂" (10 mm)
Through / Pasante / Par
Turn Clockwise
Gire en el sentido de
las manecillas del reloj
Tourner dans le sens des
aiguilles d'une montre
a
b
20
18
21
16
17
¹⁄₈" (3 mm) X 1" (25 mm)
x5
Prepare Bottom Latch Holes
Preparar los orificios para el seguro en
la parte inferior
Préparer les orifices du verrou inférieur
Skip for LBR
Sáltese para LBR
Passer pour LBR
A
B
No Gap
Sin espacio
Aucun écart
Attach Door to Frame
Fijar la puerta al marco
Fixer la porte au cadre
Adjust Center Slide with Latch Fully Extended
Ajustar el cerrojo central con el seguro extendido
totalmente
Ajuster le coulisseau central en déployant
complètement le verrou
19
See “Bottom Strike
Preparation” on page 8
Consulte "Preparación de
Cerrojo en la Parte Inferior
de la Puerta" en la Página 8
Voir « Préparation de la Gâche
de Porte » à la Page 8
Skip for LBR
Sáltese para LBR
Passer pour LBR
Grout Strike Into Floor
Aplique mezcla para juntas para colocar la cerradura
en el piso
Encavure du plancher pour gâche
Exit Device Side of Door
Lado de Dispositivo de Salida
Côté de Appareil de Sortie
Strike
Placa hembra
Gâche
¹⁄₈"
(3 mm)
24
Must drop down
Debe estar hacia abajo
Doit s'abaisser
b
23
Minimum / Minimo
EL/EA
5¹⁄₄"
(133 mm)
7¹⁄₂"
(191 mm)
1¹⁄₂” (38 mm)
Recommended/Recomendado/Recommandé
If Necessary, Cut Device
Si necessario, corte la aparato
Si nécessaire, couper le l'appareil
Must stay retracted
Debe permanecer retraída
Doit demeurer rétractée
Lift Up
Elevar
Soulevé
a
22
b
¹⁄₂" (13 mm)
c
aExtend latch
Extender el seguro
Verrou déployé
Must stay retracted
Debe permanecer retraída
Doit demeurer rétractée
Verify Latch Extension
Verificar la extensión del seguro
Vérifier le déploiement du verrou
Cover Plate Flush
Alineación de la Placa
de la Cubierta
Plaque-couvercle Encastrée
Door Puerta Porte
Jamb
Jamba
Montant
Jamb
Jamba
Montant
No Gap
Sin espacio
Aucun écart
c
Verify Latch Retraction
Verificar la retracción del seguro
Vérifier la rétraction du verrou
28
25
LHR
RHR
Always toward bottom
Siempre la parte inferior hacia abajo
Toujours vers le bas
Mark and Prepare 2 Holes
Marque y prepare 2 orificios
Marquer et préparer 2 orifices
ab
c
¹⁄₈" (3 mm) x 1" (25 mm)
Thru-bolting Trim
Moldura con apernado
Vissage transversal
de garniture
Surface Mount
Montaje de la superficie
Montage en surface
26
27
If Necessary, Adjust per Steps 22 and 23
Si es necesario, ajústelo conforme los pasos 22 y 23
Régler aux étapes 22 et 23 si nécessaire
a
b
If Necessary, Reverse Handing
Si es necesario, invierta el manejoIf
Inverser l'assemblage si nécessaire
30
29
b
aPosition pushbar guide
Posición en la Guía de
la Barra de Empuje
Guide de Positionnement
de la Barre Antipanique
Install Cover
Instale la Cubierta
Installer le Couvercle
Rod
Barra
Tige
425 (#10-24)
Sexbolt
Perno macho-hembra
Colonnette
1" (25 mm)
2" (51 mm)
X2
X2
#25 x #10-24
1" (25 mm)
⁵⁄₈"
(16 mm) ¹⁄₂" (13 mm)
¹⁵⁄₁₆" (24 mm)
1¹⁄₂"
(38 mm)
³⁄₄" (19 mm)
1¹⁄₂" (38 mm)
³⁄₄"
(19 mm)
¹³⁄₃₂"
(10 mm)
through
pasante
par
#10-24
countersink
avellanador
fraisure
Door stop
Paro de la puerta
Arrêt de porte
Bottom Strike Floor Cavity
Cavidad del suelo del cerrojo inferior
Encoche de plancher inférieure pour gâche
Door Frame Preparation
Preparación del Marco de la Puerta
Préparation du Cadre de Porte
Bottom Strike Preparation
Preparación del Cerrojo en la Parte Inferior
Préparation de la Gâche Inférieure
425
Sexbolt
Preparation
!If sexbolts are in box, during steps 5 and 28 prepare holes
and install them as shown below.
Si los pernos macho-hembra se encuentran en la caja
durante los pasos 5 y 28 prepare los orificios e instálelos
como se muestra a continuación.
Si les colonnettes sont dans la boîte lors des étapes 5
et 28, préparer les orifices et installez-les comme illustré
ci-dessous.
425
Perno macho-hembra
Preparación
425
Colonnette
Préparation
¹⁄₄" (6 mm)
X 4
1³⁄₈"
(35 mm)
Rod
Barra
Tige
Strike
Placa hembra
Gâche
Exit Device Side of Door
Lado de Dispositivo de Salida
Côté de Appareil de Sortie
Deep
Profundo
Profundeur
¹⁵⁄₁₆"
(24 mm)
Door
Puerta
Porte
¹⁄₁₆"
(2 mm)
1³⁄₁₆"
(30 mm)

Other Allegion Lock manuals

Allegion Interflex IF-191 Series User manual
Allegion

Allegion Interflex IF-191 Series User manual

Allegion MA101 User manual

Allegion

Allegion MA101 User manual

Allegion Schlage S-480 User manual

Allegion

Allegion Schlage S-480 User manual

Allegion interflex IF-261 User manual

Allegion

Allegion interflex IF-261 User manual
Allegion AD Series User manual

Allegion

Allegion AD Series User manual
Allegion BE369 Operation and maintenance manual
Allegion

Allegion BE369 Operation and maintenance manual

Allegion Olivari PT Series User manual

Allegion

Allegion Olivari PT Series User manual

Allegion FALCON LM Series User manual

Allegion

Allegion FALCON LM Series User manual
Allegion Kryptonite 815 Combo User manual
Allegion

Allegion Kryptonite 815 Combo User manual

Allegion Schlage DEADBOLT User manual

Allegion

Allegion Schlage DEADBOLT User manual
Allegion CISA MyEVO User manual

Allegion

Allegion CISA MyEVO User manual

Allegion Schlage AD Series User manual
Allegion

Allegion Schlage AD Series User manual

Allegion Von Duprin 8875 User manual

Allegion

Allegion Von Duprin 8875 User manual
Allegion SES20171127F User manual

Allegion

Allegion SES20171127F User manual
Allegion LOCKNETICS CS450 Series User manual
Allegion

Allegion LOCKNETICS CS450 Series User manual

Allegion Falcon T Series User manual

Allegion

Allegion Falcon T Series User manual
Allegion Falcon S Series Instruction sheet
Allegion

Allegion Falcon S Series Instruction sheet

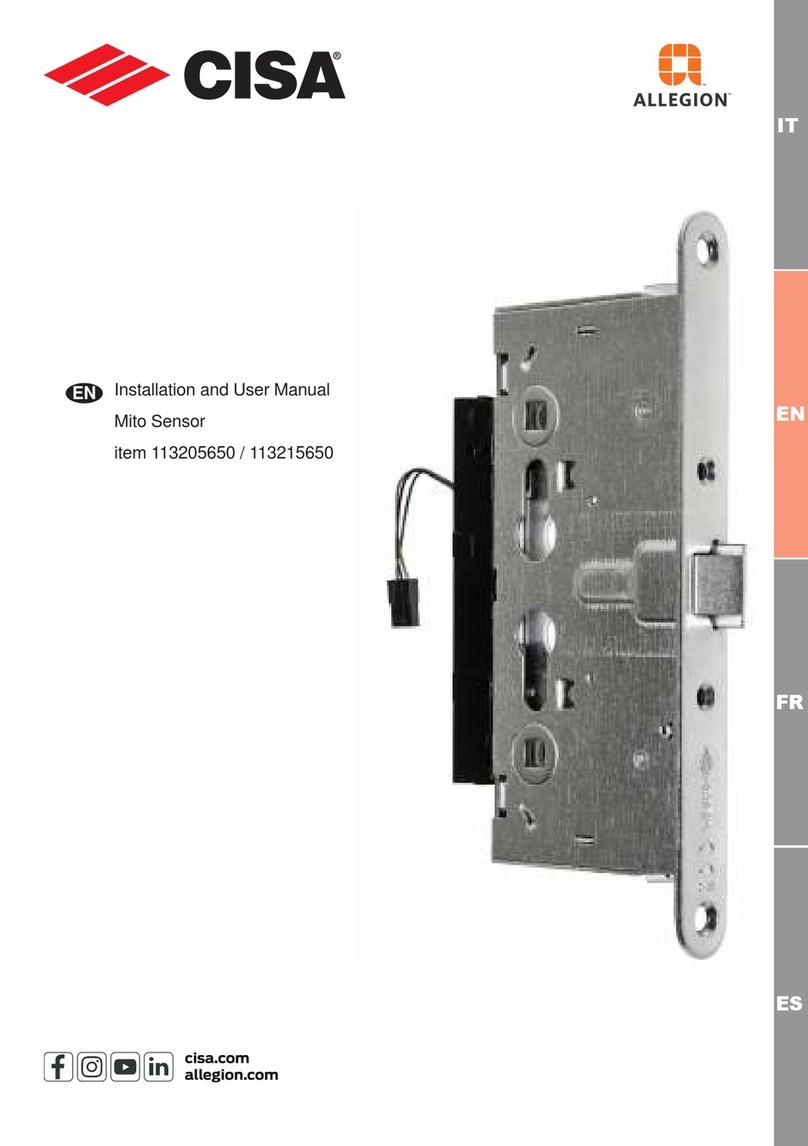
Allegion Cisa Mito Sensor User manual

Allegion

Allegion Cisa Mito Sensor User manual
Allegion Schlage D Series User manual

Allegion

Allegion Schlage D Series User manual
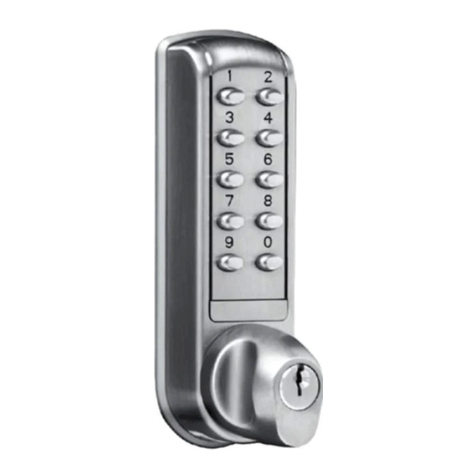
Allegion Briton 9365-990 User manual

Allegion

Allegion Briton 9365-990 User manual

Allegion Legge 990MF User manual

Allegion

Allegion Legge 990MF User manual

Allegion Falcon Series User manual

Allegion

Allegion Falcon Series User manual

Allegion Schlage F Series User manual

Allegion

Allegion Schlage F Series User manual

Allegion FALCON X571 User manual

Allegion

Allegion FALCON X571 User manual

Popular Lock manuals by other brands

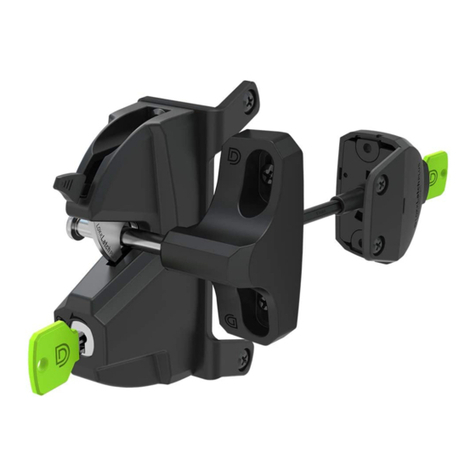
motogadget mo.lock NFC instruction manual
motogadget

motogadget mo.lock NFC instruction manual

D&D Technologies LokkLatch Plus installation instructions
D&D Technologies

D&D Technologies LokkLatch Plus installation instructions

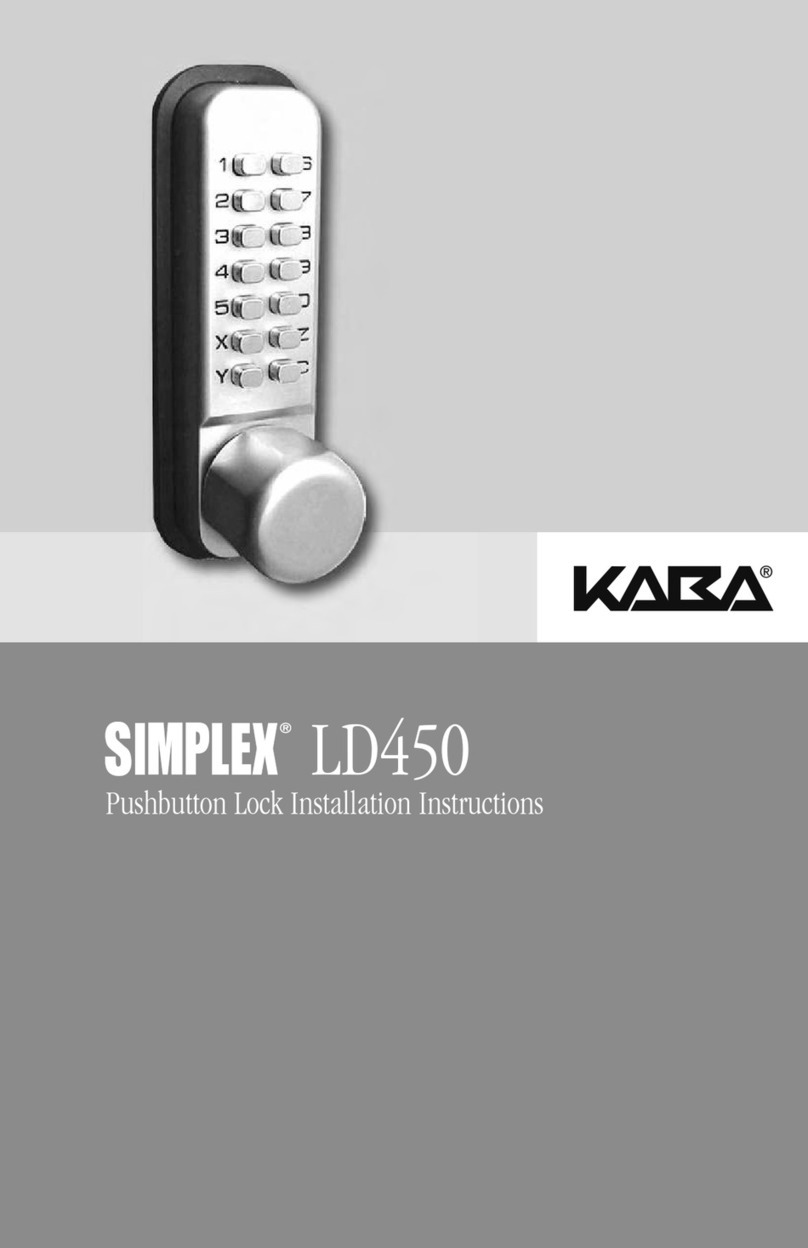
Kaba SIMPLEX LD450 installation instructions
Kaba

Kaba SIMPLEX LD450 installation instructions

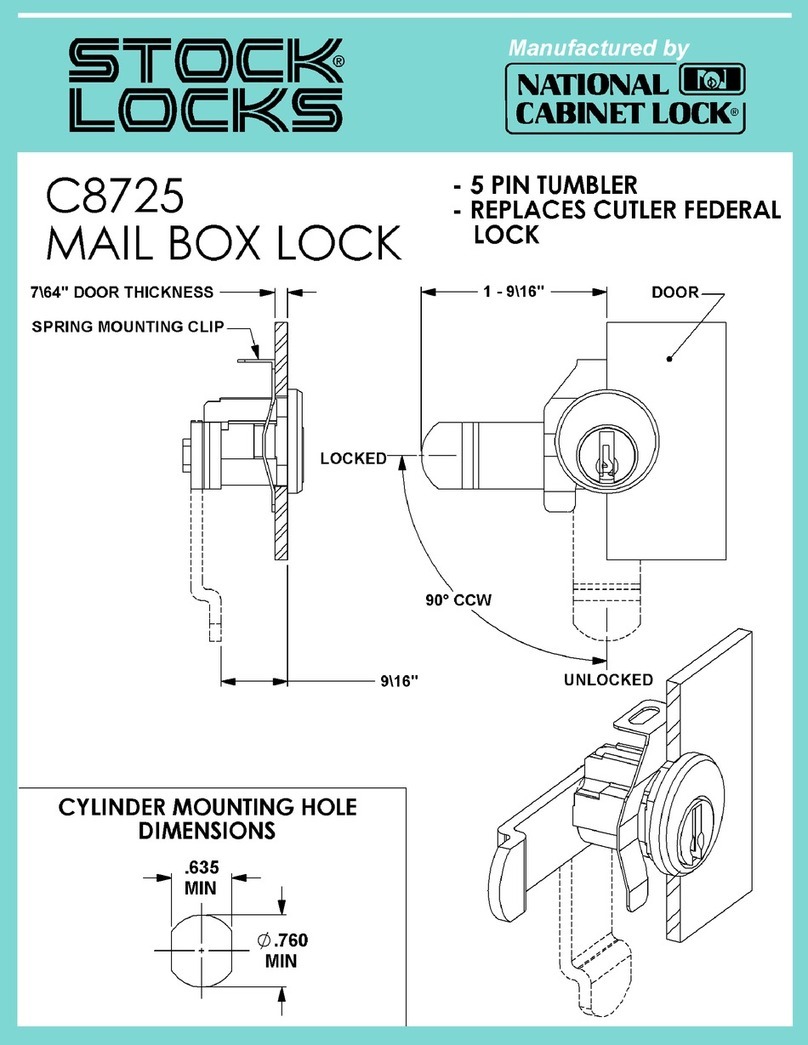
Stock Loks C8725 instruction sheet

Stock Loks

Stock Loks C8725 instruction sheet
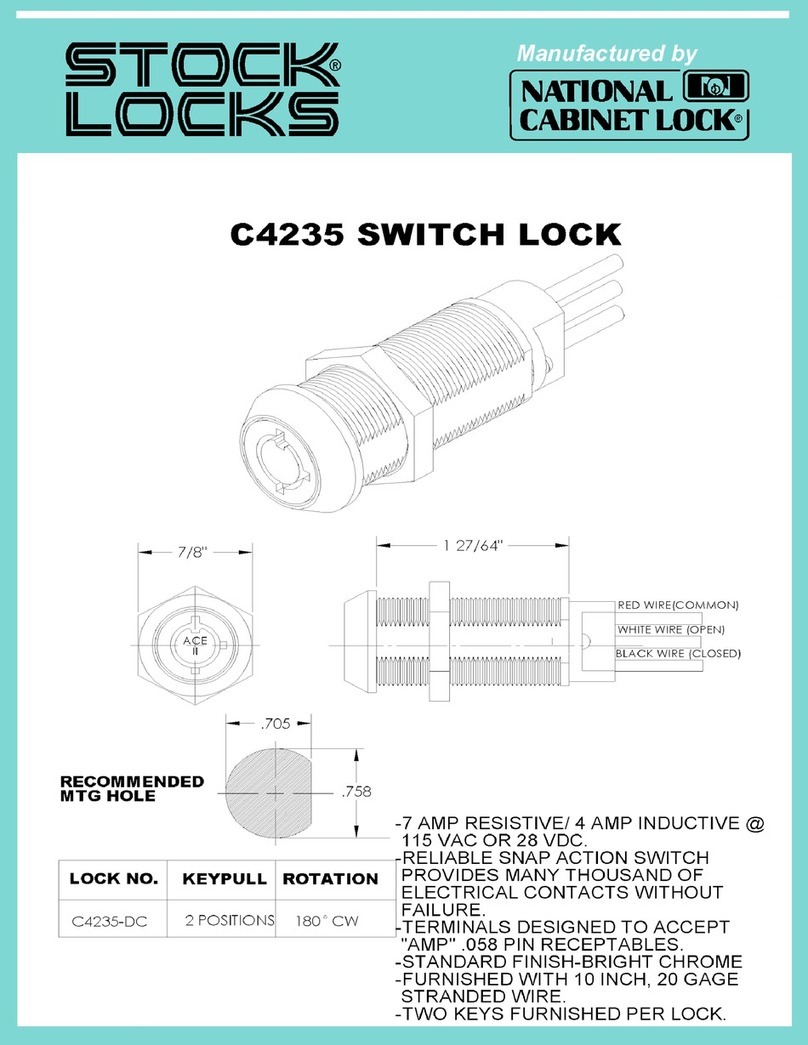
COMPX Stock Locks C4235 Dimensional drawing

COMPX

COMPX Stock Locks C4235 Dimensional drawing

hager I-LS02688 installation instructions

hager

hager I-LS02688 installation instructions

Safe SureCatch user manual

Safe

Safe SureCatch user manual

Kaba Mas Auditcon 52R installation instructions

Kaba Mas

Kaba Mas Auditcon 52R installation instructions

Esco systeQ-4687 installation instructions

Esco

Esco systeQ-4687 installation instructions

Lock4Safe MiniTech Technical manual

Lock4Safe

Lock4Safe MiniTech Technical manual

Securam SafeLogic Basic operating instructions

Securam

Securam SafeLogic Basic operating instructions

NUKI COMBO operating instructions

NUKI

NUKI COMBO operating instructions

Assa Abloy Sargent KP Series Installation & programming instructions
Assa Abloy

Assa Abloy Sargent KP Series Installation & programming instructions

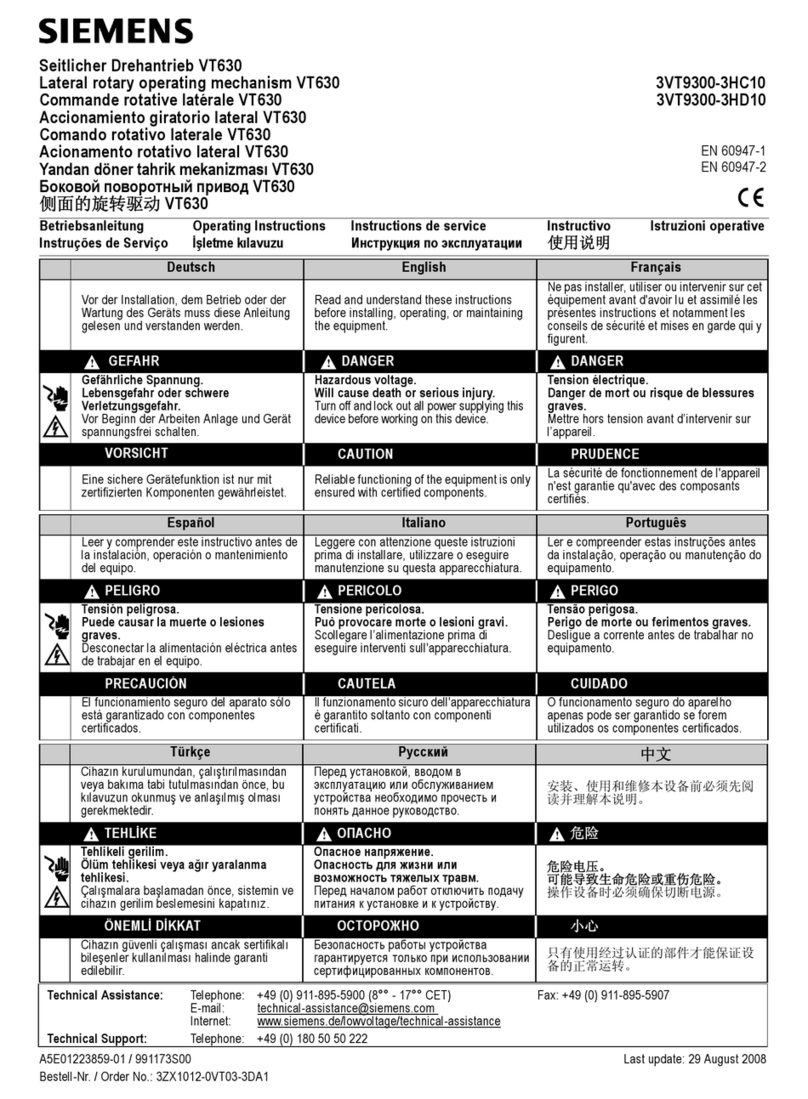
Siemens VT630 operating instructions

Siemens

Siemens VT630 operating instructions

LOCKEY USA SUMO GL2 installation instructions
LOCKEY USA

LOCKEY USA SUMO GL2 installation instructions

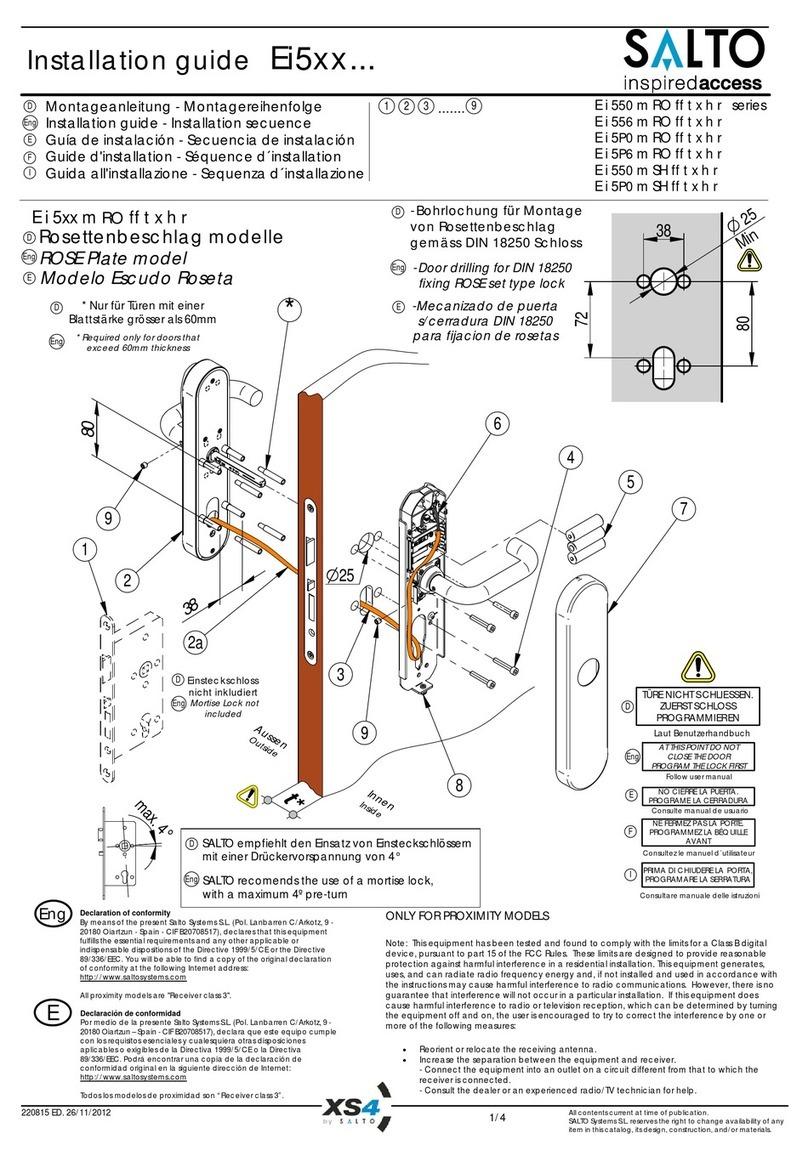
Salto Ei5 series installation guide

Salto

Salto Ei5 series installation guide
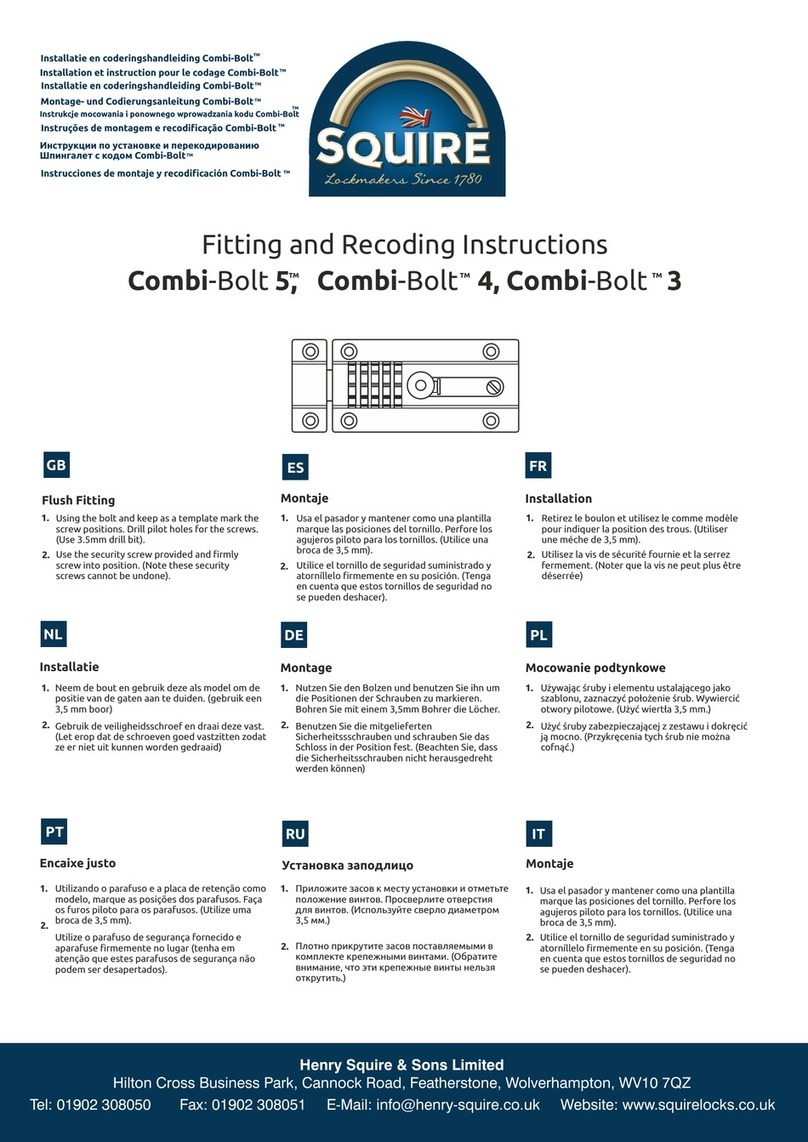
Squire Combi-Bolt 5 Fitting and Recoding Instructions
Squire

Squire Combi-Bolt 5 Fitting and Recoding Instructions

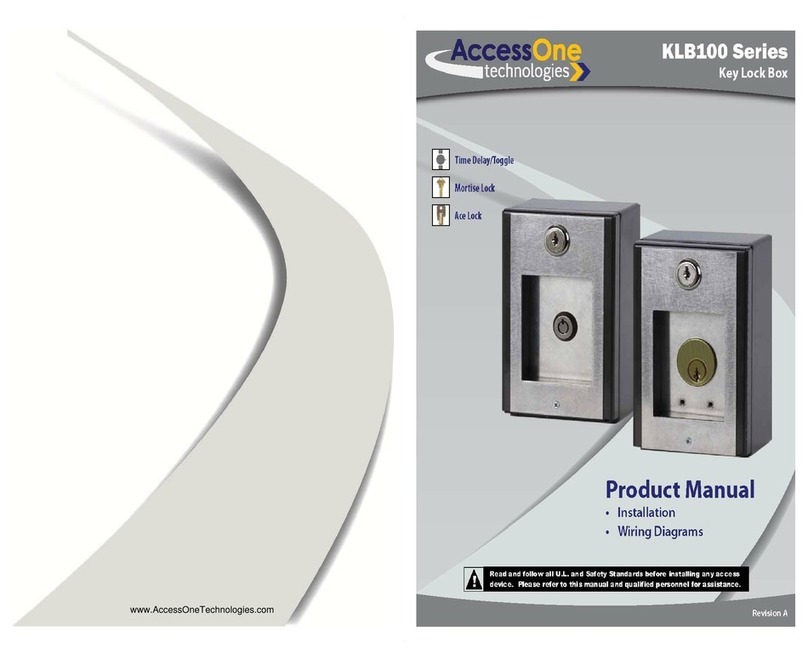
Access One KLB100 series product manual

Access One

Access One KLB100 series product manual

manuals.online logo
manuals.online logoBrands
  • About & Mission
  • Contact us
  • Privacy Policy
  • Terms and Conditions

Copyright 2025 Manuals.Online. All Rights Reserved.