Phoenix
International
8711
W
est
Port
Av
enue
Milwaukee,
WI
5322
4
+1
414.97
3.3400
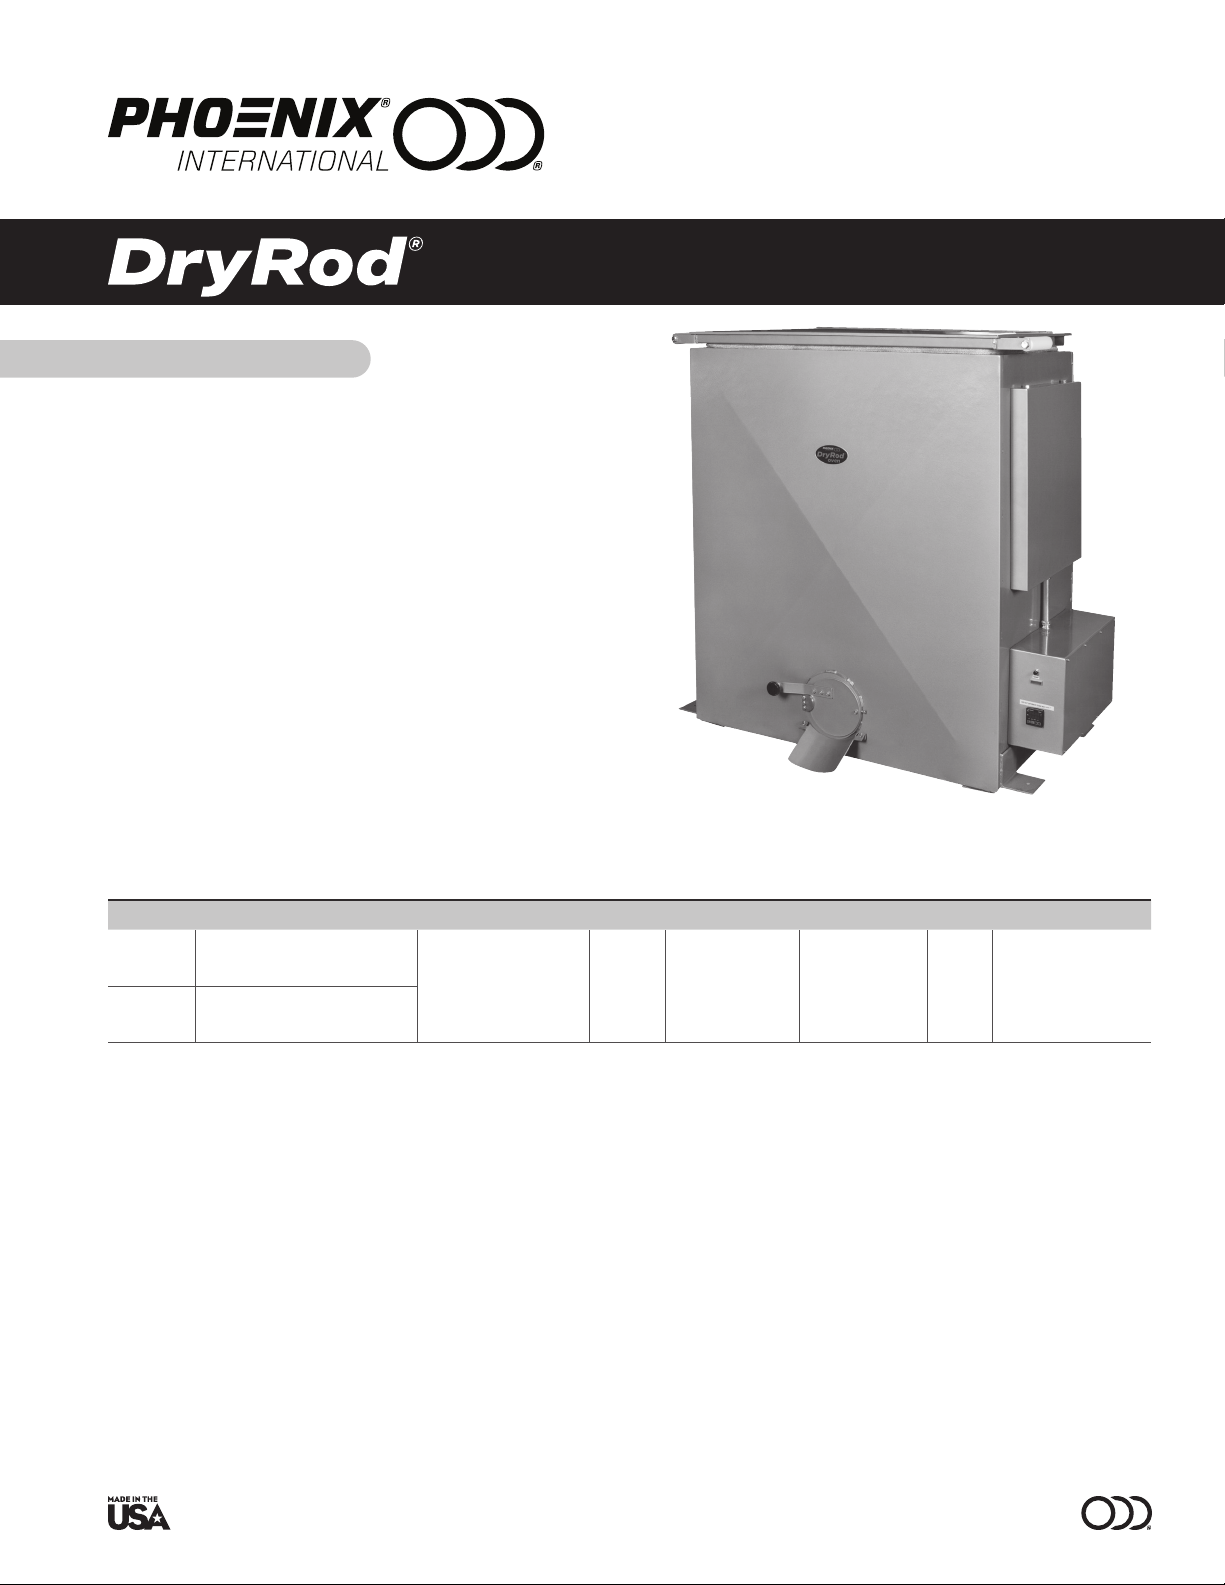
[email protected] dryrod.comType 750HT Series Flux Rebaking Ovens Operating Instructions Operating Instructions
2
Product Description
Installation
This oven was crated and packaged for long-distance shipment. Exercise care in
removing the oven from the wooden crate.
After oven is in final location, anchor as required, open the oven door and remove
packing material, manuals and loose parts.
Wiring
Check type and voltage on nameplate.
750HT (3/240V AC only)
750HT (3/480V AC only)
For 240V Wiring
Connect to a 240V, 50/60 cycle, 3 phase power source. Conduit openings (1/2")
are provided in the wiring compartment for this purpose. A three-pole disconnect
switch should be provided since there is no power switch in the oven itself. Use
30-amp fuse. A schematic diagram of internal wiring follows.
For 480V Wiring
Connect to a 480V, 60 cycle, 3 phase power source. Conduit openings (1/2") are
provided in the wiring compartment for this purpose. A three-pole disconnect
switch should be provided since there is no power switch in the oven itself. Use
15-amp fuse. A schematic diagram of internal wiring follows.
Amp Draw
Ovens operating on 240 AC voltage draw 25 amps. Those operating on 480 AC
voltage draw 12.5 amps.
Grounding
The 750HT ovens have a grounding lug in the upper control box.
Operation
1. A. Start-up (switch in “OFF” position)
2. Turn on power to the oven.
3. If red light is on, push the reset button to reset high limit control.
4. Set temperature controller at desired temperature by pressing the UP/DOWN
keys and then pressing ENTER.
Description of Controls
The controller in this oven is a full-indicating, PID (proportional, integral,
derivative) controller using a Type J thermocouple sensor. The controller is
factory set for optimum performance accuracy with a 400 pound load at
maximum temperature.
The high-limit control is a mechanical device with on-off control action. The
high-limit control will shut down the oven heat when the oven temperature
reaches the high-limit set point. In order to regain power to the heating
elements, the oven must cool down below the high-limit set temperature.
Controller
If any adjustments are required, they should be done by a qualified person with
the aid of the instructions contained in this manual or the Original Factory Setting
Guide (available upon request from Phoenix International). All instruments are
fully tested and adjusted for optimum performance prior to shipping the oven. If
the settings are lost for some reason, contact Phoenix International for the PID
Controller Original Factory Setting Guide.
Temperature Settings
Excess Heat: At maximum setting, the actual temperature in portions of the oven
near the heating elements may exceed the upper range.
Guide to Storage
Flux should be stored according to flux supplier recommendations. In the absence
of storage information from your electrode manufacturer, please reference
Phoenix's Guide To Electrode and Flux Stabilization for approximate temperatures,
found at www.dryrod.com/guide.
CAUTION
• Disconnect power and make sure oven is cooled before opening
or servicing unit.
• Hot Surfaces! Use extreme care to avoid possible burns or personal injury.
Protective gloves and personal protective equipment are recommended.