Kits Featuring the Medium or Large SilverDome
These instructions apply to:
●Starlite Medium Digital Kit
●Starlite Large Digital Kit
●Starlite 2 Medium Digital Kit
●Starlite Medium Location Kit 1
●Starlite Medium Location Kit 2
●Large LiteRoom Kit 2
The following steps are covered in this instruction:
●Assembling the softbox
●Connecting the Starlite QL head
●Setting up the LiteStand
●Putting Starlite QL head on LiteStand
●Adding the Inner Baffle
●Installing face diffuser
Before assembling your Starlite Kit, make sure all components are present.
You will need:
●SilverDome softbox
●Face diffuser
●Inner Baffle
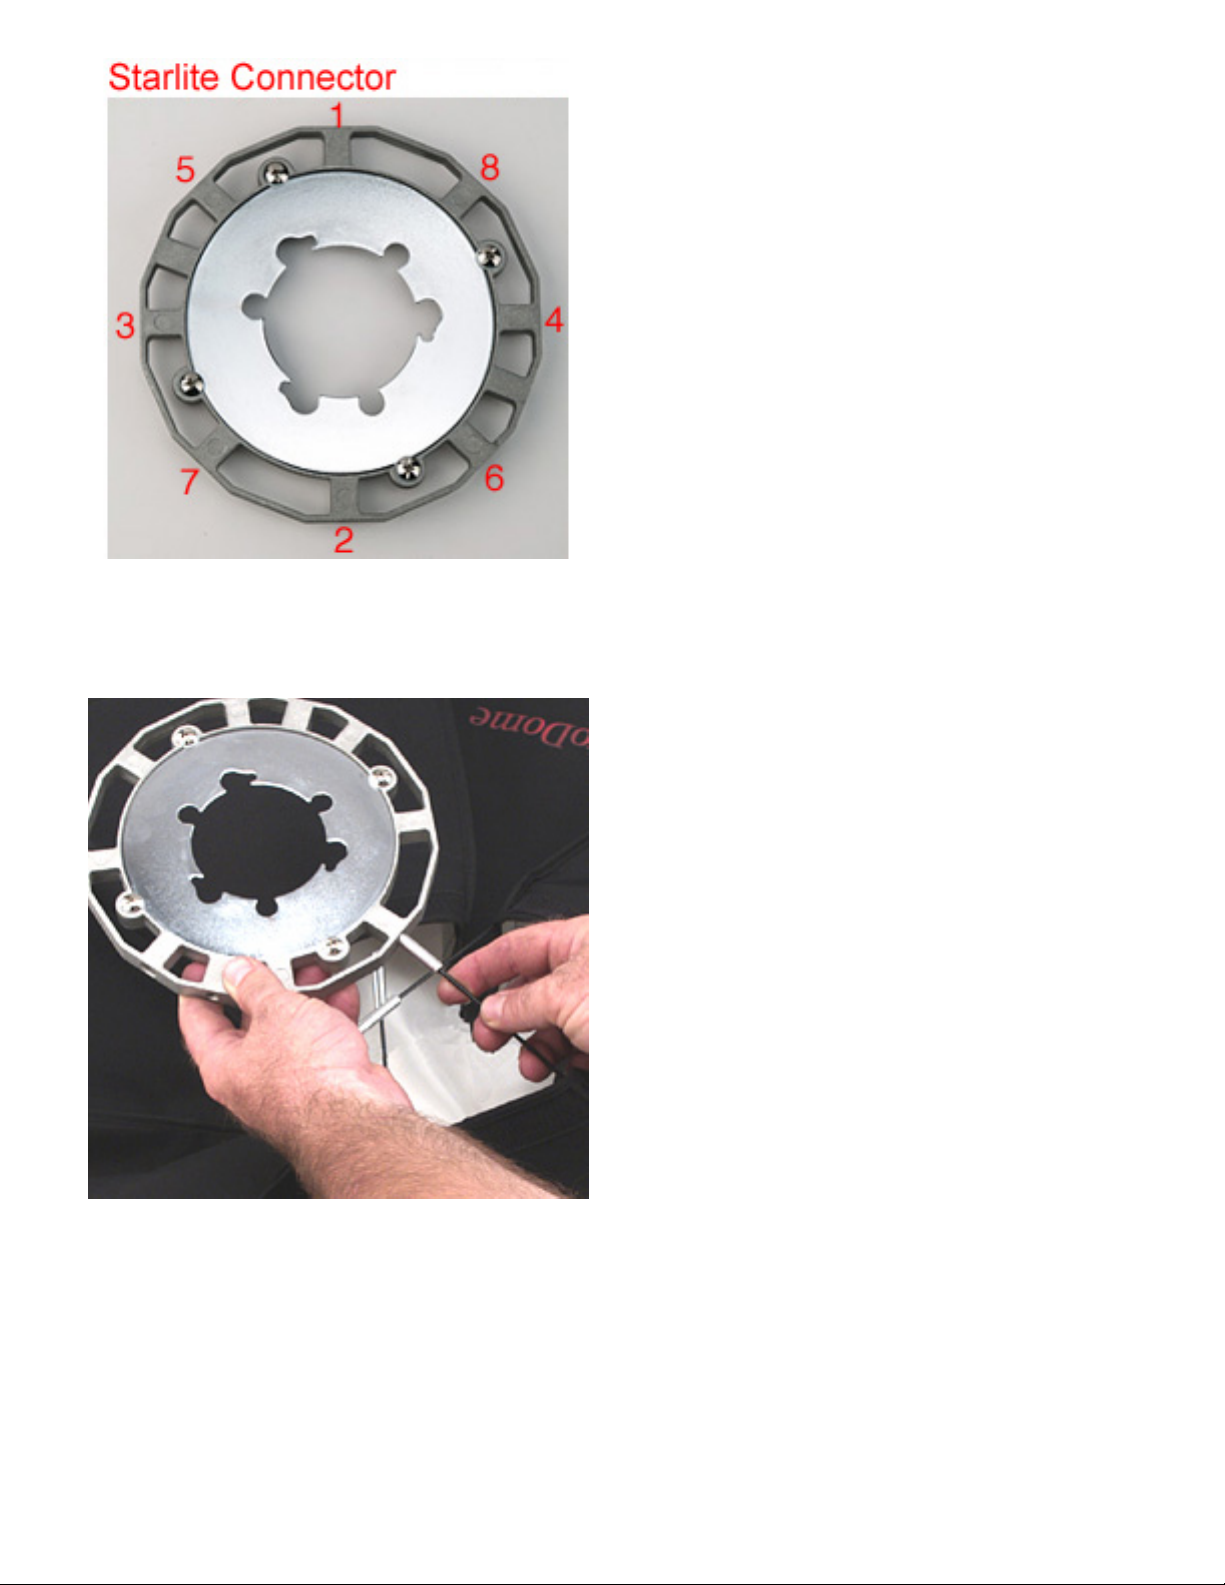
●Starlite Connector
●Four rods
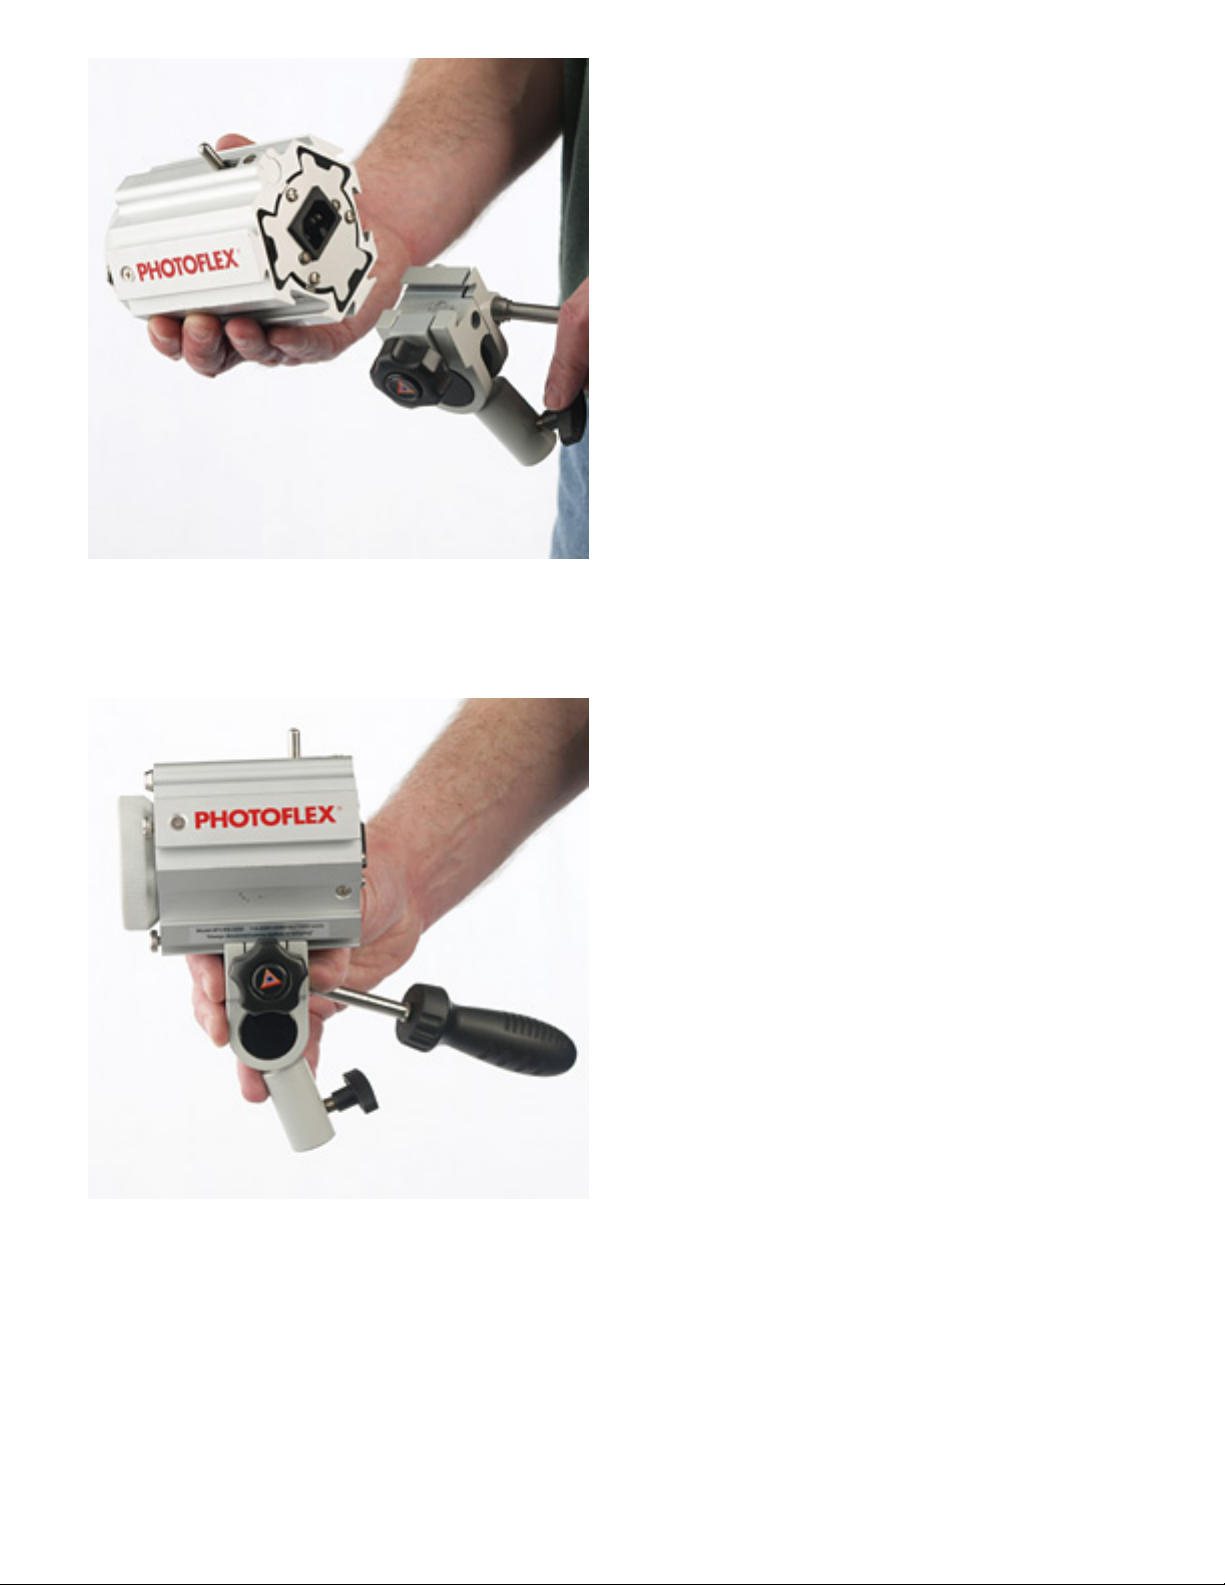
●Starlite Head
●Starlite Lamp
●Swivel Mount
●LiteStand
file:///P|/Product%20Info/Cirrolite/Photoflex/FV-SL3648K...20Large%20Kit/Starlight%20Large%20Kit%20Instructions.htm (1 of 26)14/05/2010 23:05:45