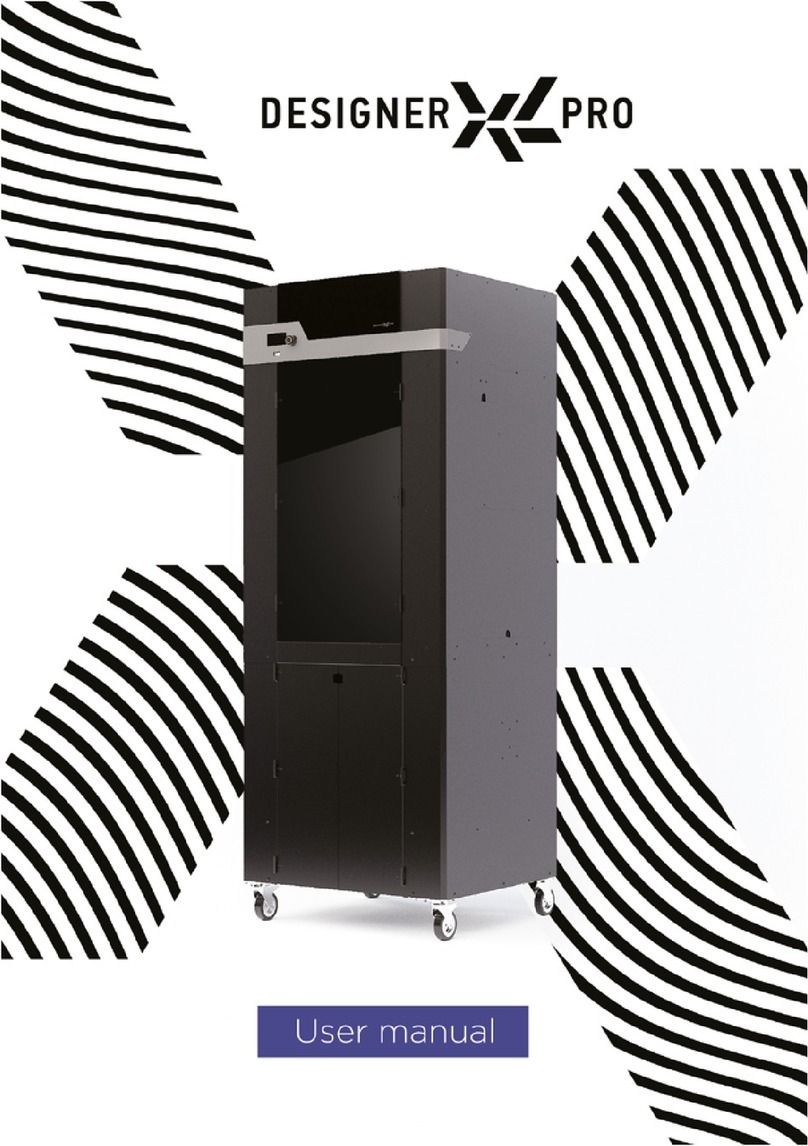
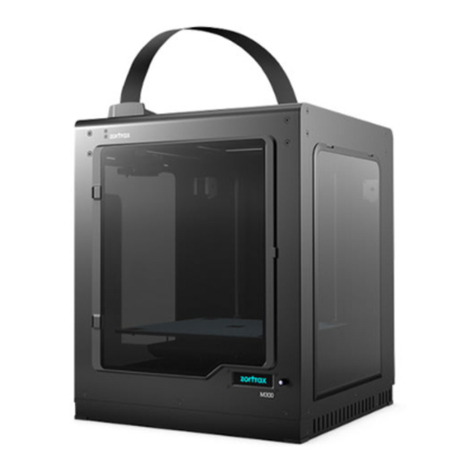
PICASO 3D Designer XL User manual


INTRODUCTION
1
Dear Customer,
We are happy to welcome you among the owners of Designer XL. Your 3D printer has a
user-friendly interface and up-to-date printing control functions. Therefore, it can be used
both by experienced engineers and those who are just discovering the world of additive
technologies.
3D printing is a sophisticated process that involves many factors. We have prepared
a detailed User Manual to make your interaction with the printer as easy, intuitive, and
safe as possible. It describes all main components, 3D printer’s functions, and menu
settings; the principles and fundamentals of working with various materials, as well as
recommendations for using the device. Key information is highlighted with frames:
This Manual uses hyperlinks for quick and easy access to sections.
Please, read the entire User Manual before using Designer XL. For any technical issues,
The pictures used herein are part of the product’s graphical image and may differ from the actual
appearance of the device.
The description of the menu contents, the list of errors, and the device’s features may vary depending
on the 3D printer rmware version used.
The manufacturer is not responsible for any actions deviating from those described in this Manual.
This frame highlights important warnings about working with Designer XL.
This frame highlights notes and useful references for working with Designer XL.
We wish you success in the implementation
of your ideas and projects!

INTRODUCTION
2
SAFETY AND PRECAUTIONS
HOW DESIGNER XL WORKS
X PLATFORM
EQUIPMENT SPECIFICATIONS
WORKPLACE
STARTER KIT
MAIN COMPONENTS OF DESIGNER XL
POWER CONNECTION
DESIGNER XL MENU
CONTROL DURING PRINTING
BUILD PLATE AUTO-LEVELING
FILAMENT LOADING
PRINTING
FILAMENT UNLOADING
CONNECTION TO PC
NOZZLE REPLACEMENT
SET UP Z-OFFSET
CALIBRATION OF THE CLEANING SYSTEM
PRINTER FIRMWARE UPDATE
ERROR LIST
PRINT SPEED MODES
REMOVING AND REPLACEMENT THE HEATING UNIT
QUESTIONS AND ANSWERS
58
58
UNPACKING 11
18
26
41
PRINTER CONTROL
BASICS OF WORKING WITH Designer XL
SERVICE FUNCTIONS
4
6
8
10
12
13
14
17
19
24
27
29
34
37
39
42
44
46
49
50
53
56
58
How does the DESIGNER XL notication system work?
What is the debug screen?

INTRODUCTION
3
How to nd the printer serial number?
What operations can I perform during printing?
What is the material prole?
How to create a new prole?
How to store and dry lament?
What is a printlist?
What should I do if there is no lament ow and/or I hear clicks in
the printhead?
What shall I do if the lament cannot be loaded?
What shall I do if the spool has run out, and how to replace it
during printing?
What printer parts are consumable?
What type of USB drives can I use?
Why shall I calibrate the cleaning system?
Why does DESIGNER XL often pause for a short time?
Why are magnets of different sizes?
What kind of service is required for the printer?
59
59
59
60
62
63
64
65
65
66
66
66
66
66
67

SAFETY AND PRECAUTIONS
4
Designer XL complies with European Parliament Directives 2014/35/EU on low-
voltage equipment and 2014/30/EU on electromagnetic compatibility.
Do not use Designer XL to store foreign objects. Foreign objects in the printer’s
working area can damage Designer XL’s components.
Do not use Designer XL to heat up food or other items.
Do not expose Designer XL to external temperature effects and/or liquids, gases,
electric and/or magnetic elds, which can damage the device’s electronic or
mechanical components.
Do not use the 3D printer in a humid or dusty environment. Follow the requirements
for the workplace.
During its operation, the device may produce a specic smell of molten lament.
This is a feature of the printing process. We recommend using the 3D printer in a
well-ventilated area. Do not leave the working printer unattended.
Designer XL is not intended for use by the disabled, unless they are supervised by a
person who is responsible for their safety.
It is forbidden to use Designer XL by persons under the inuence of alcohol, drugs
and/or other intoxicants.
Handle the 3D printer carefully — it includes electronic components and mechanical
parts that can be damaged if hit or dropped.
Some 3D printer’s parts operate at a high temperature. To avoid burns, be careful
not to touch heated surfaces while printing and servicing the device. Wait at least
10-15 minutes for the unit’s heating elements to cool down before opening the lid.

SAFETY AND PRECAUTIONS
5
Some 3D printer’s parts are moving. To avoid personal injury and device
malfunction, do not interfere with the movement of the 3D printer units during its
operation.
Do not use non-original spare parts and do not attempt to repair it on your own:
this can lead to device failure.
Do not seek third party’s advice on the operation of the 3D printer. Our ocial
contact details are:

HOW DESIGNER XL WORKS
6
Designer XL operates under the FFF technology (fused lament fabrication). The principle
of the technology is to melt a thermoplastic polymer lament and to build a layer-by-layer
model based on a previously prepared task.

HOW DESIGNER XL WORKS
7
Designer XL is a 3D printer which is in the X platform-based product line. When you master
it, you will able to work with any devices based on the X platform.
To get started, you need a 3D model in one of the following formats: .stl, .obj, .3ds or .amf.
The model should be uploaded into the software on a personal computer (PC) — Polygon X
(supplied free of charge), which converts it to a printing task le in .plgx format with a set
of control commands to operate PICASO 3D printers. To start printing on Designer XL,
you should save the .plgx le to a USB stick (supplied in the starter kit). File recording can
be made remotely using Polygon X via Ethernet connection.
.plgx
Designer

X PLATFORM
8
X Platform is a complex of software and hardware solutions for 3D devices by PICASO 3D
designed for additive manufacturing purposes.
End-of-Filament and Filament Flow Control systems with built-in
sensors detect the lament availability and the ow. Based on the data
obtained, Designer XL carries out self-testing and, in case of an abnormal
situation due to the lament absence or uneven ow, automatically starts
the problem-solving algorithm. If the abnormal situation persists, the
printing process is suspended and the printer waits for user’s actions.
Example: the lament is run short of on the spool or broke off during the
printing: Designer XL pauses its operation, reports lack of material, waits
to lament reloading and continues printing.
If the nozzle is completely or partially clogged during printing, the
material ow is stopped or impeded: Designer XL will detect a change
in the uniform ow, pause printing, and start an automatic nozzle high-
temperature cleaning algorithm. If the nozzle cleaning is successful,
printer continues printing; otherwise, printing is paused, and Designer XL
informs the user about the problem.
The Prole System stores parameters for working with materials in the
printer memory. The prole settings are used to control the layer time,
which allows to maintain surface high quality when printing small models;
as well as to control the temperature of radiators, which allows to avoid
overheating of the lament above the thermal barrier and protects the
material in the feed channel from degradation. To start printing , the user
selects a material prole based on the lament loaded. The prole system
provides for using one and the same task in .plgx format to print with any
thermoplastic lament used without preparing a new printing task.

X PLATFORM
9
Printer status can be monitored both from the printer display and through
the local network via Ethernet network connection. There is one software
used to control all X Platform devices — Polygon X. When connecting
several printers via a LAN router, you can monitor all connected printers
and control the printing process on one window tab of Polygon X.
Integrated high-speed print modes. Before the printing starts, the user
selects a speed mode in accordance with the expected result. It provides
for one and the same task in .plgx format being printed at different
speeds without preparing a new printing task.
The notication system allows to dene the device status remotely, even
on a PC screen when working via network.
An adaptive air circulation system uses data from material proles to
create optimal conditions for printing and to avoid the temperature
gradient inside the 3D printer chamber.
The printing surface control system in most cases provides for possibility
to detect the weakening of adhesion of the printed model to the platform
or the presence of a foreign object when printing the current layer in a
timely manner. If an item comes unstuck or the printed layer has a wrong
shape, the printer will pause printing until the user’s intervention.
The nozzles height control system (only for PRO-series printers)
automatically allows for the difference in the height of nozzles relative
to each other in case of dual-material printing and makes an appropriate
amendment to the platform height. This system allows to reach high
quality of dual-material printing.

EQUIPMENT SPECIFICATIONS
10
PRINTING
Printing technology
Fused Filament Fabrication (FFF)
Build Volume
360 x 360 x 610 mm
(14 x 14 x 24 inch)
Extruder maximum printing
temperature
410 ºC (770 F)
Heated bed maximum temperature
150 ºC (302 F)
Print speed
up to 100 cm3/h
Minimum Layer Thickness
10 microns (0.01 mm)
Layer Resolution
0.01 – 0.8 (depending on the
nozzle diameter)
ELECTRICITY
Networking
220 ± 15%, 50 Hz (option 110 ± 15%, 60 Hz)
Maximum Power Consumption
1.3 kW
Interfaces
Ethernet, USB 2.0 (USB stick in starter kit)
PRINTING MATERIALS
Formax (ABS + CF), Ultrax (PA + CF),
PEEK, PA, PC, TPU, TPE, PP, ASA, SBS,
PETG, ABS, PLA, PVA, HIPS and others
PHYSICAL
CHARASTERISTICS
WITHOUT BOX
Printer dimensions
985 x 645 x 565 mm
Weight
75 kg
MECHANICS
Casing
Aluminium composite
Frame
Steel (3 mm)
Heated bed construction
Aluminium, glass
Guides
XY rail (steel)
Z cylindrical (steel)
FEATURES
Primary systems
Filament Flow Control
End-of-Filament Sensor
First Layer Control
Built-in Prole System
Network Printing
Additional features
Filament drying mode
Printer status notication system
Auto-control workability of all systems
Surface print control system
Table Leveling
Auto-leveling
Pozitioning Resolution
11 x 11 x 1.25 microns
Filament diameter
1.75 ± 0.1 mm
Nozzle diameter
0.2 – 0.8 mm (0.5 in starter kit)
SOFTWARE
Software
Polygon X
File Types
*.stl, *.obj, *.3ds, *.amf, *.plgx, *.ppf,
*.ppl, *.plgs

UNPACKING

WORKPLACE
12
The workplace for 3D printer installation must satisfy the following requirements:
Leave the 3D printer unpacked at the prepared workplace for at least 24 hours — do not
plug it to power supply prematurely.
Ambient temperature: 15 to 30 ºC (59 to 86 F).
Relative humidity: 30 to 65%.
Atmospheric pressure: 720 to 790 mm Hg.
Ventilation availability
Solid horizontal surface to withstand at least 30 kg load.
Lack of direct sunlight on the 3D printer.
Power supply 220 V ± 15% (50 Hz) with grounding.

STARTER KIT1
13
Examine the starter kit. It must comprise:
If there are any discrepancies or lack of a transportation part and ties, please take
forget to include the serial number of your 3D printer.
Available in the Designer XL:
Toolkit:
Power cable
Filament spool
Adhesion glue
0.5 mm steel nozzle
Temperature unit 400
8 mm glass
Screwdriver Torx TX-TR
Slotted screwdriver
Nippers
Box cutter
Pliers
Nozzle change key
Hex key 1.5
Hex key 2
Hex key 2.5
USB drive
0.5 mm steel nozzle
1 The type and conguration may be changed by the manufacturer without user’s consent, which shall
not affect the declared device specications.

MAIN COMPONENTS OF DESIGNER XL
14
Front view
Front door
Chamber
circulation fan
Glass ejector
Build plate with
glass
Top lid
Display
Joystick
USB-A
port

MAIN COMPONENTS OF DESIGNER XL
15
Side rear view
Side door
Motherboard box
Container
Power button
Power adapter
connector
Ehernet port
USB-B
port
Chamber
cooling fan
Drivers cooling
fan

MAIN COMPONENTS OF DESIGNER XL
16
Inside view
Printhead (PH)
Cleaner
Nozzle
Filament feed
tube
PH cooling fan
Model cooling
fan
Printhead (PH)
Cable-chain

POWER CONNECTION
17
Make sure all plastic locking clip parts and ties are removed. Take the printhead (PH)
into your hands and make sure that it moves freely. Plug the power cable into the power
adapter connector against the stop then plug it into a power socket 220 V ± 15%, 50 Hz or
110 ± 15%, 60 Hz (in compliance with used electricity network standard).
Switch the power button to position 1 — the display and lighting turns on, the printer
beeps.
We recommend to keep the original box and pallet for further possible transportation of
the printer.
Never plug the Designer XL into a power socket without grounding2.
2 PrinterName has a heating components with a 220 V supply. Also it equipped a residual-current
device (RCD), which secure the safety only if the socket has a ground.

PRINTER
MANAGEMENT

DESIGNER XL MENU
19
The 3D printer is controlled through the display menu3. To navigate through the menu
items, rotate the joystick clockwise or counterclockwise: the joystick does not have an
extreme position. To select a menu item, press the joystick.
PRINT
FILAMENT
Files
Displays folders and les in .plgx, .gcode4 formats in the USB stick inserted to the
printer . Allows to select a le to start printing.
Filament loading
Starts algorithm for lament loading in the PH using the ow motor along with
heating up the nozzle to the operating temperature in compliance with the settings
of the selected prole.
Filament unloading
Starts the algorithm for lament unloading out of the PH using the ow motor at the
unloading temperature in compliance with the settings of the selected prole.
Filament replacement
Alternately runs lament unloading and loading algorithms.
Hot unloading
Starts the algorithm for lament unloading out of PH using the ow motor with
heating the nozzle up to the operating temperature in compliance with the settings
of the selected prole.
Printlists
Displays a list of tasks in the active printlist5with ability of browsing all printlists
uploaded to a USB drive, to alternately start printing (tasks in the printlists folder).
3 The Menu Interface may vary depending on the rmware in use on the 3D printer.
4 .plgx is a print task le prepared by the Polygon X, adapted for printing on X Platform printers; .gcode is a
print task le prepared by third-party slicers. When printing such tasks, some features of X Platform printers
are inactive.
5 Printlist is a list of tasks for alternate printing. It is prepared by the Polygon X software in .ppl format with
network connection available.
This manual suits for next models
1
Table of contents
Other PICASO 3D 3D Printer manuals
