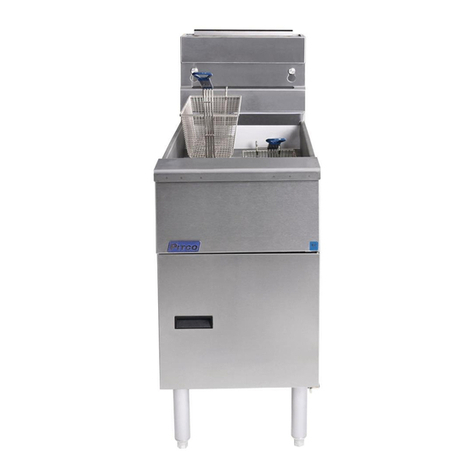
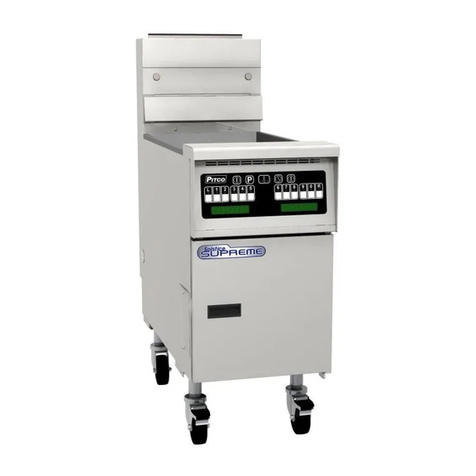
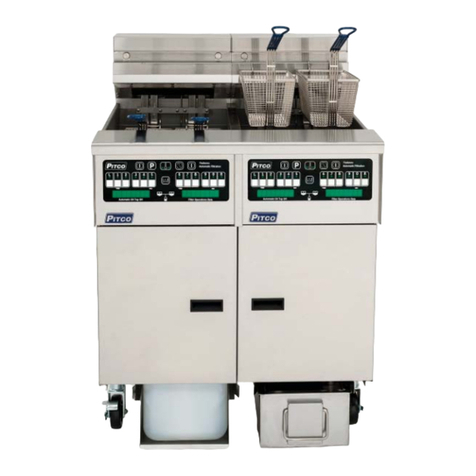
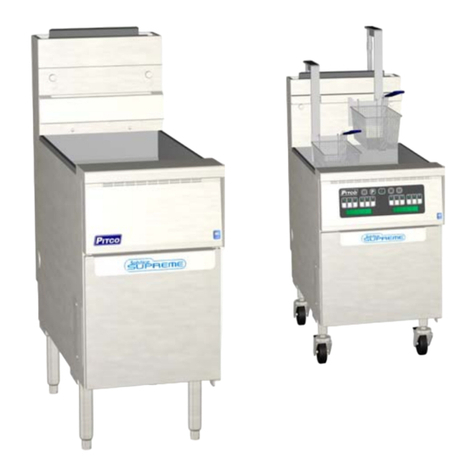
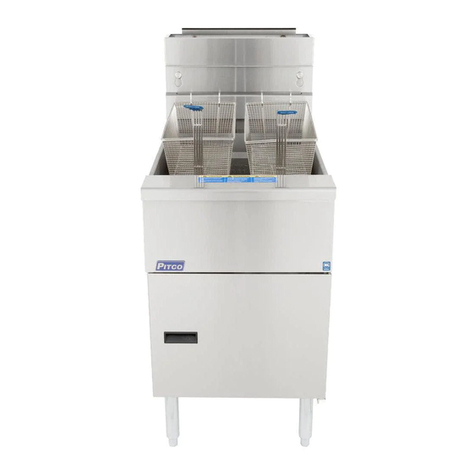
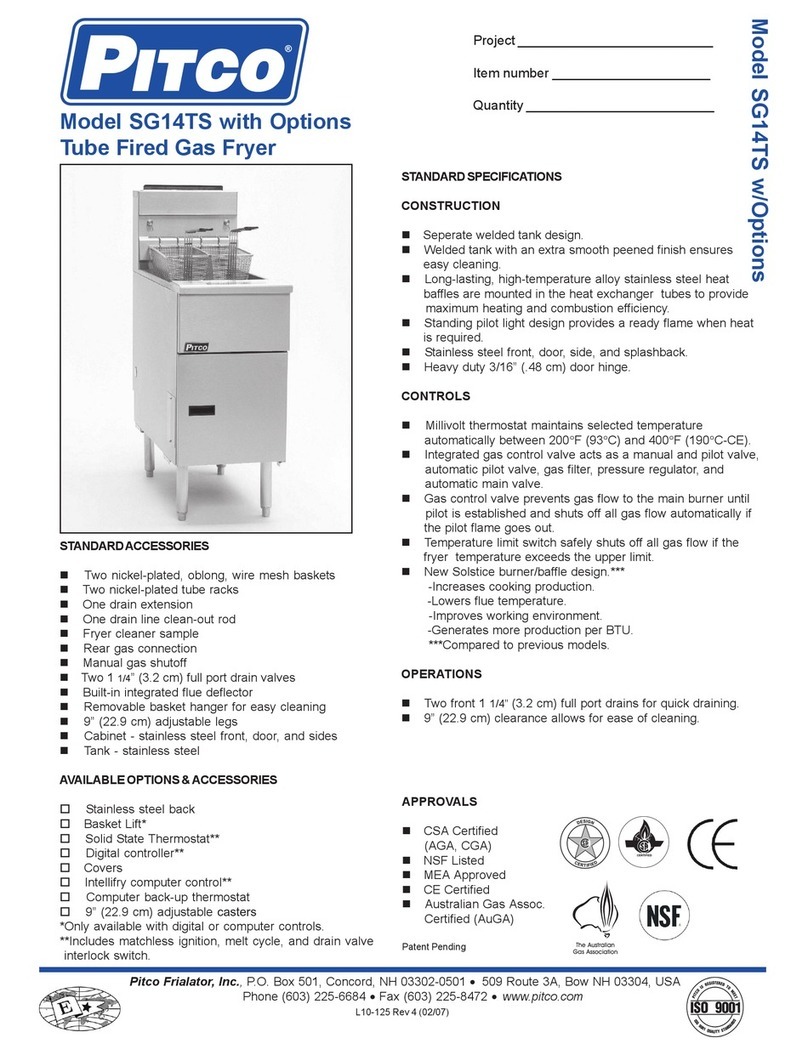
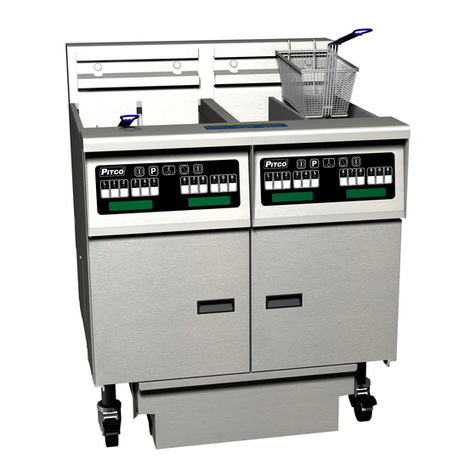
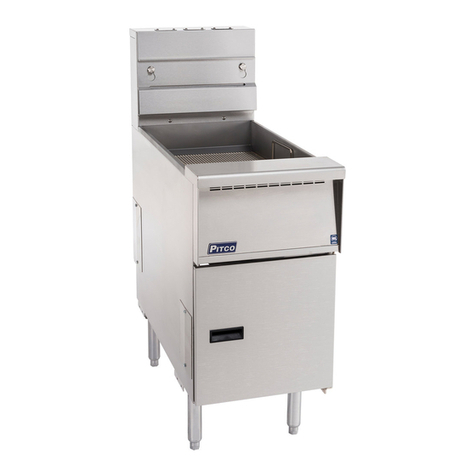
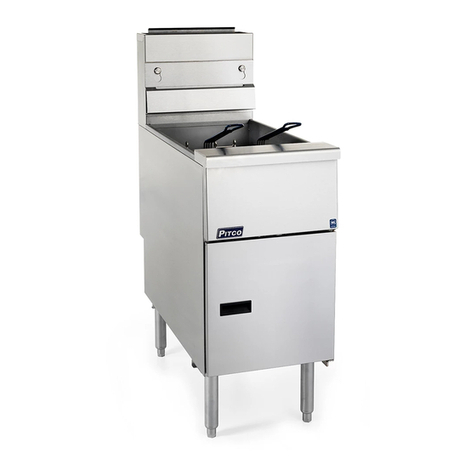
Pitco 35C+ User manual

L20-275 Rev. 1 9/13
Pitco Frialator, PO Box 501 Concord, NH 03302-0501 603-225-6684
THIS MANUAL MUST BE RETAINED FOR FUTURE REFERENCE
IMPORTANT FOR FUTURE REFERENCE
Please complete this information and retain this manual
for the life of the equipment:
Model #: ___________________________
Serial #: ___________________________
Date Purchased: ____________________
Installation and Operation Manual
Covering Model
35C+, 45C+
with Millivolt Gas Valve
ENGLISH

L20-275 Rev. 1 9/13
TO THE PURCHASER, OWNER AND STORE MANAGER
Please review these warnings prior to posting them in a prominent location for reference.
TO THE PURCHASER
Post in a prominent location the instructions to be followed in the event that an
operator smells gas. Obtain this information from your local gas supplier.
FOR YOUR PROTECTION
DO NOT store or use gasoline or other flammable vapors and liquids in the
vicinity of this or any other appliance.
Do not spray aerosols in the vicinity of this appliance when it is in operation.
WARNING
Improper installation, operation, alteration, adjustments, service or
maintenance can cause property damage, injury or death. Read the installation,
operating and maintenance instructions thoroughly before installing, operation,
servicing this appliance.
WARNING
Installation, maintenance and repairs should be performed by a Pitco
Authorized Service and Parts (ASAP) company technician or other qualified
personnel. Installation, maintenance or repairs by an unauthorized and
unqualified personnel will void the warranty.
WARNING
Installation and all connections must be made according to local codes in
force. In the absence of local codes in North America, the installation must
conform with the National Fuel Gas Code, ANSI Z223.1/NFPA 54 or the
Natural Gas and Propane Installation Code CSA B149.1 as applicable. In
Australia, the appliance must installed in compliance with AS/NZS 5601.
WARNING
During the warranty period if a customer elects to use a non-original part or
modifies an original part purchased from Pitco and/or its Authorized Service
and Parts (ASAP) companies, this warranty will be void. In addition, Pitco and
its affiliates will not be liable for any claims, damages or expenses incurred by
the customer which arises directly or indirectly, in whole or in part, due to the
installation of any modified part and/or received from an unauthorized service
center.
WARNING
Adequate means must be provided to LIMIT the movement or this appliance
without depending on the gas or electrical cord connection. Single appliances
equipped with legs must be stabilized by installing anchor straps. All
appliances equipped with casters must be stabilized by installing restraining
chains.
WARNING
DO NOT alter or remove structural material on the appliance to accommodate
placement under a ventilation hood.
WARNING
If the appliance is equipped with a power cord and it is damaged, it must be
replaced by a Pitco Authorized Service and Parts (ASAP) company technician,
or a similarly qualified person in order to avoid a hazard.
WARNING
The power supply must be disconnected before servicing, maintaining or
cleaning this appliance.
WARNING
The appliance is NOT jet stream approved. DO NOT clean the appliance with a
water jet.
WARNING
DO NOT attempt to move this appliance or transfer hot liquids from one
container to another when the unit is at operating temperature or filled with hot
liquids. Serious personal injury could result if skin comes in contact with the
hot surfaces or liquids.
WARNING
DO NOT use an open flame to check for gas leaks!
WARNING
DO NOT sit or stand on this appliance. The appliance’s front panel, tank, splash
back, tank cover, work shelf, drain board is not a step. Serious injury could
result from slipping, falling or contact with hot liquids.
WARNING
NEVER use the appliance as a step for cleaning or accessing the ventilation
hood. Serious injury could result from slips, trips or from contacting hot
liquids.
WARNING
The oil/shortening level should NOT fall below the minimum indicated level line
at any time. The use of old shortening can be dangerous as it will have a
reduced flash point and be more prone to surge boiling.
WARNING
Completely shut the appliance down when shortening/oil is being drained from
the appliance. This will prevent the appliance from heating up during the
draining and filling process. Serious injury can occur.
WARNING
This appliance is intended for indoor use only.
WARNING
DO NOT operate appliance unless all panels and access covers are attached
correctly.
WARNING
It is recommended that this appliance be inspected by a qualified service
technician for proper performance and operation on a yearly basis.
WARNING
There is an open flame inside this appliance. The unit may get hot enough to
set nearby materials on fire. Keep the area around the appliance free from
combustibles.
WARNING
DO NOT supply the appliance with a gas that is not indicated on the data plate.
If you need to convert the appliance to another type of fuel, contact your dealer.
WARNING
If gas flow to appliance is interrupted, or pilots extinguish, wait 5 minutes
before attempting to relight the pilot to allow any residual gas in appliance to
dissipate.
WARNING
Ensure that the appliance can get enough air to keep the flame burning
correctly. If the flame is starved for air, it can give off a dangerous carbon
monoxide gas. Carbon monoxide is a clear odorless gas that can cause
suffocation.
WARNING
Never add oil to the appliance when it is at operating temperature. Splashing
hot oil can cause severe injuries.
WARNING
Never add water to hot oil. Violent boiling can occur causing severe injury.
WARNING
This appliance is intended for professional use only and should be operated by
fully trained and qualified personnel.
WARNING
To avoid splashing of hot liquid when installed, this fryer must be restrained
either by the manner of installation, or with adequate ties to prevent tipping.
WARNING
An appliance equipped with casters and a flexible gas line must be connected to
the gas supply with a quick disconnect device. In North America, gas appliances
equipped with casters must be installed with connectors that comply with the
Standard for Connectors for Movable Gas Appliances, ANSI Z21.69.CSA 6.16
Latest Edition. This connection should include a quick disconnect device that
complies with the Standard for Quick Disconnect Devices for Use With Gas Fuel
ANSI Z221.41.CSA 6.9 Latest Edition. In Australia, an appliance equipped with
casters and a flexible gas line must be connected to the gas supply with a quick
disconnect device that complies with AS 4627. The hose must comply with
AS/NZS 1869 and be class B or D and have a restraining cable. The restraining
cable must not exceed 80% of the length of the flexible gas line.
INSTALLATION/OPERATION
5
WARNING
During operation there is an open flame inside this appliance. The unit may get hot
enough to set near by materials on fire. Keep the area around the appliance free from
combustibles.
Lighting Instructions
For manual pilots, refer to the following instructions.
WARNING
If pilot extinguishes, wait 5 minutes before attempting to relight the pilot to allow any built
up gas to dissipate.
a. Open gas supply valves to the appliance.
b. Turn the thermostat control knob counterclockwise to the OFF position.
c. Turn the gas valve knob counterclockwise to the PILOT position. Push knob in
and hold a flame to the pilot until the pilot ignites; this may take a little while
the first time you light the pilot because of the air in the lines. Once lit, hold
the knob in for approximately one minute and then release.
d. If the pilot goes out, wait 5 minutes and repeat step C. If after three tries the
pilot will not remain lit, refer to the operator troubleshooting section of this
manual.
e. Once a pilot flame has been established, turn the gas valve knob
counterclockwise to the ON position.
f. Set the thermostat control knob to the desired temperature setting, The main
burners will ignite and be controlled by the thermostat.
Pilot Flame Adjustment
For manual pilots, refer to the following instructions. Perform this procedure once the pilot is lit and
ensure that the thermostat is turned to the OFF position.
NOTE: This procedure requires a DC millivolt meter set to a scale of 0-1000 mV.
Using test leads with sharp probes will help in taking the required readings.
a. Locate the thermopile wires coming from the pilot to the
gas valve.
b. Using the positive (+) test probe, connect the probe to
the top PP terminal with the red wire.
c. Connect the negative (-) test probe to the bottom PP
terminal with the white wire.
d. The output level should be 550mv ± 50mV. If this level
is not correct, remove the cap screw and adjust the
screw in and out to achieve the proper millivolt level.
Replace cap screw.
Note: Allow 3 to 5 minutes between flame adjustments to allow the reading to stabilize.

INSTALLATION/OPERATION
8
OIL LEVEL LINE
BURNER TUBES
EXCESSIVE
AIR GAPS
BURNER TUBES
OIL LEVEL LINE
BURNER TUBES
OPERATION
Filling the Tank
Both liquid and solid shortening/oil can be used in this appliance, but liquid is preferred. If solid
shortening/oil is used it is recommended that you melt the shortening/oil before adding it to the appliance.
You can melt solid shortening/oil in the appliance, but you must be very careful not to scorch the
shortening/oil.
Filling the tank with liquid shortening/oil
To fill the tank with liquid shortening/oil refer to the following procedure.
a. Ensure that the drain valve is completely closed and that there
is no residual moisture in the tank.
b. Fill the tank with shortening/oil. You may fill the tank to the
“OIL LEVEL” mark or slightly below this nominal level mark:
the shortening/oil will expand slightly when it heats up, raising
the level slightly.
Filling the tank with solid shortening/oil
To fill the tank with solid shortening/oil refers to the following procedure.
WARNING
NEVER melt blocks of solid shortening/oil on top of the burner
tubes. This will cause a fire and could result in personal injury.
a. Remove the rack covering the tubes (tube rack).
b. Cut the solid shortening/oil into cubes no larger than one inch.
ALWAYS pack the shortening/oil below, between, and on top of
the burner tubes. DO NOT leave any large air gaps. Use care
when packing the solid shortening/oil into the tank. DO NOT
bend or break the temperature or high limit sensor probes. If
these are damaged the appliance will not function properly.
c. Once the appliance tank is firmly packed with shortening/oil
to the level mark, the shortening/oil must be melted. Melt the
shortening/oil by cycling the main burners on for 4 seconds
and off for 30 seconds repeatedly, using the thermostat
knob. If your appliance has a Melt Cycle option, use this to
melt the shortening/oil automatically.
Operating Instructions
To ensure the quality of the food you cook in this appliance, follow the
preparation instructions from the food manufacturer. Using the best shortening/oil makes the best fried
foods. The best shortening/oil will last longer than lower grade shortening/oil and save you money. When
not in use, the shortening/oil should be cooled and covered to prevent contamination.
WARNING
This appliance has been installed using restraining devices to prevent accidental tipping or
movement. DO NOT attempt to move the appliance when it is in use or has hot liquid in it.
Splashing hot liquids can cause severe burns.

INSTALLATION/OPERATION
9
WARNING
Water and shortening/oil DO NOT mix. Keep liquids away from hot shortening/oil.
Dropping liquid frozen foods into the hot shortening/oil will cause violent boiling.
Appliance Start-Up
WARNING
DO NOT start the appliance without filling the tank with shortening/oil first!
To start up the appliance refer to the following instructions.
a. Light the pilot as previously described in this manual
b. Turn the temperature control knob (thermostat) to the desired temperature setting. This
knob is located behind the front doors or on the front control panel.
c. The main burners will light and raise the shortening/oil temperature to the desired setting.
Appliance Shutdown
There are two shutdown modes of appliance operation: STANDBY and COMPLETE. The standby mode
removes the ability of the appliances main burners to operate. Complete shutdown turns off the gas
supply to the appliance.
STANDBY Turn the thermostat to the OFF position. Turn the gas valve knob clockwise
to the PILOT position. The cooker is now in Standby and can remain this
way for only brief periods of time. NEVER leave the appliance in standby
mode for prolonged periods or overnight.
COMPLETE Turn the thermostat to the OFF position. To return the gas valve knob to the
OFF position, the knob must be depressed slightly to disengage its stop tab,
then rotated clockwise. The appliance is now completely shut down and can
be cleaned and filtered if desired.
Power Failure
CAUTION
DO NOT attempt to operate this appliance during a power outage.
Wait five minutes after the power is restored before attempting to restart the appliance. This will allow time for
any gas that may have accumulated in the burner or tubes to dissipate. To restart the appliance, follow the
appliance start up procedure in this manual.
Other manuals for 35C+
1
This manual suits for next models
1
Table of contents
Other Pitco Fryer manuals

Pitco
Pitco SG18S User manual

Pitco
Pitco 14T User manual

Pitco
Pitco Solstice SE Series User manual

Pitco
Pitco First Choice L22-282 Guide

Pitco
Pitco E24 User manual

Pitco
Pitco E400 User manual

Pitco
Pitco MG14S-C/MFD User manual

Pitco
Pitco SELV14 User manual

Pitco
Pitco E14X User manual

Pitco
Pitco SE Series User manual

Pitco
Pitco SG Series User manual

Pitco
Pitco L22-355 User manual

Pitco
Pitco 35C+ User manual

Pitco
Pitco SSHLV184 Series User manual

Pitco
Pitco 7 Guide

Pitco
Pitco E12SS User manual

Pitco
Pitco Frialator SG 14 User manual

Pitco
Pitco TURBOFRY 2000 User manual

Pitco
Pitco AG14S User manual

Pitco
Pitco SG6H User manual