manuals.online logo
Brands
  1. Home
  2. •
  3. Brands
  4. •
  5. Planet
  6. •
  7. Wireless Access Point
  8. •
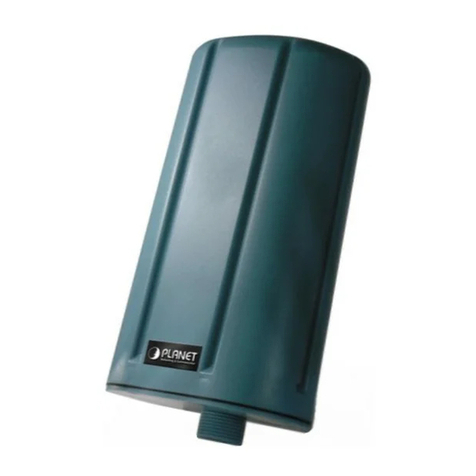
  9. Planet WBS-502AC User manual

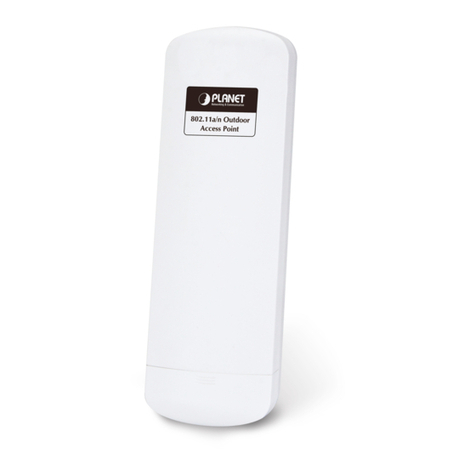
Planet WBS-502AC User manual

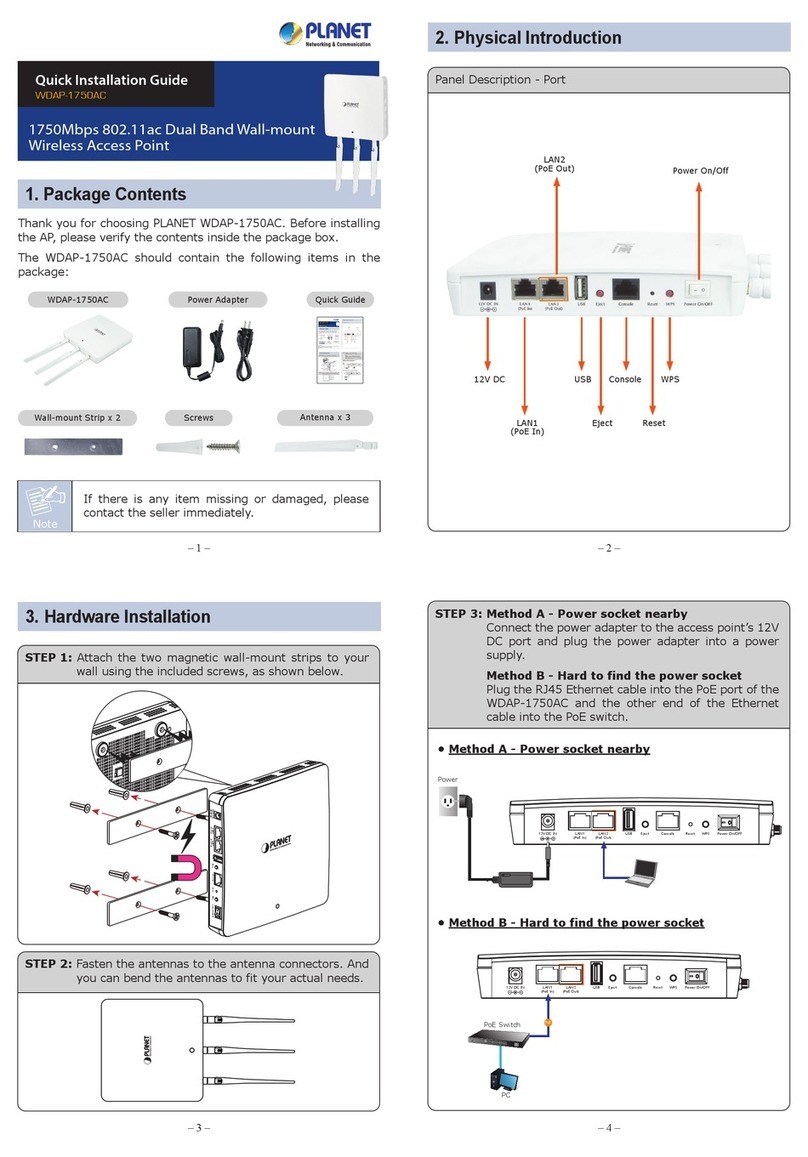
1. Package Contents
2. Physical Introduction
– 1 – – 2 –
– 3 – – 4 –
3. Hardware Installation
Hardware Description
2011-E10680-000
Step 1:
(1) Remove the bottom cover.
(2) Connect one end of the Ethernet cable into the LAN (802.3at PoE)
port of the device and the other end to the PoE port on the PoE
Injector.
(3) Connect the power cord with the PoE Injector and plug the other
end into an electrical outlet.
(4) Connect the second Ethernet cable into the LAN port of the PoE
Injector and the other end to the Ethernet port on the computer.
(5) Place the bottom cover back into the device.
WBS-502AC Quick Guide
Note
If there is any item missing or damaged, please contact the
seller immediately.
IMPORTANT SAFETY PRECAUTIONS:
1. LIVES MAY BE AT RISK! Please be aware of the
electrical wires around. Carefully read the section
"OUTDOOR INSTALLATION WARNING" in the manual
before installation.
2. Users MUST complete grounding wired with the device;
otherwise, a sudden lightning could cause fatal damage
to the device. EMD (Lightning) DAMAGE IS NOT
COVERED UNDER WARRANTY.
3. Users MUST use the “PoE Injector and Power Cord”
shipped in the box with the device. Use of other options
will cause damage to the device.
Thank you for choosing PLANET Outdoor Wireless CPE. Before installing,
please verify the contents inside the package box. The device mentioned
herein is the brief name of the "Outdoor Wireless AP/CPE".
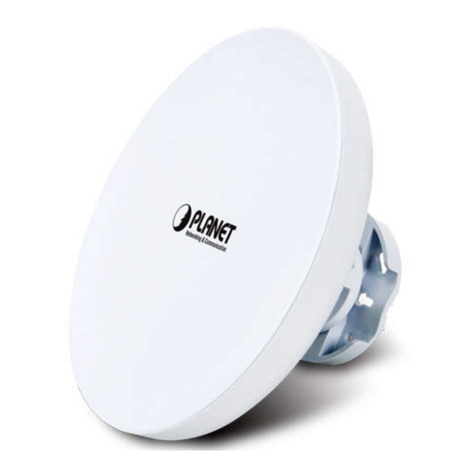
WBS-502AC
Quick Installation Guide
5GHz 900Mbps 802.11ac
Outdoor Wireless CPE
Step 2: Pole Mounting
(1) Put the rubber into the bracket.
(2) Plug the dynamic stick into the bracket.
(3) Screw the sealing nut and assemble parts, and make sure they are
well tightened.
(4) Put the lock washer on the dynamic stick.
(5) Assemble the mounting parts to the device.
(6) Thread the open end of the mounting ring through the tab on the
bracket.
(7) Lock and tighten the mounting ring to secure the bracket to the
pole to finish the installation.
– 5 – – 6 –
– 7 – – 8 –
Step 1: The Web management allows you to access and manage the
device easily. Launch the Web browser and enter the default IP
address “http://192.168.1.253”.
Step 2: When the login window appears, please enter the User Name
and the Password. The default User Name and Password are
both “admin”. Then click the Login button to continue.
For security reasons, it is recommended to change the password at the
first login and memorize it.
4. Web Login
1. Click the “Start” button located in the lower-left corner of your
computer.
2. Click “Control Panel”.
3. Double-click the “Network and Sharing Center” icon.
4. Click “Change Adapter Settings”.
5. Double-click “Local Area Connection”.
6. Select “Internet Protocol Version 4 (TCP/IPv4)” and click
“Properties”.
7. Select “Use the following IP address” and then click the “OK”
button twice to save the configuration. For example, you may choose
from 192.168.1.1 to 192.168.1.254 excluding the default IP address
of the device (192.168.1.253).
A computer with wired Ethernet connection is required for the first-time
configuration of the device.
Further Information:
The above steps introduce the simple installations and configurations of
the device. For further configurations, please refer to the user manual,
which can be downloaded from the website.
WBS-502AC:
http://www.planet.com.tw/en/support/download.php?ty
pe1=4&model=48985&type=3
If you have further questions, please contact the local dealer or
distributor where you purchased this product.
Mounting Ring x 1
Sealing Nut x 1
Step 3: Wall Mounting
(1) Put the rubber into the bracket.
(2) Plug the dynamic stick into the bracket.
(3) Screw the sealing nut and assemble parts, and make sure they are
well tightened.
(4) Put the lock washer on the dynamic stick.
(5) Assemble the mounting parts to the device.
(6) Mark and drill two pilot holes aligning to the screw holes of the
bracket.
(7) Put wall anchors into the holes and insert screw into the wall
anchor.
(8) Screw and secure the bracket in place to finish the installation.
Default IP Address: 192.168.1.253
Default User Name: admin
Default Password: admin
Default SSID: PLANET1
Step 3: After you enter into the Web User Interface, click Wireless on
the left hand side of the screen to configure the wireless
connection. Once the basic configuration of the device is done,
go to the Changes page to save and apply the changes.
Dynamic Stick x 1
Rubber x 1Screw Set x 1
Bracket x 1
PWR WLAN
LAN
Reset Button
LEDs
LAN2 (802.3af PoE Out)
LAN1 (802.3at PoE In)
67
1
2
3
4
5
1
2
3
4
5
1
1
4
2
2
3
5
To PC
6
7
8
PoE Injector & Power Cord
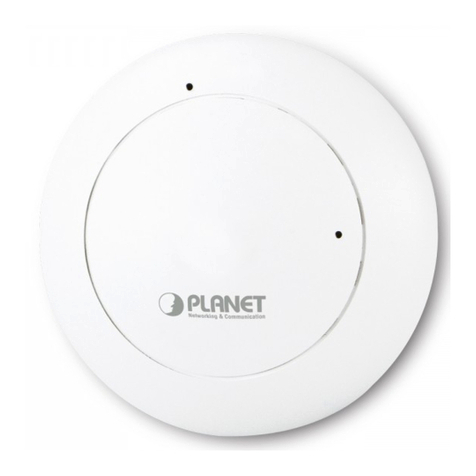
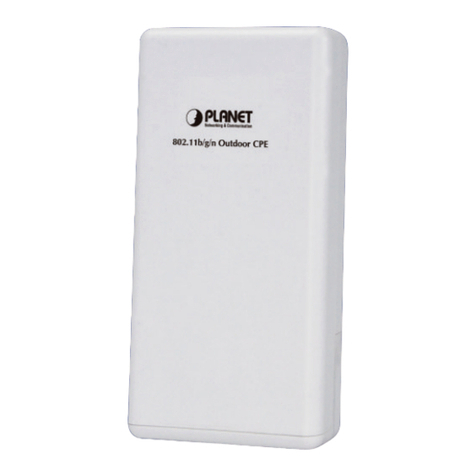
Other manuals for WBS-502AC

1

Other Planet Wireless Access Point manuals

Planet WAP-4033 User manual

Planet

Planet WAP-4033 User manual

Planet IAP-1800AX User manual

Planet

Planet IAP-1800AX User manual

Planet WNAP-W2200 User manual

Planet

Planet WNAP-W2200 User manual

Planet WAP-4035 User manual

Planet

Planet WAP-4035 User manual

Planet WNAP-C3220E User manual

Planet

Planet WNAP-C3220E User manual

Planet WNAP-6350 User manual

Planet

Planet WNAP-6350 User manual

Planet WDAP-3000AX User manual

Planet

Planet WDAP-3000AX User manual

Planet WNAP-6350 User manual

Planet

Planet WNAP-6350 User manual

Planet MAP-3120 Programming manual

Planet

Planet MAP-3120 Programming manual

Planet WNAP-3000PE User manual

Planet

Planet WNAP-3000PE User manual

Planet WDAP-C1750 User manual

Planet

Planet WDAP-C1750 User manual

Planet WAP-4036 User manual

Planet

Planet WAP-4036 User manual

Planet IAP-2000PS User manual

Planet

Planet IAP-2000PS User manual

Planet WAP-4030A User manual

Planet

Planet WAP-4030A User manual

Planet WAP-6200 User manual

Planet

Planet WAP-6200 User manual

Planet MAP-3120 User manual

Planet

Planet MAP-3120 User manual

Planet WNAP-7320 User manual

Planet

Planet WNAP-7320 User manual

Planet WNAP-7205 User manual

Planet

Planet WNAP-7205 User manual

Planet WAPC-1232HP User manual

Planet

Planet WAPC-1232HP User manual

Planet WNAP-3000PE User manual

Planet

Planet WNAP-3000PE User manual

Planet WDAP-C7200AC User manual

Planet

Planet WDAP-C7200AC User manual

Planet WDAP-702AC User manual

Planet

Planet WDAP-702AC User manual

Planet WDAP-C1800AX User manual

Planet

Planet WDAP-C1800AX User manual

Planet MAP-3100 Quick start guide

Planet

Planet MAP-3100 Quick start guide

Popular Wireless Access Point manuals by other brands

Fortinet FortiAP 112D quick start guide

Fortinet

Fortinet FortiAP 112D quick start guide

MicroNet SP918 Quick installation guide

MicroNet

MicroNet SP918 Quick installation guide

NETGEAR WAX204 installation guide

NETGEAR

NETGEAR WAX204 installation guide

On-Q/Legrand REV.O 1307877 owner's manual

On-Q/Legrand

On-Q/Legrand REV.O 1307877 owner's manual

Enterasys RoamAbout RBT-4102 installation guide

Enterasys

Enterasys RoamAbout RBT-4102 installation guide

DKT Comega HomeMesh IPLoA-MESH-AC-W quick start guide

DKT Comega

DKT Comega HomeMesh IPLoA-MESH-AC-W quick start guide

Cisco Aironet 1570 Series installation guide

Cisco

Cisco Aironet 1570 Series installation guide

EXTREMEMOBILITY AP505i installation guide

EXTREMEMOBILITY

EXTREMEMOBILITY AP505i installation guide

Allied Telesis AT-TQ6602 installation guide

Allied Telesis

Allied Telesis AT-TQ6602 installation guide

LigoWave NFT 1N Installations

LigoWave

LigoWave NFT 1N Installations

Extreme Networks ExtremeMobility AP460i installation guide

Extreme Networks

Extreme Networks ExtremeMobility AP460i installation guide

Cerio CW-400NAC user manual

Cerio

Cerio CW-400NAC user manual

H3C AR 18-3XE/18-21X Series installation manual

H3C

H3C AR 18-3XE/18-21X Series installation manual

TP-Link CAP2200 Quick installation guide

TP-Link

TP-Link CAP2200 Quick installation guide

Spotwave Z1900 user manual

Spotwave

Spotwave Z1900 user manual

MikroTik RBLtAP-2HnD&R11e-LTE&R11e-LR8 quick guide

MikroTik

MikroTik RBLtAP-2HnD&R11e-LTE&R11e-LR8 quick guide

Aruba Instant On AP11 installation guide

Aruba

Aruba Instant On AP11 installation guide

TRENDnet TEW-410APB user manual

TRENDnet

TRENDnet TEW-410APB user manual

manuals.online logo
manuals.online logoBrands
  • About & Mission
  • Contact us
  • Privacy Policy
  • Terms and Conditions

Copyright 2025 Manuals.Online. All Rights Reserved.