ANIMEO® IP MODE
7of 12
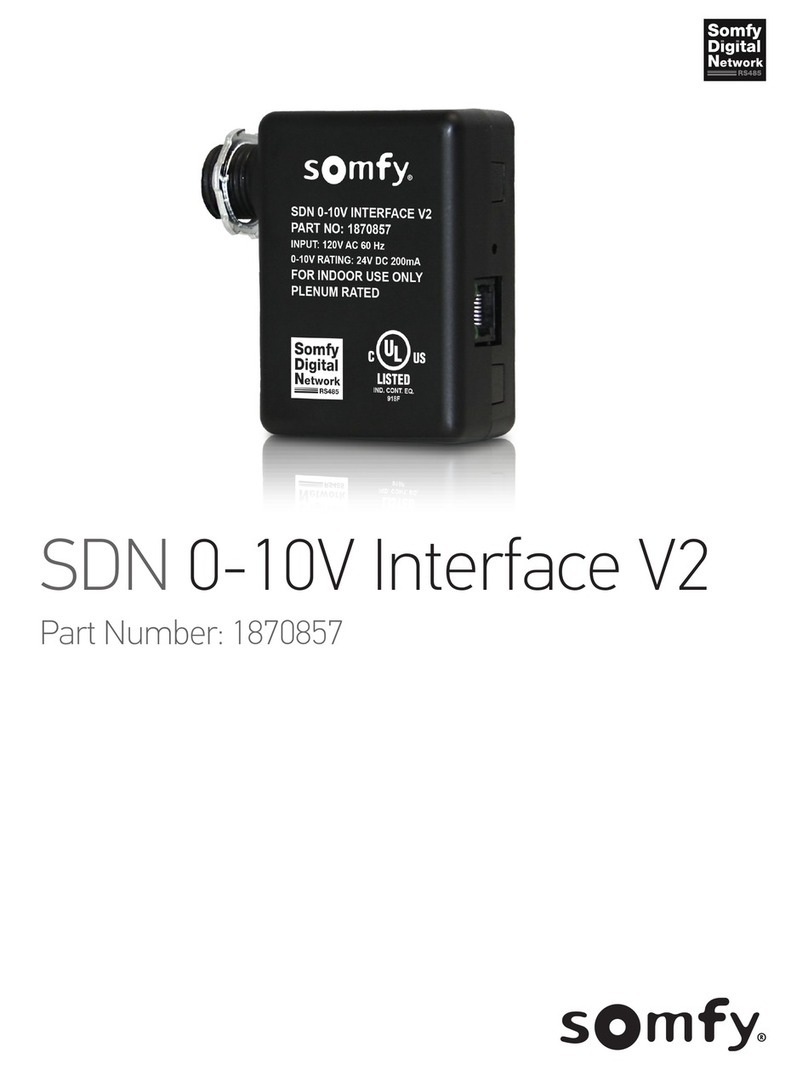
The SDN 0-10V Interface V2 integrates with animeo IP using the animeo IP Visual Configuration software. The control is discovered and
configured as a 6-Button Non-Eco Mode keypad and will move motors on the SDN bus to the full UP, full DOWN, 25%, 50%, and 75% positions
depending on the 0-10V input. Refer to Appendix A to enable animeo IP Mode.
BUTTON ACTION RESPONSE LED ACTION
Press & Release < 7 seconds
Sequence operation –Motors will travel
UP-STOP-DOWN-STOP as the button is
repeatedly pressed and released.
LED flashes once each time the button is
released. The Sequence command is sent
when the button is released.
Press & Hold 7-30 seconds
animeo Discovery –The animeo Discovery
signal is sent to the Building Controller.
Motors do not move.
LED is OFF up to 7 seconds. LED turns ON at
7 seconds, then will turn OFF once the
button is released. The Animeo Discovery
signal is sent once the button is released.
Press & Hold 30+ seconds
Software Reset –Once the button is
released, the reset will be executed.
Motors do not move.
LED begins to flash at 30 seconds and
continues flashing while the button is held.
Once the button is released the LED turns
OFF.
ANIMEO IP MODE PUSH BUTTON OPERATION
ANIMEO IP MODE CONFIGURATION
1. OPEN the DIP switch bank access door
2. SET the appropriate bus power function with the Bus Power Switch
a. Bus Power Switch -Select OFF = Left to disable Bus Power
Select ON = Right to enable Bus Power
3. SET the appropriate 0-10V control function in Bank A -Function DIP Switches (see Appendix A)
a. DIP Switch 1 -Select OFF = Up to enable Percent Position motor movements
Select ON = Down to enable Intermediate Position motor movements
b. DIP Switch 2 -Select ON = Down to enable animeo IP Mode Output
c. DIP Switch 3 -Select OFF = Up to enable Standard Operation
Select ON = Down to enable Reverse Operation
4. CLOSE the DIP Switch Bank access door
5. In the animeo IP Visual Configuration software, SELECT the Wrench icon to enter Configuration Mode
a. In the left Remotes pane, Physical remotes tab, SELECT “+” to enter the Remote Wizard
6. PRESS & HOLD the Push Button for 7-30 seconds to discover the device
7. SELECT the device in the Remote Wizard window when discovered, then SELECT “Next”
a. In the Remote name field, ENTER a device name for the area or group of motors it will control
b. In the Remote owner, purpose, located at room, and floor fields ENTER details if required
c. In the Remote ergonomy dropdown, SELECT “6 Button Decoflex Keypad Presets –No Eco”
d. SELECT “Finish” to add the device to the Physical Remote list
e. REPEAT Step 5a to add more controls
f. UPLOAD the configuration to the animeo IP Building Controller to apply changes
g. TEST the newly added device(s) -SELECT the device, then RIGHT-CLICK for Up/Stop/Down control
8. PRESS & RELEASE the Push Button to test the programmed operation
9. TEST operation from the Third-Party 0-10V output control
