manuals.online logo
Brands
  1. Home
  2. •
  3. Brands
  4. •
  5. Polly Products
  6. •
  7. Outdoor Furnishing
  8. •
  9. Polly Products 2T32 Receptacle User manual

Polly Products 2T32 Receptacle User manual

FS-2T32-CAP-02
Congratulations ! !
You have just purchased the finest recycled
plastic receptacle available. Enjoy ! ! !
Receptacle
2T32
For Fastener Pack
(FP-2T32-CU-02)
Before assembly, please make sure all components are included.
w/ 32 gal. Liner
C - ( 2 ) Two Connecting Blocks
FP - Fastener Pack
( 1 ) - One Fastener Pack
FS-2T32-CAP-02
FP-2T32-CU-02
SBA-2T32-D
BP-2T32-F
w/ 32 gal. Liner
SBA-2T32-E
D - ( 1 ) One Connecting Spacer
BP-2T32-S3
Before assembly, please make sure all fasteners are included.
FS-2T32-CAP-02
Also needed for this assembly will be the following materials:
1 - #3 Phillips Drive Bit
#12 x 2 1/2" Pan Head Phillips Screw14 -
A - ( 1 ) One Left Receptacle B - ( 1 ) One Right Receptacle
LINER-T32
LINER-T32
Before assembly, please make sure all fasteners are included.
FS-2T32-CAP-02
Also needed for this assembly will be the following materials:
1 - #3 Phillips Drive Bit
#12 x 2 1/2" Pan Head Phillips Screw14 -
*IMPORTANT NOTICE*:
·DO NOT OVER-TIGHTEN SCREWS.
·USE A DRILL WITH ADJUSTABLE TORQUE FOR
BEST RESULTS.
·OVER-TIGHTENING WILL RESULT IN STRIPPING
OUT THE PILOT HOLE, AND SCREW WILL "SINK"
INTO THE PLASTIC WHICH MAY CAUSE A
STRESS FRACTURE.
Step #1:
Take Receptacle "A", open the door
and remove the 32 gallon liner. Set
aside. Repeat for Recepacle "B".
Step #2:
Take Receptacle "A" and
place it as close as
possible to Receptacle
"B" (the sides without
panels facing each other).
FS-2T32-CAP-02
Step #3:
Align the pre-drilled holes in part "D" with the pilot holes at the base of
Receptacle "A" and "B" as shown above.
FS-2T32-CAP-02
D
Step #4:
Align the pre-drilled holes in part "C-1" to part "D" and the pilot holes in
the bottom of parts "A" & "B" as shown above. After the holes are
properly aligned, fasten with (1) One #12 x 2-1/2" Pan Head Phillips
Screw per hole.
Note: Do not tighten screws completely, this will be done at a
later step.
#12 x 2-1/2" Pan Head
Phillips Screw
FS-2T32-CAP-02
C-1
D
Step #5:
Take part "C-2" and line up the pre-drilled holes with the pilot holes
inside Receptacles "A" and "B" as shown above. With the holes aligned,
fasten (1) #12 x 2-1/2" Pan Head Phillips Screw per hole.
Note: Do not tighten screws completely, this will be done at a
later step.
#12 x 2-1/2" Pan Head
Phillips Screw
FS-2T32-CAP-02
C-2
Note:
At this point the pre-drilled holes located
at the top of Receptacle "B" and the pilot
holes in Receptacle "A" should be
aligned. (If they are not aligned, loosen
screws that were previously fastened in
Steps 4 & 5.
FS-2T32-CAP-02
#12 x 2-1/2" Pan Head
Phillips Screw
Step #6:
With the pre-drilled holes in Receptacle "B" and the pilot holes in
Receptacle "A" aligned, fasten (1) #12 x 2-1/2" Pan Head Phillips Screw
in each hole, as shown above.
Note: Be sure to tighten screws completely after this step.
Step #7:
Replace the 32 gallon liner in each receptacle.
FS-2T32-CAP-02
Step #8:
Close the doors and secure each latch. Your receptacle is now complete.
*Note: The receptacle weighs approximately 167 lbs., please use team lift
when moving.
FS-2T32-CAP-02
FS-2T32-CAP-02

This manual suits for next models

1

Other Polly Products Outdoor Furnishing manuals

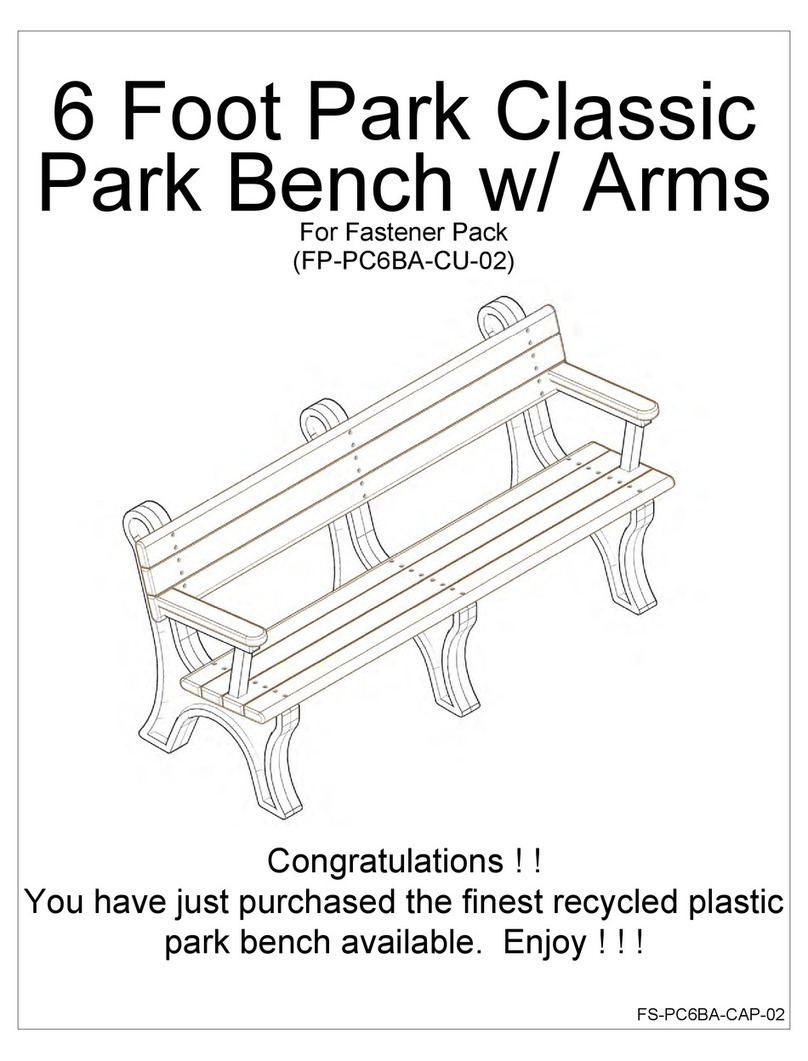
Polly Products FP-PC6BA-CU-02 User manual

Polly Products

Polly Products FP-PC6BA-CU-02 User manual

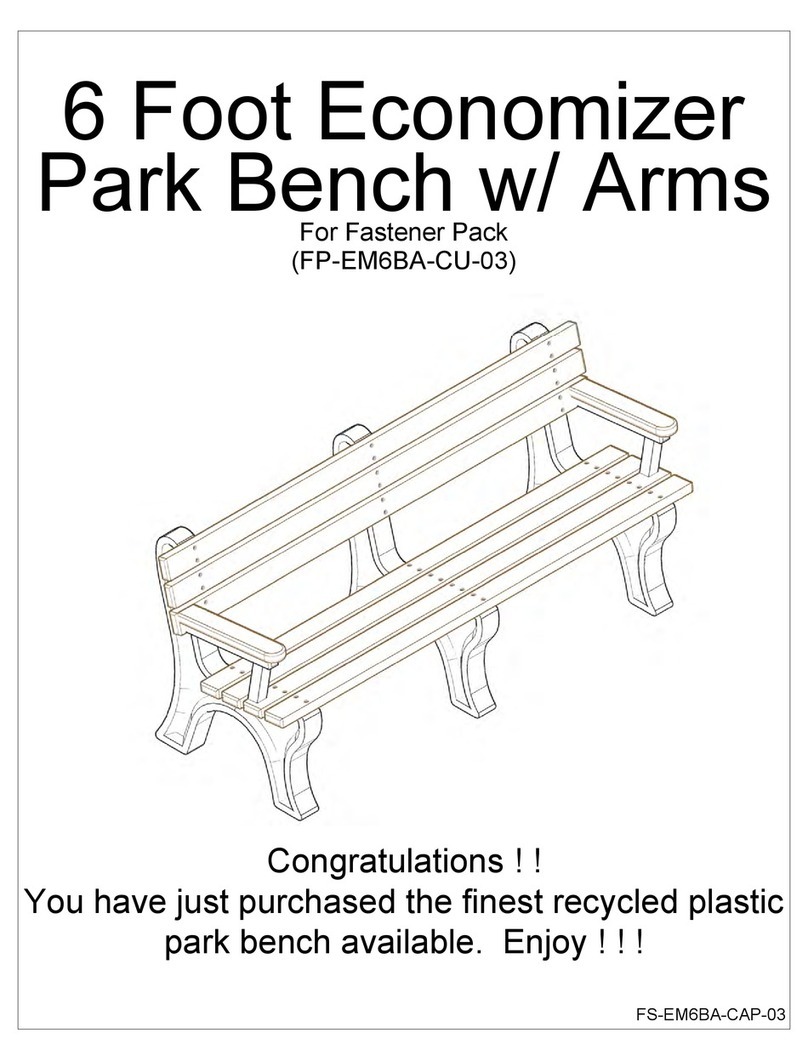
Polly Products Economizer FP-EM6BA-CU-03 User manual

Polly Products

Polly Products Economizer FP-EM6BA-CU-03 User manual

Polly Products FP-EM8BA-CU-03 User manual

Polly Products

Polly Products FP-EM8BA-CU-03 User manual

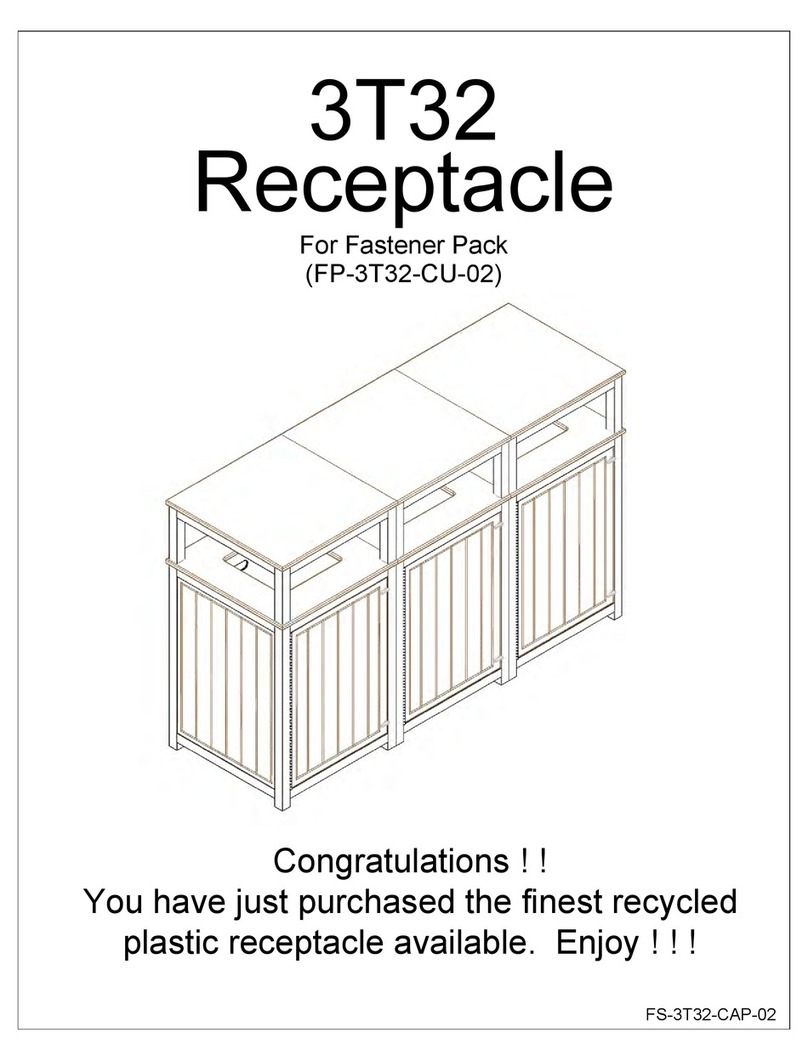
Polly Products 3T32 Receptacle User manual

Polly Products

Polly Products 3T32 Receptacle User manual

Popular Outdoor Furnishing manuals by other brands

felton industries FELEPG5T6 Assembly instruction

felton industries

felton industries FELEPG5T6 Assembly instruction

Dreamo OTF-503S quick start guide

Dreamo

Dreamo OTF-503S quick start guide

Garden Furniture Direct Borrowdale Assembly instructions

Garden Furniture Direct

Garden Furniture Direct Borrowdale Assembly instructions

Rowlinson Clarendon Assembly instructions

Rowlinson

Rowlinson Clarendon Assembly instructions

Garden Treasures 8201268 Assembly instructions

Garden Treasures

Garden Treasures 8201268 Assembly instructions

Safavieh Outdoor Marson PAT7062 quick start guide

Safavieh Outdoor

Safavieh Outdoor Marson PAT7062 quick start guide

SSC-LUXon 990070716 Assembly & operating instructions

SSC-LUXon

SSC-LUXon 990070716 Assembly & operating instructions

supremo LEISURE 2-Seat Stool 110*40cm Assembly instruction

supremo LEISURE

supremo LEISURE 2-Seat Stool 110*40cm Assembly instruction

Hatteras Hammocks DCA1-K-HH instructions

Hatteras Hammocks

Hatteras Hammocks DCA1-K-HH instructions

Lemeks Palmako PA120-5959 Assembly, installation and maintenance manual

Lemeks

Lemeks Palmako PA120-5959 Assembly, installation and maintenance manual

OLT 24 Assembly manual

OLT

OLT 24 Assembly manual

forest-style HACIENDA 2354 Building instructions

forest-style

forest-style HACIENDA 2354 Building instructions

Courtyard Creations RUS0188-WM Assembly instructions

Courtyard Creations

Courtyard Creations RUS0188-WM Assembly instructions

kingsley-bate MC-55 Assembly instructions

kingsley-bate

kingsley-bate MC-55 Assembly instructions

Weltevree Carrier product manual

Weltevree

Weltevree Carrier product manual

Grange Fencing Elite Arch Assembly instructions

Grange Fencing

Grange Fencing Elite Arch Assembly instructions

Grosfillex AUVENT YR14 Assembly instructions

Grosfillex

Grosfillex AUVENT YR14 Assembly instructions

X-METAL EAGLE 33511 Assembly instructions
X-METAL

X-METAL EAGLE 33511 Assembly instructions

manuals.online logo
manuals.online logoBrands
  • About & Mission
  • Contact us
  • Privacy Policy
  • Terms and Conditions

Copyright 2025 Manuals.Online. All Rights Reserved.