POLTI AROMA 1500DIGIT Parts list manual


AROMA 1500 DIGIT
ENGLISH
I
M
LA
B
D
E
C
J
F
G
K
O
R
Q
UV
P
T
S
N
Fig.1 Fig.2 Fig.3
Fig.4 Fig.5 Fig.6
Fig.7
J1
3
6

READING KEYS
A) Pitcher lid
B) Pitcher
C) Boiler
D) Disk filter
E) Gasket
F) Base
G) Power cable
I) Safety valve
J) Funnel filter
J1) Adapter disk for 3 cups
K) Separator disk
L) Supply tube
M) Tube gasket
N) Display
O) Time adjustment button
P) Start-up time programming button
Q) “Keep warm ” button
R) “Keep warm ” indicator light
S) “Programmed start-up” button
T) “Programmed start-up” indicator light
U) Start/stop button
V) Start/stop indicator light
This apparatus conforms with EC 89/336 direc-
tive modified by 93/68 (EMC) and 73/23 direc-
tive, modified by 93/68 ( low voltage)
POLTI S.p.A, reserves the right without prior notice to
introduce technical and construction changes as it con-
siders necessary.
P
PR
RE
EC
CA
AU
UT
TI
IO
ON
NS
S
KEEP THESE INSTRUCTIONS
• Read these instructions for use carefully before using
the appliance.
• Use which does not comply with these instructions
will invalidate the warranty.
• The wiring system to which the appliance is connect-
ed must always comply with the laws in force.
• Before connecting the appliance, make sure that the
mains voltage is the same as the voltage indicated on
the data label of the appliance and that the power out-
let is connected to earth
• Always turn off the appliance at the on/off switch
before unplugging it.
• If the appliance is left unused, always disconnect it
from the mains. Never leave the appliance unattend-
ed with the cable plugged into the mains.
• Always make sure the appliance is unplugged before
performing maintenance or cleaning of any kind.
• Do not pull the power cord out of the socket, but grasp
the plug itself to avoid damage to the socket.
• Do not allow the power cord to be twisted, crushed,
stretched, or come into contact with sharp or hot sur-
faces.
• Do not use the appliance if the power cable or other
important parts are damaged.
• Do not use electric extension leads that are not
authorized by the manufacturer, as they may cause
damage or fire.
• If it is necessary to replace the power supply cable,
please refer to the nearest Polti authorised service
centre, since the use of a special tool is necessary.
• Never touch the appliance with wet hands or feet with
the cable plugged into the mains.
• Do not use the appliance when barefoot.
• Do not use the appliance near a bathtub, shower or
container full of water
• Never immerse the appliance, the cable or the plugs
in water or any other liquid.
• Use of the appliance in places where there is a dan-
ger of explosions is prohibited.
• Do not use the product with toxic substances.
• Do not lay the hot appliance on surfaces sensitive to
heat.
• Do not leave the appliance exposed to wind or rain.
• Do not place the appliance near a live element, an
electric stove or any other source of heat.
• Do not expose the appliance to extreme temperatures
• Never let children or people who are not familiar with
how the appliance works use it.
• Do not press the buttons hard or with a pointed object
such as a pen.
• Always rest the appliance on a stable surface.
• In case of accidental fall of the appliance it is neces-
sary to have it checked by an authorized Service
Centre as the internal safety features may have been
affected.
• In case of breakdown or malfunction switch off the
appliance and never attempt to disassemble it, but
refer to an authorized Service Centre.
• In order to avoid prejudicing the safety of the appli-
ance, use only original spare parts and accessories
approved by the manufacturer.
• Do not wind the power cord around the appliance,
especially when the appliance is still hot.
• Do not put any detergent or chemical substance in
the boiler.
• This machine has been manufactured to “make cof-
fee”. Do not use other extracts, cocoa powders,
camomile, or other herb teas as they could block up
the holes in the filter.
• When using the appliance do not touch the hot sur-
faces.
• The packing elements (plastic bags, polystyrene
foam, etc.) should be kept out of the reach of children
as they are a safety hazard.
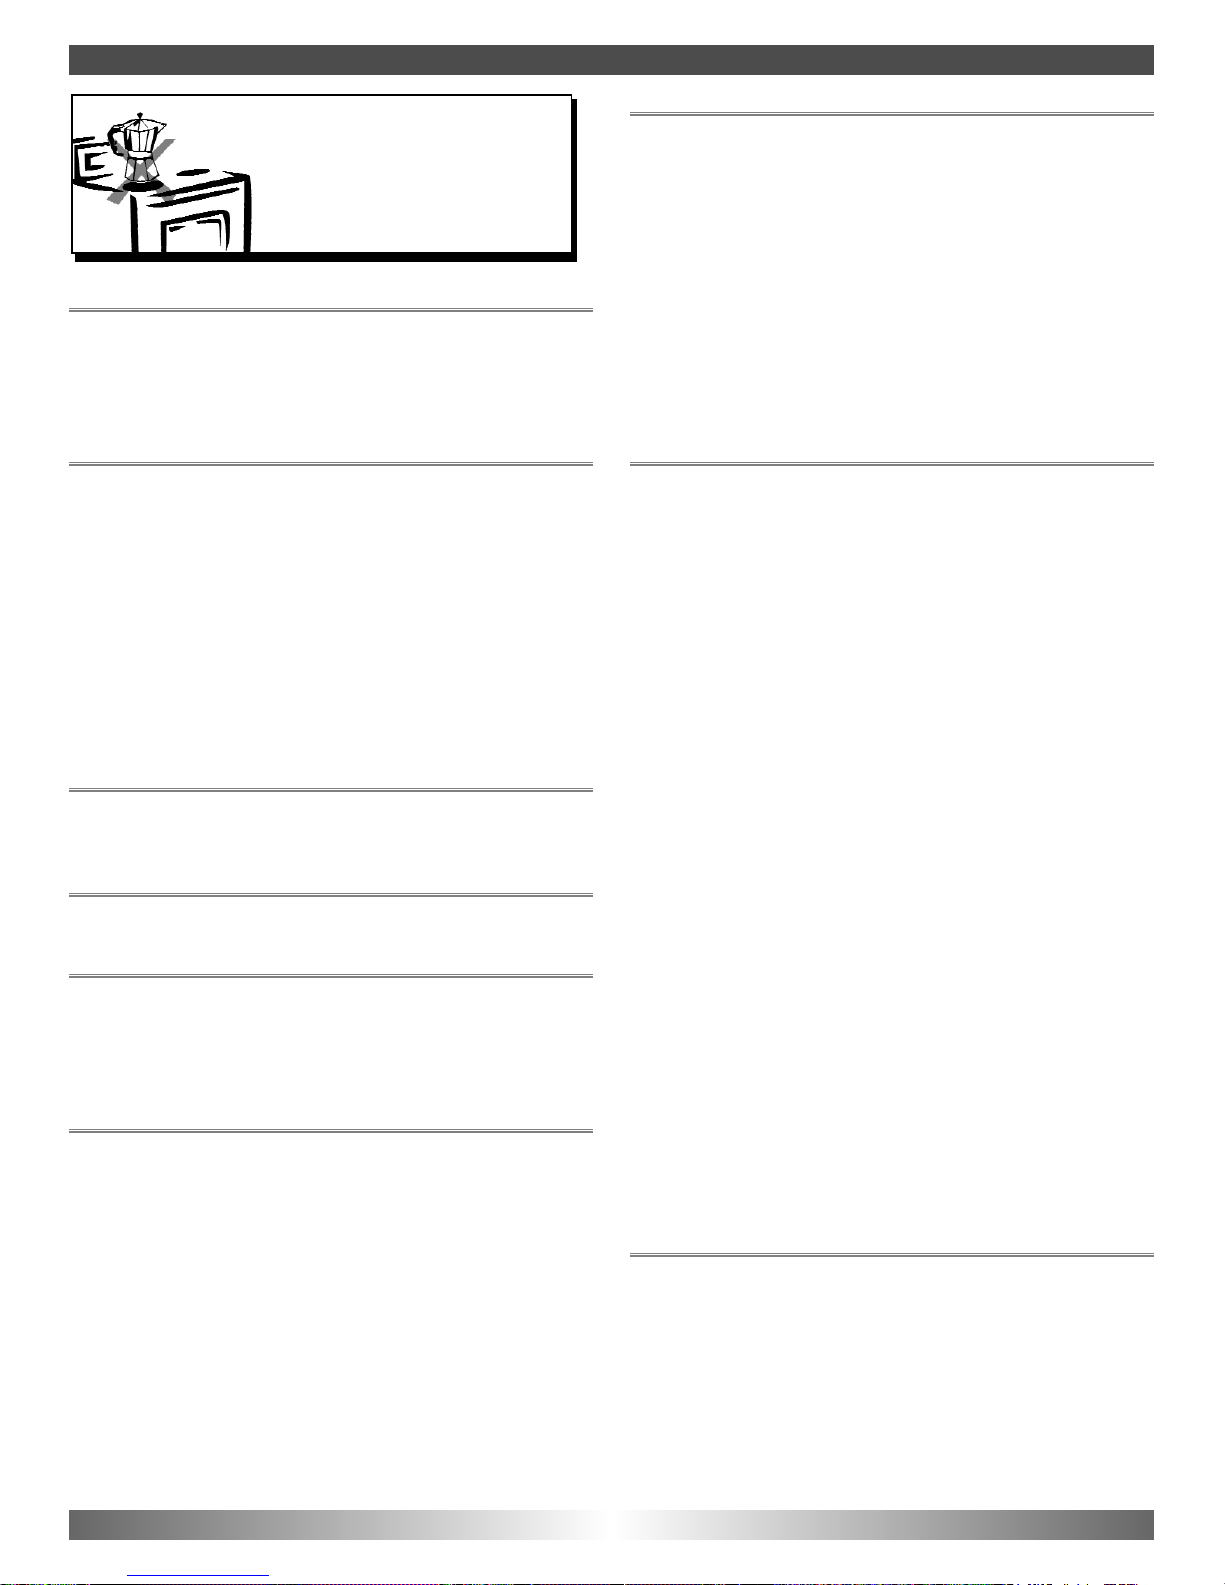
• Moka is only to be used with the stand provided.
Never rinse the boiler
under the tap and never
immerse it in water.
AROMA 1500 DIGIT
ENGLISH

C
CO
OR
RR
RE
EC
CT
T
P
PR
RO
OD
DU
UC
CT
T
U
US
SE
E
This appliance is intended for household use only
according to the descriptions and instructions contained
in this user manual. Please read these instructions care-
fully and keep them, they could be useful in the future.
W
WA
AR
RN
NI
IN
NG
GS
S
• This appliance has been built in keeping with the cur-
rent regulations on the recycling.
• It is recommended not to throw in the domestic rub-
bish the protective packaging materials used in trans-
portation but to deliver them to the appropriate col-
lecting centre.
• We recommend only the use of original spare parts.
• Polti S.p.A. disclaims all responsibility in case of
accident due to the use of this appliance which is
not in keeping with the present directions for use.
P
PL
LE
EA
AS
SE
E
N
NO
OT
TE
E
All our products are rigorously tested before leaving the
factory.
I
IN
NS
ST
TA
AL
LL
LA
AT
TI
IO
ON
N
Place the appliance on a work surface away from water.
O
OP
PE
ER
RA
AT
TI
IO
ON
N
Connect the power cable (G) to an electrical socket of
the correct voltage. The horizontal lines on the display
(N) begin to flash. Now the time can be set or coffee can
be made.
S
SE
ET
TT
TI
IN
NG
G
T
TH
HE
E
T
TI
IM
ME
E
The time can be set pressing the button (O) until the
exact start-up time appears on the display. Holding
down the button (O) the time will increase more rapidly.
5 seconds after the last button press(O), the displayed
time is memorised.
NB: The start-up time cannot be modified if
“Programmed start-up” function is active
(“Programmed start-up” indicator light(T) on). To
set the time in that case, it is necessary to defuse
the “Programmed start-up” function by pressing
button (S).
H
HO
OW
W
T
TO
O
P
PR
RE
EP
PA
AR
RE
E
T
TH
HE
E
C
CO
OF
FF
FE
EE
E
IMPORTANT:
• Do not use the coffee maker without water.
• Do not use hot water to speed up coffee making.
• Use just fresh and clean water; do not use salt waters
or waters rich in limestone as they will change the cof-
fee taste.
• Use good quality, medium-ground coffee for your
mocha coffee maker.
• The first time the coffee maker is used all the acces-
sories and the inside of the boiler should be washed
with hot water; then make and throw away a few serv-
ings of coffee before proper use for consumption.
P
PR
RE
EP
PA
AR
RI
IN
NG
G
T
TH
HE
E
C
CO
OF
FF
FE
EE
E
M
MA
AK
KE
ER
R
1. Make sure that the coffee maker has cooled down
and unscrew the pitcher (B), keeping the boiler still
(C) (fig. 1), DO NOT lever the handle upwards.
2. Take off the funnel filter (J) and fill the boiler with
fresh water.
• If you wish to prepare 6 cups of coffee, fill the boil-
er up to the notch 6.
• If you wish to prepare 3 cups instead, fill the boiler
up to the notch 3 (fig.2).
3. Insert the funnel filter (J) in the boiler (fig.3). If you
wish to prepare 3 cups, insert the adapter disk (J1)
as well in the funnel filter (J) (fig.4).
4. Fill the funnel filter (J) with ground coffee, do not
press it or exceed the filter level.
5. Distribute the ground coffee uniformly and remove
any excess of coffee from the edge of the filter.
6. Screw up the coffee maker in the opposite direction
to point 1, avoiding to lever the handle upwards.
Make sure to tighten the pitcher correctly (B) Do it
firmly but do not force it too tight (fig. 1).
7. Insert the separator disk (K) on the supply tube (L),
tongue it correctly (fig. 5). Pay attention to the arrow,
which MUST point in the same direction as the cof-
fee delivery (fig. 6).
8. Close the pitcher lid (A).
9. Rest the coffee maker on the base (F) correctly
(fig.7).
10. You can now proceed to the manual or programmed
coffee maker start- up, following the instructions
below.
M
MA
AN
NU
UA
AL
LS
ST
TA
AR
RT
T-
-U
UP
P
1a. Press the start/stop button (U). The indicator light
(V) turns on to indicate that the coffee maker is
operating.
2a. Coffee delivery will begin after a few minutes. When
all the coffee has been delivered, the start/stop indi-
cator light (V) turns off and the writing “END”
appears on the display together with 5 beeps.
3a. To remove the writing “END” just press any button.
The coffee maker must be
operated exclusively by plug-
ging into the electrical supply
and never by resting it on lit
gas rings or hot plates.
AROMA 1500 DIGIT
ENGLISH

P
PR
RO
OG
GR
RA
AM
MM
ME
ED
D
S
ST
TA
AR
RT
T-
-U
UP
P
It’s possible to set the start-up and coffee preparation
time desired by the timer.
1b. To programme the desired start-up time, press the
start-up programming button (P) and hold it. Now, to
set the time, hold the start-up programming button
(P) until the exact start-up time appears on the dis-
play.
• Holding down the button (P) the time will increase
more rapidly.
• During programming the legend “Prog” appears.
• 5 seconds after the last button is pressed (P), the dis-
played time is memorized.
The programmed time can be displayed at any moment
by pressing the(P) button.
2b. Press the programmed start-up button (S), the pro-
grammed start-up indicator light (T) turns on and
indicates that the programmed start-up function is
activated.
3b. At the programmed time, the appliance emits a
series of beeps and the programmed start-up indi-
cator light (T) turns off. At the same time the
start/stop indicator light turns on (V) and the coffee
maker starts functioning.
4b. Coffee delivery will begin after a few minutes. When
all the coffee has been delivered, the start/stop indi-
cator light (V) turns off, and the writing”END”
appears on the display accompanied by three
beeps.
5b. To remove the writing “END” just press any button.
NB:The time can not be modified if “programmed
start-up” is active(“programmed start-up” indicator
light (T) turned on). To set the time in that case you
must defuse the “programmed start-up”function by
pressing button(S).
K
KE
EE
EP
P-
-W
WA
AR
RM
M
F
FU
UN
NC
CT
TI
IO
ON
N
Keeps warm: for 30 minutes coffee is maintained at the
right temperature.
To programme that function just hold the button (Q). The
lighting-up of the indicator light (R) shows that the “keep
warm” function is active. To defuse it just press button
(Q) again.
N.B: The "keep warm " function starts automatically
together with the programmed start-up. To activate
it with the manual start-up it's necessary to push
the button (Q).
N
NO
O
W
WA
AT
TE
ER
R
I
IN
N
T
TH
HE
E
B
BO
OI
IL
LE
ER
R
If there is no water in the boiler, the writing “H2O”
appears on the display together with a long beep.
If the coffee maker has not been positioned correctly on
the base, after the start/stop button (U) has been
pressed, the coffee maker will act as if there is no water
in the boiler.
S
SE
EP
PA
AR
RA
AT
TO
OR
R
D
DI
IS
SK
K
(
(K
K)
)
F
FU
UN
NC
CT
TI
IO
ON
N
The separator disk allows to create a “double room”
within the pitcher lid (B).
The “double room” permits to keep the coffee tempera-
ture constant longer, and to maintain unchanged the
coffee’s organic properties.
G
GE
EN
NE
ER
RA
AL
LM
MA
AI
IN
NT
TE
EN
NA
AN
NC
CE
E
A
AD
DV
VI
IC
CE
E
• Always unplug the power cable from the electricity
before doing any appliance maintenance or cleaning.
• Make sure that the appliance has cooled down after
use before doing any maintenance or cleaning.
• Every so often clean the inside of the supply tube (L)
letting clean hot water run through it.
• Regularly check the disk filter (D), the gasket (E) and
the tube gasket (M). Replace only with original spare
parts if there are signs of wear or deterioration.
• Periodically check that the holes in the disk filter (D)
are not blocked. Clean it with a pin if necessary.
• Do not wash any coffee maker part in the dishwash-
er.
• Do not use acids or solvents to clean the exterior of
the appliance outside, just a damp cloth, making sure
that the water does not wet the electrical parts of the
appliance.
•Never rinse the boiler under the tap and never
immerse it in water.
AROMA 1500 DIGIT
ENGLISH

AROMA 1500 DIGIT
ENGLISH
T
TR
RO
OU
UB
BL
LE
ES
SH
HO
OO
OT
TI
IN
NG
G
Problem Cause Solution
No coffee is released No water in the boiler Fill the boiler with fresh water
The coffee takes a long time
to be released
The coffee used is not the right type
The disk filter is blocked.
The coffee has been pressed.
Scale presence into the boiler
Use ground coffee for Mocha coffee maker
Clean the disk filter as described in the
“General maintenance advice” paragraph.
Do not press the ground coffee.
Remove the scale from the lower vessel
Coffee leaks from the edges
of the boiler.
The disk filter is blocked
The gasket is burned or torn
The coffee maker has not been started
correctly.
Clean the disk filter as described in the
“General maintenance advice” paragraph.
Replace the gasket.
Start the coffee maker correctly.
The writing “H2O” appears
on the display and the appli-
ance emits a long beep.
No water in the boiler
The coffee maker has not been rested
correctly on the base.
The boiler is hot.
Fill the boiler with fresh water.
Insert correctly the coffee maker on the
base.
Let the boiler cool down and use fresh water.
20 minutes after the applian-
ce has been started, coffee
has not been delivered yet:
on the display appears the
writing END and the
appliance emits a long
beep.
Coffee passage blocked.
Possible problem with the electronic
card.
Stop the beeper by pushing any button and
free the passage as described for the pro-
blem" the coffee takes a long time to be
released".
Stop the beeper by pushing any button and
ask immediately for assistance to an autho-
rized after-sale service center.

AROMA 1500 DIGIT
ENGLISH
FOR YOUR OWN SAFETY READ FOLLOWING INSTRUCTIONS CAREFULLY BEFORE ATTEMPTING TO
CONNECT THIS UNIT TO THE MAINS.
M
MA
AI
IN
NS
S
(
(A
AC
C)
)
O
OP
PE
ER
RA
AT
TI
IO
ON
N
This unit is designed to operate on 240V, 50 Hz current only. Connecting it to other power sources may damage the
unit.
WARNING - This appliance must be earthed.
This appliance may be fitted with a non-rewireable plug, if it is necessary to change the fuse in a non-rewireable plug
the fuse cover must be refitted. If the fuse cover is lost or damaged, the plug must not be used until a replacement,
available from the appliance manufacturer, is obtained. It is important that the colour of the replacement fuse cover
corresponds with the colour marking on the base of the plug.
If the plug needs to be changed because it is not suitable for your socket, or becomes damaged, it should be cut off
and an appropriate plug fitted following the wiring instruction (below). The plug removed must be disposed of safe-
ly as insertion into a 13A socket is likely to cause an electrical hazard.
IMPORTANT
These wires in this mains lead are coloured in accordance with the following code.
• Green-and-yellow: Earth
• Blue: Neutral
• Brown: Live
As the colours of the wires in the mains leads of this appliance may not correspond with the coloured markings iden-
tifying the terminals in your plug, proceed as follows: The wire which is coloured green-and-yellow must be connect-
ed to the terminal in the plug which is marked with the letter "E" or by the earth symbol or green-and-yellow.
The wire which is coloured blue must be connected to the terminal which is marked with the letter "N" or coloured
black.
The wire which is coloured brown must be connected to the terminal which is marked with the letter "L" or coloured
red.
GREEN
&
YELLOW
(Earth)
BLUE
(Neutral)
FUSE
(13 amp)
BRAWN
(Live)
Table of contents
Other POLTI Coffee Maker manuals

POLTI
POLTI CAPRI User manual

POLTI
POLTI Cosmo User manual

POLTI
POLTI AROMA MICHELANGELO User manual

POLTI
POLTI ESPRESSO 2000 Parts list manual

POLTI
POLTI ESPRESSO 3000 Parts list manual

POLTI
POLTI COFFEA CS150W User manual

POLTI
POLTI CAPPUCCI User manual

POLTI
POLTI AROMA CATERING Parts list manual

POLTI
POLTI LUPIN THE 3rd User manual

POLTI
POLTI CAPUCCI M0S10575 User manual
Popular Coffee Maker manuals by other brands

Philips
Philips Cafe Delice HD7612 instructions

Siemens
Siemens CT636LE Series installation instructions

Silvercrest
Silvercrest Cafetera SKAD 1000 A1 operating instructions

Scarlett
Scarlett Silver Line SL-1552 instruction manual

DèLonghi
DèLonghi Creativa Plus user manual

TurboTronic
TurboTronic ZESPRESSO TT-CM23 instruction manual