manuals.online logo
Brands
  1. Home
  2. •
  3. Brands
  4. •
  5. POLTI
  6. •
  7. Coffee Maker
  8. •
  9. POLTI CREMA EXPRESS Parts list manual

POLTI CREMA EXPRESS Parts list manual

®
1
2
3
4
5
8
10
6
9
7
7a
11
Fig.2Fig.1
LEGEND
1) Water reservoir
2) Reservoir lid
2a) Intake tube
3) Main switch
4) On/off indicator light
5) “Out of water” light
6) Coffee dispenser
7) Capsule compartment
7a) Capsule compartment door
8) Dispenser switch
9) Capsule collection drawer
10) Power supply cable
11) Water filter
12) Drip tray
This unit conforms with EC-directives 89/336 as amen-
ded by 93/68 (EMC) and 73/23 as amended by 93/68
(low voltage).
Polti S.p.A. reserves the right to change equipment or accesso-
ry specification without prior notice.
P
PR
RE
EC
CA
AU
UT
TI
IO
ON
NS
S
KEEP THESE INSTRUCTIONS
• Read these instructions for use carefully before using the ap-
pliance.
• Any use which does not comply with these instructions will in-
validate the warranty.
• The wiring system to which the appliance is connected must
always comply with the laws in force.
• Before connecting the appliance, make sure that the mains
voltage is the same as the voltage indicated on the data label
of the appliance and that the power outlet is connected to
earth.
• Always turn off the appliance at the on/off switch before un-
plugging it.
• If the appliance is left unused, always disconnect it from the
mains. Never leave the appliance unattended with the cable
plugged into the mains.
• Always make sure the appliance is unplugged before perform-
ing maintenance work of any kind.
• Do not pull the power cable out of the socket, but grasp the
plug itself to avoid damage to the socket.
• Do not allow the power cable to be twisted, crushed,
stretched, or come into contact with sharp or hot surfaces.
• Do not use the appliance if the power cable or other important
parts are damaged.
• Do not use electric extension leads that are not authorized by
the manufacturer, as they may cause damage or fire.
• f it is necessary to replace the power supply cable, please re-
fer to the nearest authorised service centre, since the use of a
special tool is necessary.
• Never touch the appliance with wet hands or feet with the ca-
ble plugged into the mains.
• Do not use the appliance when barefoot.
• Do not use the appliance near a bathtub, shower or container
full of water.
• Never immerse the appliance, the cable or the plugs in water
or another liquid.
• Use of the appliance in places where there is a danger of ex-
plosions is prohibited.
• Do not use the product with toxic substances.
• Do not lay the hot appliance on surfaces sensitive to heat.
• Do not leave the appliance exposed to wind or rain.
• Do not place the appliance near a live element, an electric
stove or any other source of heat.
• Do not expose the appliance to extreme temperatures.
• Never let children or people who are not familiar with how the
appliance works use it.
• Do not press the buttons hard or with a pointed object such as
a pen.
• Always rest the appliance on a stable surface.
• In case of accidental fall of the appliance it is necessary to
have it checked by an authorized Service Centre as the inter-
nal safety features may have been affected.
• In case of breakdown or malfunction switch off the appliance
and never attempt to disassemble it, but refer to an authorized
Service Centre.
• In order to avoid prejudicing the safety of the appliance, use
only original spare parts and accessories approved by the
manufacturer.
• Do not wind the power cable around the appliance, especially
when the appliance is still hot.
• It is necessary to keep the unit in horizontal position during op-
eration.
• Check that there is water in the reservoir before turning on the
machine.
• Always fill the water reservoir with cold clean water. Do not
use mineral water, distilled water, milk or any other liquid.
• During refilling with water, switch off and disconnect the appli-
ance from the mains.
• Do not wash coffee machine accessories in the dishwasher.
• The presence of water in the used capsule drawer is normal
and is due to emptying of the circuit after making each cup.
C
CO
OR
RR
RE
EC
CT
T
U
US
SE
E
O
OF
F
T
TH
HE
E
P
PR
RO
OD
DU
UC
CT
T
This appliance is intended for use in accordance with the de-
scriptions and instructions contained in this manual. Please read
the instructions carefully and keep them, as they could be useful
to you in the future.
Polti declines liability for any damage or accident derived
from any use of this appliance which is not in conformity
with the instructions contained in this booklet.
A
AT
TT
TE
EN
NT
TI
IO
ON
N
Directive 2002/96/EC (Waste Electrical and Electronic Equip-
ment - WEEE): information for users
This product complies with EU Directive 2002/96/EC. The
crossed-out wastebasket symbol on the appliance means that at
the end of its useful lifespan, the product must be disposed of
separately from ordinary household wastes.
The user is responsible for delivering the appliance to an appro-
priate collection facility at the end of its useful lifespan. Appro-
priate separate collection to permit recycling, treatment and en-
vironmentally compatible disposal helps prevent negative impact
on the environment and human health and promotes recycling of
the materials making up the product. For more information on
available collection facilities, contact your local waste collection
service or the shop where you bought this appliance.
T
TH
HE
E
C
CA
AP
PS
SU
UL
LE
E
S
SY
YS
ST
TE
EM
M
The machine is designed exclusively for use with the "Aroma
Polti" capsule system. Each capsule contains just the right
amount and just the right grind to obtain the best espresso cof-
fee in a few seconds. The wrapper on the capsule is made of
polypropylene, an excellent material for use in contact with food-
stuff. It is hygienic, convenient, and very resistant to high tem-
peratures.
The capsule system is not only very convenient and easy to use,
it guarantees all the freshness and aroma of freshly roasted cof-
fee, so that you can enjoy your favourite blend.
S
ST
TA
AR
RT
T-
-U
UP
P-
-
P
PR
RE
EP
PA
AR
RA
AT
TI
IO
ON
N
O
OF
F
T
TH
HE
E
M
MA
AC
CH
HI
IN
NE
E
• Carefully remove the machine and the accessories from the
package.
• Open the lid, remove the water reservoir (1) (fig.1) and wash it
with clean cold water.
• Apply the water filter (11) to the end of the intake tube (2a),
leaving it resting on the bottom of the reservoir (fig.2).
• Fill the reservoir (1) with clean cold water only, put it back into
the machine and close the lid. Do not fill the reservoir with car-
bonated water or any other liquid.
• WARNING: the capsule is automatically pushed into the
compartment when the door (7a) is closed, pushing it as
far as it will go. Never push the capsule in with your fin-
gers.
E
EN
NG
GL
LI
IS
SH
H
• Insert the plug (10) into a suitable earthed power socket.
• Turn on the appliance by pressing the main switch (3). The on
indicator light will come on (4).
• The machine will be ready for use about 2 minutes after it is
turned on.
NOTE: appliance can be used without the water filter (11) pro-
vided bottled drinking water (from a source) is used (not tapwa-
ter).
WARNING: The first time you use the appliance, and whenever
you change the water filter (11), it is important to do a washing
cycle using the empty capsules provided for this purpose so that
the new filter may be filled, as described in the "MAINTE-
NANCE" section. To speed up this procedure, you can leave the
new filter to soak in the reservoir for about 30 minutes before us-
ing the appliance.
M
MA
AK
KI
IN
NG
G
C
CO
OF
FF
FE
EE
E
• Put a cup under the coffee dispenser (6).
• Open the capsule compartment door (7a) and put a capsule in
the compartment (7), in the position suggested by its shape
(fig.3).
• Close the door again, pushing it all the way.
• Turn the dispenser switch (8) to the " " position. To stop dis-
pensing coffee, turn the switch back to "STOP". In this way
you can make longer or shorter coffee, as you wish, by con-
trolling the amount dispensed.
• The used capsule automatically falls into the drawer provided
(9) when a new one is placed in the compartment (7).
Empty the used capsule drawer frequently to ensure that
used capsules do not block the exit passage.
NOTE: before switching on the appliance at the switch (8), make
sure that you have inserted the capsule for the drink you wish to
make, or an empty capsule if you intend to clean the appliance.
If you have not placed any capsule in it, the water that is dis-
pensed will not come out of the coffee dispenser (6) but fall into
the used capsule drawer (9).
M
MA
AI
IN
NT
TE
EN
NA
AN
NC
CE
E
• Always unplug the appliance before performing any mainte-
nance operations.
• Clean the outside of the appliance with a damp cloth only.
Never use solvents or detergents, as they could damage the
plastic surface.
• Use the empty capsules provided in the package to clean the
infusion parts of the machine at least once every 2 or 3 days.
This operation must not be performed using the same capsule
more than five times. When you have finished using all the
empty capsules provided (about 10 cleaning cycles), you can
use a used coffee capsule instead. Simply remove the paper
that seals the capsule, then empty and clean the capsule.
Clean the machine by operating it as you would for making a
drink.
• Replace the water filter for purifying cold water (11) about
every 500/600 cups (about every 3 to 4 months, if you make
an average of 6 cups of coffee a day).
• Empty and clean the drip tray (12) regularly, by removing it
from its housing.
T
TR
RO
OU
UB
BL
LE
ES
SH
HO
OO
OT
TI
IN
NG
G
PROBLEM CAUSE SOLUTION
On indicator light (4)
off and “out of water”
light (5) off.
The appliance is not
plugged in
Main switch (3) off
Plug the power cable
into a suitable power
outlet
Turn on the main
switch
On indicator light (4)
on and “out of water”
light (5) on.
The water reservoir
(1) is empty or incor-
rectly inserted.
Fill the water reservoir
(1).
Check that the reser-
voir has been inserted
correctly.
On indicator light (4)
on and “out of water”
light (5) on when
making coffee.
The water reservoir
(1) is empty.
Interrupt the process
of making coffee, fill
the reservoir, put in a
new capsule and start
making coffee again.
The used capsule dra-
wer (9) does not close
(do not force it)
The drawer is full of
used capsules
Empty the drawer and
put it back in the
appliance.
The appliance appe-
ars to work properly,
but it does not make
coffee
No capsule in the
compartment.
Empty capsule for
cleaning present in
the compartment.
Put the correct capsu-
le in the compartment
and repeat the pro-
cess.
• WARNING: the capsule is automatically pushed into the
compartment when the door (7a) is closed, pushing it as
far as it will go. Never push the capsule in with your fin-
gers.

Other POLTI Coffee Maker manuals

POLTI COFFEA CS150W User manual

POLTI

POLTI COFFEA CS150W User manual

POLTI ESPRESSO 3000 Parts list manual

POLTI

POLTI ESPRESSO 3000 Parts list manual

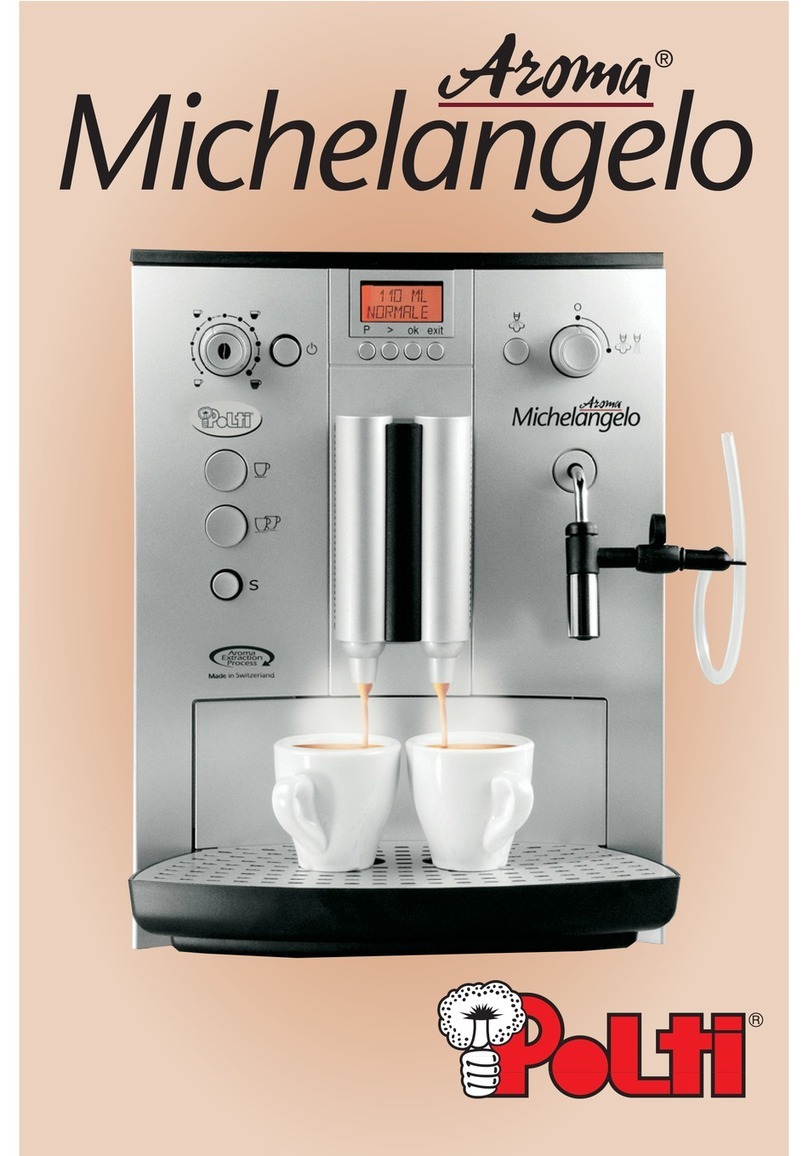
POLTI AROMA MICHELANGELO User manual

POLTI

POLTI AROMA MICHELANGELO User manual

POLTI CAPUCCI M0S10575 User manual

POLTI

POLTI CAPUCCI M0S10575 User manual

POLTI aEspresso Crema User manual

POLTI

POLTI aEspresso Crema User manual

POLTI LUPIN THE 3rd User manual

POLTI

POLTI LUPIN THE 3rd User manual

POLTI ESPRESSO 2000 Parts list manual

POLTI

POLTI ESPRESSO 2000 Parts list manual

POLTI ESPRESSO User manual

POLTI

POLTI ESPRESSO User manual

POLTI CAPRI User manual

POLTI

POLTI CAPRI User manual

POLTI AROMA 850 Parts list manual

POLTI

POLTI AROMA 850 Parts list manual

POLTI Aroma Rafaello User manual

POLTI

POLTI Aroma Rafaello User manual

POLTI AROMA CATERING Parts list manual

POLTI

POLTI AROMA CATERING Parts list manual

POLTI TRIS AROMA User manual

POLTI

POLTI TRIS AROMA User manual

POLTI @ESPRESSO Crema Parts list manual

POLTI

POLTI @ESPRESSO Crema Parts list manual

POLTI AROMA 1500DIGIT Parts list manual

POLTI

POLTI AROMA 1500DIGIT Parts list manual

POLTI CAPPUCCI User manual

POLTI

POLTI CAPPUCCI User manual

POLTI Cosmo User manual

POLTI

POLTI Cosmo User manual

Popular Coffee Maker manuals by other brands

Black & Decker Home Cafe GT300 Series Use and care book

Black & Decker

Black & Decker Home Cafe GT300 Series Use and care book

Kees van der Westen Slim Mirage user manual

Kees van der Westen

Kees van der Westen Slim Mirage user manual

Fisher & Paykel EB60DSXB2 installation guide

Fisher & Paykel

Fisher & Paykel EB60DSXB2 installation guide

Cuisinart PRC-4 Series Instruction booklet

Cuisinart

Cuisinart PRC-4 Series Instruction booklet

Saeco MAGIC M2 Operation and maintenance manual

Saeco

Saeco MAGIC M2 Operation and maintenance manual

Russell Hobbs 12693 instructions

Russell Hobbs

Russell Hobbs 12693 instructions

Bunn SLCC-6 Installation & operating manual

Bunn

Bunn SLCC-6 Installation & operating manual

Sunbeam EMM2900 user guide

Sunbeam

Sunbeam EMM2900 user guide

Livoo DOD174 user manual

Livoo

Livoo DOD174 user manual

Saeco 711446711 operating instructions

Saeco

Saeco 711446711 operating instructions

Gaggia 10002982 user manual

Gaggia

Gaggia 10002982 user manual

Philips Senseo Viva Café Service manual

Philips

Philips Senseo Viva Café Service manual

1000espressos MAXIMA XL instructions

1000espressos

1000espressos MAXIMA XL instructions

LAVAZZA Blue LB2200 Instructions for installation and use

LAVAZZA

LAVAZZA Blue LB2200 Instructions for installation and use

SOLAC CE4491 Instructions for use

SOLAC

SOLAC CE4491 Instructions for use

Glacial 8LCH-KK-SSS-5i user manual

Glacial

Glacial 8LCH-KK-SSS-5i user manual

La Rocca Expres JAVA-Pro user guide

La Rocca Expres

La Rocca Expres JAVA-Pro user guide

DeLonghi Coffee machine Owner's instructions

DeLonghi

DeLonghi Coffee machine Owner's instructions

manuals.online logo
manuals.online logoBrands
  • About & Mission
  • Contact us
  • Privacy Policy
  • Terms and Conditions

Copyright 2025 Manuals.Online. All Rights Reserved.