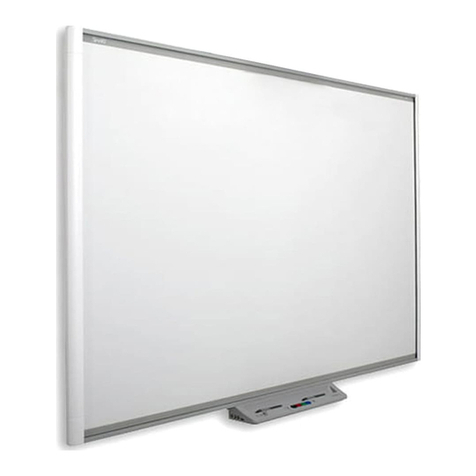
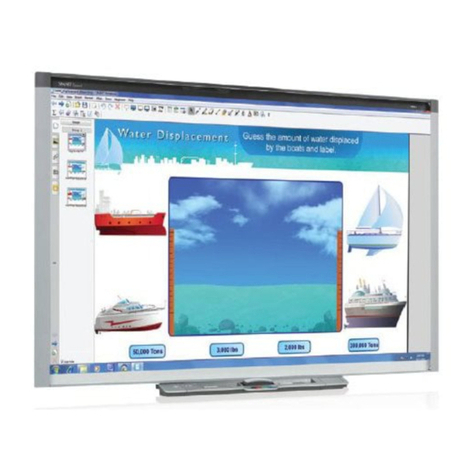
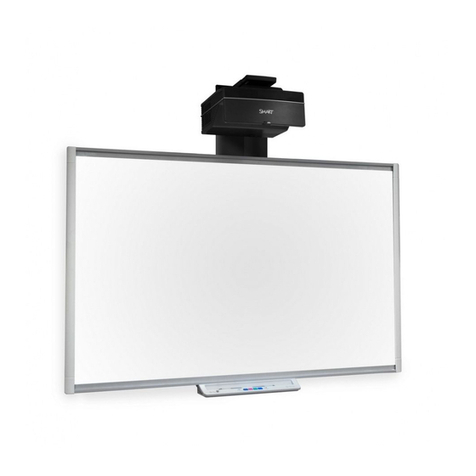
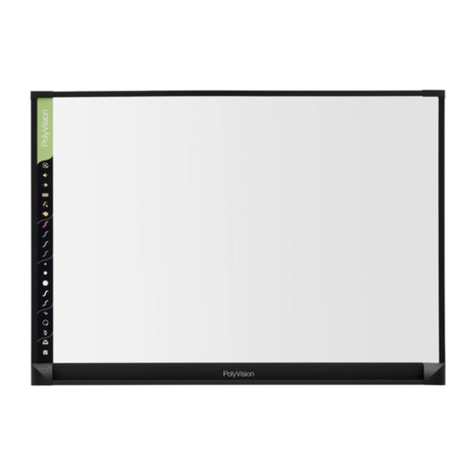
PolyVision eno Operating instructions

Interactive Whiteboard
Installation and Operation Guide
Part number 370-0257-05
©2009 Pol Vision Corporation
All rights reserved

Table of contents
Overview ................................................................................................ 3
Register our whiteboard..................................................................... 4
Preparing the ēno whiteboard for use ...................................................... 5
Install the whiteboard........................................................................... 5
Control icon mounting options ............................................................. 5
Prepare the ēno st lus.........................................................................5
Prepare our computer........................................................................ 6
Driver installation.............................................................................. 6
Pairing the ēno
st lus and our computer..........................................7
Getting started with our projector....................................................9
Using our ēno whiteboard.................................................................... 11
The ēno whiteboard control icons ...................................................... 11
LED status summar ......................................................................... 13
Care and maintenance.......................................................................... 14
Replacing the ēno st lus tip ............................................................... 14
How to obtain replacement parts ....................................................... 14
Technical support.............................................................................. 14
FCC compliance ............................................................................... 14
CE compliance.................................................................................. 15
WEEE compliance............................................................................. 15
Appendix 1: Bluetooth pairing options ................................................... 16
Pairing with the Pol Vision Bluetooth adapter ..................................... 16
Pairing with Windows or Apple built-in Bluetooth ................................ 17
Pairing with third-part Bluetooth ....................................................... 18
Warrant .............................................................................................. 20
Index.................................................................................................... 23

Overview
Pol Vision 3
Overview
Congratulations on our purchase of a Pol Vision® ēno™ interactive
whiteboard.
This manual describes how to install and use the ēno interactive
whiteboard. For more information about the Pol Vision driver that ou
install on our computer, refer to the
Pol Vision Driver User Guide
which is
installed along with the Pol Vsion driver.
To view the user guide in Windows:
• Click “Start” in the lower left corner of our desktop, choose
“Programs,” then “Pol Vision,” and then “Pol Vision Driver User Guide.”
To view the user guide on a Macintosh:
• Navigate to the “Applications” folder on our start-up disk, and double-
click “Pol Vision Driver User Guide” in the Pol Vision folder.

Overview
4 Installation and Operation Guide
Register our whiteboard
B registering our product, ou will receive enhanced customer service
with information on software upgrades.
To register our product:
•Register on-line at:
www.pol vision.com/support/register.asp

Preparing the ēno whiteboard for use
Pol Vision 5
Preparing the ēno whiteboard for use
Install the whiteboard
To mount the ēno
whiteboard, follow the instructions provided in the ēno
Installation Quick Reference Guide
.
Two people are needed for portions of this installation.
When ou install the whiteboard, ou can mount it to: sheetrock, brick,
cinderblock, plaster, or metal.
Control icon mounting options
The ēno interactive whiteboard includes control icons that provide ke
features and functions when ou tap them with the ēno st lus. The control
icon strip can be mounted an where, including on the whiteboard b
pressing the magnetic backing to the board.
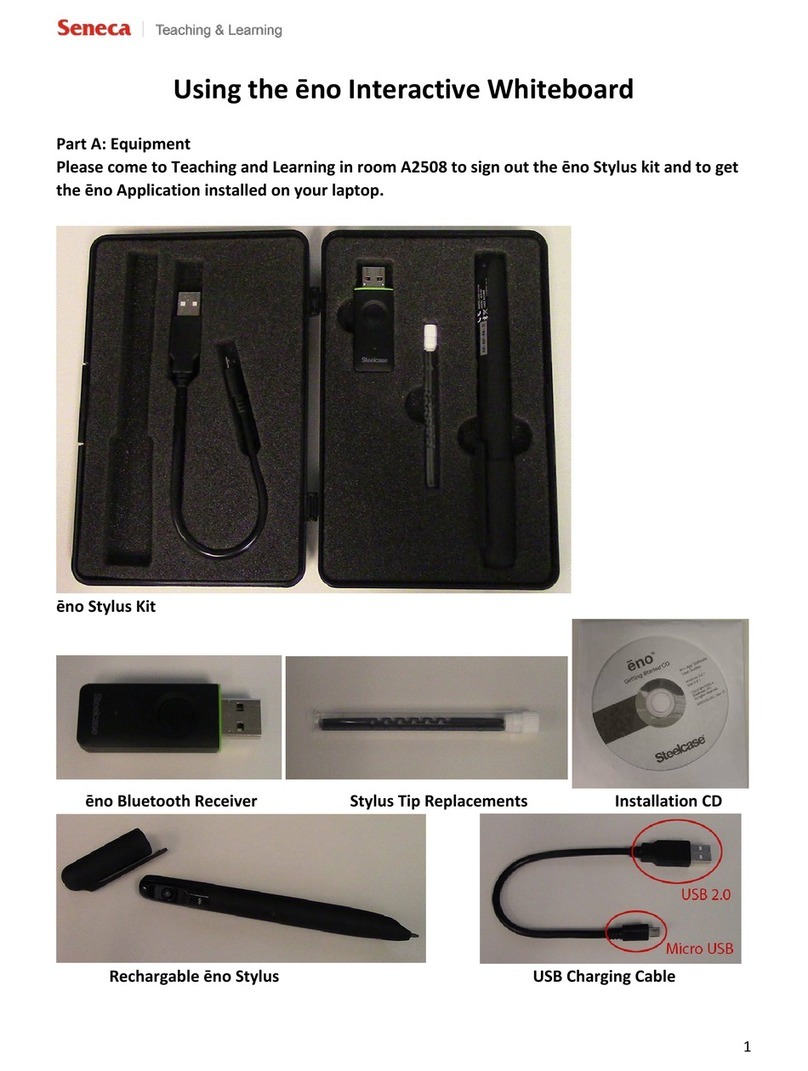
Prepare the ēno st lus
To prepare the ēno
st lus for use:
•Install batteries as illustrated in the ēno
Quickstart Installation Guide
.
•The ēno st lus requires a Bluetooth connection with our computer.
Assure that the ēno st lus is paired with our computer as described
below in Prepare our computer.
To turn the ēno st lus on and off:
•Remove and replace the st lus cap.
About the ēno st lus batter
When the st lus is not in use, replace the cap to extend batter life.
The computer which is paired with our st lus provides on-screen
warnings when:
•the ēno st lus batter is low, to remind ou to replace the batter
•the st lus has been idle for five minutes, to remind ou to replace the
cap
Note that NiMH rechargeable batteries are not suitable for the ēno st lus.
Lithium batteries give the longest life.

Preparing the ēno whiteboard for use
6 Installation and Operation Guide
Prepare our computer
To prepare our computer for use:
•Install the Pol Vision driver as described below in Driver installation.
•The ēno st lus is a Bluetooth device and must pair with the computer
that interacts with the whiteboard. You can use ēno regardless of
whether our computer has Bluetooth capabilit built-in. The Pol Vision
BT (Bluetooth) adapter adds Bluetooth capabilit to our computer as
described below in Pairing the ēno
st lus and our computer.
•Connect a projector to our computer using the video cable that is
provided with our projector as described below in Getting started
with our projector.
Driver installation
To use ēno, our Windows-based computer must have:
•Pentium processor
•512MB RAM
•Windows XP SP2, Tablet XP SP2, or Vista
•One available USB port
To use ēno, our Macintosh computer must have:
•PowerBook, G4, iBook, iMac, or eMac
•PowerPC or Intel microprocessor
•512MB RAM
•S stem software OS X (10.3.9 or better)
•One available USB port
To install the Pol Vision driver on our computer:
1. Locate and insert the Pol Vision installation CD.
2. Installation should begin automaticall . If it does not:
Windows: double-click “M Computer” on our desktop and
double-click the removable disk drive named “Pol Vision.”
Installation begins.
Macintosh: double-click the Pol Vision icon on our desktop,
double-click the “Macintosh” folder, and double-click “Pol Vision
Installer.” Installation begins.

Preparing the ēno whiteboard for use
Pol Vision 7
3. Follow the prompts ou see on the screen to complete the
installation. On a Macintosh, our s stem automaticall reboots.
When installation is complete, a message appears on our computer
screen and the Pol Vision icon appears in our s stem tra (Windows) or
s stem menu (Macintosh).
.
The Pol Vision driver runs unobtrusivel in the background whenever our
computer is on.
Pairing the ēno
st lus and our computer
The ēno interactive whiteboard provides wireless communication with our
computer via the ēno st lus, which is a Bluetooth device. As with all
Bluetooth devices, the ēno st lus must be paired with the computer that it
interacts with. The st lus can be paired with only one computer at a time.
Pol Vision provides a USB Bluetooth adapter that automaticall initiates
Bluetooth pairing with the ēno st lus. (Refer to Appendix 1 for details
about Bluetooth pairing options.)
To automaticall install Bluetooth drivers and pair our ēno interactive
whiteboard st lus with our computer:
1. Turn on our computer.
2. Plug the Pol Vision Bluetooth adapter into an available USB port
on our computer and leave it there.
3. When ou are asked “Do ou want to pair our st lus now?” turn
on the ēno
st lus b removing the cap and then click “Yes.” Pairing
proceeds automaticall .
Pol Vision icon

Preparing the ēno whiteboard for use
8 Installation and Operation Guide
To pair our ēno st lus with our computer an time after the Bluetooth
drivers are installed on our computer:
1. On our computer, click the Pol Vision icon in our s stem tra
(Windows) or s stem menu (Macintosh).
.
2. Choose “Configure the Pol Vision driver” from the menu.
3. Click the “Hardware” tab.
4. Turn on the ēno
st lus b removing the cap then click “Pair St lus.”
Pairing proceeds automaticall for most computers. If ou have a
Macintosh with operating s stem 10.3.9, follow the prompts ou
see on our screen.
The ēno st lus pairs and communicates with only one computer at a time.
If ou want to use the ēno st lus with a different computer, ou need to
unpair it from the original computer and pair it with the other computer.
To pair our ēno st lus with a different computer:
1. Unpair the ēno st lus from the original computer using the steps
ou would normall use to remove hardware on the computer. For
example, in Windows click the “Start” button, select “Control
Panel,” and click the Bluetooth Devices icon. Then select
“Devices,” click the item listed as “Pol Vision St lus,” and click
“Remove.”
2. Now ou can pair the ēno st lus with another computer using the
steps described above or in Appendix 1.
Pol Vision icon

Preparing the ēno whiteboard for use
Pol Vision 9
Getting started with our projector
Getting started is simpl a matter of connecting our projector to our
computer using the video cable that is provided with our projector.
To set up the projector:
1. Locate our projector’s video cable and connect it to the video port
of our computer.
2. Connect the other end of the video cable to our projector.
3. Connect the projector’s power cord to an outlet.
4. Turn on the projector and focus our computer screen squarel
onto our whiteboard. The projected image does not need to fill the
white area.
To align the projected image with the ēno whiteboard:
1. Assure that at least half of the projected image is actuall projected
onto the board.
2. Tap the Projection icon on the control strip one time.

Preparing the ēno whiteboard for use
10 Installation and Operation Guide
The alignment window shown below projects from the computer to
the whiteboard.
3. Using the ēno st lus, touch exactl on each target projected on the
whiteboard, following instructions ou see on the board. When
alignment is complete, ou are read to begin using our computer
and whiteboard in projection mode.
To exit projection mode when ou are finished operating our computer
from the board:
•Tap the Projection icon on the control strip again.

Using our ēno whiteboard
Pol Vision 11
Using our ēno whiteboard
Use the ēno interactive whiteboard with the ēno st lus and a projector
connected to our computer to:
•control our computer from the whiteboard
•run slide presentations and other software from the whiteboard
•mark-up and capture snapshots of our computer screen plus an
writing on the board
The ēno whiteboard control icons
The ēno whiteboard includes control icons that ou tap with the ēno st lus
to interact with our computer. The control icons are magnetic so ou can
move them to an convenient location on the board. Icon functions are
described briefl below. Refer to the
Pol Vision User Guide
for details
about each of these functions.
You can also operate the whiteboard using an on-screen version of the
control icons.
To use the on-screen control icons:
1. Click the Pol Vision driver icon in the s stem tra (Windows) or
s stem menu (Macintosh). The Pol Vision driver menu appears.
2. Choose “Show On-Screen Remote Control” from the menu to
toggle on and off the displa of on-screen control icons which ou
tap with the st lus.

Using our ēno whiteboard
12 Installation and Operation Guide
Purpose Control icon Purpose
Toggles “projection mode”
on / off. The first use starts
the onscreen alignment
(calibration) process.
Sets the st lus to narrow
width.
Goes to the previous
PowerPoint slide or PgUp.
Sets the st lus to
medium width.
Goes to the next
PowerPoint slide or PgDn.
Sets the st lus to wide
width.
Displa s the on-screen
ke board.
Sets the st lus to a solid
line.
Toggles between writing
and cursor control.
Sets the st lus to a
dashed line.
Displa s all size and
color options. Narrow eraser width
using the st lus.
Large eraser width using
the st lus.
Clears all the writing.
Prints a cop of the
whiteboard.
The current color for
writing on the board.
Saves a cop of the
whiteboard contents into
the M Documents folder
(or where configured) as
a new image.

Using our ēno whiteboard
Pol Vision 13
LED status summar
The LED indicator on the ēno st lus provides status information about
wireless communication between the st lus and computer, assuming that
batteries are installed.
LED Condition
Blink ever five seconds Low Batter
Three quick pulses repeated
three times
Hardware Error, Bluetooth Connection Error,
or Bluetooth Pairing Error
Off Read for use
On Attempting Bluetooth pairing or connection
with our computer

Care and maintenance
14 Installation and Operation Guide
Care and maintenance
Replacing the ēno st lus tip
To replace the ēno st lus tip:
1. Remove the existing st lus tip b pulling it out.
2. Firml push the replacement tip into the st lus until it snaps into
place.
How to obtain replacement parts
Replacement parts are available directl from Pol Vision. Call
1.800.620.POLY (7659) in the USA, 678.542.3100 from elsewhere in
North America, or +32 (0)89 32 31 30 in Europe. You can also send e-mail
to info@pol vision.com.
Technical support
If reviewing the above sections fails to resolve our hardware or driver
problem, contact Pol Vision USA Technical Support:
•Phone: 1.800.620.POLY (7659), 678.542.3100
Technical support representatives are available Monda through Frida
from 8 AM Eastern time to 8 PM Eastern time.
•E-mail: support@pol vision.com
•Internet: www.pol vision.com
Or, outside the USA contact Pol Vision Europe/Asia Technical Support:
•Phone: +32 (0)89 32 31 30
•E-mail: business.center@pol vision.com
•Internet: www.pol vision.com
FCC compliance
This equipment has been tested and found to compl with the limits for a
Class B digital device, pursuant to Part 15 of the FCC Rules. These limits
are designed to provide reasonable protection against harmful interference
when the equipment is operated in a commercial environment. This
equipment generates, uses, and can radiate radio frequenc energ and, if
not installed and used in accordance with the instruction manual, ma
cause harmful interference to radio communications. Operation of this
equipment in a residential area is likel to cause harmful interference in

Care and maintenance
Pol Vision 15
which case the user will be required to correct the interference at his own
expense. Changes or modifications not expressl approved b the part
responsible for compliance could void the user’s authorit to operate the
equipment.
CE compliance
ēno has been tested and found to compl with safet , radiation, and
immunit standards defined in:
2006/95/EC Low Voltage Directive
EN60950-1:2001 (Safet )
2004/108/EC EMC Directive
EN55022:2003 Class B (EMC)
EN55024:2003 (EMI)
EN301489-17 V1.2.1:2002
EN301489-1 V1.4.1:2002
1995/5/EC R&TTE Directive
EN300328-2 V1.6.1:2004 (RF)
IEC 60825-1 Class 1 LED
WEEE compliance
WEEE Directive
2002/96/EC

Appendix 1: Bluetooth pairing options
16 Installation and Operation Guide
Appendix 1: Bluetooth pairing options
Ever Bluetooth device must be paired to the computer that will use the
device, just as a Bluetooth headset needs to be paired to a cell phone
before it will work.
The ēno st lus must be paired with one computer that it interacts with.
Pairing onl needs to occur once, and even changing the ēno st lus
batter will not un-pair the st lus from the computer. Automatic pairing is
described in Pairing the ēno
st lus and our computer on page 7.
This appendix covers alternative Bluetooth pairing scenarios:
•pairing manuall with the Pol Vision driver
•pairing with Windows or Apple built-in Bluetooth
•pairing with third-part Bluetooth
Pairing with the Pol Vision Bluetooth adapter
The Pol Vision Bluetooth adapter that is included with ēno provides
ever thing ou need for wireless Bluetooth communication between our
whiteboard and computer.
To pair our ēno st lus with our computer:
1. Turn on our computer.
2. Plug the Pol Vision Bluetooth adapter into an available USB port.
A message appears when device drivers have been installed.
3. Turn on the ēno st lus b removing the cap.
4. On our computer, click the Pol Vision icon appears in our s stem
tra (Windows) or s stem menu (Macintosh).
.
5. Choose “Configure the Pol Vision driver” from the menu.
6. Click the “Hardware” tab.
7. Click “Pair St lus.” Pairing proceeds automaticall for most
computers. If ou have a Macintosh with operating s stem 10.3,
follow the prompts ou see on our screen.
8. Repeat these steps to pair additional ēno st li with this computer.
Pol Vision icon

Appendix 1: Bluetooth pairing options
Pol Vision 17
Note that ou can pair several st li with one computer, but a st lus can be
paired with onl one computer at a time.
For additional information about Pol Vision driver configuration options,
refer to the
Pol Vision User Guide
.
Pairing with Windows or Apple built-in Bluetooth
If our computer includes the built-in Windows and Macintosh Bluetooth
capabilit and ou choose not to use the Pol Vision Blluetooth adapter for
Bluetooth capabilit , the Pol Vision driver can automaticall pair the ēno
st lus with our built-in Bluetooth capabilit .
To pair our ēno st lus with our computer’s built-in Windows or Apple
Bluetooth capabilit :
1. Turn on our computer.
2. Turn the ēno st lus on b removing the cap.
3. On our computer, navigate to the Control Panel. For example, in
Windows click the “Start” button, then select “Control Panel.”
4. Click the Bluetooth Devices icon.
5. Select the “Devices” tab and click the “Add” button. This will launch
the “Add Bluetooth Device Wizard.”
6. Click the box that indicates that “M device is set up and is read
to be found” and click “Next.”
7. You will see a list of all Bluetooth devices. Click the item listed as
“Pol Vision St lus” followed b an associated Bluetooth address.
8. Enter the passcode, which is a number provided on the removable
label on the side of the ēno st lus.
9. Repeat these steps to pair additional st li to this computer.
Note that ou can pair several st li with one computer, but a st lus
can be paired with onl one computer at a time.

Appendix 1: Bluetooth pairing options
18 Installation and Operation Guide
Pairing with third-part Bluetooth
To use a third-part Bluetooth solution to pair the ēno
st lus with our
computer:
1. Launch the software that comes with our third-part Bluetooth
capabilit . It ma launch from:
•The control panel
•An option in the start menu/programs menu.
•A Bluetooth icon in the taskbar or s stem menu bar.
2. Turn on the ēno st lus b removing the cap.
3. Locate and start the mechanisms for pairing, such as one of the
following:
•Add a Device
•Pair a Device
•Search for a Device.
The st lus is listed as “ADP-301” and is onl visible for a minute or
so after the cap is removed. If ou do not see the st lus, replace
the cap, wait two seconds, and remove the cap back again. After
six seconds the st lus is visible to the computer.
4. Follow the prompts from the third-part Bluetooth software. The
general process is as follows:
•Search for Bluetooth devices and select the “ADP-301 st lus.”
•Pair the ADP-301 st lus. When asked, the st lus uses a PIN code or
passke of 0109.
•After entering the PIN code, the st lus should pair to our computer.

Appendix 1: Bluetooth pairing options
Pol Vision 19
To determine if the pairing is successful and there is wireless
communication between the Pol Vision driver installed on our computer
and the ēno
st lus:
1. Turn on the ēno st lus b removing the cap.
2. On our computer, click the Pol Vision icon appears in our s stem
tra (Windows) or s stem menu (Macintosh).
3. Choose “Configure the Pol Vision driver” from the menu.
4. Click the “Hardware” tab. The st lus should be listed as a hardware
device.

Warrant
20 Installation and Operation Guide
Warrant
Pol Vision Corporation warrants to the original consumer or other end-user
purchaser that this product is free from defects in material and workmanship for a
period of two ears from the date of purchase. The finished whiteboard (which
includes the frame, mounting components, substrate and fasteners) is warranted to
be free from defects in material and workmanship for a period of ten ears from the
date of purchase.
In addition, the porcelain enameled steel writing surface is warranted against wear
in normal use for the lifetime of the building in which the product is originall
installed.
During the warrant period, and upon proof of purchase, the product will be
repaired or replaced (with the same or similar model) at Pol Vision’s option, without
charge for either parts or repair labor. Shipping costs will appl . Please keep our
original sales receipt or deliver invoice for proof of purchase. Without proof of the
purchase date, our warrant will be defined as beginning on the date of
manufacture, which is recorded b serial number at the factor . This warrant
applies onl to the first end-user purchaser and onl when the product is used in a
countr for which it is labeled for sale. Some factor -reconditioned parts ma be
used in the assembl of this product.
WHAT IS NOT COVERED
1. An product that is sold or used outside of North America and
Europe unless the product was specificall labeled for sale in that
countr .
2. An product on which the serial number has been defaced,
modified, or removed.
3. Damage, deterioration, or malfunction resulting from, but not limited
to:
•Accident, misuse, abuse, neglect, fire, water, lightning or other acts of
nature, unauthorized product modification, or failure to follow instructions
supplied with the product.
•Use of unintended writing implements such as (but not limited to) ball
point pens, pencils, fountain pens, or non-dr -erase markers.
•Use of non-approved cleaning materials or solvents.
•Repair or attempted repair b an one not authorized b Pol Vision.
•An damage incurred in shipping.
•Removal or installation of the product.
•An other cause that does not relate to a product defect.
4. Cartons, carr ing cases, pens, external cabinets, easels, or an
accessories used in connection with the product.
Other manuals for eno
2
Table of contents
Other PolyVision Interactive Whiteboard manuals

PolyVision
PolyVision TS Series User manual

PolyVision
PolyVision Walk-and-Talk User manual

PolyVision
PolyVision 370-0255-03 User manual

PolyVision
PolyVision CopyCam Operating instructions

PolyVision
PolyVision eno User manual

PolyVision
PolyVision Walk-and-Talk User manual

PolyVision
PolyVision Walk-and-Talk Operating instructions

PolyVision
PolyVision Walk-and-Talk User manual

PolyVision
PolyVision Impulse LTX User manual