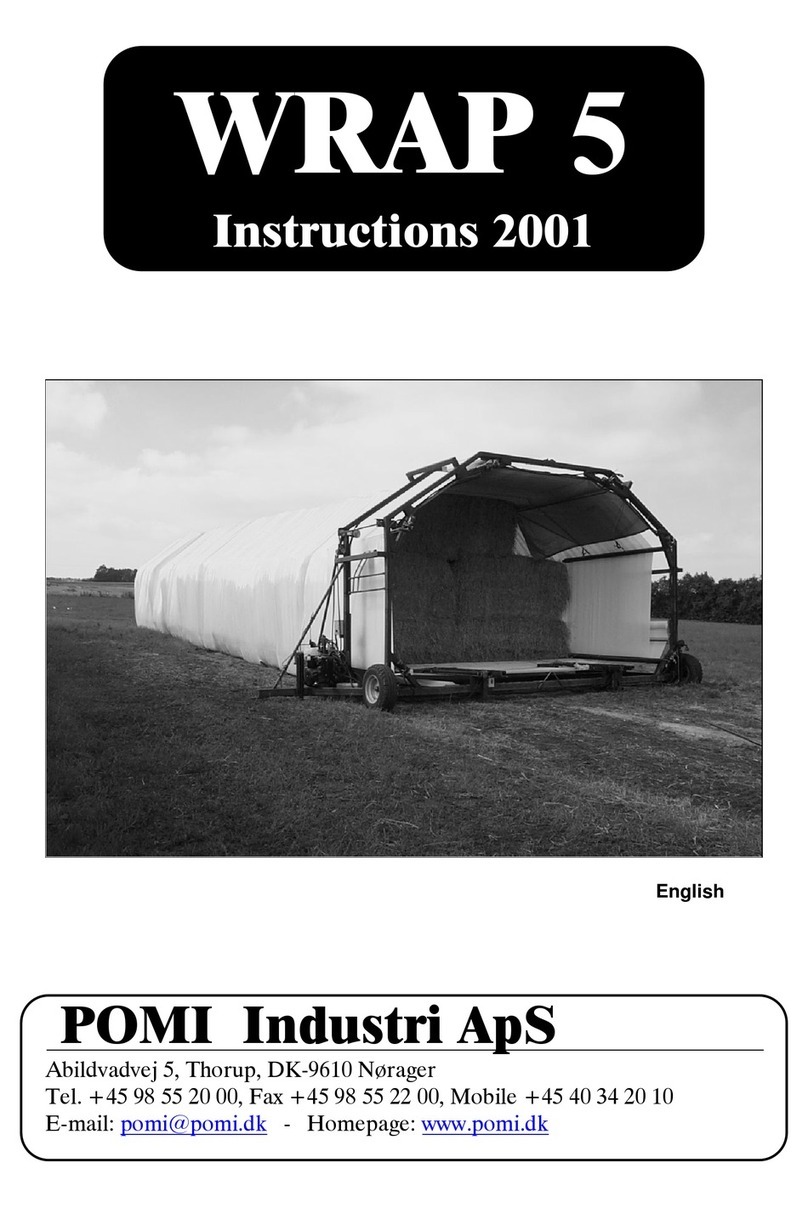
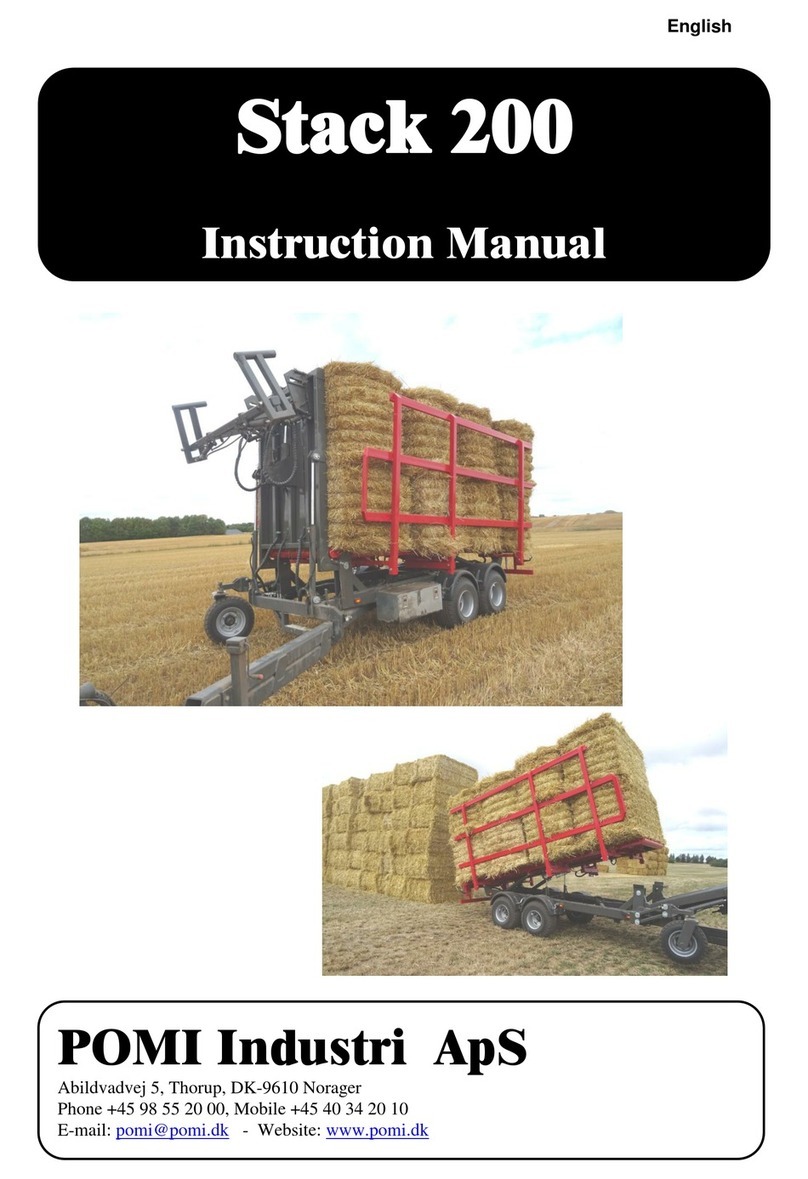
POMI WRAP 12 User manual

WRAP 12
User guide
POMI
Industri
ApS
Abildvadvej 5, Thorup, DK-9610 Nørager
Tel. +45 98 55 20 00, Fax +45 98 55 22 00, Mobile +45 40 34 20 10
E-mail: pomi@pomi.dk - Homepage: www.pomi.dk
English

2
Contents
1. POMI WRAP 12 WRAPPER .................................................................................................................................. 3
2. SAFETY INSTRUCTIONS ........................................................................................................................................ 3
3. EU DECLARATION OF CONFORMITY ...................................................................................................... 4
4. MACHINE IDENTIFICATION .................................................................................................................................. 5
5. FØR START ............................................................................................................................................................ 5
6. CONVERSION FROM TRANSPORT TO WRAPPING ................................................................................................. 6
7. WRAPPING ............................................................................................................................................................ 7
7.1. POSITIONING OF BALES FOR WRAPPING .......................................................................................................... 7
8. CLOSING THE FOIL TUBE ..................................................................................................................................... 8
9. CHANGE OF FOIL ROLL ........................................................................................................................................ 8
10. MACHINE OPERATIONS YEAR 2014-2015 ............................................................................................................ 9
10.1. ELECTRICAL BOX ........................................................................................................................................... 9
10.2. REMOTE CONTROL ......................................................................................................................................... 9
10.3. HYDRAULIC SYSTEM .................................................................................................................................... 10
10.4. FOIL GUARD ................................................................................................................................................. 11
11. MACHINE OPERATIONS YEAR 2016 - ................................................................................................................. 12
11.1. ELECTRICAL BOX OPERATIONS .................................................................................................................... 12
11.1. ELECTRICAL BOX OPERATIONS .................................................................................................................... 13
11.2. REMOTE CONTROL ....................................................................................................................................... 14
11.3. FUNKTIONSOVERSIGT FJERNBETJENING ....................................................................................................... 15
11.1. PROGRAMMING THE REMOTE CONTROL ....................................................................................................... 15
11.2. HYDRAULIC SYSTEM .................................................................................................................................... 16
11.3. FOIL GUARD ................................................................................................................................................. 17
12. BOTTOM FOIL BRACKET .................................................................................................................................... 17
13. MAINTENANCE ................................................................................................................................................... 18
13.1. CHECK BEFORE SEASON ............................................................................................................................... 18
14. GOOD ADVICE..................................................................................................................................................... 19
15. OPTIONAL EQUIPMENT ...................................................................................................................................... 20
15.1. BALE FORK .................................................................................................................................................. 20
15.2. FOIL ROLL BASKET ....................................................................................................................................... 20
16. PROBLEMS .......................................................................................................................................................... 21
Updated on 29.06.2017.

3
1. POMI Wrap 12 Wrapper
Congratulations - You have chosen a line wrapper machine. It can be used for wrapping straw. If
used for anything else, you must have a written authorization from the manufacturer.
The manufacturer disclaims any liability for damage to products and/or crops.
A tube of foil is formed, next the bales are fed and put on the ground. The pusher arms push the
machine forward so that space is made for more bales.
2. Safety instructions
FOR YOUR OWN SAFETY
Never work on the machine without the motor being stopped and the emergency stop on
the electrical box being activated.
Do not allow unauthorized persons within a distance of 10 m from the wrapper when it is
in operation. There are two reasons for this: partly the machine may suddenly move, and
partly oil may squirt from a damaged oil line. The bales may also tip over, if they are
stacked incorrectly.
When driving on the road, the machine must be lowered. The foil rolls must be placed so
they do not interfere with the folding of the machine.
Tidy the machine, especially around the motor, so that fire does not occur. Oil spillage
must be removed before restarting the motor.
Lights according to law must be working.
Keep the remote control in a safe place so that you do not push the buttons by accident,
e.g. if you carry the remote control in your pocket while changing the foil roll and then
lean towards the machine accidentally pushing one of the buttons and starting the machine.
When changing foil we recommend using ear protection.

4
3. EU DECLARATION OF CONFORMITY
Manufacturer: POMI Industri ApS
Abildvadvej 5, Thorup
DK-9610 Nørager
Tel. +45 98552000
Company
Hereby declares that
Machine: Wrapper machine
Make type, series no., year
a) is manufactured in accordance with decisions made in the Council’s Directive of 14th June
1989 about mutual approach of the member states’ legislation as regards machines
(89/392/EØF) changed on 20th June 91 (91/368/EØF) (93/44/EØF) and (93/68/EØF),
under special reference to exhibit I of the directive of severe safety and health
requirements in connection with design and manufacturing of machines.
Especially:
a) is manufactured in accordance with the following harmonized standards (Directive article
5, paragraph 2).
b) is manufactured in accordance with other standards and/or technical specifications.
Signature Date
Poul Mikkelsen
Manager
POMI Industri ApS

5
4. Machine identification
When ordering parts please state the serial number. You will find the serial number on the type
plate on the left side of the machine (see ill.). The motor no. is found on the left side of the motor.
Serial no.___________________
Motor no.__________________
5. Før start
Fuel.
Check the motor oil.
Check that the hydraulic oil is in mid position.
Check the oil air filter.
Check lubricating oil level.
Study the motor instructions before start and heating of the motor.
Motor revolutions are set to max. 2800.

6
6. Conversion from transport to wrapping
Position the machine with a tractor or loader in the correct direction, in stacking position.
Disconnect the tractor and remove the cable.
Push the emergency stop.
Start the motor according to the motor instruction.
Switch the emergency stop out of lock-position.
Fold up the machine.
Lift the entire machine by running down the
supports. First the 2 at the rear end and then the 2 in
the front.
Remove the two wheels and place the extender in
the bottom of the machine.
Install the wheel extensions in the corners (see ill.).
Next mount the wheels.
Run up the supports, first the front supports and then
the 2 rear supports.
Insert the square pipe that extends the pusher at the
front end. (see ill.).
Change the pusher from transport position to
wrapper position (see illustrations).
Wrapper position Transport position
The machine is ready for wrapping.

7
7. Wrapping
Start by fastening the foil to the two rods
on the pusher. Wrap 8 layers of foil.
Unfasten the foil and let the machine run
automatically until the foil reaches the
end of the spears.
If the stack is supposed to curve, place the bales with air between them on one side and squeeze
them hard together on the other side.
7.1. Positioning of bales for wrapping

8
8. Closing the foil tube
When the foil tube is long enough to fully cover the ends of the last bales, wrap some extra rounds
at the end of the foil tube to give a strong end surface. Cut off the foil at a suitable length.
Set up the machine to run by itself so that it runs as free of the stack as possible. Remove the
rearmost of the three bottom foil rolls to allow for the mounting of wheels for transportation.
9. Change of foil roll
Check that the foil roll bracket is positioned so that it can be reached when the guard in the rear
end is open.
Push the emergency stop button and stop the motor.
Lift the hanger up.
Change the foil roll.
Lower the hanger again.
Start the motor and switch on the emergency stop.
.

9
10. Machine operations year 2014-2015
10.1. Electrical box
Emergency stop Depressing this button will stop all functions
in the electrical box. To reactivate turn the
switch from locked position, and re-activate
the function requested.
Ready When the emergency stop is released the
lamp ready is lit.
Start This button starts the wrapping process. It
can also stop it again if pushed once again.
Forward When pushing this button the pusher arms run out.
Foil When pushing this button, the wrapper rotates the foil.
Auto Not applicable.
Spear Push this button to activate the chains on the spears.
Backward When pushing this button the pusher arms retract.
10.2. Remote control
A/Red has the same function as Start.
B/Grey has the same function as Foil.
C/Green has the same function as Spear.
D/Yellow has the same function as Backward.

10
10.3. Hydraulic system
In front of the machine, 2 or 4 hydraulic handles are
positioned.
1. Adjusts the height of the tower in the front.
2. Adjusts the height of the tower in the rear end.
3. Raises the support in the front.
4. Raise the 2 supports in the rear end.
Valve 1) changes the speed of the chains fitted on the
spears.
A screw is positioned in the middle of the pressure
sensitive switch 2), which is to regulate the pressure of
the pusher arms. If the pusher does not come back, turn
the screw in and increase the pressure. If the pusher does
not return but remains out due to overpressure turn the
screw out and lower the pressure.
Valve 3) changes the speed of the chains fitted to the
wrapper and consequently how much foil to put on the
stack.
Hydraulic oil: Hydro Texaco HD Z LT 46 DIN HLP 46.
Hydraulic pressure: Spear 120 bar
Pusher bars 120 bar
Wrapper 150 bar
1 2 3 4
3
2 1
Table of contents
Other POMI Farm Equipment manuals
Popular Farm Equipment manuals by other brands

Schaffert
Schaffert Rebounder Mounting instructions

Stocks AG
Stocks AG Fan Jet Pro Plus 65 Original Operating Manual and parts list

Cumberland
Cumberland Integra Feed-Link Installation and operation manual

BROWN
BROWN BDHP-1250 Owner's/operator's manual

Molon
Molon BCS operating instructions

Vaderstad
Vaderstad Rapid Series instructions


