POMI WRAP 5 User manual

WRAP 5
Instructions 2001
POMI Industri ApS
Abildvadvej 5, Thorup, DK-9610 Nørager
Tel. +45 98 55 20 00, Fax +45 98 55 22 00, Mobile +45 40 34 20 10
E-mail: [email protected] - Homepage: www.pomi.dk
English

2
Contents
1. WRAP 5 WRAPPER................................................................................................................................. 3
2. SAFETY INSTRUCTIONS....................................................................................................................... 3
3. EU DECLARATION OF ACCORDANCE............................................................................................. 4
4. MACHINE IDENTIFICATION............................................................................................................... 5
5. BEFORE START....................................................................................................................................... 5
6. CHANGE FROM TRANSPORT TO WRAPPING................................................................................ 6
7. WRAPPING............................................................................................................................................... 7
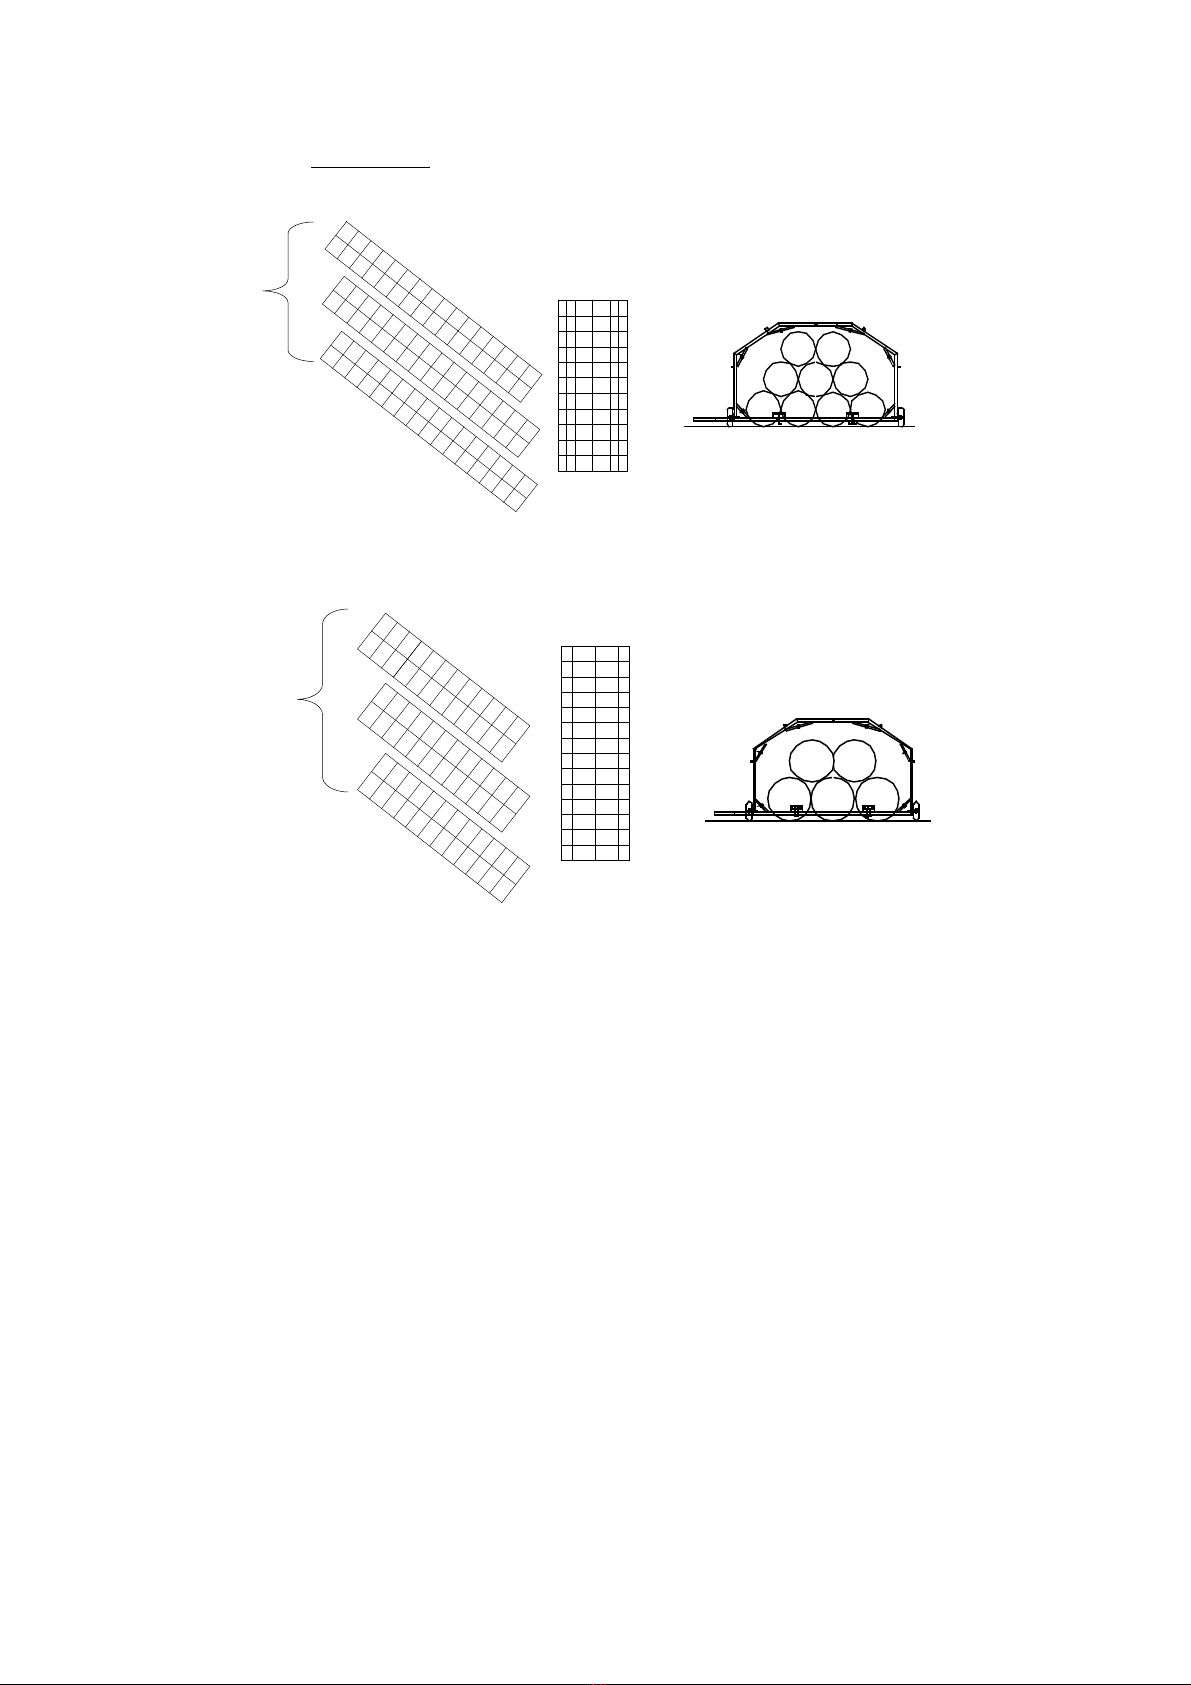
7.1. POSITIONING OF BALES BEFORE WRAPPING............................................................................................ 8
7.1.1. Square bales....................................................................................................................................... 8
7.1.2. Round bales ....................................................................................................................................... 9
8. FINISHING.............................................................................................................................................. 10
9. CHANGE OF FOIL ROLLER............................................................................................................... 10
10. MACHINE OPERATIONS:................................................................................................................... 11
10.1. ELECTRICAL BOX................................................................................................................................. 11
10.2. REMOTE CONTROL .............................................................................................................................. 11
10.3. HYDRAULIC SYSTEM ........................................................................................................................... 12
10.4. FOIL GUARD ........................................................................................................................................ 13
11. BOTTOM FOIL....................................................................................................................................... 13
12. MAINTENANCE..................................................................................................................................... 14
12.1. CHECK BEFORE SEASON ...................................................................................................................... 14
13. GOOD ADVICE ...................................................................................................................................... 15
14. EXTRA EQUIPMENT............................................................................................................................ 16
14.1. HYDRAULIC LIFT OF TOWER ................................................................................................................ 16
14.2. FOIL ROLLER BASKET .......................................................................................................................... 17
15. PROBLEMS............................................................................................................................................. 18
Updated on 17.07.2001

3
1. Wrap 5 Wrapper
Congratulation - You have chosen a line wrapper machine. It can be used for wrapping straw.
If used to anything else you must have a written authorization from the manufacturer.
A tube of foil is made then the bales are entered and put on the ground. The pusher arms push
the machine forward so that space is made for more bales.
2. Safety instructions
OUT OF CONSIDERATION FOR YOUR SAFETY
−Never work on the machine without the motor being stopped and the emergency stop
on the electrical box being activated.
−No admittance within 10 meters from the machine except on business during
operation, partly due to sudden movements and partly due to squirting oil, if a hose is
damaged.
−The tower must be lowered during transport on roads if a hydraulic lift is included.
There must not be foil rollers on the horizontal part at the top.
−The guard at the rear end must be closed during operation.
−Tidy the machine, especially around the motor, so that fire does not occur. Oil spillage
must be removed before restarting the motor.
−Lights according to law must be working.
−Keep the remote control at a safe place so that you do not push the buttons by accident.
E.g. if you have the remote control in a pocket while changing the foil roller and then
lean towards the machine thereby pushing one of the buttons and starting the machine
by accident.
−The wind can course the start sensor starting the machine

4
3. EU DECLARATION OF ACCORDANCE
Manufacturer: POMI Industri ApS
Abildvadvej 5, Thorup
DK-9610 Nørager
Tel. +45 98552000
Company
Hereby declares that
Machine: Wrapper machine
Make type, series no., year
a) is manufactured in accordance with decisions made in the Council’s Directive of 14th
June 1989 about mutual approach of the member states’ legislation as regards
machines (89/392/EØF) changed on 20th
June 91 (91/368/EØF) (93/44/EØF) and
(93/68/EØF), under special reference to exhibit I of the directive of severe safety and
health requirements in connection with design and manufacturing of machines.
Especially:
b) is manufactured in accordance with the following harmonized standards (Directive
article 5, paragraph 2).
c) is manufactured in accordance with other standards and/or technical specifications.
_____________________________ ________________________
Signature Date
Poul Mikkelsen
Manager
POMI Industri ApS

5
4. Machine identification
When ordering parts please inform the serial number. You will find the serial no. on the left
side of the hydraulic tank as shown below. The motor no. is found on the left side of the
motor.
Serial no.___________________
Motor no.___________________
5. Before start
Fuel.
Check that the hydraulic oil is in mid position.
Study the motor instructions before start and heating of the motor.
Motor revolutions are set for max. 2800.

6
6. Change from transport to wrapping
Position the machine with a tractor or telescopic loader in correct direction, on the
stack position.
Disconnect the tractor and remove the cable.
Push the emergency stop.
Start motor according to instruction for motor.
Switch emergency stop out of lock-position.
Lift the entire machine by running down the supports. First the 2 at the rear end and
then the 2 in the front.
Remove the two wheels and insert the profile tube into the small profile tube in the
rear end (see illustration).
Place the wheels in the corners
Run up the supports, first the front supports and
then the 2 rear supports.
Change the pusher from transport position to wrapper position (see illustration).
Wrapper position Transport position
The machine is ready for wrapping.

7
7. Wrapping
Start by making a tube of plastic. The
plastic ends are fixed to the two round bars
positioned on one of the pushers until it is
no longer necessary. Run the foil up till the
plastic is at the ends of the spears.
The start sensor must be adjusted so that the
machine starts when the last bale is lifted on.
If the stack turns, the bales must be
positioned with air between in one side and
squeezed in the other side.

8
7.1. Positioning of bales before wrapping
7.1.1. Square bales
Big bales: 120 x120 x 240 cm. 2 bales on top of each other and 75 cm between the stacks.
Mini-big bales: 80 x 90 x 240 cm. 3 bales on top of each other and 75 cm between the stacks.
Class bales: 70 x 120 x 240 cm. 4 bales on top of each other and 75 cm between the stacks.
24 metres =
100 bales
24 metres =
210 bales
24 metres =
180 bales

9
7.1.2. Round bales
Round bales ø 135 cm: Round bales are stacked in one layer two next to each other and there
must be 75 cm between the stacks.
Round bales ø 180 cm. Round bales are stacked in one layer two next to each other and 75 cm
between stacks.
24 metres =
100 bales
24 metres =
180 bales

10
8. Finishing
When the foil tube has a length so that the last bales are in
position, some extra rounds are wrapped at the end of the
foil tube to give a strong edge. Then the plastic is torn.
The machine is set to run by itself so that it runs as free of
the stack as possible. A tractor pulls the machine away
from the stack; see illustration. The bottom foil is removed so that the wheels can be mounted.
If you are not going to drive on a road you can leave the bottom foil on, as there are 2
positions for the transport wheel.
Remember! The foil rollers must not be at the horizontal part in the top. If hydraulic lift is
included, the tower must be lowered before transport on roads.
9. Change of foil roller
Check that the foil roller bracket is positioned so that it can be reached when the guard in the
rear end is open.
Push emergency stop button and stop the motor.
Open the guard in the rear end.
Change the foil roller and close the guard.
Start the motor and reswitch on the emergency stop.

11
10. Machine operations:
10.1. Electrical box
Emergency stop By pushing this switch in all operations stop on
the electrical box and to switch on it must be
switched out of lock-position and the required
operation must be reactivated.
Ready When the emergency stop is released the lamp
ready is lid.
Start This button starts the wrapping process. It can also stop it again by pushing
once again.
Forward By pushing this button the pusher arms are run out.
Foil By pushing this button the wrapper runs the foil round.
Auto By pushing this button light is switched on and the machine will
automatically start a wrapping when the last bale is positioned. By pushing
once again, it is switched off.
Spear To activate the chains on the spears.
Backward By pushing this button the pusher arms are run in.
10.2. Remote control
Red has the same operation as start.
Grey has the same operation as foil.
Green has the same operation as spear.
Yellow has the same operation as backward.

12
10.3. Hydraulic system
In front of the machine, 2 or 4 hydraulic handles are
positioned:
1) is to adjust the height of the tower in the front.
2) is to adjust the height of the tower in the rear end.
3) is to raise the support in the front.
4) is to raise the 2 supports in the rear end.
Valve 1) is to change the speed of the chains fitted on
the spears.
A screw is positioned mid on the pressure sensitive
switch 2), which is to regulate the pressure of the pusher
arms.
Valve 3) is to change the speed of the chains fitted to the
wrapper.
Hydraulic oil: Hydro Texaco HD Z LT 46 DIN HLP 46.
Hydraulic pressure: Spear 120 Bar
Pusher bars 120 Bar
Wrapper 150 Bar
1 2 3 4
1 2
3

13
10.4. Foil guard
A foil guard is positioned in one corner, it consists of a bar sensoring the wrapped foil, if only
1 layer plastic is used. If the foil tears the bar falls down and activates a switch that stops the
machine. Pushing start or foil restarts the machine, till the foil guard has contact with the foil
again.
11. Bottom foil
Are some boxes placed on the chassis frame for two rollers bottom foil. The foil is led through
the plastic tube and the bales are positioned on it.

14
12. Maintenance
Clean the motor box daily or when needed, to avoid fire.
Bearings are lubricated daily with grease.
Pusher arms and chains are lubricated with chain oil. When replacing chains, use only
original chains.
After 1st day, the wheels are adjusted, after that twice a year.
Tightening moment = 100 Nm
12.1. Check before season
The machine is stopped and the emergency stop activated.
Oil change
Change oil filter
Change fuel filter
Clean air filter
Change hydraulic filter
Check hydraulic oil stand
Pre-stretchers
Wrapping chains are tightened
Check the distance between the chain rails (W=1177 mm)
Pull chains for wrapper is tightened
Spear chains are tightened.
Wheels are adjusted (Tightening moment = 100 Nm)
The machine is started
The foil guard is turned to the other side so that it has not contact with the sensor.
Electrical box and remote control are checked on all channels.

15
13. Good advice
It is perferred that the wrapping is made either horizontal or upwards.
Considering the wind it is best to operate in direction west or north.
In order to the foil not slipping in the bond, it is best to wrap in calm weather.

16
14. Extra equipment
14.1. Hydraulic lift of tower
The tower is raised at the front and rear end alternately so that the chains are tightened.
When the tower is run down, 4 bolts are used to fix the chains. See to it that the pre-stretchers
are positioned as illustrated and not on the two vertical surfaces. The tower runs down the
front and rear end alternately.
During transport the tower must be in low position.
Foil rollers must be
positioned at the marked
areas.

17
14.2. Foil roller basket
The basket contains app. 15 rollers and 1 roller of end plastic.
The inner measurement of the basket: 1000 x 1100 mm - Height = 620 mm
It is loaded on the machine with a forklift truck.

18
15. Problems
Problem
Solution
Machine
Motor pulls too bad.
−Change the fuel filter
−Clean air filter
The pusher arms cannot push the bales..
−Check the hydraulic pressure (120 bar).
Carrier link breaks
−Check that the chain rails have the correct
distance W = 1177 mm
−Check the chain guide in bottom
Wrapper stops.
−Check the oil pressure (150 bar).
−Chains are not lubricated
−Chains are too tight
−Chains are run off track.
Straw
Moisture in the bottom of the stack.
−Use extra bottom plastic.
Moisture in the top of the bales.
−The straw must be dry and ripen before it
is pressed and wrapped.
−It might help to make holes in the sides.
−The sooner the straw is used the lesser
problems. We recommend the straw to be
used before mid April.
Other manuals for WRAP 5
1
Table of contents
Other POMI Farm Equipment manuals
Popular Farm Equipment manuals by other brands

MASSEY FERGUSON
MASSEY FERGUSON 9520 Operator's manual

MASSEY FERGUSON
MASSEY FERGUSON 8702 Service manual

GREAT PLAINS
GREAT PLAINS BD7600 FIELD ADJUSTMENT GUIDE

DELTA BREWING SYSTEMS
DELTA BREWING SYSTEMS FermTank instruction manual

Landoll
Landoll 2110 Operator's manual

Raven
Raven SmarTrax installation manual

New Holland
New Holland 16LA Operator's manual

WRIGHT
WRIGHT SVC-SWI-0014 instructions

E-Z FRAME
E-Z FRAME 6X6 Chicken Coop & Run Assembly instructions

360
360 BANDIT HARVEST INTERNATIONAL installation instructions

LEMKEN
LEMKEN SIRIUS 12 operating instructions

Metal-Fach
Metal-Fach T711 operating instructions