Pop-A-Shot PASHOM17-02 User manual

support@popashot.net www.popashot.net
ASSEMBLY INSTRUCTIONS
home dual shot
Model: PASHOM17-02 REV 7-26-22

The Fine Print
Warranty
As described in and as limited by this Warranty, Pop-A-Shot Enterprise, LLC (the “Company”) warrants this product to be free from
defects in workmanship and materials for a period of 360 days from the date of original purchase. The term defects shall mean
any imperfecons that impair the use of the product. The company reserves the right to request conrmaon of proof of purchase
when requesng parts or service in order to conrm that this product is within its warranty period and terms.
What is Covered:
Just about everything, but mainly defects in materials and workmanship. This warranty is void if the product is:
• Damaged through improper usage or storage, negligence, misuse, abuse, transportaon damage, acts of nature, or accident
(including failure to follow the instrucons supplied with the product).
• Used in commercial applicaons, rentals or a commercial environment.
• Modied or repaired by anyone not authorized by the company.
What the Company Will Pay For:
• If any part or component of the product which is covered by this warranty is found by the company to be defecve, the
company will provide replacement parts without charge. The company’s obligaon to repair or replace the product or any
poron of thereof, shall be limited to the original purchase price of the product.
• If during the warranty period, the product is found to be defecve, the company will, at the company’s opon, repair, replace
or make remuneraon for the product (either the same or equivalent value) without charge.
To Obtain Warranty Service:
• You must return the original copy of your sales receipt to the company showing a purchase from an authorized retailer.
• You must email the company’s customer service department at support@popashot.net to nofy the company of the nature
of the problem. Customer service is available Monday through Friday between the hours of 8:00am and 5:00 P.M. CST. At the
company’s opon, replacement parts or a new product (either the same or equivalent value) will be sent to you at no charge.
• If you are instructed to return the product to the company for servicing, you are responsible for shipping the product, at your
expense, to the address designated by the company in packaging that will protect against further damage.
• You must also include your name, address, dayme telephone number, product model number, and a descripon of the
problem.
• The company will pay for any shipping charges to return the repaired or replaced product to you.
This warranty gives you specic legal rights, but you may also have other rights that vary from state to state.
If you have quesons regarding this warranty or the operaon of the product, please email us at supp[email protected].
Some Warnings
support@popashot.net www.popashot.net
2
PAGE
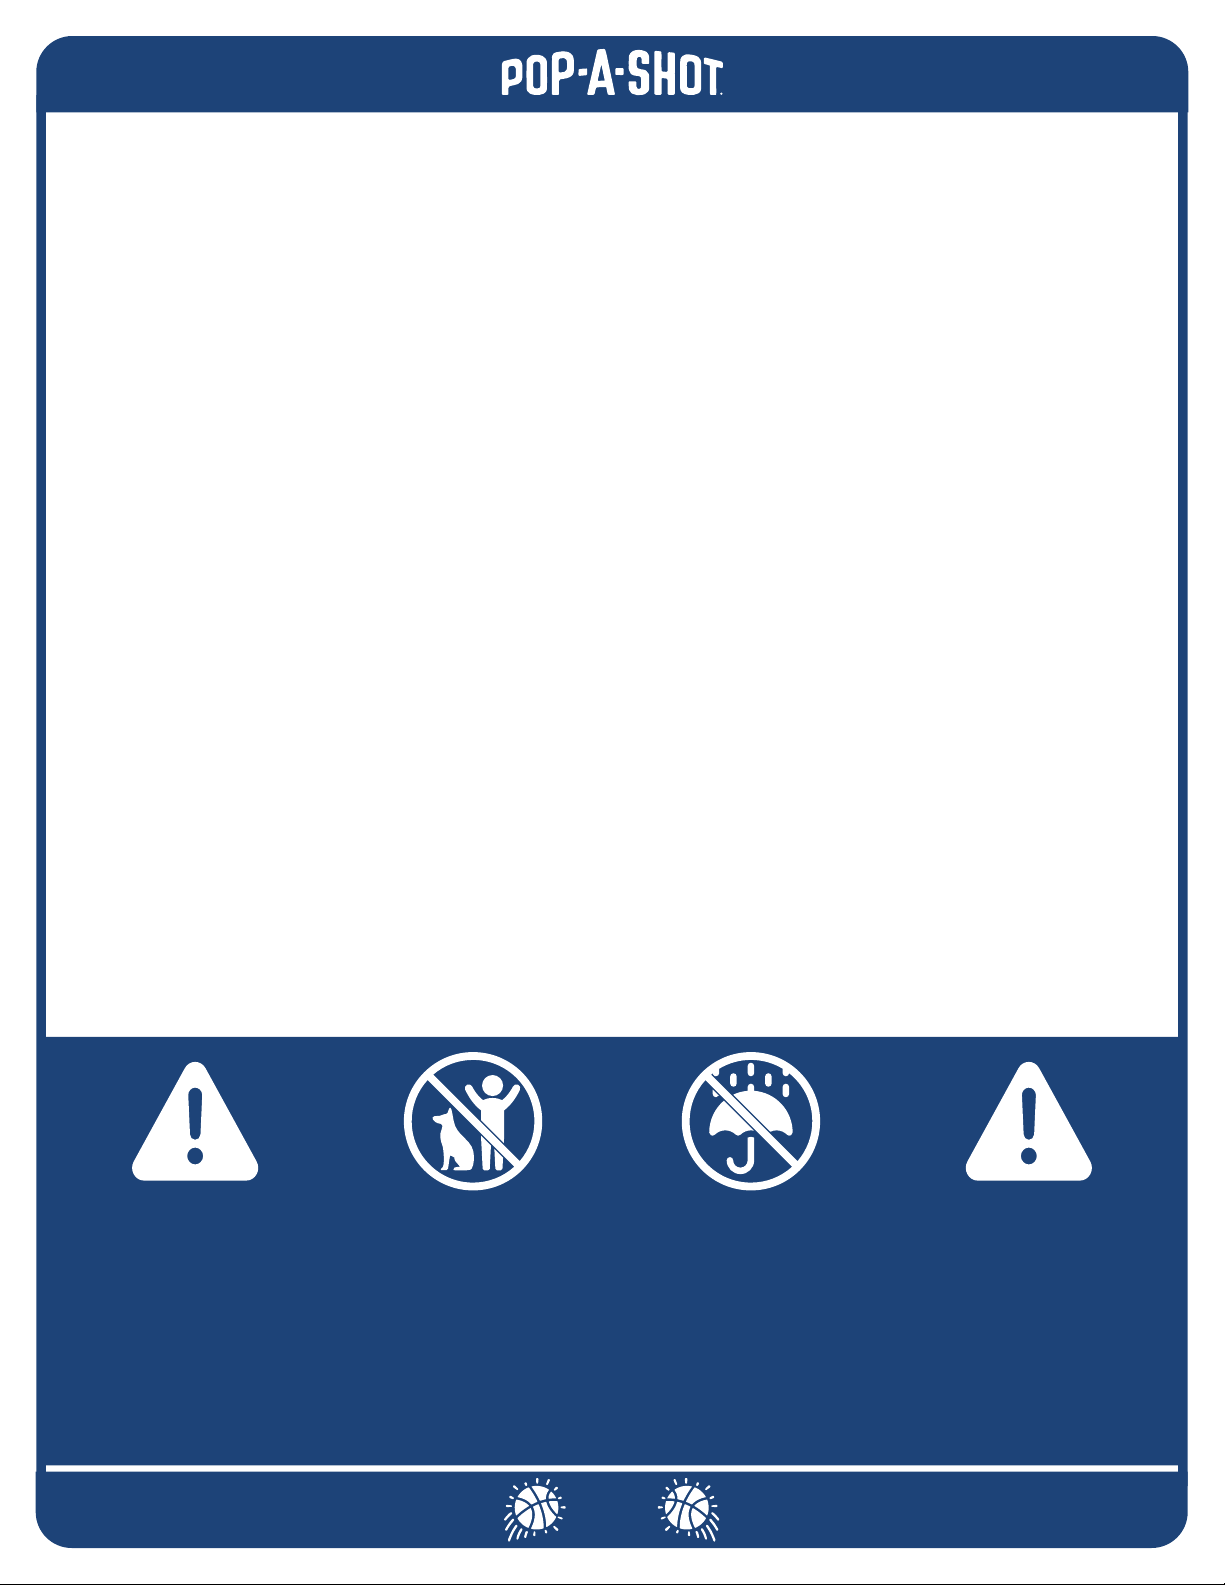
No children or pets in
assembly area.
CHOKING HAZARD
This item contains
small parts. Not suit-
able for children under
3 years old.
Do not use or keep
product outdoors. For
indoor use only. Wet
or humid condions
will aect gameplay,
appearance and
longevity as well as
void warranty.
Do not
sit,
stand,
lean in to,
or lean on
your nished
Pop-A-Shot.
This is not a toy. It is
Intended for use by or
under the supervision
of adults. Review all
safety guidelines with
children to avoid risk
of electric shock or
other injuries.

support@popashot.net www.popashot.net
3
PAGE
PLEASE READ THIS PAGE
It’ll only take a minute and will save you time!
BEFORE PUTTING TOGETHER YOUR GAME
DURING ASSEMBLY
WHEN YOU’RE DONE
• Please leave a review on Amazon or popashot.net and let others know how you like your game.
• Share a video or photo of your home court. Tag us @popashot on Instagram to be entered to win a T-shirt.
Now that you’re ready to begin pung together your game, here are a few ps:
• Remove all of the parts from the box and verify that you have all of them (as shown on the Parts list).
Keep an eye out for some of the smaller ones, like the rim nets.
• Find a clean, level place to assemble your game.
• We recommend working on a so, non-marring surface such as carpet or the cardboard box your game
came in.
• Like most things in life, pung together a Pop-A-Shot is beer with a friend. If you can’t nd someone to
help the enre me, we’ll point out those steps when two people are especially helpful.
We strongly recommend scanning the QR code here (or going to
www.popashot.net/qr-hds) to visit the Home Dual Shot Hub. Here
you’ll nd a wealth of resources to get the most out of your game,
including:
• Registraon form.
• Complete the form to acvate your warranty and let us know
what you love about your new game!
• Assembly direcons, videos and addional ps.
• Troubleshoong help, both for assembling as well as playing your
game.
• The easiest way to contact our All-Star Support team with any
quesons.
• Links to our social media channels (make sure to follow us!).
• The Century Club, for those whose scores have hit 3 digits!
If you do have any problems or quesons during assembly or operaon,
please email support@popashot.net and we’ll take care of them.

13 Sensor
x4
STEP 10
HHH202
support@popashot.net www.popashot.net
4
PAGE
HOME DUAL SHOT PARTS
1Top Tube
x2
STEPS 4, 5, 11 & 12
HHH001
Part Name
Part Image
Part Quanty
Instrucon
Part ID#
Part #
Step Used In
3Base Tube
x2
STEPS 1
-
3 & 7
HDS003
5Connector Tube
x2
STEPS 1 & 3
HDS005
6Cross Tube
x2
STEPS 4 & 14
HDS006
7Side Tube
x2
STEPS 6 & 7
HHH007
8Ramp Tube
x2
STEPS 6 & 13
HHH008
9Lean Bar
x1
STEPS 13
-
16
HDS009
10 Cross Bar
x1
STEPS 12 & 15
HDS010
11 Side Arm
x2
STEPS 5 & 7
HDS011
16 Backboard
x1
STEPS 8
-
12
HDS373 or HDS374
12 Scoreboard
x1
STEP 9
HDS204
19 Ball Return Ramp
x1
STEPS 12, 15 & 16
HDS018 or HDS039
20 Ball
x7
ZY-YK48-5791
21 Ball Pump
x1
PAS34 0
NOTE: The needle is in the
handle of the pump
15 Power Adapter
x1
PAS206
4Forward Tube
x2
STEP 5
HHH004
18 Net
x2
STEP 8
HHH331
17 Rim
x2
STEP 8
HHH322
2Board Tube
x2
HDS002
STEPS 2
-
5
14 Control Panel
x1
HHH201
STEP 16

HARDWARE BLISTER PACK
INCLUDED TOOLS RECOMMENDED TOOLS
Allen Wrench
with
Phillips Head
CAUTION: DO NOT OVER TIGHTEN. SET TO VERY LOW TORQUE
when using Electric Screwdriver or Power Driver.
Wrench
Socket Wrench Set
Power Driver
or
Electric
Screwdriver
The included tools will get the job done, but you probably have beer tools of your own.
22 Sensor Screw
x8
STEP 10
HDS022
23 Extra Long Bolt
x2
STEP 7
HDS023
support@popashot.net www.popashot.net
5
PAGE
24 Backboard Bolt
x4
STEPS 11 & 12
HDS024
25 Bolt
x10
STEPS 1, 3 & 5
HDS025
26 Rim Bolt
x8
STEP 8
HDS026
27 Cross Bolt
x4
STEPS 4 & 14
HDS027
28 Scoreboard Bolt
x4
HDS028
STEP 9
31 Scoreboard Nut
x4
HDS031
STEP 9
30 Nut
x28
HDS030
STEPS 1, 3, 4, 5, 7, 8, 11, 12 & 14
29 Washer
x56
HDS029
STEPS 1, 3, 4, 5, 7, 8, 11, 12 & 14

Board Tube
Base Tube
2
3
x2
x2
ID# Name
Qty.
3
3
2
2
3 Holes
3 Holes
29
25 30
29
Base Tube
Connector Tube
Bolt
Washer
Nut
3
5
25
29
30
x2
x1
x4
x8
x4
ID# Name
Qty.
3
3
5
Repeat on this side
support@popashot.net www.popashot.net
6
PAGE
STEP 1
STEP 2 Note: This part will
not be secured unl
the next step
Note: Upper holes
on (#2) Board Tubes
should face forward.

STEP 4
Top Tube
Board Tube
Cross Tube
Cross Bolt
Washer
Nut
1
2
6
27
29
x2
x2
x1
x2
x4
x2
ID# Name
Qty.
30
29
30
27
29
6
1
1
2
2
Repeat on other side
Board Tube
Base Tube
Connector Tube
Bolt
Washer
Nut
2
3
5
25
29
x2
x2
x1
x4
x8
x4
ID# Name
Qty.
30
Repeat on this side
3
3
2
2
29
25
30
29
5
support@popashot.net www.popashot.net
7
PAGE
STEP 3
Repeat on other side
Start at the lowest
Spring Lock posion
and raise it up as
needed. Choose your
height based on your
space and the height
of your players.
Note: Aer height is set,
push the black collar down
on top of the (#2) Board
Tube to cover the transion.

Side Tube
Ramp Tube
7
8
x2
x2
ID# Name
Qty.
7
7
8
8
STEP 5
Top Tube
Board Tube
Forward Tube
Side Arm
Bolt
Washer
Nut
1
2
4
11
25
x2
x2
x2
x2
x2
x4
x2
ID# Name
Qty.
29
30
Note: Make sure the
(#4) Forward Tubes
are outward.
4
4
1
1
11
11
2
2
29
25 30
29
Repeat on other side
support@popashot.net www.popashot.net
8
PAGE
STEP 6

support@popashot.net www.popashot.net
9
PAGE
STEP 7
STEP 8
Base Tube
Side Tube
Side Arm
Extra Long Bolt
Washer
Nut
3
7
11
23
x2
x2
x2
x2
x4
x2
ID# Name
Qty.
29
30
11
11
7
7
3
3
Repeat on this side
Reminder: Do not over ghten, these should be able to swing.
Note: Aer installing the (#17) Rim, aach the (#18)
Net, making sure the longer strands are on top. If the
net is not aached properly, scoring can be aected.
16
29
30
26 29
17
18
Backboard
Rim
Net
Rim Bolt
Washer
Nut
16
17
18
26
29
x1
x2
x2
x8
x16
x8
ID# Name
Qty.
30
Repeat on this side
29
23
30
29
Reminder: Do not over ghten.
Note: (#7) Side Tubes go on
the inside of the frame. (#11)
Side Arms go on the outside.

support@popashot.net www.popashot.net
10
PAGE
STEP 9
STEP 10
Scoreboard
Backboard
Scoreboard Bolt
Scoreboard Nut
12
16
28
31
x1
x1
x4
x4
ID# Name
Qty.
16
28
31
12
Sensor
Backboard
Sensor Screw
13
16
22
x4
x1
x8
ID# Name
Qty.
16
13
22
Note: (#13) Sensor must
be aached level and
screwed all the way into
the (#16) Backboard.
Aer installing the (#22)
Sensors, plug the TOP sensor
cords into the “Top” outlets
and the BOTTOM sensor cords
into the “Boom” outlets on
the (#12) Scoreboard.
Install 4 AA baeries into
the (#12) Scoreboard or plug
in the (#15) Power Adapter.

support@popashot.net www.popashot.net
11
PAGE
STE P 11
16
30
29
29 24
1
1Top Tube
Backboard
Backboard Bolt
Washer
Nut
1
16
24
29
30
x2
x1
x2
x4
x2
ID# Name
Qty.
Note: Only aach the bolts to
the top of the (#16) Backboard.
We need the boom holes
open for a later step.
Note: If you can, grab a
helper for this step.
Reminder: Do not over ghten.

support@popashot.net www.popashot.net
12
PAGE
STEP 12
Top Tube
Cross Bar
Ball Return Ramp
Backboard
Backboard Bolt
Washer
Nut
1
10
19
16
24
x2
x1
x1
x1
x2
x4
x2
ID# Name
Qty.
29
30
16
10 24
29
29
30
1
View from Behind. Slide (#10)
Cross Bar through the sleeve on
the (#19) Ramp before aaching
to the rear of the (#1) Top Tubes
and (#16) Backboard through
the boom open holes.
Repeat on other side
First slide the elasc straps onto (#1) Top
Elbow Tube rst, then the ramp sleeves.
19
1
Note: Secure the
(#19) Ball Return
Ramp elasc
straps over the
nuts on rear of
(#14) Backboard.
Pull (#19) Ramp under
the (#6) Cross Tube.
6
1
19
Note: Fabric loops
should be on right side
when oriented properly.
19

8
8
9
support@popashot.net www.popashot.net
13
PAGE
STEP 13
29
30
Aach (#9) Lean Bar to the
(#8) Ramp Tubes using the
aached spring locks.
Aach the (#6) Cross Tube to
the front of the (#9) Lean Bar.
29
6
STEP 14
Ramp Tube
Lean Bar
8
9
x2
x1
ID# Name
Qty.
Lean Bar
Cross Tube
Cross Bolt
Washer
Nut
x1
x1
x2
x4
x2
ID# Name
Qty.
9
6
27
29
30
27
9

19
Top Height
Middle Height
Boom Height
Aach the hook &
loop on the (#19)
Ramp according to
this chart.
support@popashot.net www.popashot.net
14
PAGE
STEP 15 Pull the front of the
(#19) Ramp under
the (#6) Cross Tube
and over the top of
the (#9) Lean Bar.
Lean Bar
Cross Tube
Ball Return Ramp
9
6
19
x1
x1
x1
ID# Name
Qty.
19
Pull the straps around the (#9) Lean
Bar and snap it into the buckle. Use
the lower buckle on the Top Height,
and the upper buckle on the others.
STEP 16
Lean Bar
Control Panel
Ball Return Ramp
9
14
x1
x1
x1
ID# Name
Qty.
19
Wire
Loops
Snap the (#14) Control Panel into the divot on the center
of the (#9) Lean Bar. Thread the (#14) Control Panel wire
through the loops on the right side of the ramp and connect
to the (#12) Scoreboard on the back of the (#16) Backboard.
14
19
9

support@popashot.net www.popashot.net
15
PAGE
GAME OPTIONS
CONTROL PANEL OPERATION
TURNING ON THE GAME: Press ON/OFF to turn on your game.
SELECT GAME: Press GAME to select one of the 16 games
(see GAME OPTIONS for complete list).
AUDIO: Press AUDIO to make Audio selecon
(see AUDIO OPTIONS for complete list).
VOLUME: Press VOLUME to turn volume up/down
(it goes all the way in one direcon before going back in the other).
STARTING A GAME: Press START to start your game.
TURNING OFF THE GAME: Press and hold ON/OFF to turn o your game.
There are 6 dierent audio opons. Select
the audio opon by pushing AUDIO unl
you reach your selecon. The number will
be displayed on the scoreboard.
S1: Play-by-play announcer & Sound FX
S2: Sound FX only
S3: Electronic Music
S4: Rock Music
S5: Hip Hop Music
S6: No Sound
AUDIO OPTIONS
Push GAME unl desired Game Number is displayed, then press START to begin.
For Games 1-9 (except 6) and Game 16
Announcer and clock will count down to start. Baskets are 2 points unl nal :10 when they’re 3 points.
1. Standard: 2 Players/:30
Bonus: :15 extra at 30 points; :10 extra at 60 points
2. Overme: 2 Players/1:00
Bonus: :15 extra at 50 points; :10 extra at 80 points
3. Sudden Death: 2 Players/:15
Bonus: :15 extra at 20 points; :10 extra at 40 points
4. Intermediate: 2 Players/:45
Bonus: :15 extra at 40 points; :10 extra at 70 points
5. Solo: 1 Player/:30
Only one basket is acve
Bonus: :15 extra at 30 points; :10 extra at 60 points
6. Free Play: 1-2 Players/No clock
All baskets count 2 points Continued

support@popashot.net www.popashot.net
16
PAGE
7. Team: 2 Players/:30
Combined score of players is shown on both scoreboards
Bonus: :15 extra at 30 points; :10 extra at 60 points
8. Cross Court: 1/2 Players/:30
Player 1 goes rst and shoots at basket displaying score/acve basket will change
9. Crisscross: 2 Players/:30
Players shoot at their opponent’s basket
Score is displayed on shooter’s side
10. Skeet Shoong: 1 or 2 Players
Announcer says “Shoot”, then have :03 to make basket
11. Sharp Shooter: 1 Player
Announcer says “Le” or “Right”, then have :03 to make a shot in that basket
12. Double or Nothing: 2 Players/:15
First basket counts for 2 points, then each subsequent basket counts for double
If no basket is made within :03, next basket is 2 points
13. Scoring Streak: 2 Players/:30
If no shot made during :03, streak is broken
14. Tug of War: 2 Players
For each made basket, that player gets 2 points and other player gets -2
First player to 10 points wins
15. Around the World: 2-4 Players
First player to make 10 shots wins
16. Tournament: 2-4 Players
Player 1 vs. Player 4, then Player 2 vs. Player 3; winners play in Finals
GAME OPTIONS (Continued)
Table of contents
Other Pop-A-Shot Arcade Game Machine manuals
Popular Arcade Game Machine manuals by other brands

PlayMechanix
PlayMechanix Halo: Fireteam Raven Super Deluxe Setup and Operatin Service Manual

Bay Tek Games
Bay Tek Games SINK IT SHOOTOUT! Service manual

MD SPORTS
MD SPORTS WM12201 CAN Assembly instructions

MD SPORTS
MD SPORTS 57001 Assembly instructions

Sega
Sega World Series Baseball Super Major League owner's manual

MERIT INDUSTRIES
MERIT INDUSTRIES Megatouch SLIM MAXX owner's manual