3
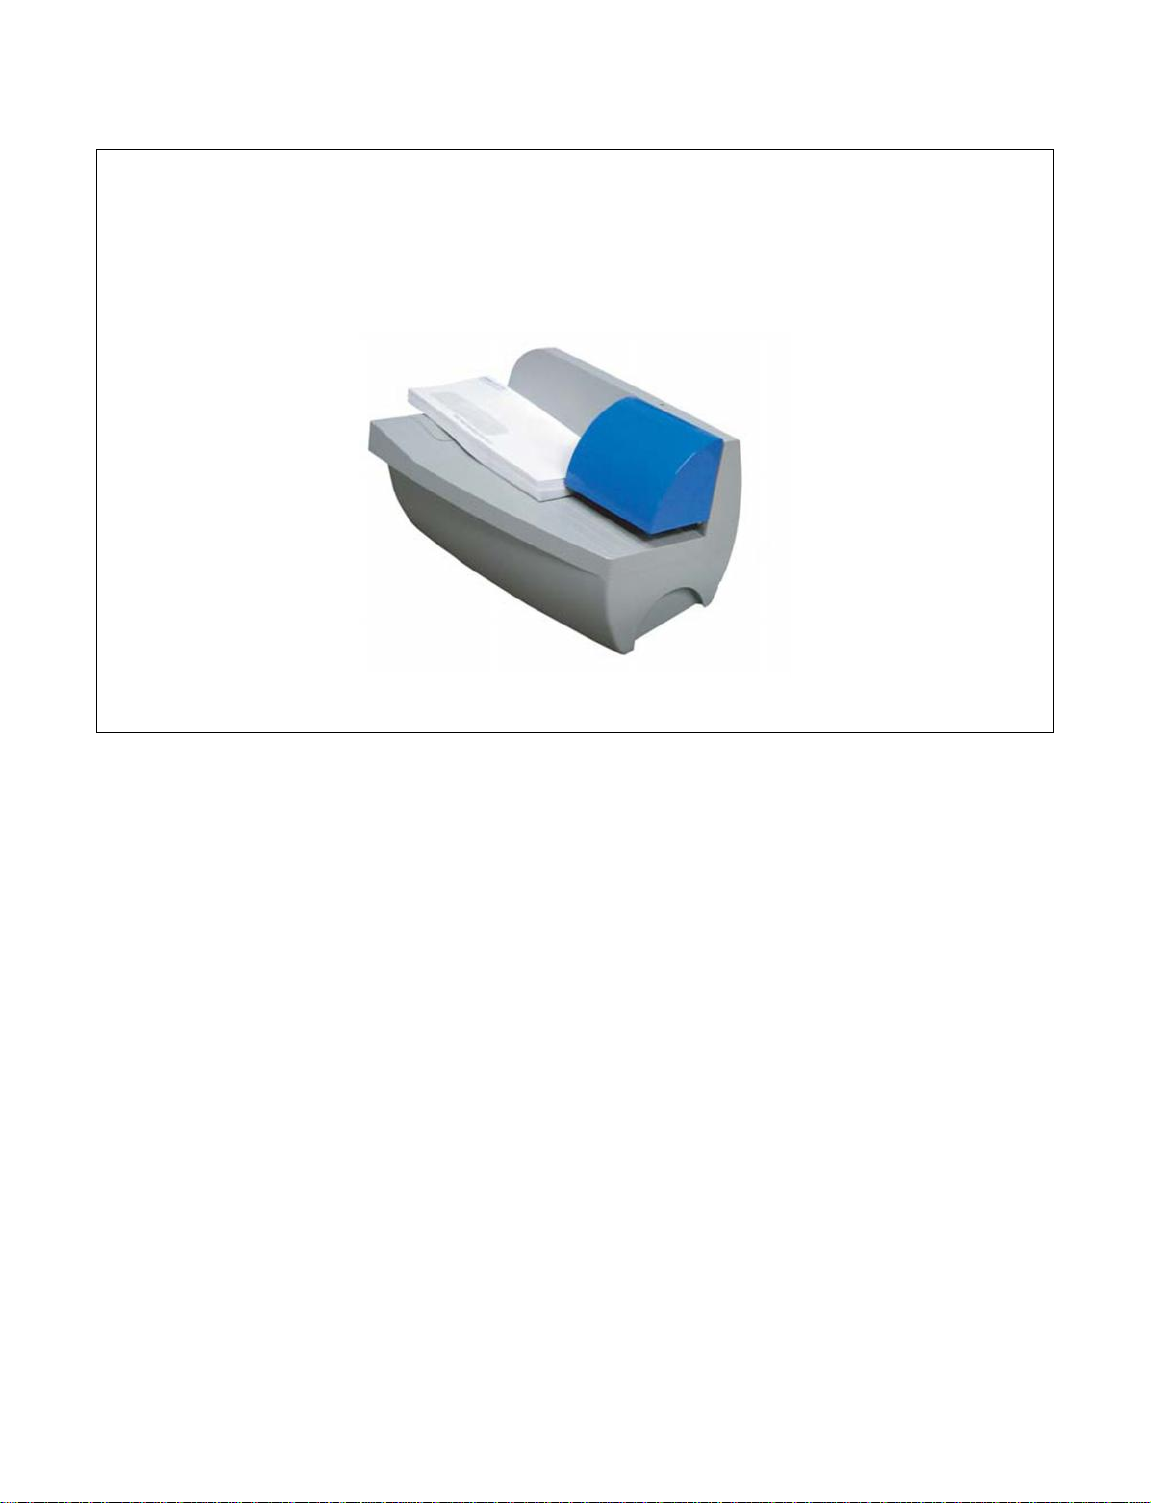
Servicing Your Machine
Before you start
Place Letter opener on a level surface
Make sure there are no obstructions in the feed area
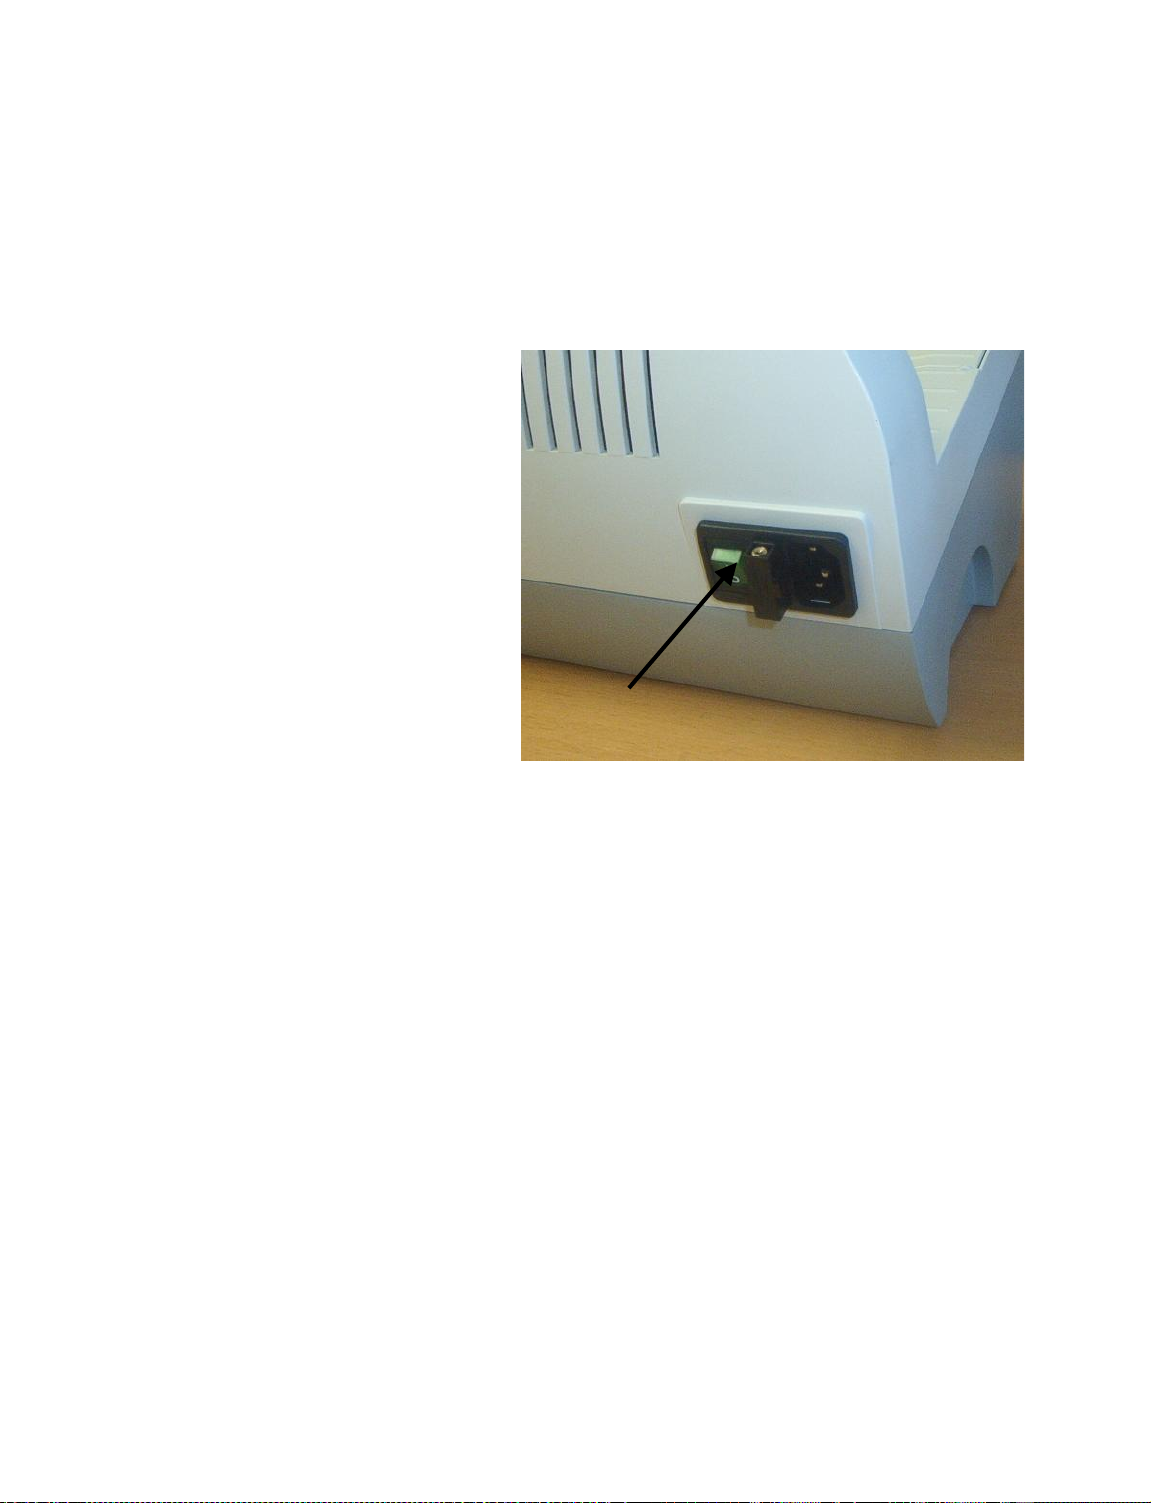
Turn the power to the off position
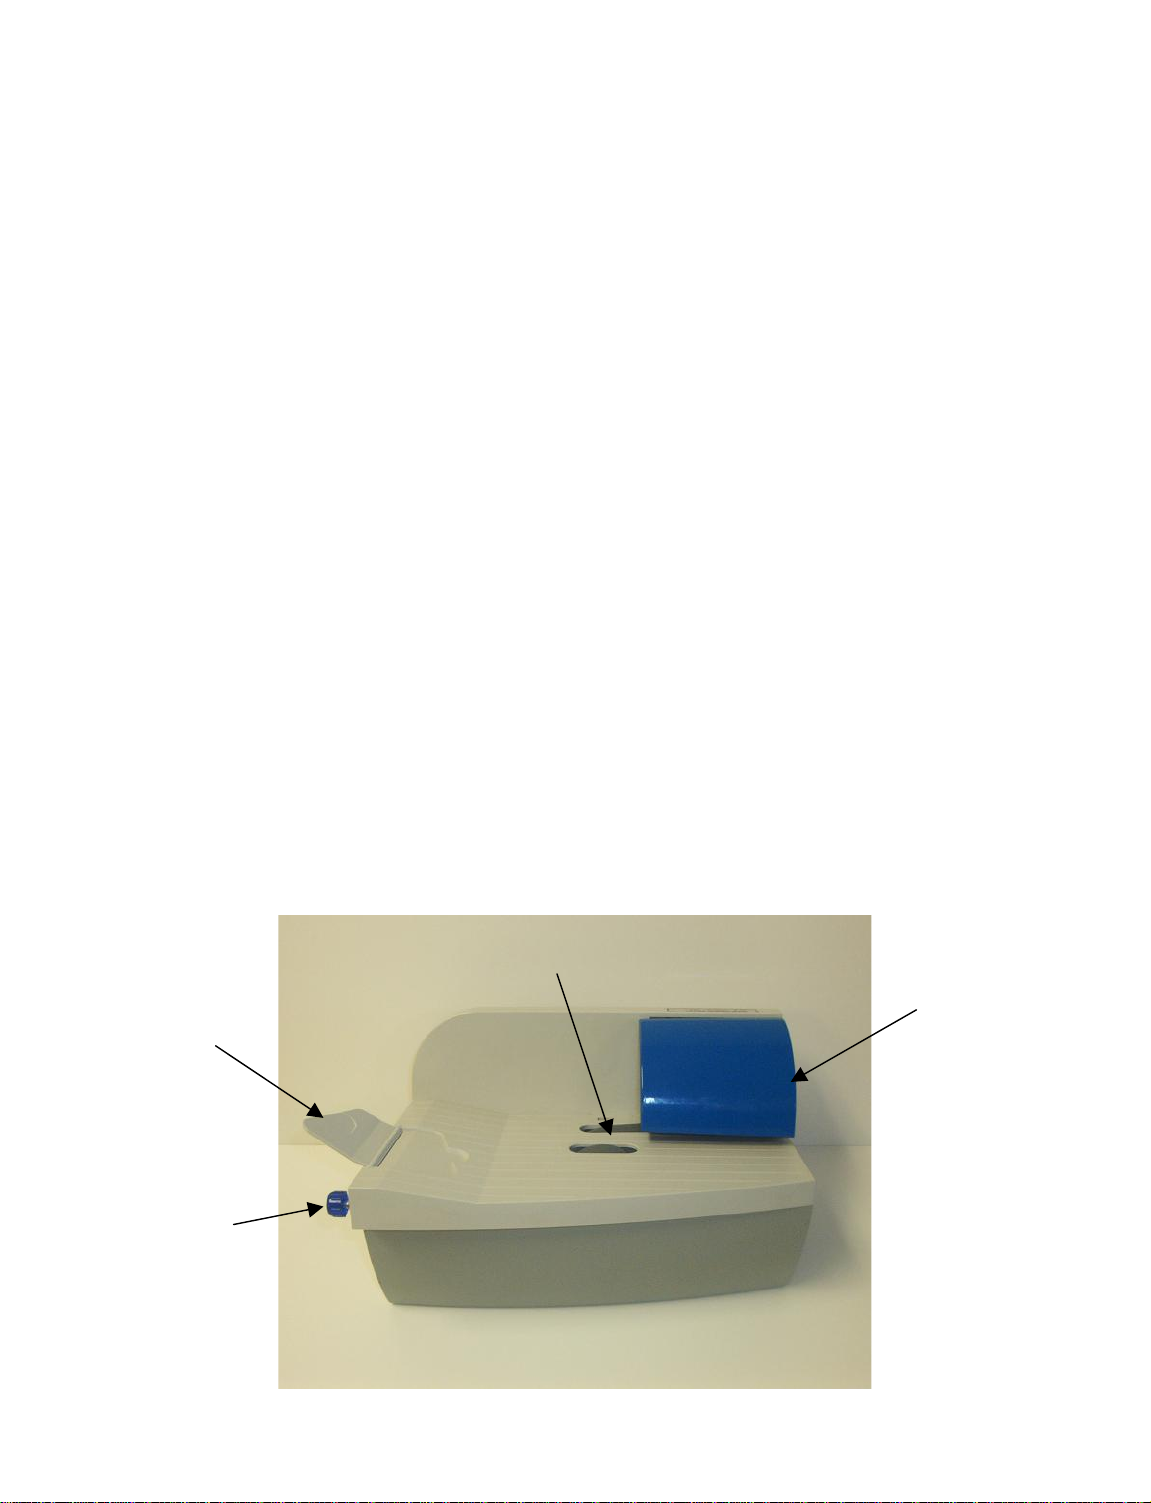
Start / Stop
Plug in the power cord. Turn the power button to the on position ( I ).
To turn to the off position press the power button to ( 0 ).
Adjusting the Cut
The factory setting of the cutting blade should be satisfactory but the cut on an envelope can be
adjusted. We recommend that you test the cut after adjustment using only a few envelopes. It is
also recommended that the cut be as small as possible to protect the contents of the envelopes.
1. Turn power off and unplug power cord.
2. To adjust the knife you need to remove the track
cover by pulling up on both sides. This will
deactivate the micro-switch and the machine
will not run.
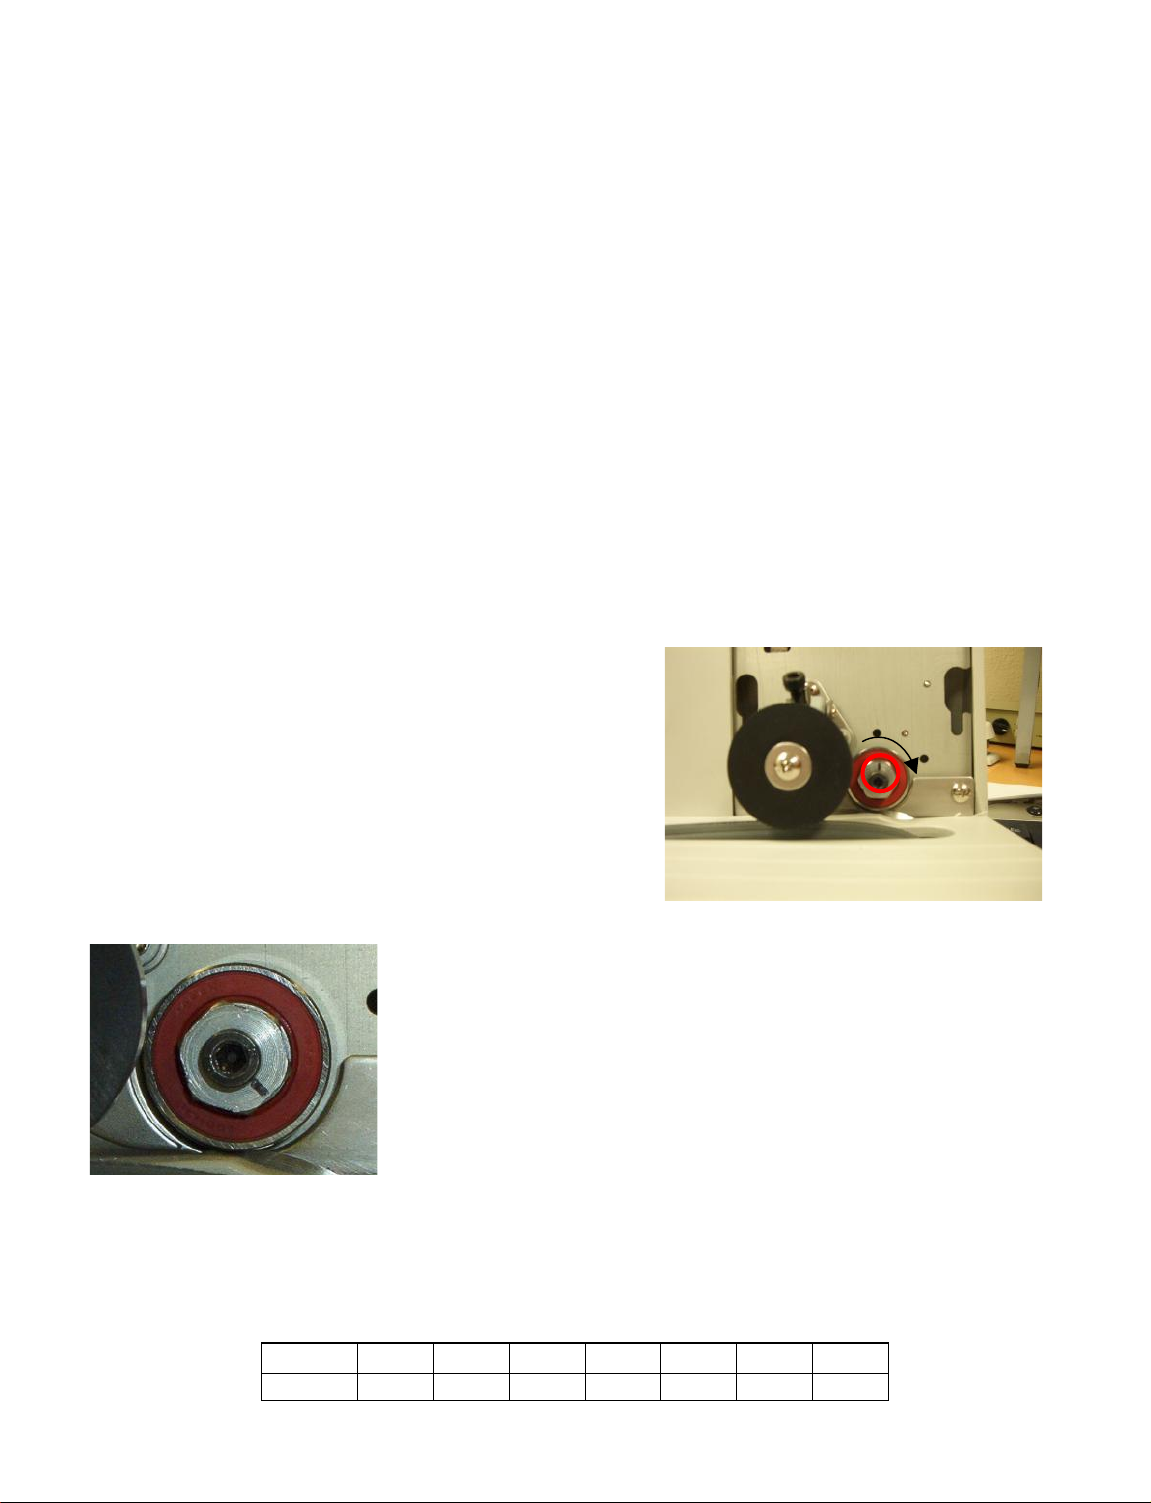
3. When the mark, as circled in the picture, is
positioned at the upper center like picture A, the
gap between the blade and the bearing would be 0.2 mm.
4. To reduce the gap, turn the nut in the clockwise direction as
shown in picture B.Do not tighten past 105o, doing so can
damage the blade. A table of gaps is shown in the Table 1.
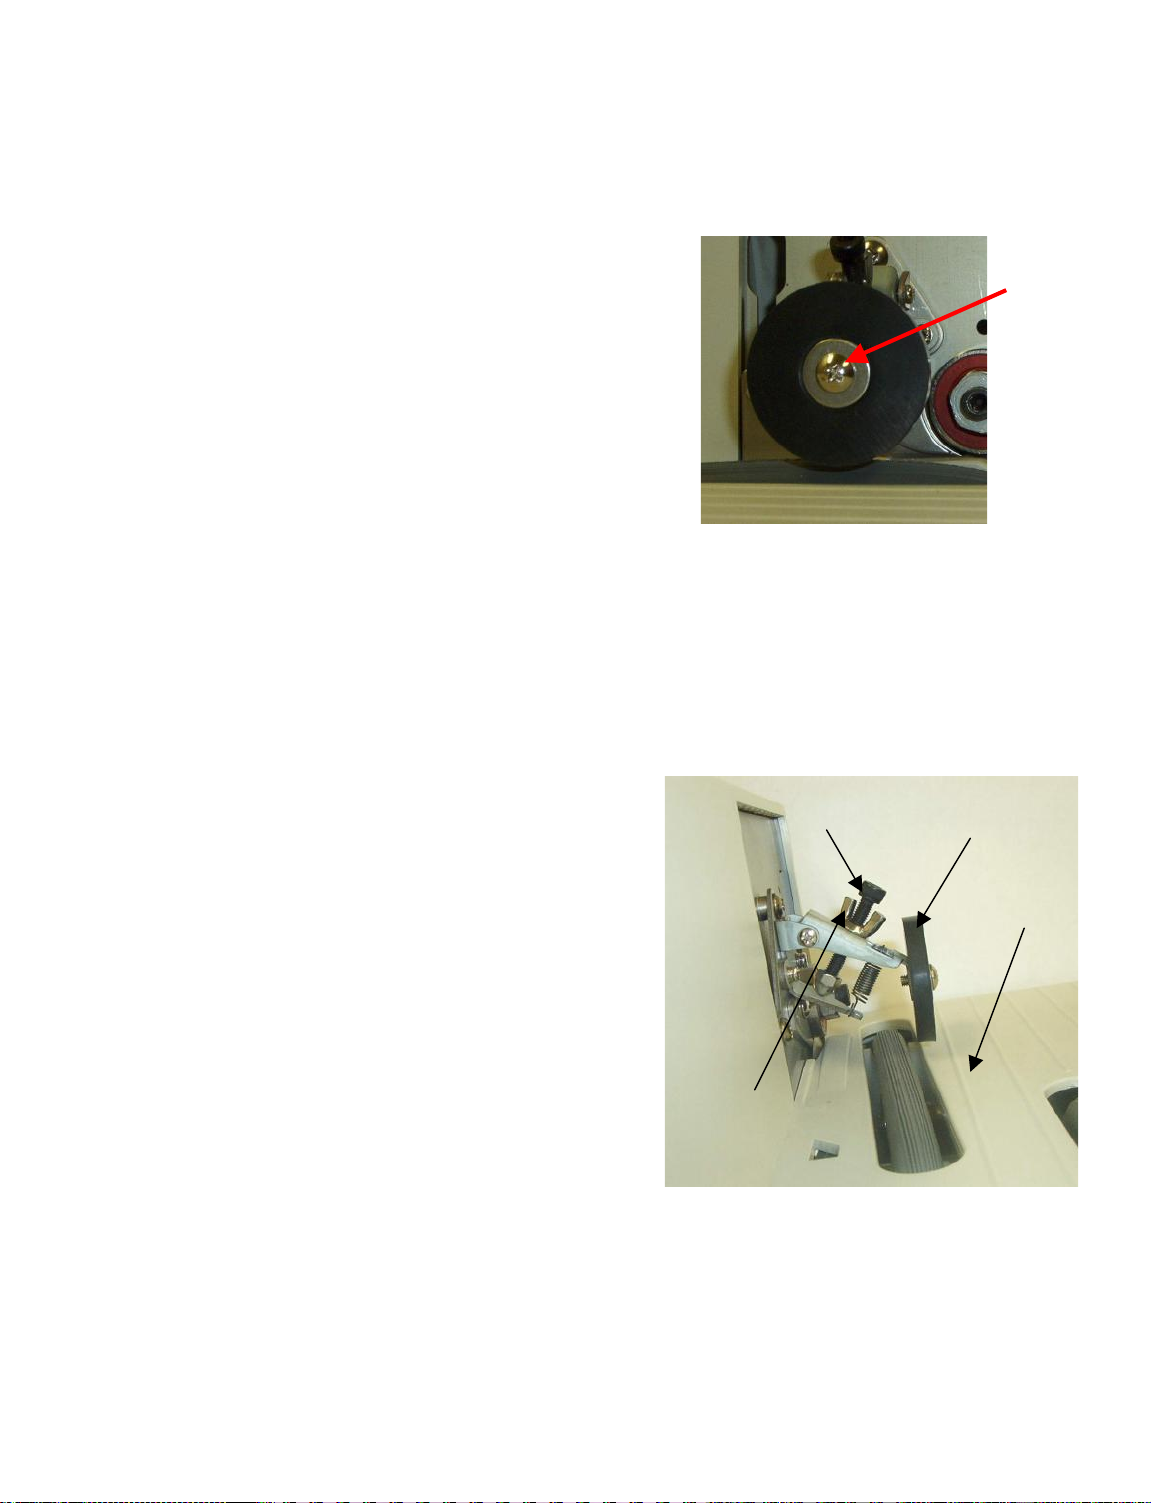
5. Before you run the machine, test to make sure the blade is
not touching the bearing. You can test this by moving the
feed belts and observing that bearing does not move.
6. Test one envelope. Check to see that the knife only cut on side of the envelope. If is cuts
completely through the envelope, the gap is too small.
7. Re-connect the power cord and turn on the machine.