manuals.online logo
Brands
  1. Home
  2. •
  3. Brands
  4. •
  5. Neopost
  6. •
  7. Postal Equipment
  8. •
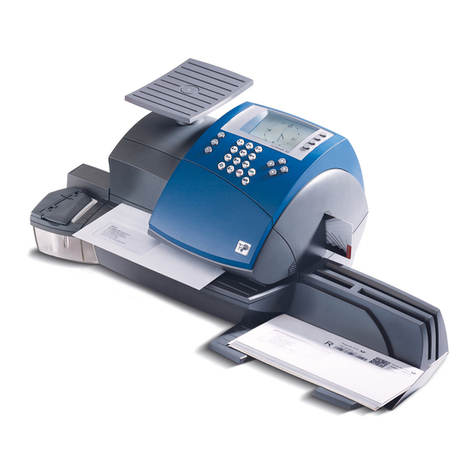
  9. Neopost IS-350 User manual

Neopost IS-350 User manual

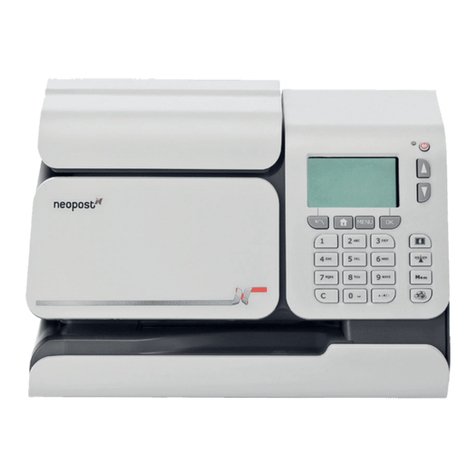
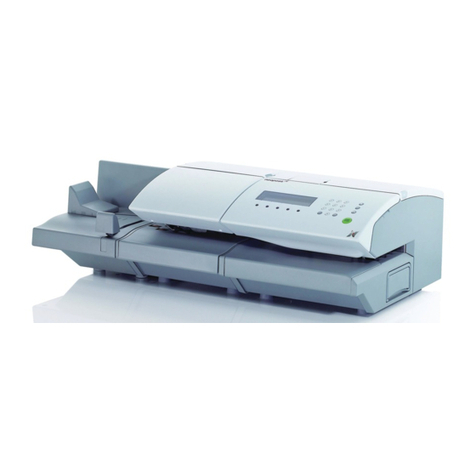
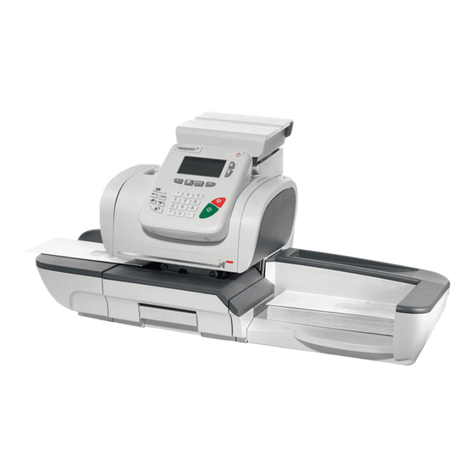
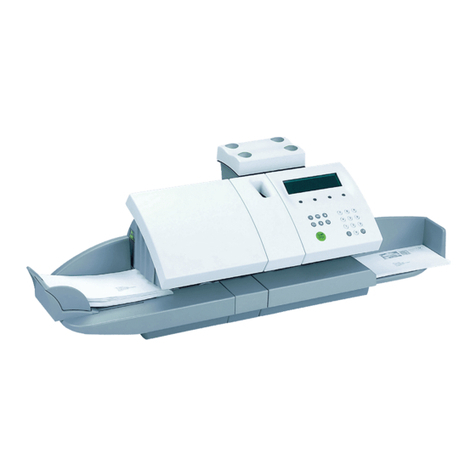
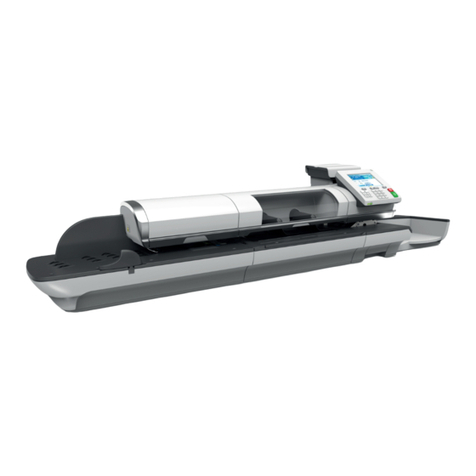
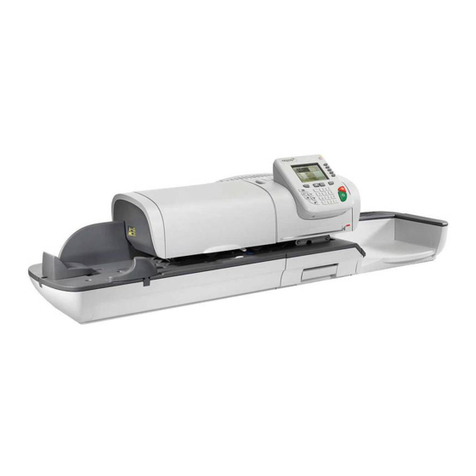
QUICK INSTALLATION GUIDE FOR IS-350 & IS-420/430
Establish your telephone system type (analogue or digital) and
your Prefix requirements if needed (i.e. is a ‘9’ required to pick
up an outside line from the phone line that will be used for the
machine). For details about your telephone system, please
contact your IT department before moving on to Step 2.
1.
Note: This machine will only work on an analogue line
2. Check that the following items are present:
Optional items:
IS-350 IS-420/430 Power Cable Ink Cartridge Meter (PSD)
Telephone Cable Modem
OR
Weigh Platform
NOT IS-350
Autofeed
IS-430 ONLY
Feed Table
OR
3. Install Meter (PSD)
Transit tape is
applied to the
Lower Conveyor
Table (all machines) and
the integrated Weigh
Platform (IS-350). This
must be removed before
the machine is used.
Catch Tray
IS-420/430 Only
22/08/2008 - 4142175Q
WARNING !
Do not connect the power to the
machine until step 7
Remove the meter (PSD) from the cardboard box.
Note the Meter Die Number before installing.
It is printed on the Meter (N3######).
Open the top cover of the machine. Fit the meter as shown in
the diagram below. On the IS-350 a cover has to be opened
first to install the meter. The meter is placed into the cavity
and then pushed forward to connect as shown in the diagram
below.
IS-350
IS-350
IS-420/30
IS-420/30
Install Ink Cartridge
4.
Remove the Ink Cartridge from the box and then remove the
blue tabs that are covering the print heads.
Open the top cover of the machine. The carriage will be in the
correct position to install the cartridge.
Place the cartridge with the print heads facing down into the
carriage as shown below. When the cartridge is in this position
click the cartridge forward into the locked position as shown
below. If the cartridge does not click in correctly start the
process again.
The Meter (PSD) and the Ink Cartridge are now installed
correctly.
Close all covers and move on to the next step.
5. Connection of All Other Units
To connect a feed table to the base.
=
=
To connect an Autofeed to the base (IS-430 only)
Connect the cable from the feeder unit to COM 1 at the rear of
the base unit and tighten the screws.
To connect a WP (Weigh Platform) to the base.
Connect the cable from the WP unit to COM 2 at the
rear of the base unit and tighten the screws.
6.
Plug the Modem
into either USB
port. Then plug
the phone Cable
into the connector
on the modem
7.
Connect Telephone Cable & Modem
Connect Power Cable to the Mains Power Supply
Modem USB
Telephone
Cable
Analogue
Telephone
Socket
8.
9.
10.
Installation wizard
Follow the on-screen prompts using the
and OK keys.
Dial Prefix
Enter a telephone prefix if required to pick up an outside
line. Press ‘C’ before entering the number/s. If no prefix is
required then the field must be left blank.
Registration
In the interest of Meter security whilst in transit your new
machine will have to be activated on installation.
A registration PIN will need to be entered into the machine.
This PIN can only be generated by visiting the Neopost Web
Site.
www.neopost.co.uk
In the ‘myneopost’ column of the Web page, click on
‘IS System Installation Pin’
Then enter the following details:
Installation Account (found on the Welcome Letter)
Installation Postcode
Licence Number (this is the Meter Die No. starting
with ‘N’)
When the details have been entered click on ‘Get PIN’
Take note of the PIN that is generated.
After entering the PIN the machine will activate.
11. Crediting
Press ‘C’ before entering an initial recredit value of £50.This
is to establish a correct credit transaction. Further funds can
be added after the initial credit transaction is successful.
The machine will then make a ‘Declaration Call’ to activate
purchased features, and finish with ‘Server Call Successful’.
12. Headset Alignment
Finally, you need to check and set the headset alignment.
Press the ‘OK’ button and pass a blank envelope through the
machine. Observe the alphabetically arranged vertical lines
and using the up & down arrow keys select the letter that
corresponds with the straightest line.
INSTALLATION COMPLETE
Providing all the previous steps have been followed you can
now connect the power cable to the franking machine and
switch the power on.
Other manuals for IS-350

1

This manual suits for next models

2

Other Neopost Postal Equipment manuals

Neopost IS-480 User manual

Neopost

Neopost IS-480 User manual

Neopost IJ45 User manual

Neopost

Neopost IJ45 User manual

Neopost IS-280 iMeter Manual

Neopost

Neopost IS-280 iMeter Manual

Neopost IS-280 iMeter User manual

Neopost

Neopost IS-280 iMeter User manual

Neopost IM-18 User manual

Neopost

Neopost IM-18 User manual

Neopost IN-600 Series User manual

Neopost

Neopost IN-600 Series User manual

Neopost IS-430 User manual

Neopost

Neopost IS-430 User manual

Neopost ij25 User manual

Neopost

Neopost ij25 User manual

Neopost IJ65 User manual

Neopost

Neopost IJ65 User manual

Neopost IM-15 User manual

Neopost

Neopost IM-15 User manual

Neopost 5050 User manual

Neopost

Neopost 5050 User manual

Neopost ij25 User manual

Neopost

Neopost ij25 User manual

Neopost IJ 70 User manual

Neopost

Neopost IJ 70 User manual

Neopost DS-90 User manual

Neopost

Neopost DS-90 User manual

Neopost 5060 User manual

Neopost

Neopost 5060 User manual

Neopost IJ-140 User manual

Neopost

Neopost IJ-140 User manual

Neopost IN-360 User manual

Neopost

Neopost IN-360 User manual

Neopost AS-940 User manual

Neopost

Neopost AS-940 User manual

Neopost IJ35 User manual

Neopost

Neopost IJ35 User manual

Neopost IJ 80 User manual

Neopost

Neopost IJ 80 User manual

Neopost IS-400 Series Parts list manual

Neopost

Neopost IS-400 Series Parts list manual

Neopost IJ-40 User manual

Neopost

Neopost IJ-40 User manual

Neopost IS-5000 User manual

Neopost

Neopost IS-5000 User manual

Neopost IJ 70 User manual

Neopost

Neopost IJ 70 User manual

Popular Postal Equipment manuals by other brands

Pitney Bowes DM125 instructions

Pitney Bowes

Pitney Bowes DM125 instructions

FP Postbase Mini Operator's manual

FP

FP Postbase Mini Operator's manual

quadient CS-200 Quick installation guide

quadient

quadient CS-200 Quick installation guide

Francotyp-Postalia FPi 1030 Operator's manual

Francotyp-Postalia

Francotyp-Postalia FPi 1030 Operator's manual

FP PostBase Operator's manual

FP

FP PostBase Operator's manual

XPOtool 60021 user manual

XPOtool

XPOtool 60021 user manual

WilTec 63451 operating instructions

WilTec

WilTec 63451 operating instructions

Labelmate UCAT-S user manual

Labelmate

Labelmate UCAT-S user manual

Pitney Bowes F731 Operator's guide

Pitney Bowes

Pitney Bowes F731 Operator's guide

quadient IN-700 user guide

quadient

quadient IN-700 user guide

Opex Omation Envelopener 210 Series Operator's manual

Opex

Opex Omation Envelopener 210 Series Operator's manual

quadient IM-22 user guide

quadient

quadient IM-22 user guide

Francotyp-Postalia FlexiScale Operation manual

Francotyp-Postalia

Francotyp-Postalia FlexiScale Operation manual

FP Mailing Solutions optimail 30 Operator's manual

FP Mailing Solutions

FP Mailing Solutions optimail 30 Operator's manual

Martin Yale 1622 operating instructions

Martin Yale

Martin Yale 1622 operating instructions

manuals.online logo
manuals.online logoBrands
  • About & Mission
  • Contact us
  • Privacy Policy
  • Terms and Conditions

Copyright 2025 Manuals.Online. All Rights Reserved.