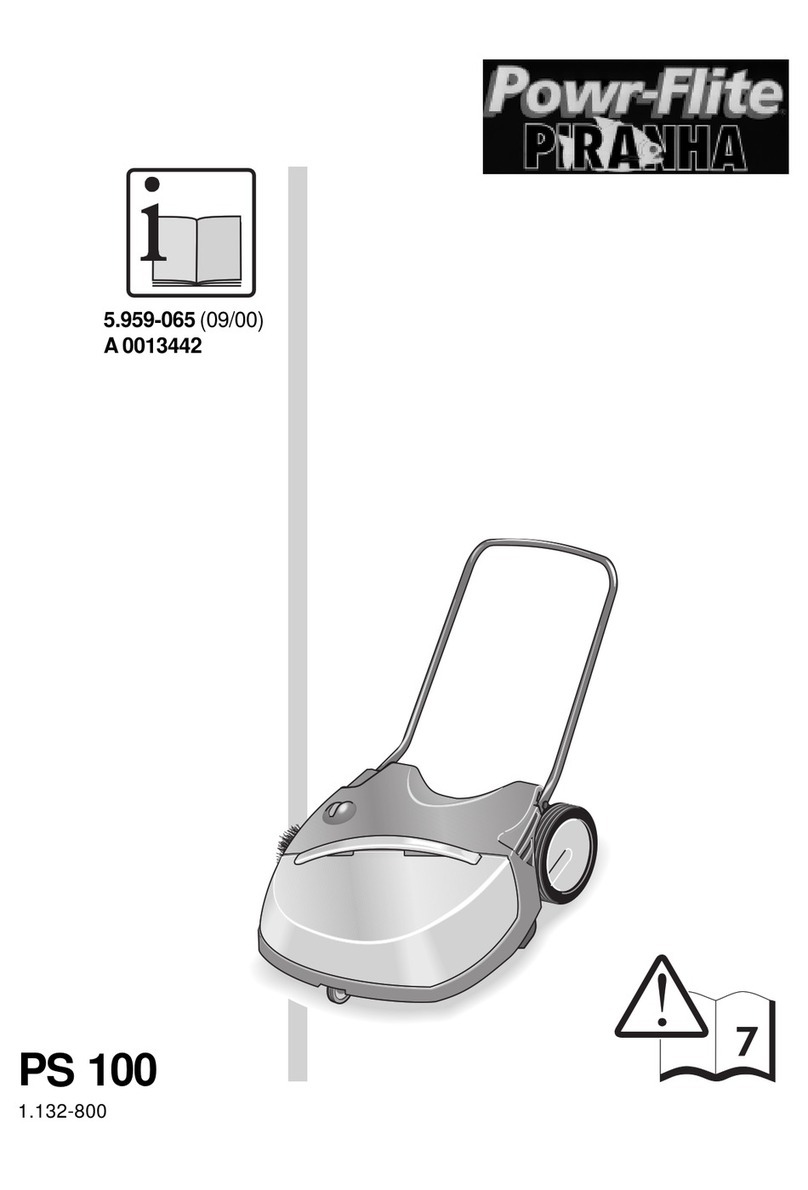
Unpacking and Assembly
1. Remove the PS320 from the box.
2. Put the handle in the upright position by pulling it downwards into the two
tappets completely. Tighten with two thumbscrews. (Fig. 1)
3. To install the side brooms, apply light pressure, twisting the brooms upwards
on the snap device until you feel them lock into place. (Fig.2)
Operation
1. To adjust the side brooms, move the adjustment knob until the side brooms just
touch the floor.
2. Adjust the main brooms so that they touch the floor. Be certain to adjust
both sides so that the main brooms touch the floor evenly. (Fig. 3)
3. To adjust the side brooms, turn the knob above the side broom assembly to the
left or to the right. (Fig. 4)
4. To use the sweeper, simply push it at a normal walking pace and not
too slowly.
5. To empty the hopper, simply lift it out and empty into a trash can.
6. Be sure to store sweeper in the compact upright position. This will prevent
broom damage and wear.
7. To park sweeper in folded storage postion, loosen the two screwed grips
slightly and draw the guide bar down. The handle can now be folded down
over the top of the sweeper. Park in upended postion with wheels toward
the wall. (Fig. 5-6)
Maintenance
1. The PS320 is designed to be maintenance free. All bearings are dust proof and
all parts are weatherproof. To clean the machine just wipe off with a dry or
damp cloth. It is not recommended to clean the machine with large amounts
of water.
Main Broom Replacement
1. The main brooms are designed according to the tandem roller principle so that
only one of the two brooms is in contact with the surface area and thus
exposed to wear and tear. The front broom within the machine will keep its
original size and can be used as replacement broom for the rear broom.
2. To replace the either main broom, tilt the machine upside down on a suitable
support.
3. Unscrew the two height-adjustment hand grips and remove them. (see Fig. #7)
4. Withdraw the two bearings, roller and driving pieces at the side and place them
on the new main broom, making sure to use the right driving piece for the right
side of the main broom and the left on the left. The two driving pieces are not
interchangeable.
5. Replace the main broom and adjust to the required working height on both
sides.
Side Broom Replacement
1. To replace the side broom, tilt the machine upside down on a suitable support.
2. Use two fingers to press the snap pin in the center of the side broom assembly.
The center axle does not need to be unscrewed – no tools are required to
replace the side brooms. (see Fig. #8)
3. Remove the side broom from the side broom assembly and exchange it.
SAVE THESE INSTRUCTIONS FOR FUTURE REFERENCE
Fig.1
Fig. 3
Fig. 5
Fig. 2
Fig. 4
Fig. 6
Fig. 7
Fig. 8
