manuals.online logo
Brands
  1. Home
  2. •
  3. Brands
  4. •
  5. PRASTEL
  6. •
  7. Receiver
  8. •
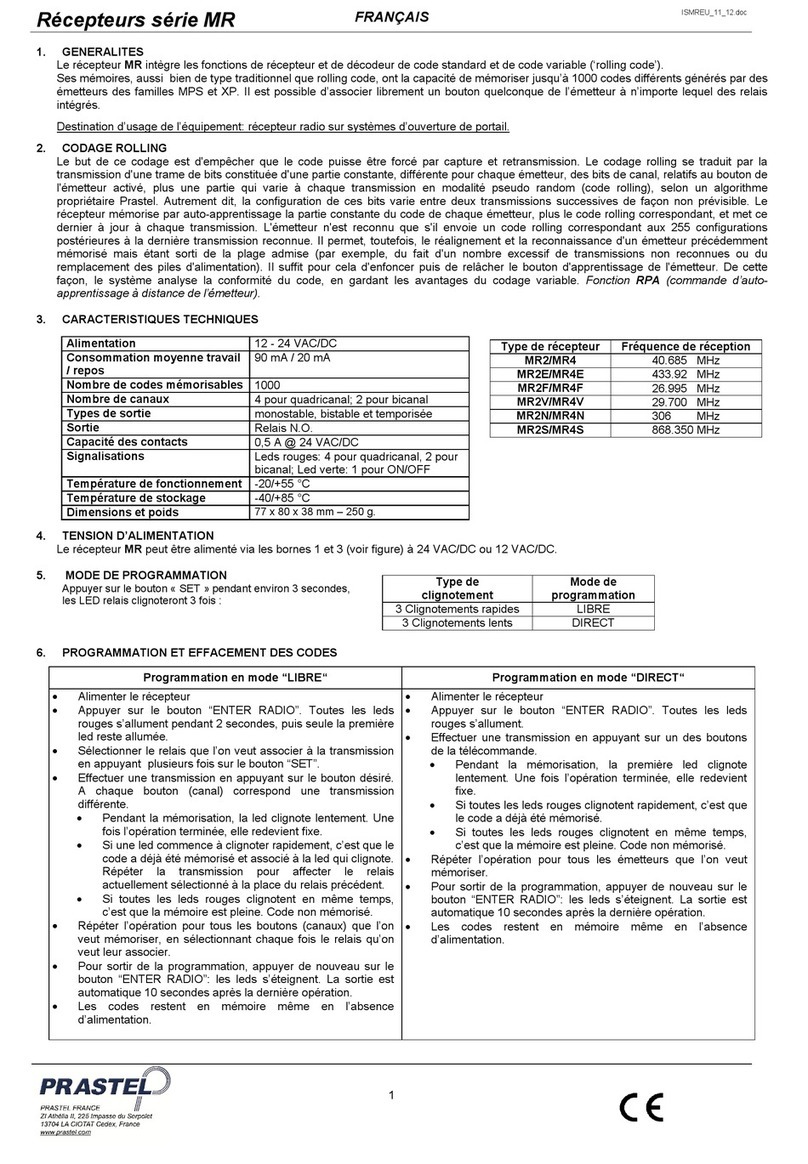
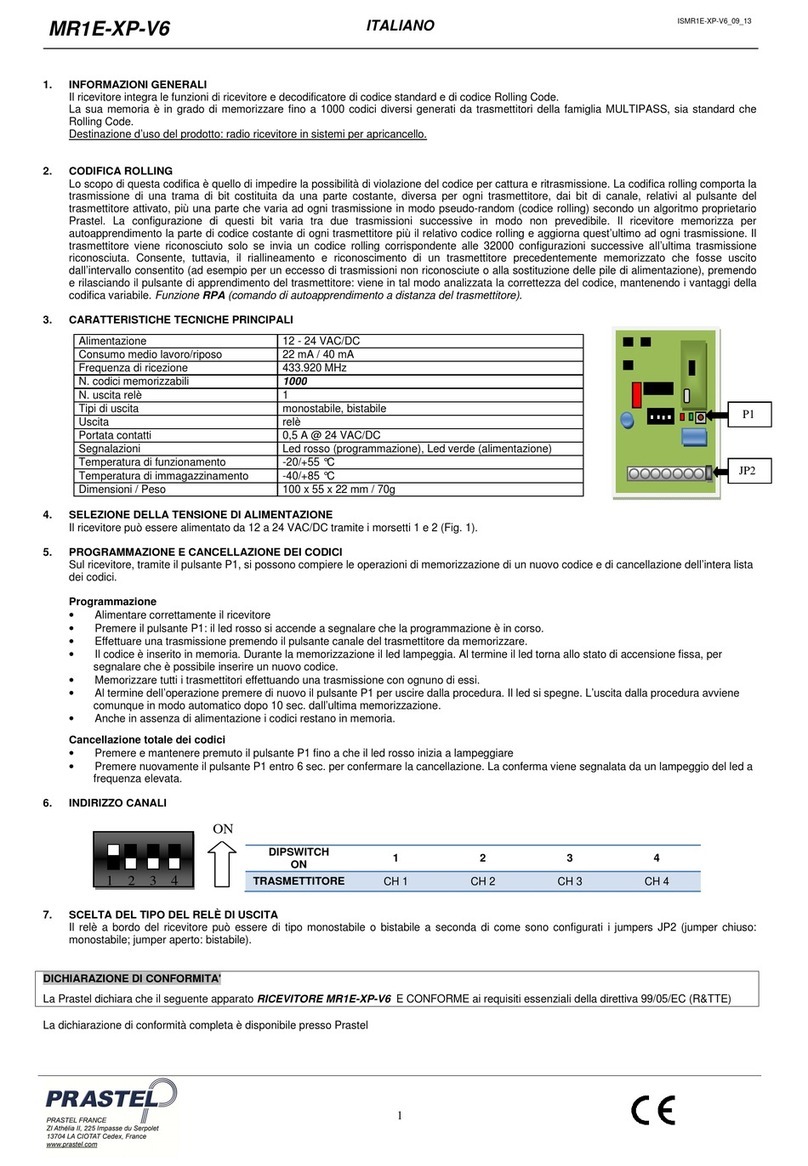
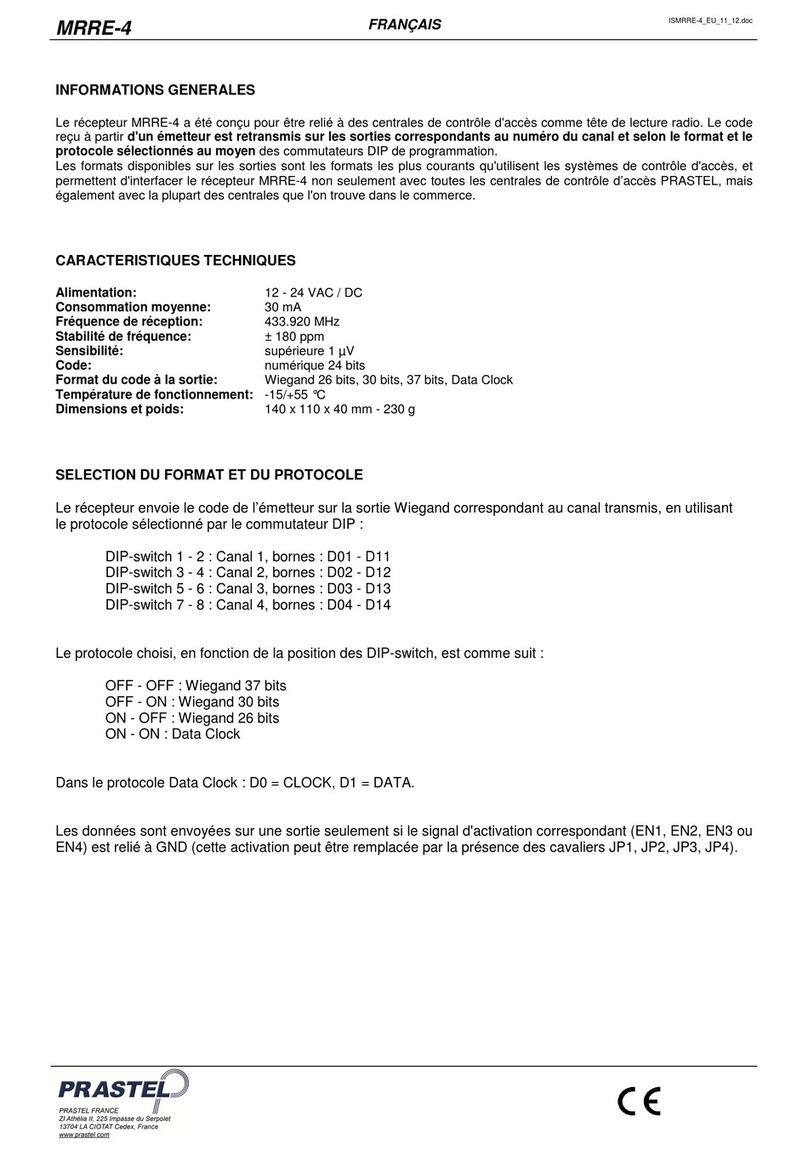
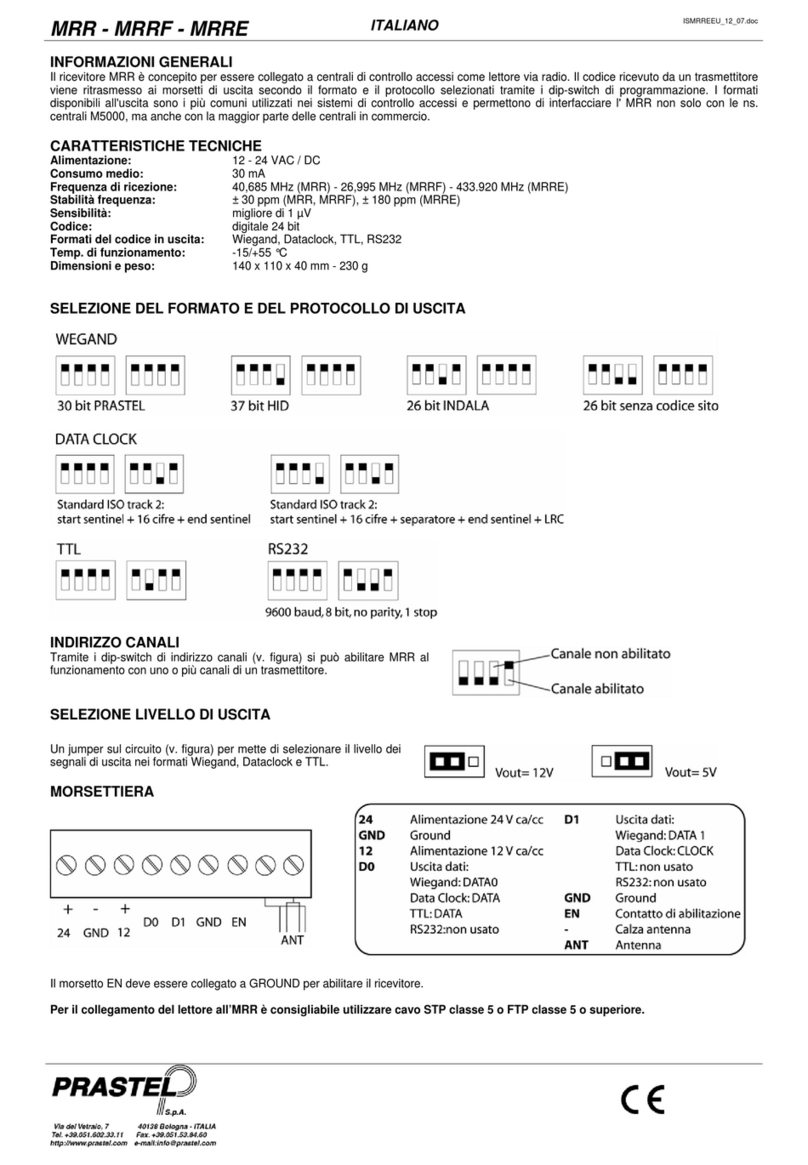
  9. PRASTEL MRE+ Series User manual

PRASTEL MRE+ Series User manual

MRE+ series Receivers
ENGLISH
ISMRXE+EN_02_19
1
1. GENERAL DESCRIPTION
The MR2E+/MR4E+ handle standard, rolling code and encrypted transmitter. It has a storage capacity of 1000 users. There are two programming
mode available: « Free » and « Direct »:
The free mode allows to pair a chosen channel to a chosen relay.
The direct mode locks the channel/relay pairing following this scheme: channel 1 (CH1) relay 1 (R1), channel 2 (CH2) relay 2 (R2) etc...
Product use: door and opening system’s radio receiver
2. ROLLING CODIFICATION
The purpose of this codification is to prevent the code from being cloned. Rolling code involves the transmission of a batch of bits with an ID part
(different for each transmitter), plus a part that changes at each transmission (rolling code), in accordance with a proprietary Prastel algorithm.
The receiver memorises by self-learning the ID part of the code of each transmitter plus the appropriate rolling code. It updates the latter at each
transmission. The transmitter is recognised only if it sends corresponding rolling code.
3. TECHNICAL FEATURES
Power supply
12 - 24 VAC/DC
Average Work/Rest consumption
90 mA / 50 mA (MR2E+)
130 mA / 50 mA (MR4E+)
Receiving frequency
433.92 MHz
Number of codes memorisable
1000
Number of channels
2 or 4
Types of output
Monostable
Bistable
Timed
Output
Relay N.O.
Contacts capacity
0,5 A @ 24 VAC/DC
Working temperature
-20/+55 °C
Storage temperature
-40/+85 °C
Size / Weight
77 x 110 x 45 mm, 110 g.
4. PROGRAMMING MODE
Press button SET for approx. 3 seconds, relay led will flash 3 times:
Flashing type
Programming mode
3 fast flashes
FREE
3 slow flashes
DIRECT (default)
5. RADIO LED’S FONCTIONNING MODE
Attention: The first registered transmitter in the receiver memory defines the
type of accepted transmitter for the receiver. If the first registered transmitter is
encrypted one: the receiver will only accept encrypted transmitter.
RADIO LED state:
Blue
4 short pulses
Wait for configuration
2 short pulses
Receiving encrypted transmitters
only
1 short pulse
Receiving all transmitters
Red
ON
Receiving non-encrypted radio batch
Green
ON
Receiving encrypted radio batch
6. CODES PROGRAMMING
“DIRECT“ programming mode (default)
“FREE“programming mode
Power up the receiver.
Press button “ENTER RADIO”. All red relay leds lights up.
Carry out a transmission pressing a transmitter button.
During memorisation, the first relay led flashes slowly.
Once memorisation done, it returns in non-flashing state.
If all relay red leds flash quickly, the code has already been
memorised.
If all relay red leds flash at the same time, memory is full.
The transmitter is not inserted.
Repeat the procedure for all transmitter you want to insert in the
receiver memory.
To exit programming mode, again press button “ENTER
RADIO”: the relay leds turn off. The exit comes about 10
seconds automatically after the last operation.
Power up the receiver.
Press button “ENTER RADIO”. All red relay leds light up during 2
seconds, then only the first led remains on.
Select the relay you wish to link to the transmitter pressing “SET”
button repeatedly.
Carry out a transmission pressing the desired button. Each button
(channel) corresponds to a different transmission.
During insertion, relay led flashes slowly. When done it returns in
non-flashing state.
If a relay led begins flashing quickly, the code has already been
inserted and associated to the flashing relay led. Repeat the
transmission to update associated relay.
If all relay red leds flash at the same time, memory is full. The
transmitter is not inserted.
Repeat the procedure for all transmitter you want to insert in the
receiver memory, each time selecting the desired associated relay.
To exit programming mode, again press button “ENTER RADIO”: the
relay leds turn off. The exit comes about 10 seconds automatically
after the last operation.
7. TOTAL CANCELLATION OF CODES
Power up the receiver.
Hold button “ENTER RADIO” pressed until relay red leds start flashing. Release the button and press again to confirm cancellation. Relay
leds stay fixed during the procedure. Once the procedure done/ended they start flashing faster to confirm the total cancellation of
memorised codes.
MRE+ series Receivers
ENGLISH
ISMRXE+EN_02_19
2
8. SELECTION OF RELAY OUTPUT OPERATING MODE
Power up the receiver.
Select the relay you wish to set pressing “SET” button repeatedly: each led corresponds to a relay.
Press button “SET” : the selected relay led begins to flash corresponding to its switching mode:
3 flash : Timed mode
2 flash : Bistable mode
1 flash : Monostable (~1.5s)
To change the selected relay switching mode :
Turn the trimmer wheel according to the arrow printed on the board: left end stroke select monostable function, right end stroke
bistable output. Midway positions to select timed output as shown in figure below.
Press “ENTER” button to save new setting into the selected relay.
To set other relays press “SET”.
To exit programming mode, select the last relay and again press button “SET”: the relay leds turn off.
The exit comes about 10 seconds automatically after the last operation.
9. PASSWORD PROTECTION
On board memory can be protected with a numeric password via PC link and WinAccess software.
Password must be a number in the range from 1 to 65534.
If Password is from 1 to 32767 only programming / deletion of user data through “ENTER RADIO” button is disabled.
If Password is from 32768 to 65535 either programming / deletion of user data and programming of relays through “SET” button are disabled.
10. LAYOUT OF TERMINALS AND LEDS
DECLARATION OF CONFORMITY
Prastel declares that the following radio electric equipment type: receiver MR2E+/MR4E+ complies with Directive 2014/53/EU. The full text of the EU
declaration of conformity is available at the following internet address: www.prastel.com
Terminal n°
Designation
1 - 3
Power supply –12/24V AC/DC
2
Antenna
4
Antenna shield
5 - 7
Contact NO relay 1
6 - 8
Contact NO relay 2
9 - 11
Contact NO relay 3 (MR4E+ only)
10 - 12
Contact NO relay 4 (MR4E+ only)
GT+ programming plug
Trimmer position (from left to right) and corresponding relay switching time
1/2
0
4/4
1/4
(0.5s)
3/4
(140s)
(15s)
Bistable
Monostable (default)
Relays Leds
Power Led
Radio Led
BP ENTER RADIO
BP SET
Trimmer
Not in use

This manual suits for next models

2

Other PRASTEL Receiver manuals

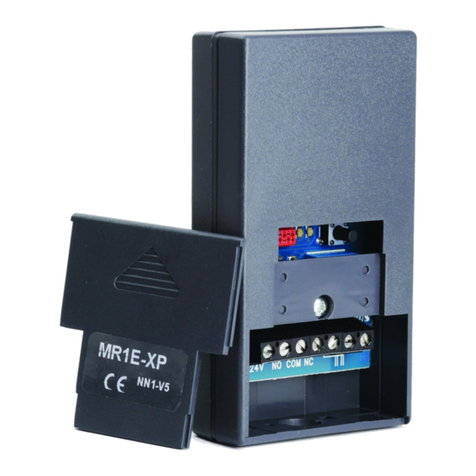
PRASTEL MRB User manual

PRASTEL

PRASTEL MRB User manual

PRASTEL MR Series User manual

PRASTEL

PRASTEL MR Series User manual

PRASTEL MR1E-XP-V5 User manual

PRASTEL

PRASTEL MR1E-XP-V5 User manual

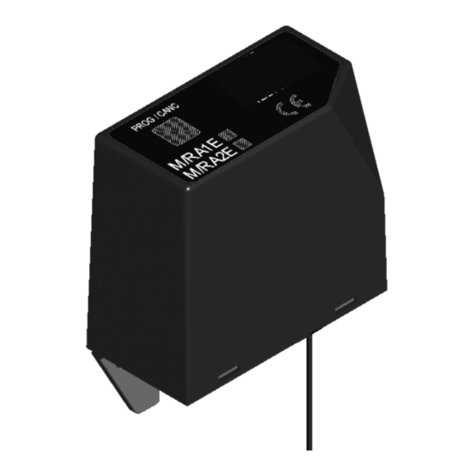
PRASTEL MRA1 User manual

PRASTEL

PRASTEL MRA1 User manual

PRASTEL MRBE User manual

PRASTEL

PRASTEL MRBE User manual

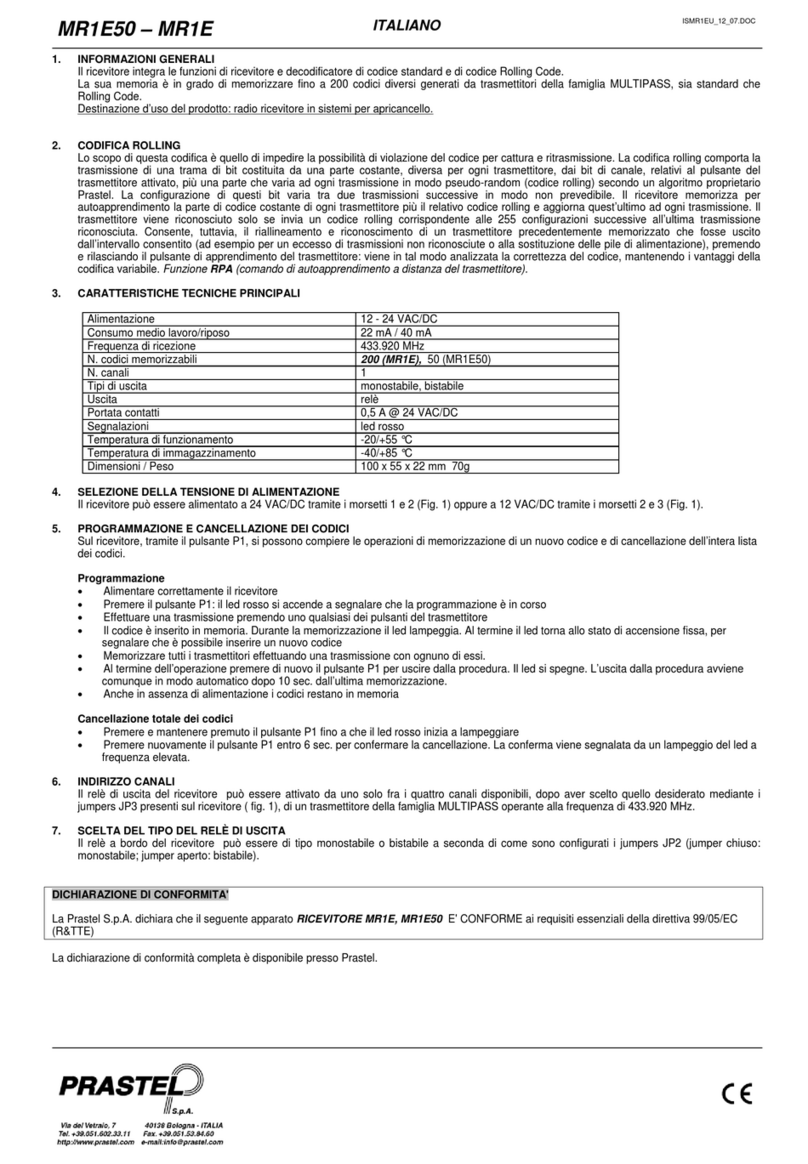
PRASTEL MR1E User manual

PRASTEL

PRASTEL MR1E User manual

PRASTEL FSLIMRFRF Operator's manual

PRASTEL

PRASTEL FSLIMRFRF Operator's manual

PRASTEL MR1E-XP-V6 User manual

PRASTEL

PRASTEL MR1E-XP-V6 User manual

PRASTEL MRRE-4 User manual

PRASTEL

PRASTEL MRRE-4 User manual

PRASTEL MRR User manual

PRASTEL

PRASTEL MRR User manual

PRASTEL MR1ESLIM User manual

PRASTEL

PRASTEL MR1ESLIM User manual

Popular Receiver manuals by other brands

Harman Kardon AVR 335 owner's manual

Harman Kardon

Harman Kardon AVR 335 owner's manual

Harman Kardon AVR 235 owner's manual

Harman Kardon

Harman Kardon AVR 235 owner's manual

APRITECH SRM2 L instruction manual

APRITECH

APRITECH SRM2 L instruction manual

Shure GLXD14 user guide

Shure

Shure GLXD14 user guide

AMG Systems AMG5904 instruction manual

AMG Systems

AMG Systems AMG5904 instruction manual

Wegener DVR396 installation guide

Wegener

Wegener DVR396 installation guide

Mitsubishi Electric HD-4001 Service manual

Mitsubishi Electric

Mitsubishi Electric HD-4001 Service manual

Lindsay Broadband LB-1000-RR user manual

Lindsay Broadband

Lindsay Broadband LB-1000-RR user manual

StarTech.com MP3AUDIOEXT instruction manual

StarTech.com

StarTech.com MP3AUDIOEXT instruction manual

MOVIE PEAK HSR 500 TWIN manual

MOVIE PEAK

MOVIE PEAK HSR 500 TWIN manual

Teac AG-D9300 owner's manual

Teac

Teac AG-D9300 owner's manual

IDS X64 Installer manual

IDS

IDS X64 Installer manual

Microlatch REC-14 Installation tips

Microlatch

Microlatch REC-14 Installation tips

Datacom TDT-115 manual

Datacom

Datacom TDT-115 manual

Lectrosonics UCR401 instruction manual

Lectrosonics

Lectrosonics UCR401 instruction manual

Yaesu VR-500 operating manual

Yaesu

Yaesu VR-500 operating manual

Mocreo MOLINK 300 user guide

Mocreo

Mocreo MOLINK 300 user guide

Fusion PA-A302B owner's manual

Fusion

Fusion PA-A302B owner's manual

manuals.online logo
manuals.online logoBrands
  • About & Mission
  • Contact us
  • Privacy Policy
  • Terms and Conditions

Copyright 2025 Manuals.Online. All Rights Reserved.