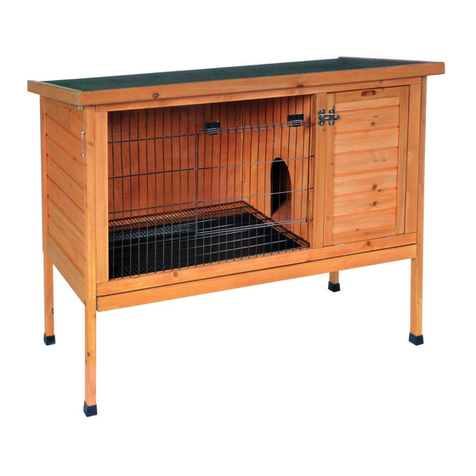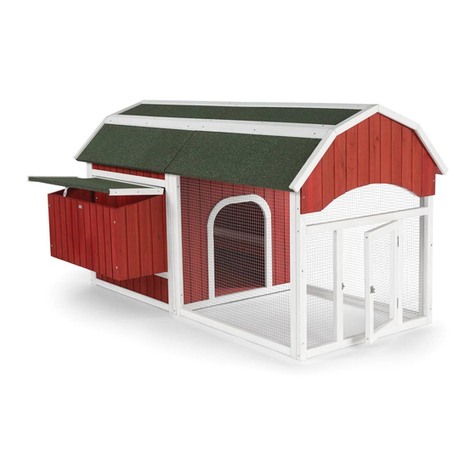
Deluxe
Chicken Coop
8–10 Hens
Model: # 466
re d first RE IEW BEFORE ASSEMBLY
• Tools (not in luded) are required for
assembly. See below.
• For best results, follow steps in order
• Please follow the CARE ADVISORY
to maintain produ t longevity
For assistan e or repla ement parts,
please onta t Prevue Pet Produ ts:
PHONE 312.243.3624
ONLINE www.prevuepet. om
EMAIL ustomerservi e@prevuepet. om
466—07/15—USL Made in China for Prevue Pet Products, Inc., Chicago IL USA www.prevuepet.com 800 243-3624 customerservice@prevuepet.com
1To assemble the MAIN COOP
HOUSE, you will eed these
pieces:
CARE ADVISORY: To m int in the longevity of your purch se, we recommend th t you periodic lly tre t it with
non-toxic se l nt nd protect it with t rp or other covering during extended periods of inclement we ther.
TOOLS REQUIRED
• Small rubber mallet or
hammer for wood pegs
• Phillips-head s rew-
driver for all s rews;
if a power drill is used,
do not overtighten.
KEY TO HARDWARE SYMBOLS
P= wood pe s (Steps 1, 3, 4 )
A=2⁄" wood screw (Steps 3, 4)
B=2"wood screw (Steps 1, 4)
C=1⅝"machine screw (Step 2)
D= nut (Step 2)
E= ⅝" wood screw (Step 3)
F=1⅜"wood screw (Step 5)
G= 1⅛" wood screw (Step 5)
H= 1" wood screw (Step 5)
HARDWARE INCLUDED
40ct 12ct 22ct 16ct 8ct 2ct 32ct 24ct 36ct
NOTE: The lower le t
panel is shorter than
the right.
Tap wood pe s
[P] into predrilled
holes indicated
by the osymbol.
Ali n wood pe s with the
predrilled holes and attach
panels with [B] wood screws.
× 24
× 16
*NOTE: The shorter
lower le t panel will leave
a gap to allow or the
coop loor tray (Step 2).


