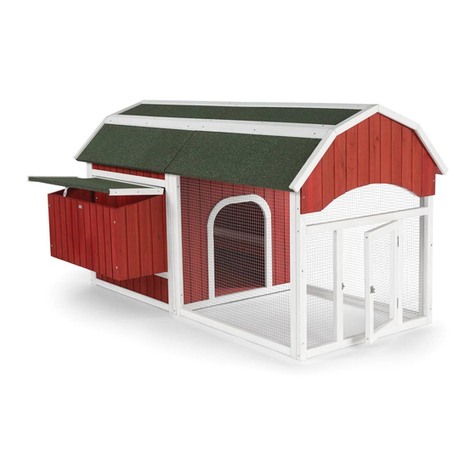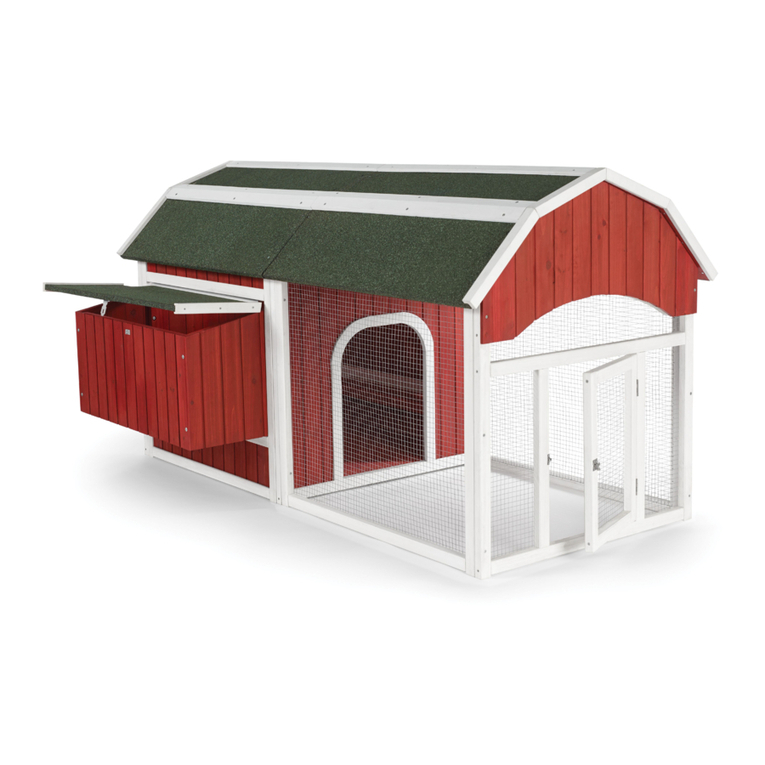
Rabbit Hutch
Covers Models: # 460 (Small) / # 461 (Large)
460-461—07/15—USL Made in China for Prevue Pet Products, Inc., Chicago IL USA www.prevuepet.com 800 243-3624 customerservice@prevuepet.com
read first
RE IEW BEFORE
ASSEMBLY
• Tools are required for assembly. See below.
• An assistant is necessary for hutch assembly.
• Assembly steps and hardware are the
same for both hutch models. Parts differ in
dimensions only.
• Please follow the CARE ADVISOR to
maintain product longevity.
• For best results, follow steps in order.
For assistance or replacement parts,
please contact Prevue Pet Products:
PHONE 312.243.3624
ONLINE www.prevuepet.com
EMAIL customerservice@prevuepet.com
TOOLS REQUIRED
• Phillips-head screwdriver for all screws;
if a power drill is used, do not over-
tighten—Prevue is not responsible for
this type of damage.
NOTE
• TWO-PERSON assembly
steps are indicated with
this symbol.
CARE ADVISORY
T maintain the l ngevity f y ur purchase,
we rec mmend that y u peri dically treat it
with a n n-t xic sealant and pr tect it
with a tarp r ther c vering during extended
peri ds f inclement weather.
KEY TO HARDWARE
SYMBOLS
A=2"wood screw
B= 1¼" wood screw
C= ½" wood screw
HARDWARE INCLUDED
4ct 6ct 4ct
1To begin assembly of your
HUTCH, you will need these
ieces:
Have an assistant hold the two side
panels upright. Rest the back panel
on the guide blocks [see Fig. 1.1].
Attach the panels together with [B]
wood screws, using the predrilled
starter holes as guides.
× 4
Wood pegs on the front panel will align
with predrilled holes on the legs of the
side panels [see Fig. 1.2].
On the outside legs of the side panels,
locate the predrilled countersunk screw
holes. Using these holes, attach the
panels together with [A] wood screws.
Set the plastic debris tray
into the wood frame. Insert
the entire unit into place.
× 4
[ FIG. 1.2]
[ FIG. 1.1]


