manuals.online logo
Brands
  1. Home
  2. •
  3. Brands
  4. •
  5. Prevue Pet Products
  6. •
  7. Pet Care Product
  8. •
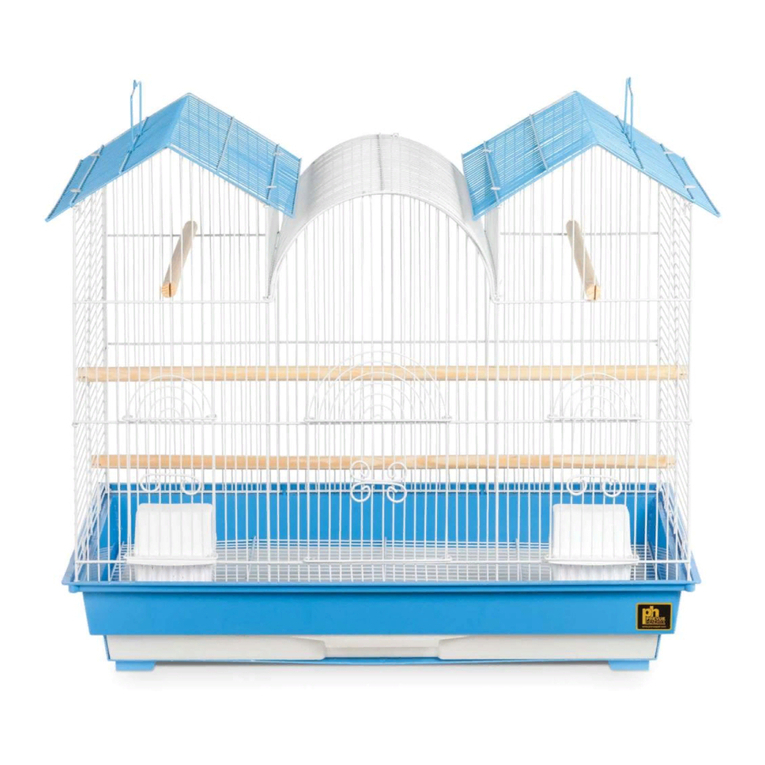
  9. Prevue Pet Products F040 User manual

Prevue Pet Products F040 User manual

KEY:
L = Left panels
F = Front panels
C = Center (Top & Shelf)
B = Back panels
R = Right panels
ca eassemblyinstructions
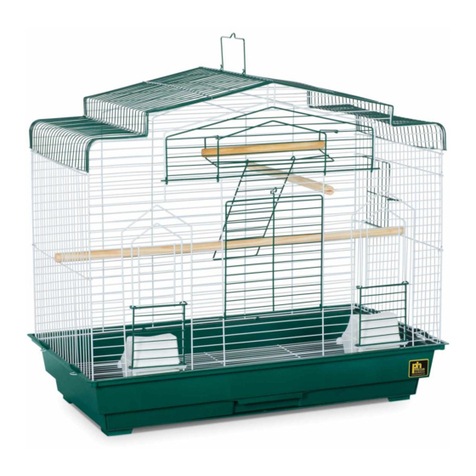
Flight Cage
Model: # F040
cage: 31"L × 20½"W × 53"H
interior: 30¼"L × 20¼"W × 40"H
wire gauge: 12 & 16
wire pacing: ½"
ettin started!
READ THESE NOTES FIRST:
• Enlist A Friend: Cage requires two people to assemble,
as panels need to be held in place while others are installed.
• Count Hardware: If any screws are missing, please
contact revue Customer Service.
• Review All Parts: If wires are bent during shipping,
they may be straightened with needle nose pliers. For seriously
damaged pieces, please contact revue Customer Service.
•Tools: You will need needle nose pliers to remove slugs and
straighten wires. An allen wrench is included. You may use your
own hand tool with an allen wrench bit. We DO NOT recomme d
power drills. arts can be over-tightened and damaged/
stripped. revue is not responsible for this type of damage.
Review these instructions thoroughly before attempting to
assemble cage. If you still require assistance, please contact
revue Customer Service at 800.243.3624 or
customerservice@prevuepet.com
parts
1a
Attach casters to legs of lower left (L1) and
lower right (R1) side leg frames. The backstops
at the end of the frames indicates the back end.
1b
Create the base.
Attach the ce ter shelf (C1) panel to one side
leg frame (L1) and then the other (R1).
2Stack the side panels.
The left upper (L3) and right upper (R3) side
panels have solid/finished corners and top rails
(see detail [a]). The left lower (L2) and right
lower (R2) side panels have two small holes
along the top frame and openings at the corners
of the frame to accept the posts and extended
vertical wires of the upper side panels (see
detail [b] and [c]).
→If slugs need to be emoved f om the co ne holes,
use needle nose plie s.
Make sure cup doors swing out. Stack (L2) and
(L3) side panels, then stack (R2) and (R3).
*Note: These panels emain loose fo now. Have an
assistant hold panels steady fo the following steps.
steps
LEFT
FRONT
BACK
RIGHT
GRILLE
TRAY
L2
L3
L1
R2
R3
R1
G
T
F2
F1
B2
B1
C1
C2
{ 4 } rolling casters
{16} hex head
screws
{ 3 } wood dowel
perches
{ 4 } plastic cups
{ 1 } windbell lock
& screw
3a
Assemble the back panels.
Back lower (B1) and back upper (B2) panels are
identical and interchangeable.
Insert (B1) in position, aligning the bottom corner
screw holes (see detail [e]), and the two extended
horizontal wires (see detail [d]) along both sides.
→If extended wi es need to be st aightened to align
with holes, use needle nose plie s.
R1
C1
B1
L2
L3
R2
R3
L1
(a)
(b)
(c)
(d)
(e)
instUS_CageAssembly-F040r1_ in:Layout 1 7/19/12 6:53 PM Page 1
3a
When all holes are aligned, secure (B1) panel
with one hex screw in each lower corner.
→Have assistant continue to hold panels togethe .
3b
The back upper (B2) panel has to align with:
• extended vertical wires of (B1) along bottom
frame edge;
• screw holes at the lower bottom corners on
(L3) and (R3); and,
• holes along (L3) and (R3) vertical frames.
*NOTE: All panels are loose until screws are
installed on roof (C2) panel (Step 3c). Since the
back lowe (B1) panel is attached only at the bottom,
the potential fo (B1) to come out of alignment
while aligning (B2) is possible.
When all the holes are aligned, secure (B2) with
one hex screw in each lower corner.
3c
Attach the roof pa el, temporarily, for stability.
The ce ter roof (C2) panel aligns with vertical
wires on (B2); with holes along the (L3) and (R3)
frames; and with screw holes at the four corners.
When aligning these holes and extended wires,
the potential for (B2) to come out of alignment is
possible. Rely on your assistant to help.
When all holes are aligned, secure (C2) with
screws in all four corners.
4With the back and roof assembled, the cage is
more secure, and it’s an easy time to add the
four cups and three perches. (Cups and perches
may also be installed through the large front
panel doors after the entire cage is assembled.)
Cups hook onto the horizontal wires under
the center doors on each side panel ((L2), (L3),
(R2), (R3)).
erches can be installed anywhere in the cage.
5a
Assemble the front panels. To begin, loosen
(don’t remove) the front two screws on the
center roof (C2) panel. Align the fro t lower
(F1) panel along with side frames and at the
bottom screw hole corners.
→Alignment may p esent the same issues as in
Stage 3. Rely on you assistant to help with
minimizing panels pulling out of alignment.
When all the holes are aligned, secure
(F1) with one hex screw in each lower corner.
5b
Remove the front screws for center roof (C2)
panel completely, and have assistant hold roof
slightly open. Align fro t upper (F2) panel along
all four edges. When all holes, extended wires,
and screw holes are aligned, secure (F2) panel
with one hex screw in each lower corner, and
secure center roof (C2) panel by replacing the
front two screws.
*CLEANING INSTRUCTIONS
rolong the life of your revue cage with these
recommendations:
When cleaning the cage, use a mild soap and soft
cloth or Teflon-resistant scrubber (such as revue’s
Cage Saver non-abrasive scrub pad (#109)).
After washing, dry the cage thoroughly with a dry
soft cotton cloth to prevent rust.
Wash the tray with soap and warm water. DO NOT
leave tray to dry in the sun, as the tray can warp.
Hand dry the tray and grille with a soft cotton
cloth before placing back into cage.
6When the cage is completely assembled, slide
the grille and tray into position. To finish, install
the windbell lock as shown (see detail [f]).
✩Your cage is ow fully assembled!
Made in China for Prevue Pet Products, Inc., Chicago IL USA revue et.com 800 243-3624 customerservice@revue et.comF040 — 07 /12
L3
R3
B2
C2
F1
F2
T
G
(f)
(continued)
instUS_CageAssembly-F040r1_ in:Layout 1 7/19/12 6:53 PM Page 2

Other Prevue Pet Products Pet Care Product manuals

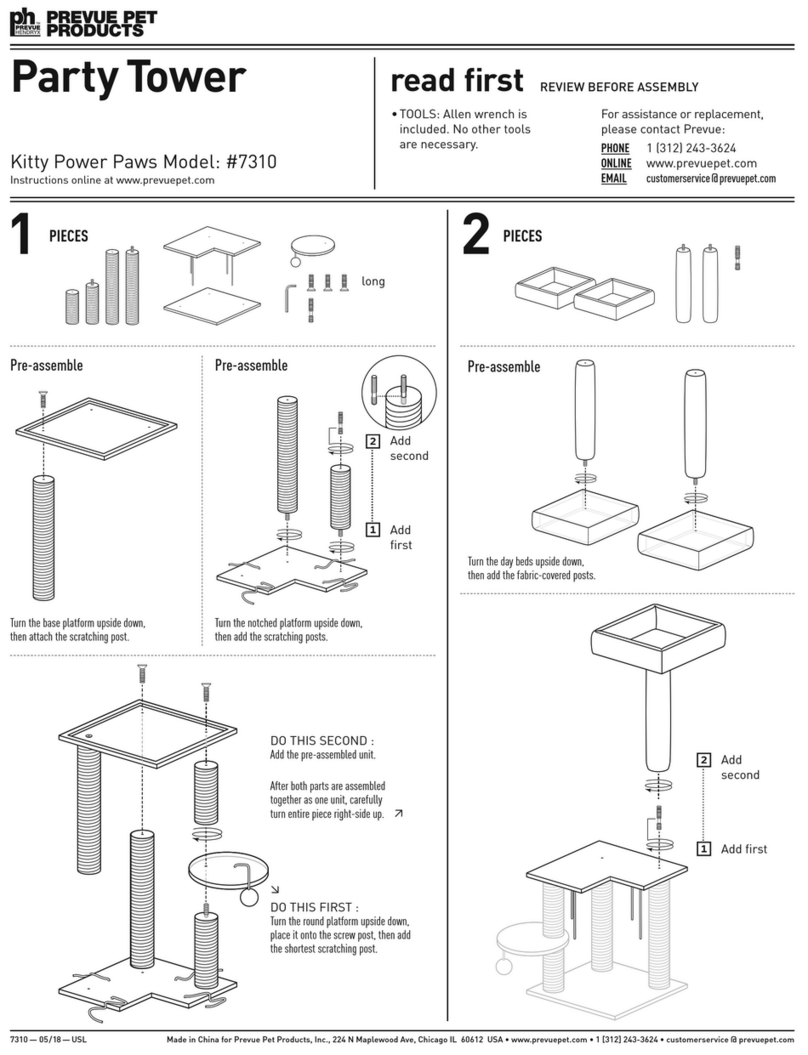
Prevue Pet Products PREVUE HENDRYX Party Tower User manual

Prevue Pet Products

Prevue Pet Products PREVUE HENDRYX Party Tower User manual

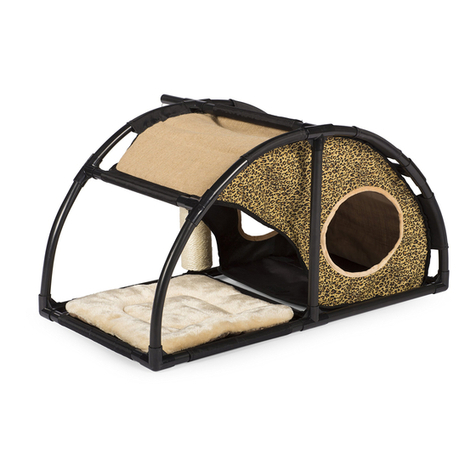
Prevue Pet Products Catville User manual

Prevue Pet Products

Prevue Pet Products Catville User manual

Prevue Pet Products 1804TR User manual

Prevue Pet Products

Prevue Pet Products 1804TR User manual

Prevue Pet Products Catville LOFT 7220 User manual

Prevue Pet Products

Prevue Pet Products Catville LOFT 7220 User manual

Prevue Pet Products 7501 User manual

Prevue Pet Products

Prevue Pet Products 7501 User manual

Prevue Pet Products 425 User manual

Prevue Pet Products

Prevue Pet Products 425 User manual

Prevue Pet Products Catville BUNGALOW Operator's manual

Prevue Pet Products

Prevue Pet Products Catville BUNGALOW Operator's manual

Prevue Pet Products Catville LOFT Instruction sheet

Prevue Pet Products

Prevue Pet Products Catville LOFT Instruction sheet

Prevue Pet Products Catville TOWNHOME Leopard User manual

Prevue Pet Products

Prevue Pet Products Catville TOWNHOME Leopard User manual

Prevue Pet Products Barn Style Flight Cage User manual

Prevue Pet Products

Prevue Pet Products Barn Style Flight Cage User manual

Prevue Pet Products Catville CONDO User manual

Prevue Pet Products

Prevue Pet Products Catville CONDO User manual

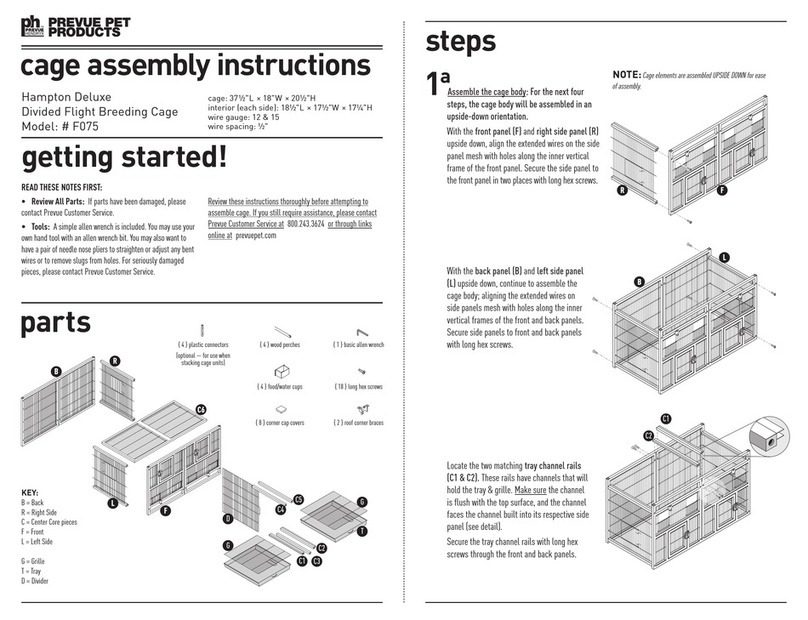
Prevue Pet Products F075 User manual

Prevue Pet Products

Prevue Pet Products F075 User manual

Prevue Pet Products 1307 Instruction sheet

Prevue Pet Products

Prevue Pet Products 1307 Instruction sheet

Prevue Pet Products Silverado User manual

Prevue Pet Products

Prevue Pet Products Silverado User manual

Prevue Pet Products Catville 7240 User manual

Prevue Pet Products

Prevue Pet Products Catville 7240 User manual

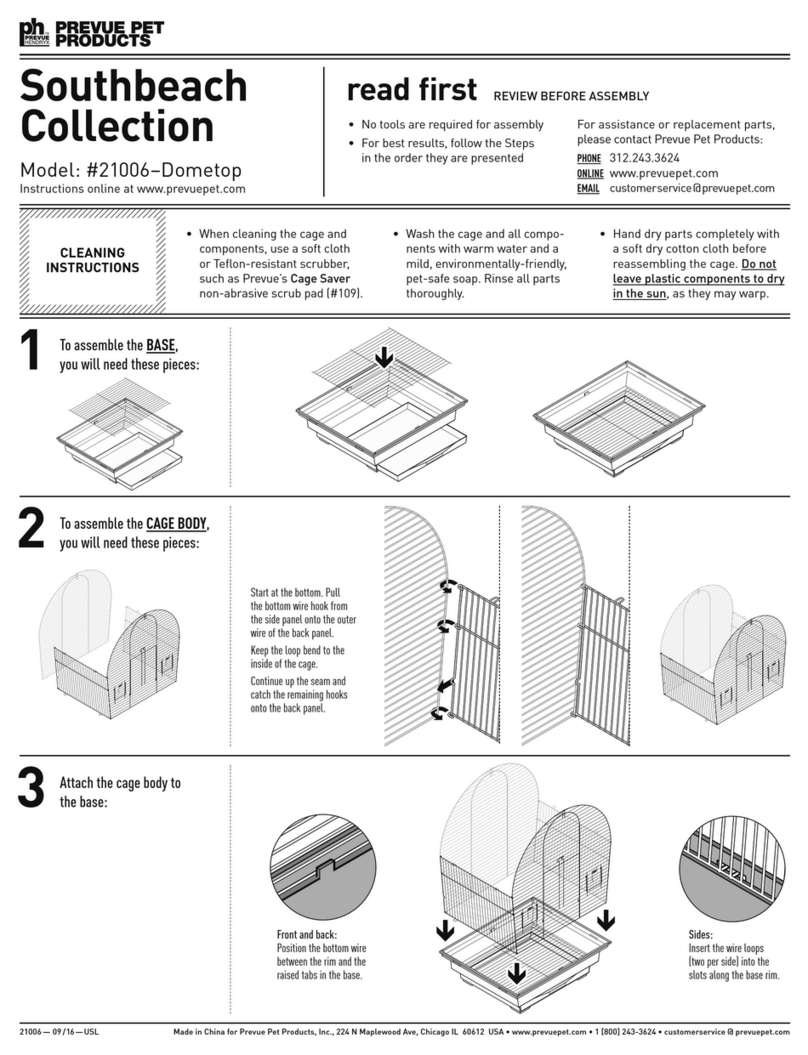
Prevue Pet Products Southbeach Dometop 21006 User manual

Prevue Pet Products

Prevue Pet Products Southbeach Dometop 21006 User manual

Prevue Pet Products F046 User manual

Prevue Pet Products

Prevue Pet Products F046 User manual

Prevue Pet Products 460 User manual

Prevue Pet Products

Prevue Pet Products 460 User manual

Prevue Pet Products PREVUE HENDRYX 31999 User manual

Prevue Pet Products

Prevue Pet Products PREVUE HENDRYX 31999 User manual

Popular Pet Care Product manuals by other brands

Petsafe ScoopFree Original operating guide

Petsafe

Petsafe ScoopFree Original operating guide

Petsafe Stubborn Dog In Ground Fence RF-275-11 user manual

Petsafe

Petsafe Stubborn Dog In Ground Fence RF-275-11 user manual

Conrad 62 03 63 operating instructions

Conrad

Conrad 62 03 63 operating instructions

PetSpy p-collar 320 manual

PetSpy

PetSpy p-collar 320 manual

Zen Habitats 48"x24"x16" PVC Panel Reptile Enclosure Assembly instructions

Zen Habitats

Zen Habitats 48"x24"x16" PVC Panel Reptile Enclosure Assembly instructions

GUARDIAN GEAR ZW1081 quick start guide

GUARDIAN GEAR

GUARDIAN GEAR ZW1081 quick start guide

Nature's Miracle P-98280 user manual

Nature's Miracle

Nature's Miracle P-98280 user manual

Martha Stewart MTS-CBF1 Operator's manual

Martha Stewart

Martha Stewart MTS-CBF1 Operator's manual

Prevue Hendryx 4600 instructions

Prevue Hendryx

Prevue Hendryx 4600 instructions

Paw Brothers PBP70001 user manual

Paw Brothers

Paw Brothers PBP70001 user manual

Owon SPF 2200-S quick start guide

Owon

Owon SPF 2200-S quick start guide

Petsafe 100 Series Quick start guides

Petsafe

Petsafe 100 Series Quick start guides

4pets ECO Series Instructions for assembly and use

4pets

4pets ECO Series Instructions for assembly and use

High Tech Pet BE-500 Installation and operating guide

High Tech Pet

High Tech Pet BE-500 Installation and operating guide

Kurgo Go-Tech Adventure Harness Instructions and care

Kurgo

Kurgo Go-Tech Adventure Harness Instructions and care

JWA Kelley 76142 Assembly instruction

JWA

JWA Kelley 76142 Assembly instruction

Martin System Tiny Trainer TT1000 user guide

Martin System

Martin System Tiny Trainer TT1000 user guide

Trinity TSKLBR-3401 owner's manual

Trinity

Trinity TSKLBR-3401 owner's manual

manuals.online logo
manuals.online logoBrands
  • About & Mission
  • Contact us
  • Privacy Policy
  • Terms and Conditions

Copyright 2025 Manuals.Online. All Rights Reserved.