manuals.online logo
Brands
  1. Home
  2. •
  3. Brands
  4. •
  5. Prilux
  6. •
  7. Lighting Equipment
  8. •
  9. Prilux Tanek ARQ User manual

Prilux Tanek ARQ User manual

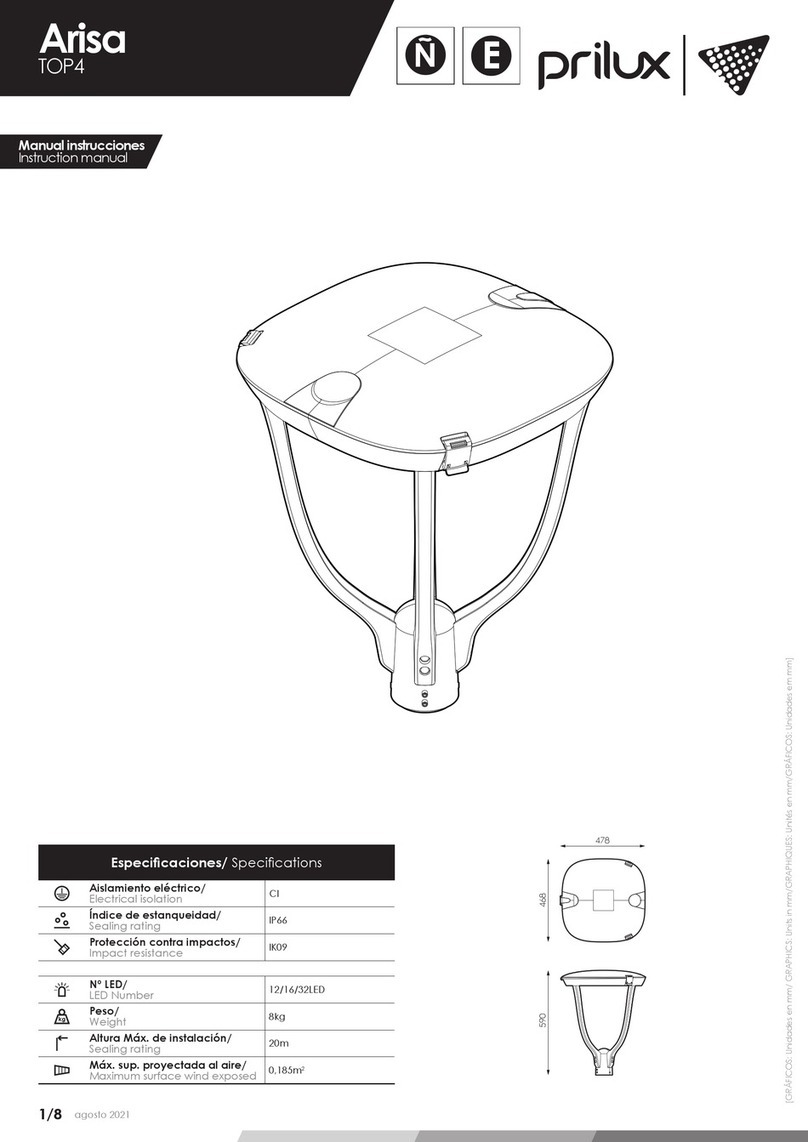
1/10 diciembre2021
ÑE
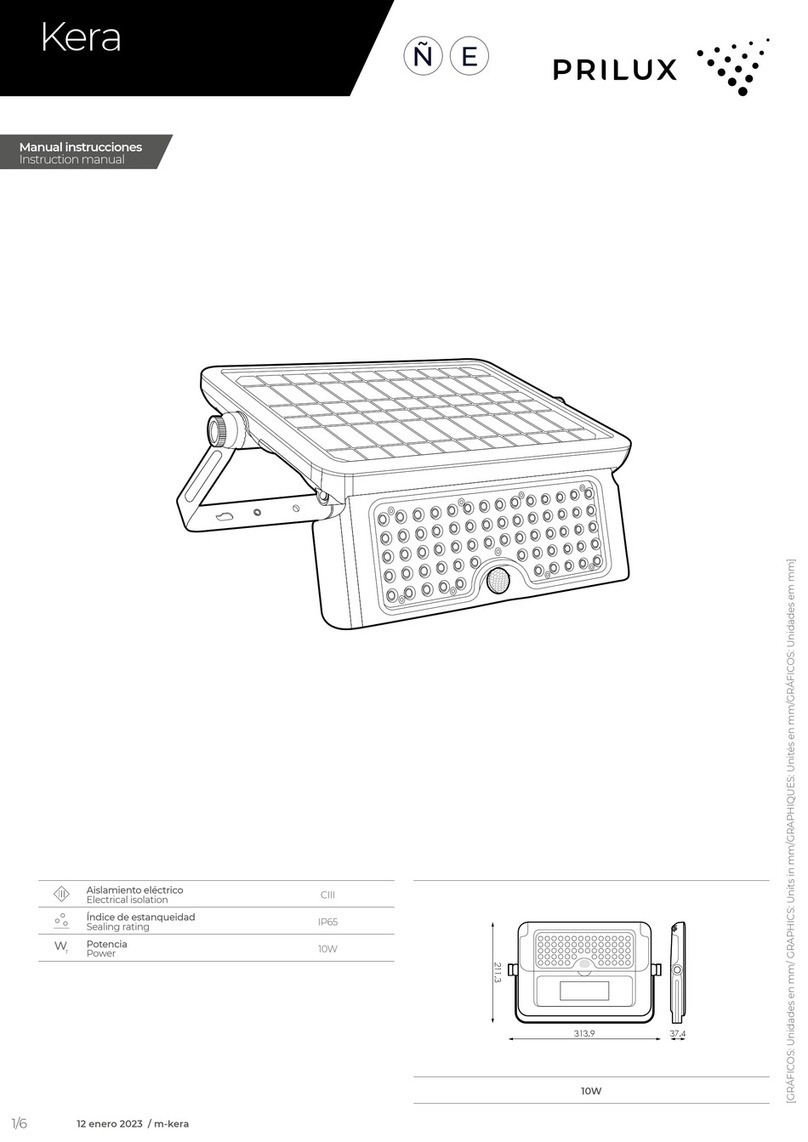
Tanek
ARQ
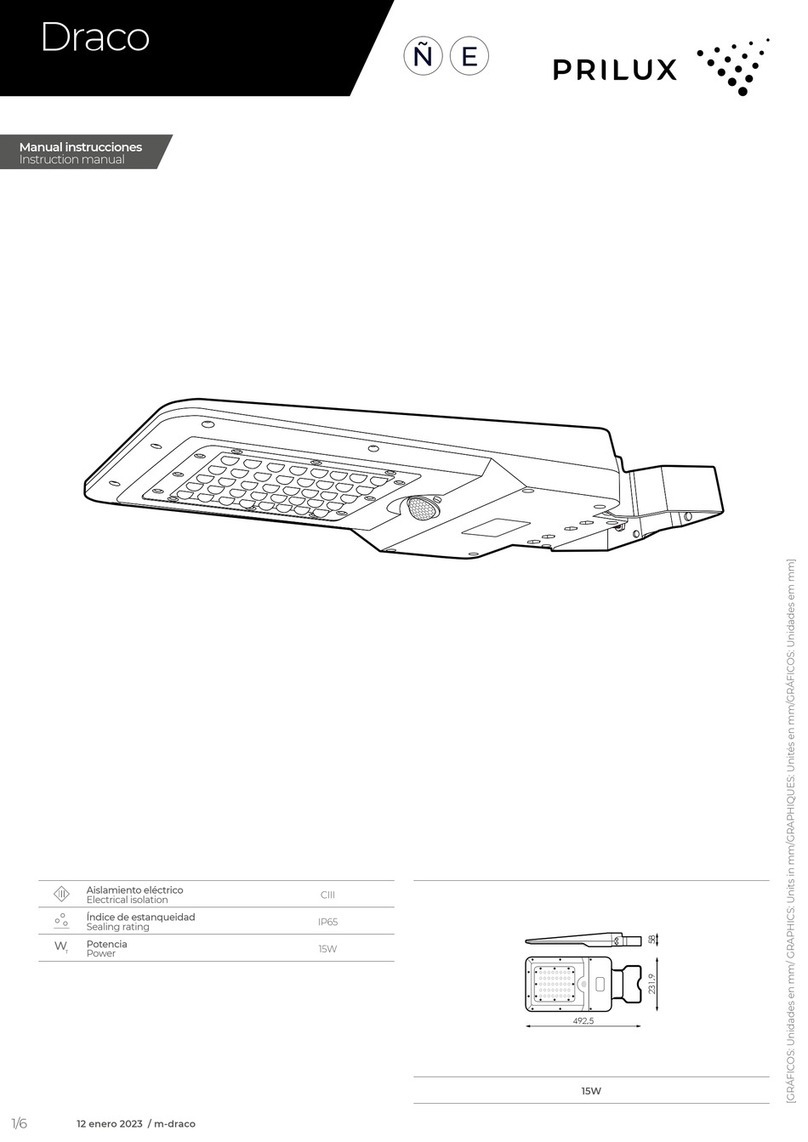
Especicaciones/ Specications
Aislamiento eléctrico/
Electrical isolation
CI
Índice de estanqueidad/
Sealing rating
IP67
Protección contra impactos/
Impact resistance IK10
Tanek ARQ
Nº LED/
LED Number
12 LED
Peso/
Weight
1,8Kg
Altura Máx. de instalación/
Sealing rating
-
Resistencia al viento/
Wind resistance
0,018m2
Box
Potencia/
Power 57W
Peso/
Weight
1,2Kg
Tanek ARQ
Box
120
208
42
188
88
32
[GRÁFICOS: Unidades en mm/ GRAPHICS: Units in mm/GRAPHIQUES: Unités en mm/GRÁFICOS: Unidades em mm]
Manual instrucciones
Instruction manual
PRECAUCIONES:
• Mantenga el producto fuera del alcance de los niños.
• No sumerja este producto en agua ni lo manipule con las manos mojadas.
• No golpee el producto.
• No instale el producto donde haya fuentes de calor o concentraciones
de humedad.
• No manipule el producto mientras se encuentre en funcionamiento y
déjelo enfriar antes de tocarlo con las manos.
• Mantenga una distancia mínima de 1m con la supercie u objeto a
iluminar.
• El producto no debe ser cubierto por material aislante térmico en ningún
caso.
• Si el producto se encuentra dañado sustitúyalo inmediatamente por uno
nuevo.
• Desconecte la corriente antes de instalar el producto.
• Este producto contiene componentes sensibles a la electricidad estática y
una descarga sobre ella podría destruir o dañar sus componentes.
• Antes de proceder a cualquier manipulación o mantenimiento hay que
asegurarse de que el aparato esté completamente desconectado del
suministro eléctrico.
• La reposición o mantenimiento de cualquier componente deberá hacerse
con idénticos elementos recomendados y suministrados por el propio
fabricante. De no ser así, cualquier incidencia en una instalación que
no se haya realizado de acuerdo con esta hoja de instrucciones será
responsabilidad del instalador.
• Si el cable exible o cordón de esta luminaria está dañado, debe sustituirse
exclusivamente por el fabricante o su servicio técnico o una persona de
cualicación equivalente con objeto de evitar cualquier riesgo.
• La fuente de luz de esta luminaria debe reemplazarse unicamente por el
fabricante, su servicio técnico o persona cualicada equivalente.
• La luminaria debe colocarse de forma que no se espera una mirada
prolongada a la luminaria a una distancia más cercana a 4,67m.
• Entre la alimentación en Baja Tensión y los conductores de control el
aislamiento es aislamiento reforzado.
PRECAUTIONS:
• Keep out of reach of children.
• This product is for outdoor use, pay attention to the permissible mounting
positions for this product.
• Do not immerse this product in water or handle it with wet hands.
• Do not hit the product.
• Do not install the product where there are sources of heat.
• Do not handle the product while it is in operation and let it cool before
touching it with your hands.
• Keep a minimum distance of 1m with the surface or object to be illuminated.
• The product must not be covered by thermal insulation material in any
case.
• If the product is damaged, replace it immediately with a new one.
• Disconnect the power before installing the product.
• This product contains components sensitive to static electricity and a
discharge on it could destroy or damage its components.
• Before proceeding with any handling or maintenance, make sure that the
appliance is completely disconnected from the power supply.
• The replacement or maintenance of any component must be done with
the same elements recommended and supplied by the manufacturer. If
this is not the case, any incident in an installation that has not been carried
out in accordance with this instruction sheet will be the responsibility of
the installer.
• If the exible cable or cord of this luminaire is damaged, it must only be
replaced by the manufacturer or its technical service or a person of
equivalent qualication in order to avoid any risk.
• The light source of this luminaire must be replaced only by the manufacturer,
its technical service or equivalent qualied person.
• The luminaire shou ld be placed so that a prolonged look at the luminaire
is not expected at a distance closer to 4.67m.
• Between the low voltage power supply and the control conductors the
insulation is reinforced insulation.
AVISO
ANTES DE COMENZAR LA INSTALACIÓN DE ÉSTE PRODUCTO,
POR FAVOR, LEA ATENTAMENTE LAS INSTRUCCIONES Y
GUÁRDELAS EN UN SITIO SEGURO.
LA INSTALACIÓN DEBE REALIZARLA PERSONAL
CUALIFICADO.
LA INADECUADA MANIPULACIÓN DE LOS COMPONENTES
O DE LA PROPIA LUMINARIA PODRÍA DAÑAR EL CORRECTO
FUNCIONAMIENTO DE ESTE PRODUCTO, QUEDANDO ANULADA
LA GARANTÍA DEL FABRICANTE.
QUEDA ANULADA LA GARANTÍA DEL FABRICANTE: SI LA
INSTALACIÓN NO SE REALIZA SEGÚN LO INDICADO EN EL REBT
2002.
ES DE OBLIGADO CUMPLIMIENTO LA APLICACIÓN DE ITC BT09-
4 DEL REBT (INSTALACIÓN DE PROTECTORES DE SOBRETENSIONES
EN LÍNEAS Y LUMINARIAS) PARA INSTALACIONES INDUSTRIALES
Y DE ALUMBRADO PÚBLICO. LA GARANTÍA NO CUBRE DAÑOS
PRODUCIDOS POR SOBRETENSIONES EN LUMINARIAS SIN
PROTECTORES DE SOBRETENSIONES.
RESPETAR LAS PRECAUCIONES DE
MANIPULACIÓN DE LOS COMPO-
NENTES SENSIBLES A DESCARGAS
ELECTROSTÁTICAS (LED).
WARNING
BEFORE INSTALLING THIS PRODUCT, PLEASE READ THE
INSTRUCTIONS CAREFULLY AND STORE THEM IN A SAFE PLACE.
THE INSTALLATION SHOULD BE CARRIED OUT BY TRAINED STAFF.
INCORRECT HANDLING OF THE PARTS OR THE LIGHT FIXTURE ITSELF
MAY IMPAIR THE PROPER PERFORMANCE OF THIS PRODUCT. IN
THIS CASE, THE MANUFACTURER GUARANTEE SHALL BE DEEMED
VOID.
THE MANUFACTURER GUARANTEE SHALL BE DEEMED VOID: IF THE
INSTALLATION IS NOT PERFORMED IN ACCORDANCE WITH THE
SPANISH LOW VOLTAGE ELECTROTECHNICAL REGULATION 2002
(REBT 2002).
THE APPLICATION OF IBC BT09-4 OF REBT (INSTALLATION OF
LINE AND LIGHT FIXTURE SURGE PROTECTORS) IS ESSENTIAL
FOR INDUSTRIAL AND PUBLIC LIGHTING INSTALLATIONS. THE
GUARANTEE DOES NOT COVER AGAINST DAMAGES CAUSED
BY SURGES IN LIGHT FIXTURES WITHOUT SURGE PROTECTORS
INSTALLED.
ATTENTION!!!
RESPECT THE PRECAUTIONS FOR HAND-
LING COMPONENTS SENSITIVE TO ELEC-
TROSTATIC DISCHARGES (LEDS).
2/10
LIRA
BOX REMOTO/ REMOTE BOX
130
Ø8
15
Ø6,5
32
30
Ø4,5
4
211
3/10
Componentes/Components
1a CRUCETA/ CROSS-PIECE
* Tornillería no incluida. Fijar mínimo con 2 tornillos/
Screws not included. Fix minimum with 2 screws
TANEK ARQ
* Tornillería no incluida. Fijar mínimo con 2 tornillos/
Screws not included. Fix minimum with 2 screws
1b SUPERFICIE/ SURFACE
4/10
Montaje/Mounting
2a LIRA
BOX
ACCESORIO/
ACCESSORY
480635 SOPORTE BOX/TANEK REMOTO
REMOTE BOX/TANEK SUPPORT
x4
ACCESORIO/
ACCESSORY
480260 LATIGUILLO TANEK ARQ - BOX 5m/
TANEK ARQ- BOX WIRE 5m
480277 LATIGUILLO TANEK ARQ - BOX 10m
TANEK ARQ- BOX WIRE 10m
480284 LATIGUILLO TANEK ARQ - BOX 20m/
TANEK ARQ- BOX WIRE 20m
5/10
1c Remoto/Remote
2b Remoto/Remote
3
4a CRUCETA/CROSS-PIECE
x2
6/10
* Tornillería no incluida. Fijar mínimo con 4 tornillos/
Screws not included. Fix minimum with 4 screws
4b SUPERFICIE/ SURFACE
x4
x2
POSICIONES NO PERMITIDAS/
POSITIONS NOT ALLOWED
7/10
4c Remoto/Remote
* Fijar mínimo con 3 tornillos/
Fix minimum with 3 screws
BOX REMOTO/ REMOTE BOX BOX EN LIRA/BOX IN LIRA
180º 150º
3,5 ± 0,2Nm.
* Para girar, aojar suciente para no dañar la pintura/
To turn, loosen enough to avoid damaging the paint
*
Giro/Turn
ACCESORIO/
ACCESSORY
480291 CONECTOR REGULACIÓN/
REGULATION CONNECTOR
480307 CONECTOR ALIMENTACIÓN/
SUPPLY CONNECTOR
6
CONEXIÓN ELÉCTRICA/ ELECTRICAL CONNECTION
Regulación DALI/
DALI regulation
AZUL/BLUE
AMARILLO-VERDE/
YELLOW-GREEN
MARRÓN/BROWN
PÚRPURA/PURPLE
GRIS/CINZA
DA
DA
ALIMENTACIÓN/SUPPLY
220-240Vac
50-60Hz
REGULACIÓN/
REGULATION
8/10
Accesorios/Accessory
REJILLA/ GRATING (480246)
ALETAS VERTICALES/ VERTICAL FINS (480253)
188
88
32
x4
x4
188
88
35
9/10
10/10
www.grupoprilux.com
FP
Tanek
ARG
Spécications/ Especicações
Isolation électrique/
Isolamento elétrico
CI
Indice d’étanchéité/
Índice de estanquicidade
IP67
Protection contre les chocs/
Proteção contra impactose IK10
Tanek ARQ
Nb LED/
Nº LED
12 LED
Poids/
Peso
1,8Kg
Hauteur d’installation max./
Altura máx. de instalação
-
Surface max. exposée au vent/
Máx. sup. projetada ao ar
0,018m2
Box
Puissance/
Potência 57W
Poids/
Peso
1,2Kg
Tanek ARQ
Box
120
208
42
188
88
32
Tanek
ARQ
[GRÁFICOS: Unidades en mm/ GRAPHICS: Units in mm/GRAPHIQUES: Unités en mm/GRÁFICOS: Unidades em mm]
1/10 diciembre2021
Manuel d’instructions
Manual de instruções
PRÉCAUTIONS :
• Tenir le produit hors de portée des enfants.
• Ne pas immerger ce produit dans l’eau ou le manipuler avec les mains
mouillées.
• Ne pas cogner le produit.
• Ne pas installer le produit dans un endroit où il y a des sources de chaleur
ou des concentrations d’humidité.
• Ne pas manipuler le produit pendant son fonctionnement et le laisser
refroidir avant de le toucher avec vos mains.
• Garder une distance minimale d’1m avec la surface ou l’objet à éclairer.
• Le produit ne doit en aucun cas être recouvert d’un matériau d’isolation
thermique.
• Si le produit est endommagé, le remplacer immédiatement par un
nouveau.
• Couper l’alimentation avant d’installer le produit.
• Ce produit contient des composants sensibles à l’électricité statique et une
décharge électrique pourrait détruire ou endommager les composants.
• Avant d’effectuer toute manipulation ou entretien, s’assurer que l’appareil
est complètement débranché de l’alimentation électrique.
• Le remplacement ou l’entretien de tout composant devra être effectué
avec des éléments identiques recommandés et fournis par le fabricant.
Dans le cas contraire, tout incident sur une installation qui n’a pas
été réalisée conformément à cette che d’instructions relève de la
responsabilité de l’installateur.
• La source lumineuse de ce luminaire doit être remplacée uniquement par
le fabricant, son service technique ou une personne qualiée équivalente.
• Le luminaire doit être positionné de sorte à éviter toute xation du regard
prolongée sur le luminaire à une distance inférieure à 4,67m.
• Entre l’alimentation basse tension et les conducteurs de commande,
l’isolation est renforcée
PRECAUÇÕES:
• Manter o produto fora do alcance das crianças.
• Não mergulhar este produto em água, nem o manipular com as mãos
molhadas.
• Não golpear o produto.
• Não instalar o produto onde houver fontes de calor ou concentrações de
humidade.
• Não manipular o produto enquanto este se encontrar em funcionamento
e deixar arrefecer antes de tocar com as mãos.
• Manter uma distância mínima de 1m em relação à superfície ou objeto
a iluminar.
• O produto nunca deverá ser coberto por material isolador térmico
• Se o produto se encontrar danicado, substituir imediatamente por um
novo.
• Desligar a corrente antes de instalar o produto.
• Este produto contém componentes sensíveis à eletricidade estática e
uma descarga sobre o mesmo poderia destruir ou danicar os seus
componentes.
• Antes de proceder a qualquer manipulação ou manutenção, há que
certicar-se de que o aparelho está completamente desligado da
corrente elétrica.
• A reposição ou manutenção de qualquer componente deverá ser
realizada com idênticos elementos recomendados e fornecidos pelo
próprio fabricante. Caso contrário, qualquer incidência numa instalação
que não tenha sido realizada de acordo com esta folha de instruções
será da responsabilidade do instalador.
• A fonte de luz desta luminária deve ser substituída apenas pelo fabricante,
pelo seu serviço técnico ou por uma pessoa qualicada equivalente.
• A luminária deve ser colocada de forma que não se espere uma visão
prolongada para a luminária a uma distância mais próxima a 4,67m.
• Entre a alimentação em Baixa Tensão e os condutores de controlo, o
isolamento é reforçado.
AVERTISSEMENT
AVANT DE COMMENCER L’INSTALLATION DE CE PRODUIT,
VEUILLEZ LIRE ATTENTIVEMENT LES INSTRUCTIONS ET LES
CONSERVER DANS UN ENDROIT SÛR.
L’INSTALLATION DOIT ÊTRE EFFECTUÉE PAR DU PERSONNEL
QUALIFIÉ.
UNE MANIPULATION INAPPROPRIÉE DES COMPOSANTS OU
DU LUMINAIRE POURRAIT NUIRE AU BON FONCTIONNEMENT
DE CE PRODUIT, ANNULANT AINSI LA GARANTIE DU
FABRICANT.
LA GARANTIE DU FABRICANT EST ANNULÉE : SI
L’INSTALLATION N’EST PAS EFFECTUÉE CONFORMÉMENT AU
RÈGLEMENT ÉLECTROTECTHNIQUE POUR BASSE TENSION
ESPAGNOL (REBT 2002).
L’APPLICATION DE L’ITC BT09-4 DU REBT EST OBLIGATOIRE
(INSTALLATION DE DISPOSITIFS DE PROTECTION CONTRE LES
SURTENSIONS SUR LES LIGNES ET LES LUMINAIRES) POUR LES
INSTALLATIONS INDUSTRIELLES ET D’ÉCLAIRAGE PUBLIC. LA
GARANTIE NE COUVRE PAS LES DOMMAGES CAUSÉS PAR
LES SURTENSIONS SUR LES LUMINAIRES SANS DISPOSITIFS DE
PROTECTION CONTRE LES SURTENSIONS.
RESPECTER LES PRÉCAUTIONS DE
MANIPULATION DES COMPOSANTS
SENSIBLES AUX DÉCHARGES
ÉLECTROSTATIQUES (LED).
AVISO
ANTES DE COMEÇAR A INSTALAÇÃO DESTE PRODUTO, POR
FAVOR LEIA ATENTAMENTE AS INSTRUÇÕES E GUARDE-AS NUM
LUGAR SEGURO.
A INSTALAÇÃO DEVE SER REALIZADA POR PESSOAL QUALIFICADO.
A MANIPULAÇÃO IMPRÓPRIA DOS COMPONENTES OU DA
PRÓPRIA LUMINÁRIA PODERÁ PREJUDICAR O FUNCIONAMENTO
CORRETO DESTE PRODUTO, FICANDO ANULADA A GARANTIA
DO FABRICANTE.
FICA ANULADA A GARANTIA DO FABRICANTE: SE A INSTALAÇÃO
NÃO SE REALIZAR CONFORME INDICADO NO REBT 2002.
É DE CUMPRIMENTO OBRIGATÓRIO A APLICAÇÃO DE ITC BT09-
4 DO REBT (INSTALAÇÃO DE PROTETORES DE SOBRETENSÕES
EM LINHAS E LUMINÁRIAS) PARA INSTALAÇÕES INDUSTRIAIS E
DE ILUMINAÇÃO PÚBLICA. A GARANTIA NÃO COBRE DANOS
PRODUZIDOS POR SOBRETENSÕES EM LUMINÁRIAS SEM
PROTETORES DE SOBRETENSÃO.
ATENÇÃO!!!
RESPEITAR AS PRECAUÇÕES
DE MANIPULAÇÃO DOS
COMPONENTES SENSÍVEIS A
DESCARGAS ELETROSTÁTICAS
(LED).
ATTENTION !!!
2/10
LIRA
TÉLÉCOMMANDE/ BOX REMOTA
130
Ø8
15
Ø6,5
32
30
Ø4,5
4
211
3/10
Composants/Componentes
1a CROIX DIRECTIONNELLE/CRUZETA
* Visserie non incluse. Fixer au minimum avec 2 vis/
Ferragens não incluídas. Fixar pelo menos com 2 parafusos
TANEK ARQ
* Visserie non incluse. Fixer au minimum avec 2 vis/
Ferragens não incluídas. Fixar pelo menos com 2 parafusos
1b SURFACE/ SUPERFÍCIE
4/10
Montage/Montagem
2a LIRA 2b Télécommande/Remoto
1c Télécommande/Remoto
BOX
ACCESSOIRE/
ACESSÓRIOS
480635 SUPPORT BOÎTE/TANEK REMOTO
SUPORTE BOX/TANEK REMOTO
x4
ACCESSOIRE/
ACESSÓRIOS
480260 CÂBLE TANEK ARG – BOX 5M/
BICHA TANEK ARG – BOX 5M
480277 CÂBLE TANEK ARG – BOX 10M/
BICHA TANEK ARG – BOX 10M
480284 CÂBLE TANEK ARG – BOX 20M/
BICHA TANEK ARG – BOX 20M
5/10
3
4a CROIX DIRECTIONNELLE/CRUZETA
x2
6/10
4c Télécommande/Remoto
4b SURFACE/ SUPERFÍCIE
x4
x2
POSITIONS INTERDITES/
POSIÇÕES NÃO PERMITIDAS
* Visserie non incluse. Fixer au minimum avec 4 vis/
Ferragens não incluídas. Fixar pelo menos com 4 parafusos
7/10
* Fijar mínimo con 3 tornillos/
Fix minimum with 3 screws
TÉLÉCOMMANDE/ BOX REMOTA BOX EN LIRA/BOX IN LIRA
180º 150º
3,5 ± 0,2Nm.
* Pour tourner, desserrer sufsamment an de ne pas endommager la peinture/
Para rodar, alivie o suciente para não danicar a pintura
*
Rotation/Rotação
ACCESORIO/
ACCESSORY
480291 CONNECTEUR RÉGLAGE/
LIGADOR REGULAÇÃO
480307 CONNECTEUR ALIMENTATION/
LIGADOR ALIMENTAÇÃO
6
RACCORDEMENT ÉLECTRIQUE/ LIGAÇÃO ELÉTRICA
Réglage DALI/
Regulação DALI
BLEU/AZUL
JAUNE-VERT/
AMARELO-VERDE
MARRON/CASTANHO
PÚRPURA/PURPLE
NOIR/GRIS
DA
DA
ALIMENTATION/ ALIMENTAÇÃO
220-240Vac
50-60Hz
RÉGLAGE/
REGULAÇÃO
8/10
Accessoire/Acessórios
GRILLE/ GRELHA (480246)
AILETTES VERTICALES/ ALHETAS VERTICAIS (480253)
188
88
32
x4
x4
188
88
35
9/10
10/10
www.grupoprilux.com

Other Prilux Lighting Equipment manuals

Prilux Nantes User manual

Prilux

Prilux Nantes User manual

Prilux RENO 3D User manual

Prilux

Prilux RENO 3D User manual

Prilux Nantes PLAY User manual

Prilux

Prilux Nantes PLAY User manual

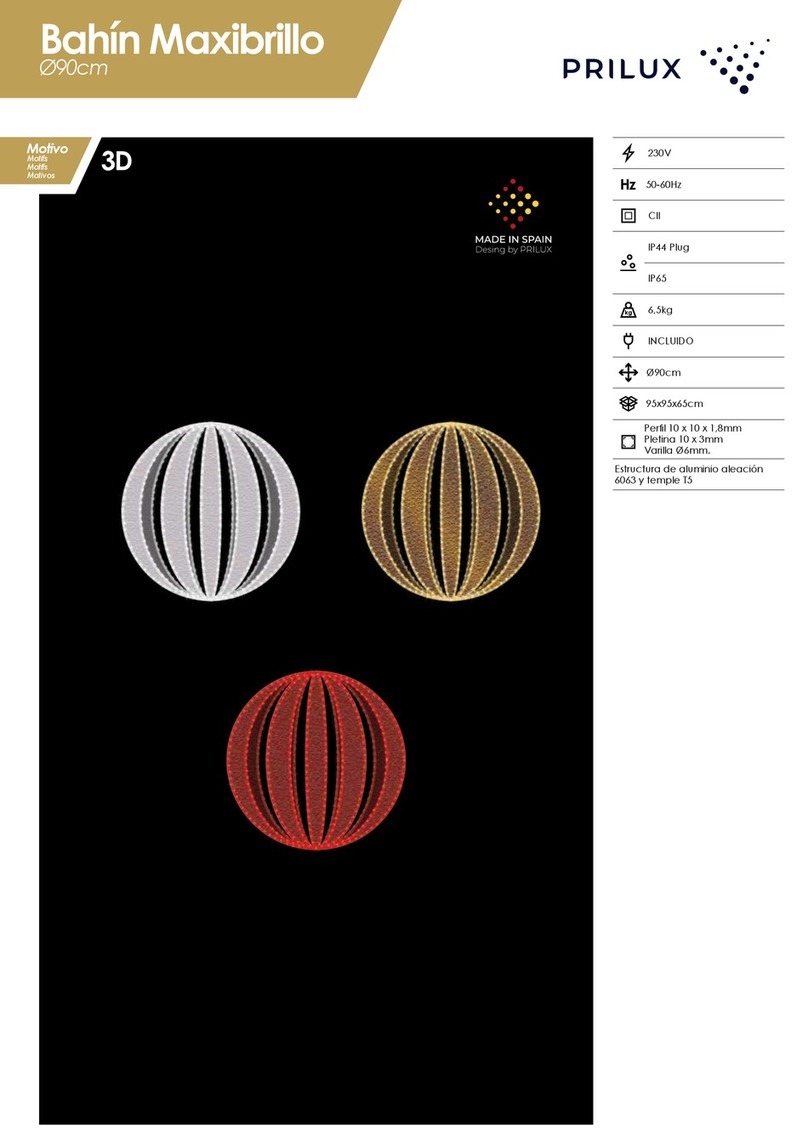
Prilux Bahin Maxibrillo 444958 User manual

Prilux

Prilux Bahin Maxibrillo 444958 User manual

Prilux Hexagon ZENIT User manual

Prilux

Prilux Hexagon ZENIT User manual

Prilux Kera User manual

Prilux

Prilux Kera User manual

Prilux RED FLASHING User manual

Prilux

Prilux RED FLASHING User manual

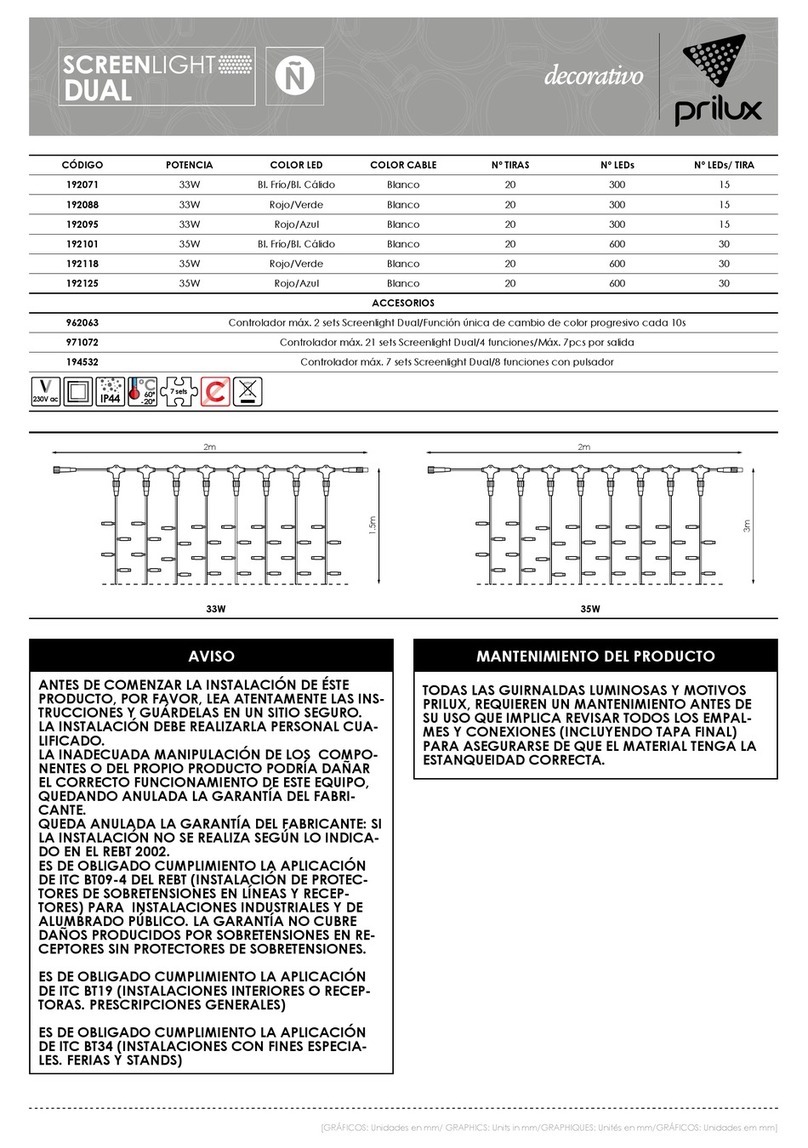
Prilux decorativo SCREENLIGHT DUAL 192071 User manual

Prilux

Prilux decorativo SCREENLIGHT DUAL 192071 User manual

Prilux Kenia User manual

Prilux

Prilux Kenia User manual

Prilux Hexagon User manual

Prilux

Prilux Hexagon User manual

Prilux ecTUBE T8 Glass NR basic User manual

Prilux

Prilux ecTUBE T8 Glass NR basic User manual

Prilux Chio User manual

Prilux

Prilux Chio User manual

Prilux Tanek User manual

Prilux

Prilux Tanek User manual

Prilux LED PAD AVANT RGBW User manual

Prilux

Prilux LED PAD AVANT RGBW User manual

Prilux ecTUBE T8 Glass NR smart User manual

Prilux

Prilux ecTUBE T8 Glass NR smart User manual

Prilux 953191 User manual

Prilux

Prilux 953191 User manual

Prilux Arisa TOP1 User manual

Prilux

Prilux Arisa TOP1 User manual

Prilux Energy TECH RGB RF User manual

Prilux

Prilux Energy TECH RGB RF User manual

Prilux Megara User manual

Prilux

Prilux Megara User manual

Prilux SCREENLIGHT 953177 User manual

Prilux

Prilux SCREENLIGHT 953177 User manual

Prilux Avatar XL LED User manual

Prilux

Prilux Avatar XL LED User manual

Prilux CLUSTER MICROLED 444354 User manual

Prilux

Prilux CLUSTER MICROLED 444354 User manual

Prilux Imagine RGBW User manual

Prilux

Prilux Imagine RGBW User manual

Prilux Niza User manual

Prilux

Prilux Niza User manual

Popular Lighting Equipment manuals by other brands

MicMol MASTER quick start guide

MicMol

MicMol MASTER quick start guide

ccei PF10R511 Technical instructions

ccei

ccei PF10R511 Technical instructions

Robert Juliat ARAMIS 1013+ Technical file

Robert Juliat

Robert Juliat ARAMIS 1013+ Technical file

IDTOLIGHT KINGSTON ID836356BZZ installation instructions

IDTOLIGHT

IDTOLIGHT KINGSTON ID836356BZZ installation instructions

Whelen Engineering Company L22 LED Beacon installation guide

Whelen Engineering Company

Whelen Engineering Company L22 LED Beacon installation guide

Qtx DMX-D8 user manual

Qtx

Qtx DMX-D8 user manual

Clas Ohlson TBC30SXPDK1 instructions

Clas Ohlson

Clas Ohlson TBC30SXPDK1 instructions

Lightolier Skyway SKS2GPK217 Installation

Lightolier

Lightolier Skyway SKS2GPK217 Installation

Magen eco-Energy PSC-5 owner's manual

Magen eco-Energy

Magen eco-Energy PSC-5 owner's manual

Global Pool Products TSUNAMI owner's guide

Global Pool Products

Global Pool Products TSUNAMI owner's guide

Safavieh FLL4033A quick start guide

Safavieh

Safavieh FLL4033A quick start guide

PROEL PLLEDC64AL user manual

PROEL

PROEL PLLEDC64AL user manual

Lightolier Calculite Matrix 4X9PL specification

Lightolier

Lightolier Calculite Matrix 4X9PL specification

Perko 0317 Series installation manual

Perko

Perko 0317 Series installation manual

Terex Series AL4000 Operation & service manual

Terex

Terex Series AL4000 Operation & service manual

LIGMAN Mic 3 Installation and service manual

LIGMAN

LIGMAN Mic 3 Installation and service manual

Latham CS1800 installation guide

Latham

Latham CS1800 installation guide

Derungs Dmed HX LED 7 Instructions for use

Derungs

Derungs Dmed HX LED 7 Instructions for use

manuals.online logo
manuals.online logoBrands
  • About & Mission
  • Contact us
  • Privacy Policy
  • Terms and Conditions

Copyright 2025 Manuals.Online. All Rights Reserved.