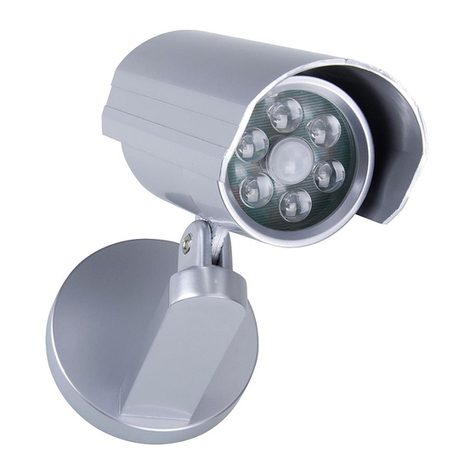
Pro-Elec PEL00588 User manual
Other Pro-Elec Outdoor Light manuals
Pro-Elec
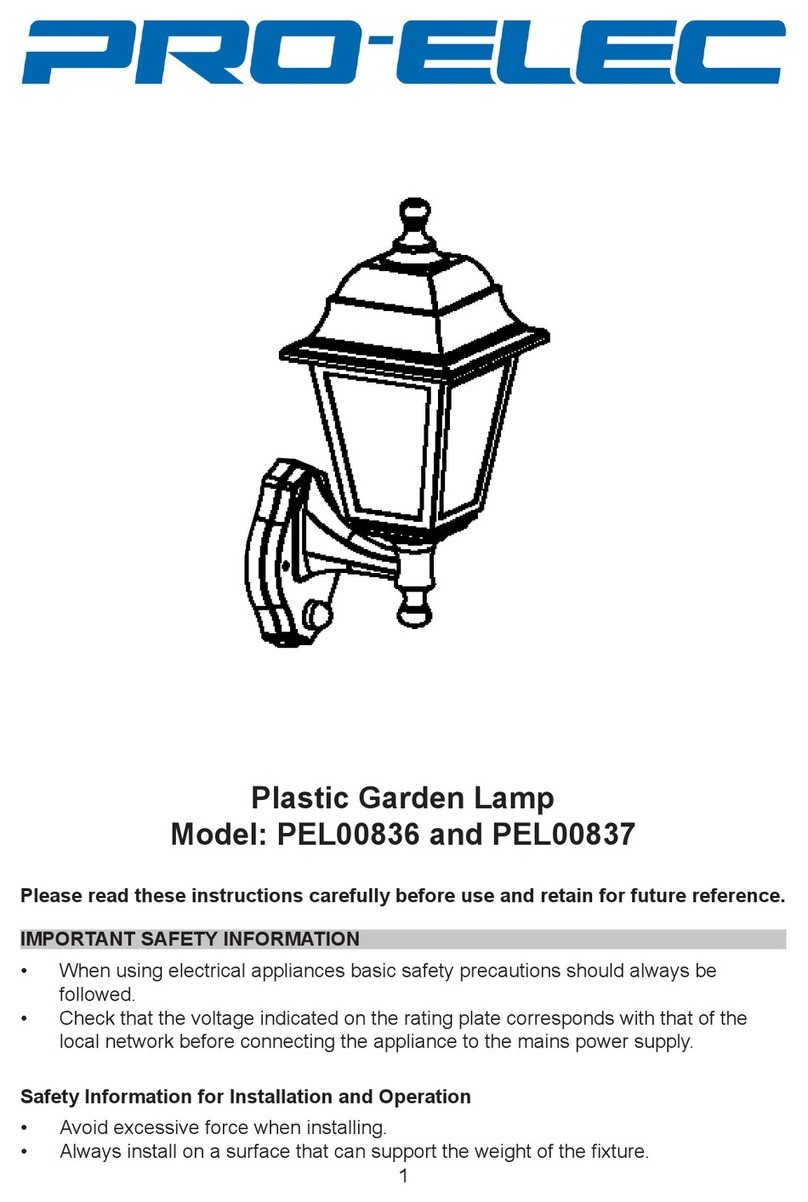
Pro-Elec PEL00836 Original operating instructions
Pro-Elec
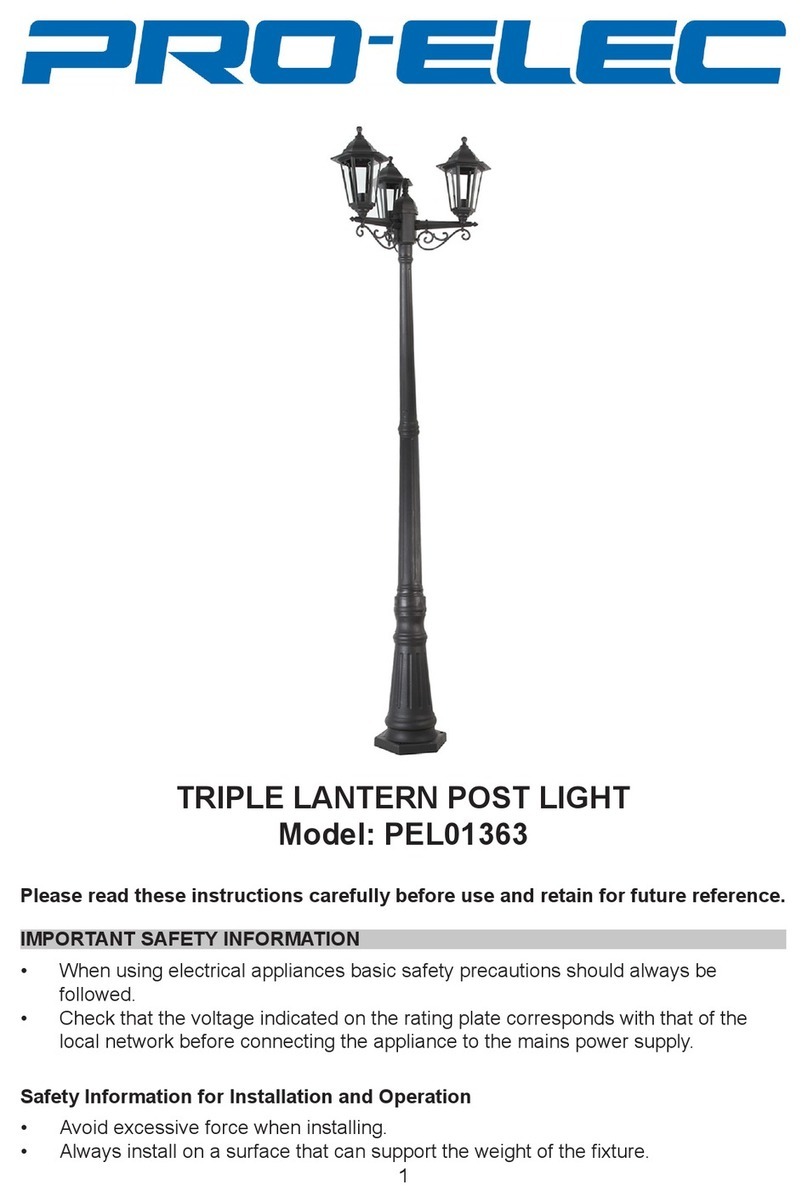
Pro-Elec PEL01363 User manual

Pro-Elec
Pro-Elec PEL00826 User manual

Pro-Elec
Pro-Elec PEL01358 User manual

Pro-Elec
Pro-Elec PEL00589 User manual

Pro-Elec
Pro-Elec PELL0016 User manual
Pro-Elec
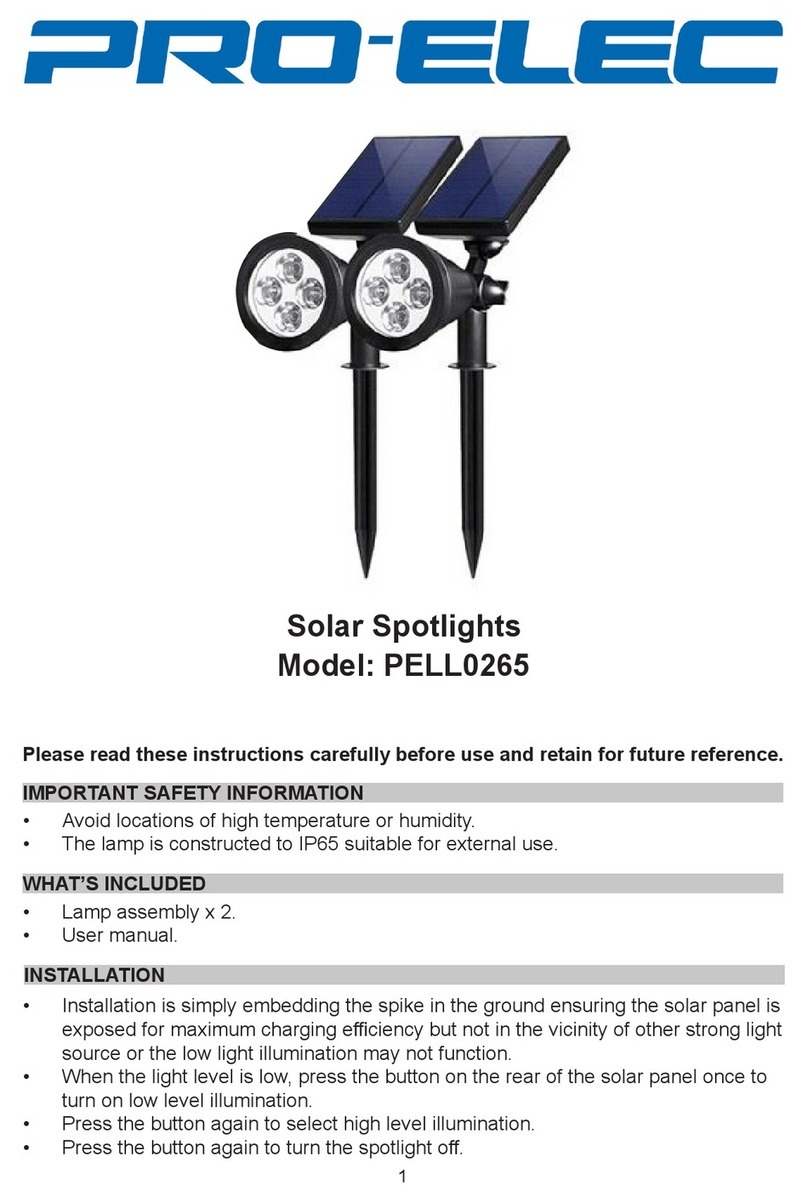
Pro-Elec PELL0265 User manual
Pro-Elec
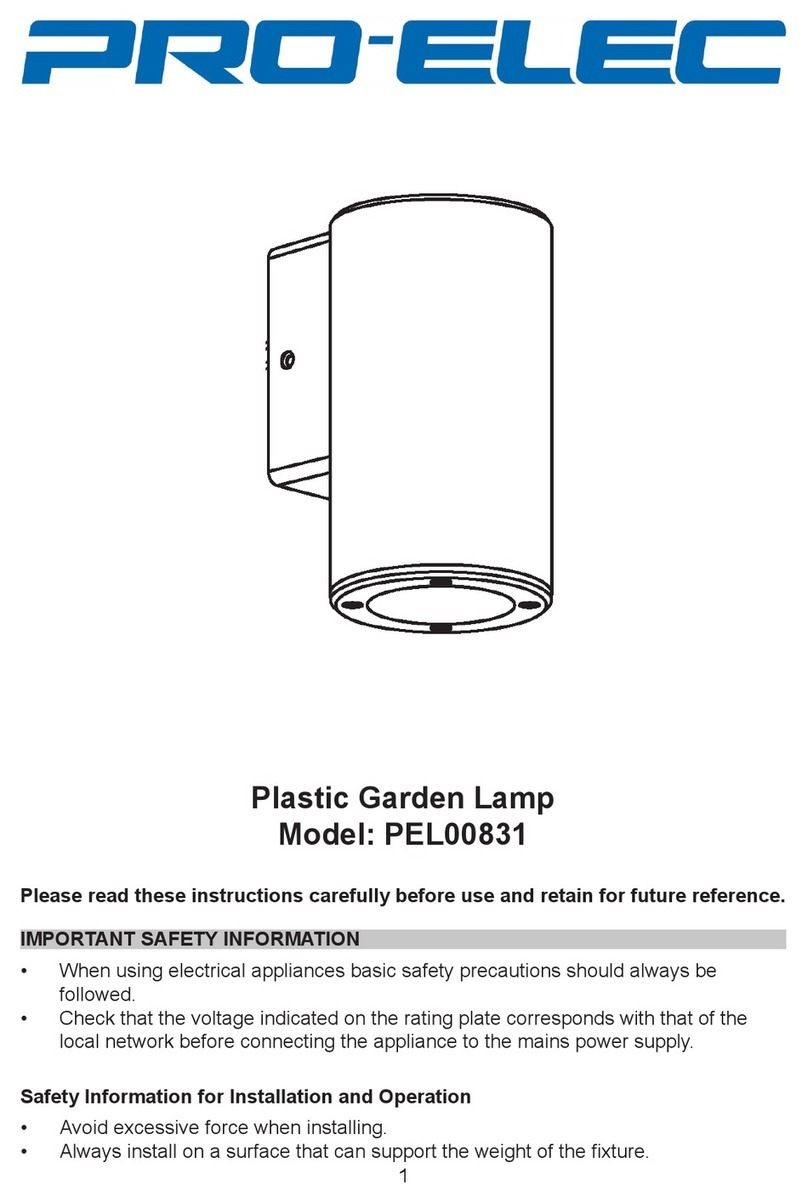
Pro-Elec PEL00831 User manual
Pro-Elec
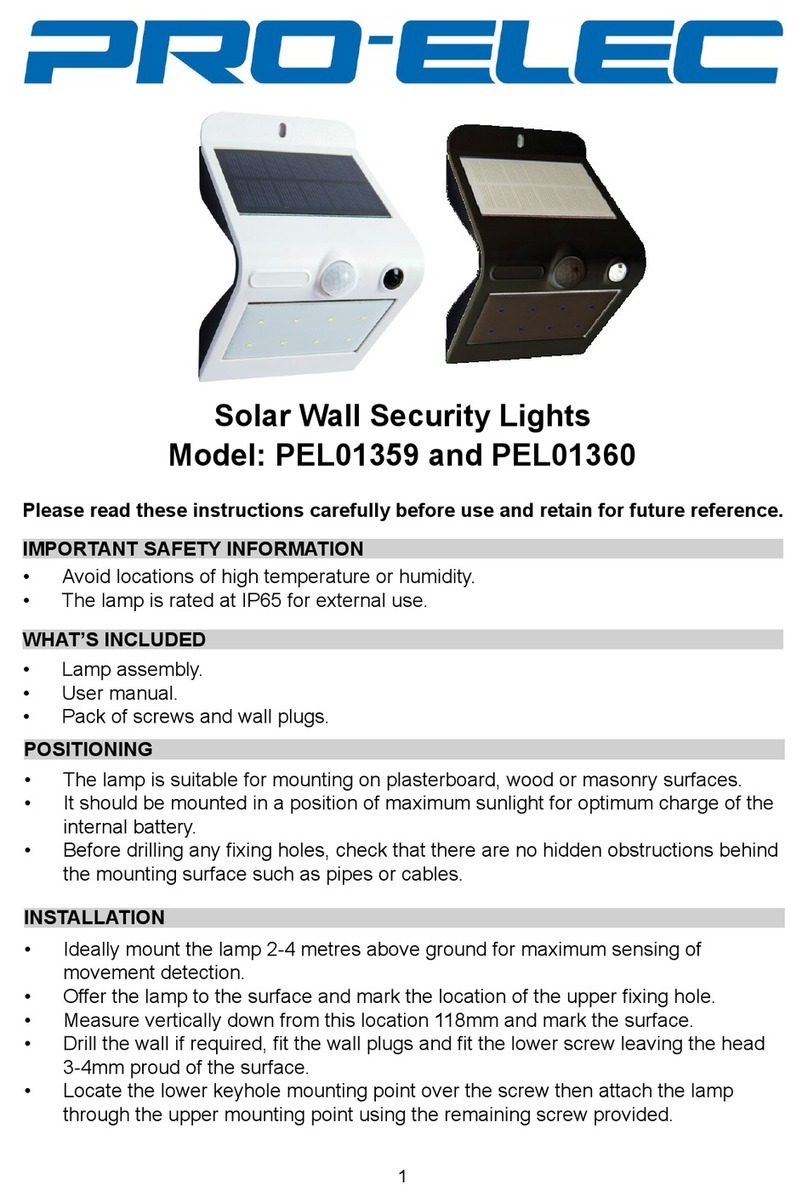
Pro-Elec PEL01359 User manual
Pro-Elec
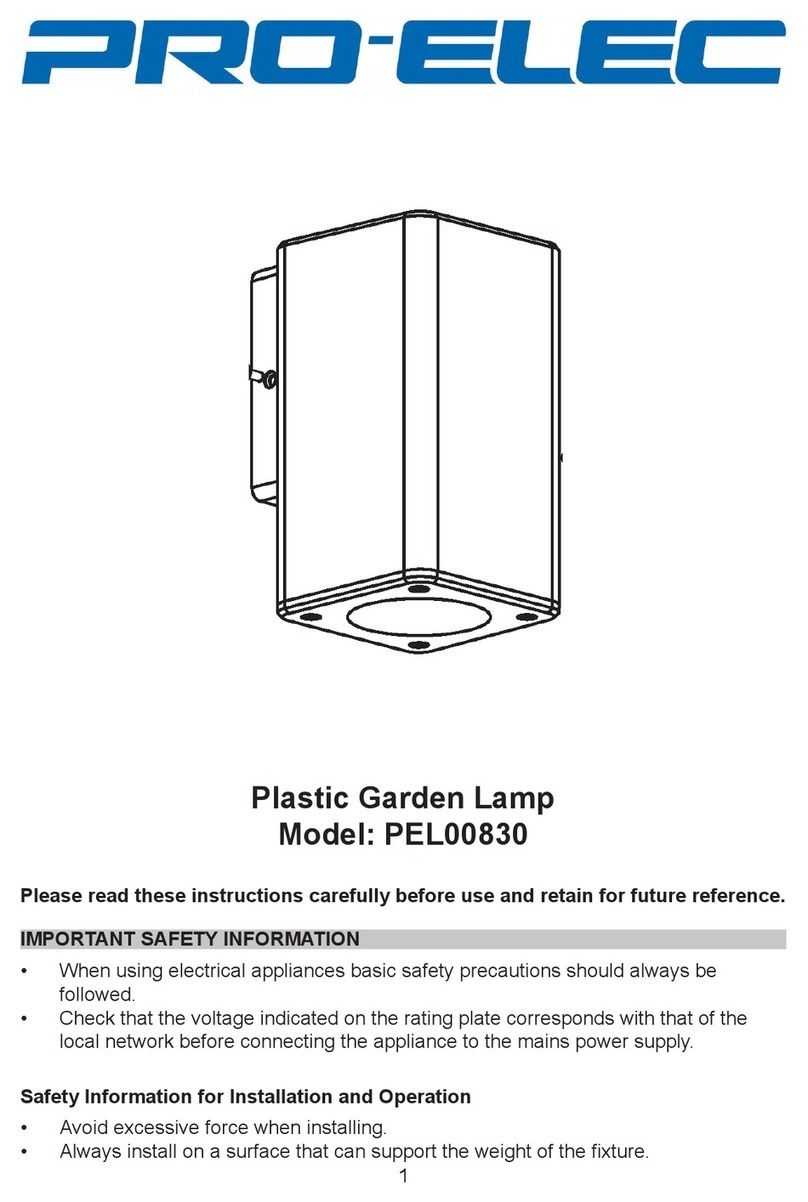
Pro-Elec PEL00830 User manual
Pro-Elec
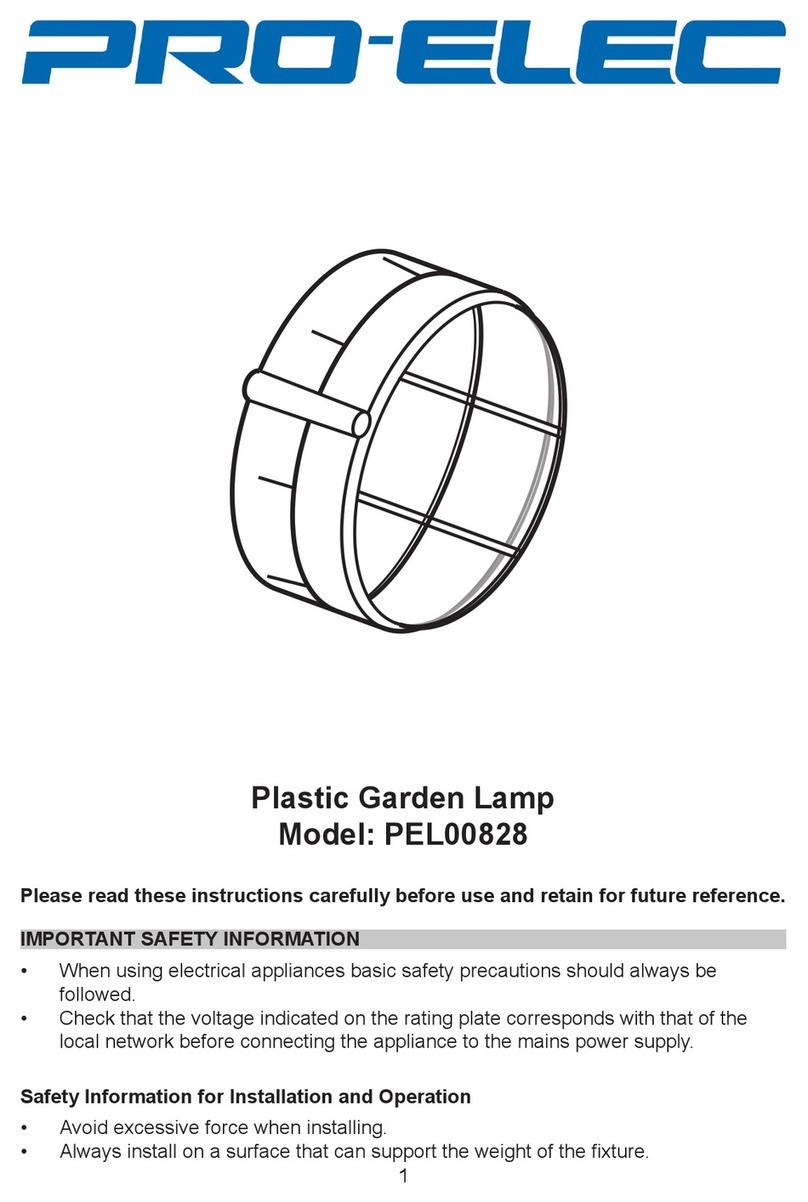
Pro-Elec PEL00828 User manual

Pro-Elec
Pro-Elec PEL01361 User manual

Pro-Elec
Pro-Elec PEL01355 User manual
Pro-Elec
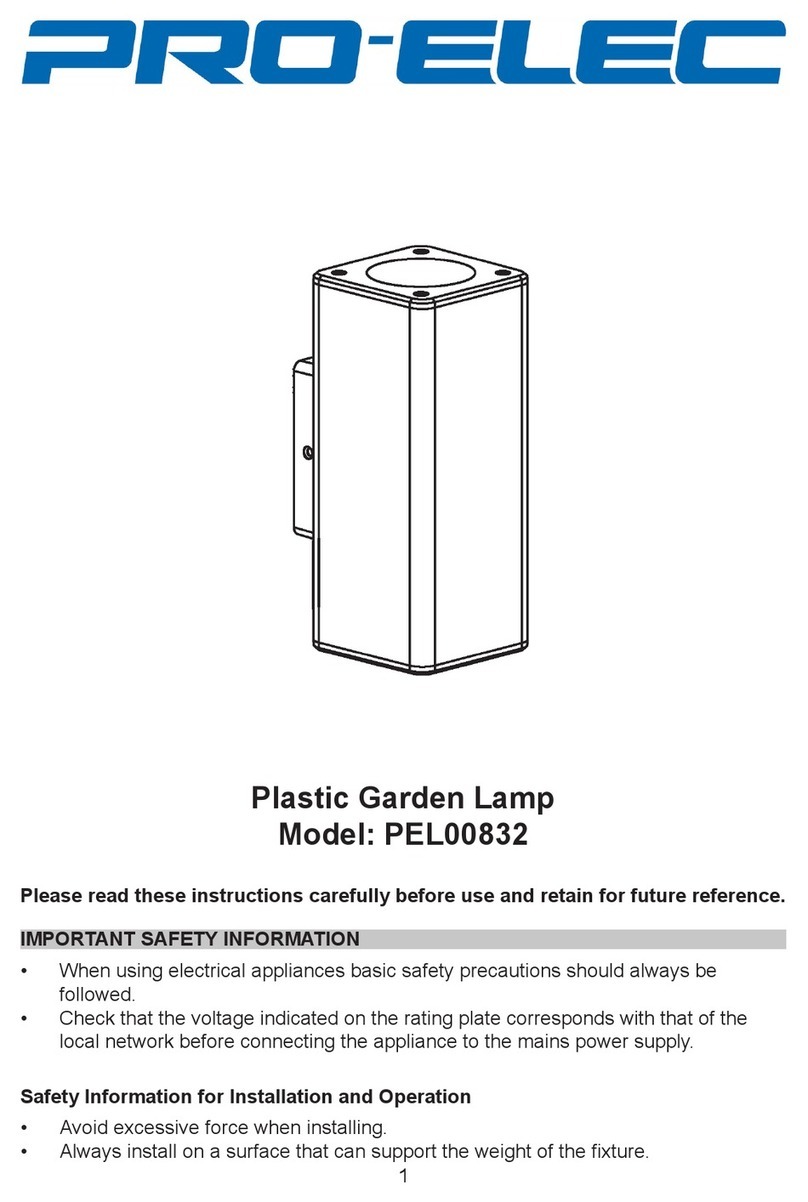
Pro-Elec PEL00832 User manual

Pro-Elec
Pro-Elec PELL0054 User manual

Pro-Elec
Pro-Elec PEL01357 User manual
Pro-Elec
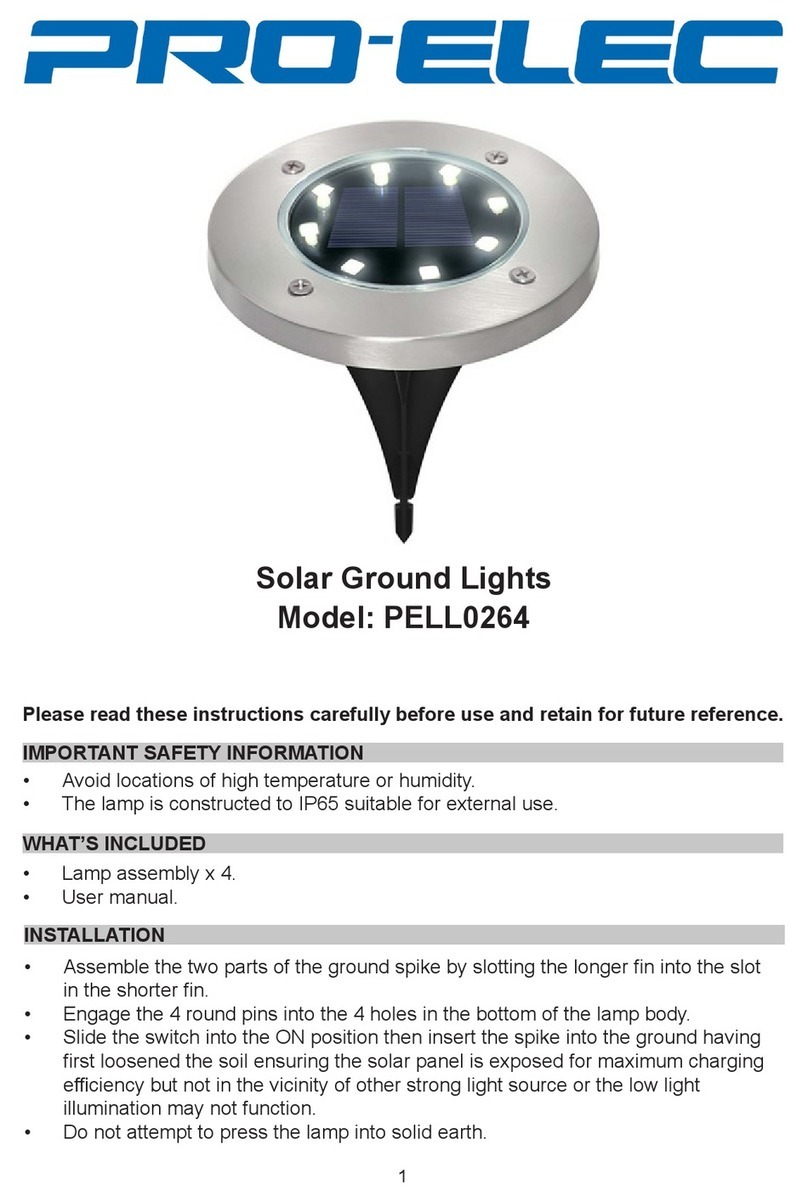
Pro-Elec PELL0264 User manual

Pro-Elec
Pro-Elec PEL00838 User manual

Pro-Elec
Pro-Elec PEL00824 User manual
Pro-Elec
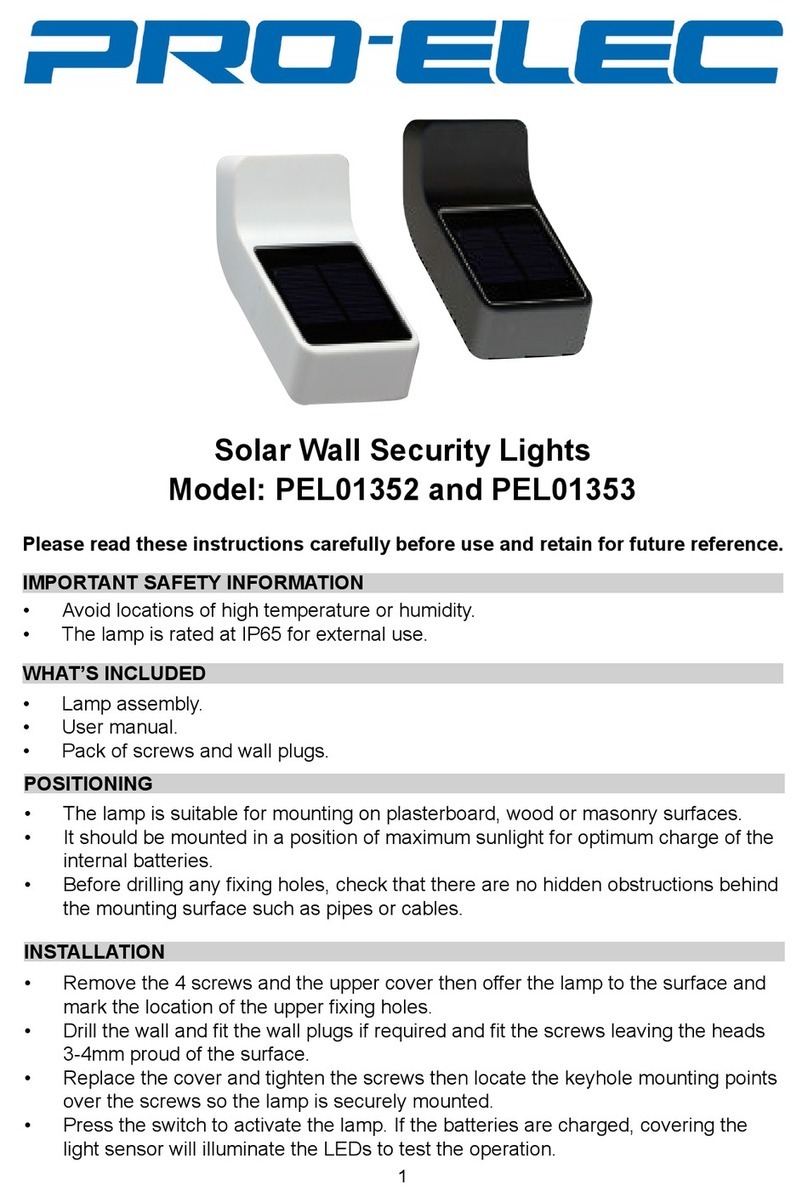
Pro-Elec PEL01352 User manual
Popular Outdoor Light manuals by other brands

HEPER
HEPER DOGO Side LW6048.585-US Installation & maintenance instructions

Maretti
Maretti VIBE S 14.6080.04.A quick start guide

BEGA
BEGA 84 253 Installation and technical information

HEPER
HEPER LW8034.003-US Installation & maintenance instructions

HEPER
HEPER MINIMO Installation & maintenance instructions

LIGMAN
LIGMAN BAMBOO 3 installation manual

Maretti
Maretti TUBE CUBE WALL 14.4998.04 quick start guide

Maxim Lighting
Maxim Lighting Carriage House VX 40428WGOB installation instructions

urban ambiance
urban ambiance UQL1273 installation instructions

TotalPond
TotalPond 52238 instruction manual

Donner & Blitzen
Donner & Blitzen 0-02661479-2 owner's manual

LIGMAN
LIGMAN DE-20023 installation manual

