Pro-tools MTRX II User manual
Pro Tools | MTRX II Guide

Legal Notices
© 2023 Avid Technology, Inc., (“Avid”), all rights reserved. This guide may not be duplicated in whole or in part without the written consent of Avid.
For a current and complete list of Avid trademarks visit: www.avid.com/legal/trademarks-and-other-notices.
Bonjour, the Bonjour logo, and the Bonjour symbol are trademarks of Apple Computer, Inc.
Thunderbolt and the Thunderbolt logo are trademarks of Intel Corporation in the U.S. and/or other countries.
This product may be protected by one or more U.S. and non-U.S. patents. Details are available at www.avid.com/patents.
Product features, specifications, system requirements, and availability are subject to change without notice.
Guide Part Number 9329-66469-00 REV A 6/23
Confidential unpublished works. Copyright 2022 Dolby Laboratories. All rights reserved.
Dolby, Dolby Atmos, and the double-D symbol are registered trademarks of Dolby Laboratories Licensing Corporation.
iii
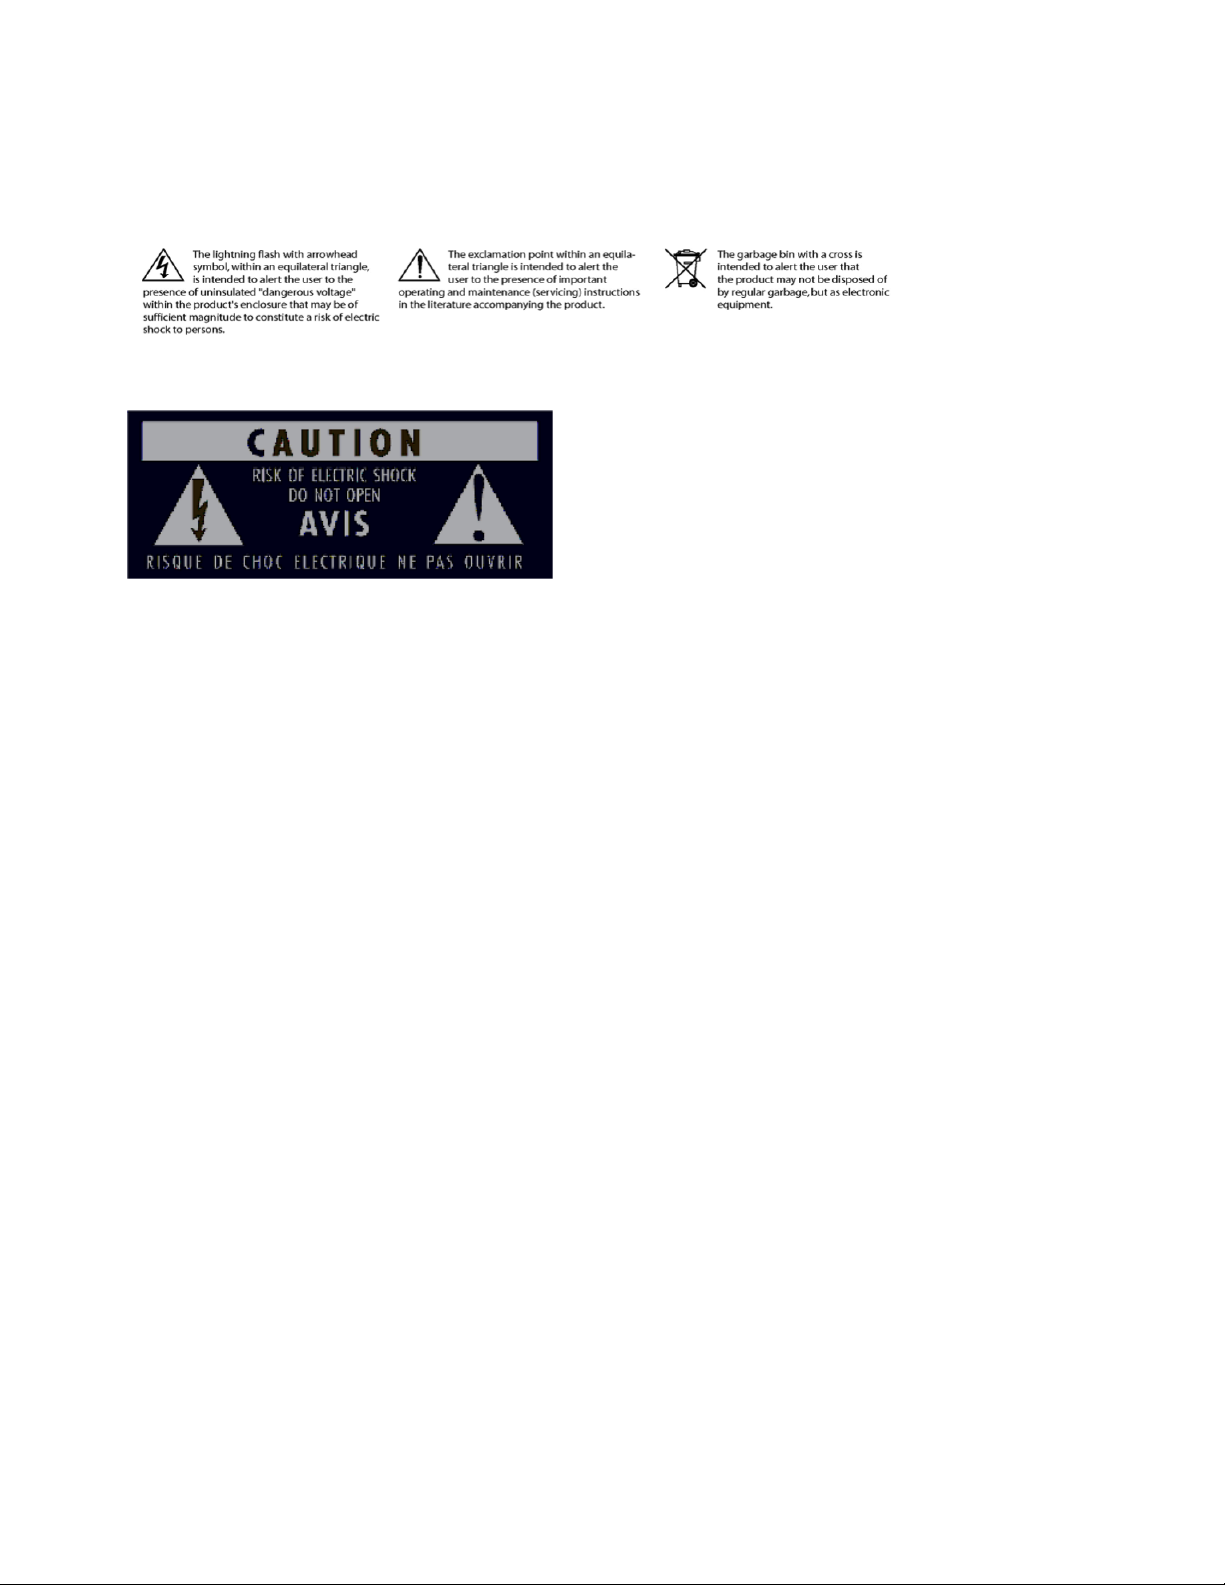
Safety Instructions
Read and Keep these Instructions
Warning
Important Safety Instructions
1Read these instructions.
2Keep these instructions.
3Heed all warnings.
4Follow all instructions.
5Do not use this equipment near water.
6Clean only with dry cloth.
7Do not block any ventilation openings. Install in accordance with the manufacturer’s instructions.
8Do not install near any heat sources such as radiators, heat registers, stoves, or other equipment (including amplifiers) that produce
heat.
9Protect power cords from being walked on or pinched particularly at plugs, convenience receptacles, and the point where they exit
from the equipment.
10 Only use attachments/accessories specified by the manufacturer.
11 For products that are not rack-mountable: Use only with a cart, stand, tripod, bracket, or table specified by the manufacturer, or sold
with the equipment. When a cart is used, use caution when moving the cart/equipment combination to avoid injury from tip-over.
12 Unplug this equipment during lightning storms or when unused for long periods of time.
13 Refer all servicing to qualified service personnel. Servicing is required when the equipment has been damaged in any way, such as
power-supply cord or plug is damaged, liquid has been spilled or objects have fallen into the equipment, the equipment has been ex-
posed to rain or moisture, does not operate normally, or has been dropped.
14 For products that are a Mains powered device:

iv
The equipment shall not be exposed to dripping or splashing and no objects filled with liquids (such as vases) shall be placed on the
equipment.
WARNING!
To reduce the risk of fire or electric shock, do not expose this equipment to rain or moisture.
ATTENTION!
Pour réduire les risques d'incendie ou d'électrocution, n'exposez pas cet équipement à la pluie ou à l'humidité.
Do not defeat the safety purpose of the polarized or grounding-type plug. A polarized plug has two blades with one wider than the
other. A grounding type plug has two blades and a third grounding prong. The wide blade or the third prong are provided for your
safety. If the provided plug does not fit into your outlet, consult an electrician for replacement of the obsolete outlet.
15 For products containing a lithium battery:
WARNING!
Danger of explosion if battery is incorrectly replaced. Replace only with the same or equivalent type.
ATTENTION!
Risque d'explosion si la batterie n'est pas remplacée correctement. Remplacez uniquement par un type identique ou équivalent.
Jetez les piles usagées conformément aux instructions.
16 For products with a power switch: It should remain accessible after installation.
17 The equipment shall be used at a maximum ambient temperature of 40° C.
18 This unit is provided with a power supply cord set suitable for 120V AC input only (for U.S.A. and Canada). For other than U.S.A.
and Canada, a qualified person must provide for use with this unit, an appropriate, approved power supply cord set which is in com-
pliance with the end use country requirements and has a minimum cross-sectional area of 1.0mm2.
19 For products with more than one power cord:
WARNING!
This unit has more than one power supply cord. Discon- nect two power supply cords before servicing to avoid electrical shock.
ATTENTION!
Cet appareil comporte plus d’un cordon d’alimenta- tion. Afin de prévenir les chocs électriques, débrancher les deux cor- dons
d’alimentation avant de faire le dépannage.
20 For products with an operator-accessible fuse:
CAUTION:
For continued protection against risk of fire, replace only with same type and rating of fuse.
ATTENTION:
Pour ne pas compromettre la protection contre les risques d’incendie, remplacer par un fusible de même type et de même car-
actéristiques nominales.

v
Rack-Mount Safety Instructions
1Elevated Operating Ambient—If installed in a closed or multi-unit rack assembly, the operating ambient temperature of the rack en-
vironment might be greater than room ambient. Therefore, consider installing the equipment in an environment compatible with the
maximum ambient temperature (Tma) specified by the manufacturer.
2Reduced Air Flow—Installation of the equipment in a rack should be such that the amount of air flow required for safe operation of
the equipment is not compromised. Make allowances for cooling air to be available to the front panel surface and no restrictions at
the rear.
3Mechanical Loading—Mounting of the equipment in the rack should be such that a hazardous condition is not achieved due to un-
even mechanical loading.
4Circuit Overloading—Consideration should be given to the connection of the equipment to the supply circuit and the effect that over-
loading of the circuits might have on over-current protection and supply wiring. Appropriate consideration of equipment nameplate
ratings should be used when addressing this concern.
5Reliable Earthing—Reliable Earthing of rack-mounted equipment should be maintained. Particular attention should be given to sup-
ply connections other than direct connections to the branch circuit (for example, use of power strips).
LED Safety Notices
Avid hardware might contain LED or Laser devices for communication use. These devices are compliant with the requirements for
Class 1 LED and Laser Products and are safe in the intended use. In normal operation the output of these laser devices does not exceed
the exposure limit of the eye and cannot cause harm.
Environmental Compliance
Proposition 65 Warning
This product can expose you to chemicals including Pb and Pb compounds, which is known to the State of California to cause
cancer and birth defects or other reproductive harm. For more information go to www.P65Warnings.ca.gov.
Perchlorate Notice
This product may contain a lithium coin battery. The State of California requires the following disclosure statement:
“Perchlorate Material—special handling may apply, see www.dtsc.ca.gov/hazardous waste/perchlorate.”
Recycling Notice
Disposal of Waste Equipment by Users in the European Union
This symbol on the product or its packaging indicates that this product must not be disposed of with other waste. Instead, it is your re-
sponsibility to dispose of your waste equipment by handing it over to a designated collection point for the recycling of waste electrical
and electronic equipment. The separate collection and recycling of your waste equipment at the time of disposal will help conserve nat-
ural resources and ensure that it is recycled in a manner that protects human health and the environment. For more information about
where you can drop off your waste equipment for recycling, please contact your local city recycling office or the dealer from whom you
purchased the product.

vi
EMC (Electromagnetic Compliance)
Avid declares that this product complies with the following standards:
• FCC Part 15 Class B
• ICES-003 Class B
• BS/EN, EN 55032 Class B
• AS/NZS CISPR 32 Class B
• CISPR32 Class B
• BS/EN, EN 61000-3-2
• BS/EN, EN 61000-3-3
• BS/EN, EN 55035
FCC Notice: Class B Equipment
This equipment has been tested and found to comply with the limits for a Class B digital device, pursuant to Part 15 of the FCC Rules.
These limits are designed to provide reasonable protection against harmful interference in a residential installation. This equipment gen-
erates, uses, and can radiate radio frequency energy and, if not installed and used in accordance with the instructions, may cause harmful
interference to radio communications. However, there is no guarantee that interference will not occur in a particular installation. If this
equipment does cause harmful interference to radio or television reception, which can be determined by turning the equipment off and
on, the user is encouraged to try and correct the interference by one or more of the following measures:
• Reorient or locate the receiving antenna.
• Increase the separation between the equipment and receiver.
• Connect the equipment into an outlet on a circuit different from that to which the receiver is connected.
• Consult the dealer or an experienced radio/TV technician for help.
Any modifications to the unit, unless expressly approved by Avid, could void the user's authority to operate the equipment.
Cables
Connections to Avid hardware must be made with shielded cables with metallic RFI/EMI connector hoods in order to maintain com-
pliance with FCC Rules and Regulations.
Any modifications to the unit, unless expressly approved by Avid, could void the user's authority to operate the equipment.
Canadian ICES-003 Class B Notice
This Class B digital apparatus complies with Canadian ICES-003.
Cet appareil numérique de la classe B est conforme à la norme NMB-003 du Canada.
Australian Compliance
Korean EMC Compliance
Safety Compliance
This equipment has been tested to comply with USA, Canadian, EU and International safety certification standards: UL 62368-1:2014,
CAN/CSA 62368-1-14 and IEC//BS/EN 62368-1:2014 (2nd Edition), A11 2017.
Avid Technology Inc., has been authorized to apply the appropriate NRTL mark on its compliant equipment.

vii
Power Safety Input Rating
Regulatory Model Number: MTRX II
100–240VAC, 50–60Hz, 120VA Max.
United Kingdom Compliance
(EMC, Safety, and RoHS)
Avid Tech. EU LTD
20 Station Road
Gerrards Cross
England SL9 8EL
CE Compliance
(EMC, Safety, and RoHS)
Avid is authorized to apply the CE (Conformite Europenne) mark on this compliant equipment thereby declaring conformity to EMC
Directive 2014/30/EU, Low Voltage Directive 2014/35/EU and RoHS Recast Directive 2011/65/EU.

Pro Tools | MTRX II Guide viii
Chapter 1. Introduction. . . . . . . . . . . . . . . . . . . . . . . . . . . . . . . . . . . . . . . . . . . . . . . . . . . . . . . . . . . . . . . . . . . . . . . . . . . . 1
Pro Tools | MTRX II. . . . . . . . . . . . . . . . . . . . . . . . . . . . . . . . . . . . . . . . . . . . . . . . . . . . . . . . . . . . . . . . . . . . . . . . . . . 1
Pro Tools | MTRX II Overview . . . . . . . . . . . . . . . . . . . . . . . . . . . . . . . . . . . . . . . . . . . . . . . . . . . . . . . . . . . . . . . . . . 1
System Requirements and Compatibility Information . . . . . . . . . . . . . . . . . . . . . . . . . . . . . . . . . . . . . . . . . . . . . . . 6
Conventions Used in Pro Tools Documentation. . . . . . . . . . . . . . . . . . . . . . . . . . . . . . . . . . . . . . . . . . . . . . . . . . . . 6
Resources. . . . . . . . . . . . . . . . . . . . . . . . . . . . . . . . . . . . . . . . . . . . . . . . . . . . . . . . . . . . . . . . . . . . . . . . . . . . . . . . . . 7
Chapter 2. Installation and Registration . . . . . . . . . . . . . . . . . . . . . . . . . . . . . . . . . . . . . . . . . . . . . . . . . . . . . . . . . . . . 8
Unpacking MTRX II . . . . . . . . . . . . . . . . . . . . . . . . . . . . . . . . . . . . . . . . . . . . . . . . . . . . . . . . . . . . . . . . . . . . . . . . . . . 8
Register Pro Tools | MTRX II and Activate your Avid Master Account . . . . . . . . . . . . . . . . . . . . . . . . . . . . . . . . . . 8
Download Software . . . . . . . . . . . . . . . . . . . . . . . . . . . . . . . . . . . . . . . . . . . . . . . . . . . . . . . . . . . . . . . . . . . . . . . . . . 9
Pro Tools | MTRX II Chassis and Expansion Cards . . . . . . . . . . . . . . . . . . . . . . . . . . . . . . . . . . . . . . . . . . . . . . . . . 9
Rack Mounting MTRX II . . . . . . . . . . . . . . . . . . . . . . . . . . . . . . . . . . . . . . . . . . . . . . . . . . . . . . . . . . . . . . . . . . . . . . . 9
Connecting Cables . . . . . . . . . . . . . . . . . . . . . . . . . . . . . . . . . . . . . . . . . . . . . . . . . . . . . . . . . . . . . . . . . . . . . . . . . . 10
Network Configuration . . . . . . . . . . . . . . . . . . . . . . . . . . . . . . . . . . . . . . . . . . . . . . . . . . . . . . . . . . . . . . . . . . . . . . . 11
Chapter 3. Connecting Pro Tools | MTRX II to a Pro Tools | HDX or HD Native System. . . . . . . . . . . . . . . . . 12
Connecting Pro Tools | MTRX II to the Network . . . . . . . . . . . . . . . . . . . . . . . . . . . . . . . . . . . . . . . . . . . . . . . . . . . 12
Connecting Pro Tools | MTRX II to Pro Tools | HDX . . . . . . . . . . . . . . . . . . . . . . . . . . . . . . . . . . . . . . . . . . . . . . . . 13
Connecting Pro Tools | MTRX II to Pro Tools | HD Native . . . . . . . . . . . . . . . . . . . . . . . . . . . . . . . . . . . . . . . . . . . 15
Synchronization . . . . . . . . . . . . . . . . . . . . . . . . . . . . . . . . . . . . . . . . . . . . . . . . . . . . . . . . . . . . . . . . . . . . . . . . . . . . 15
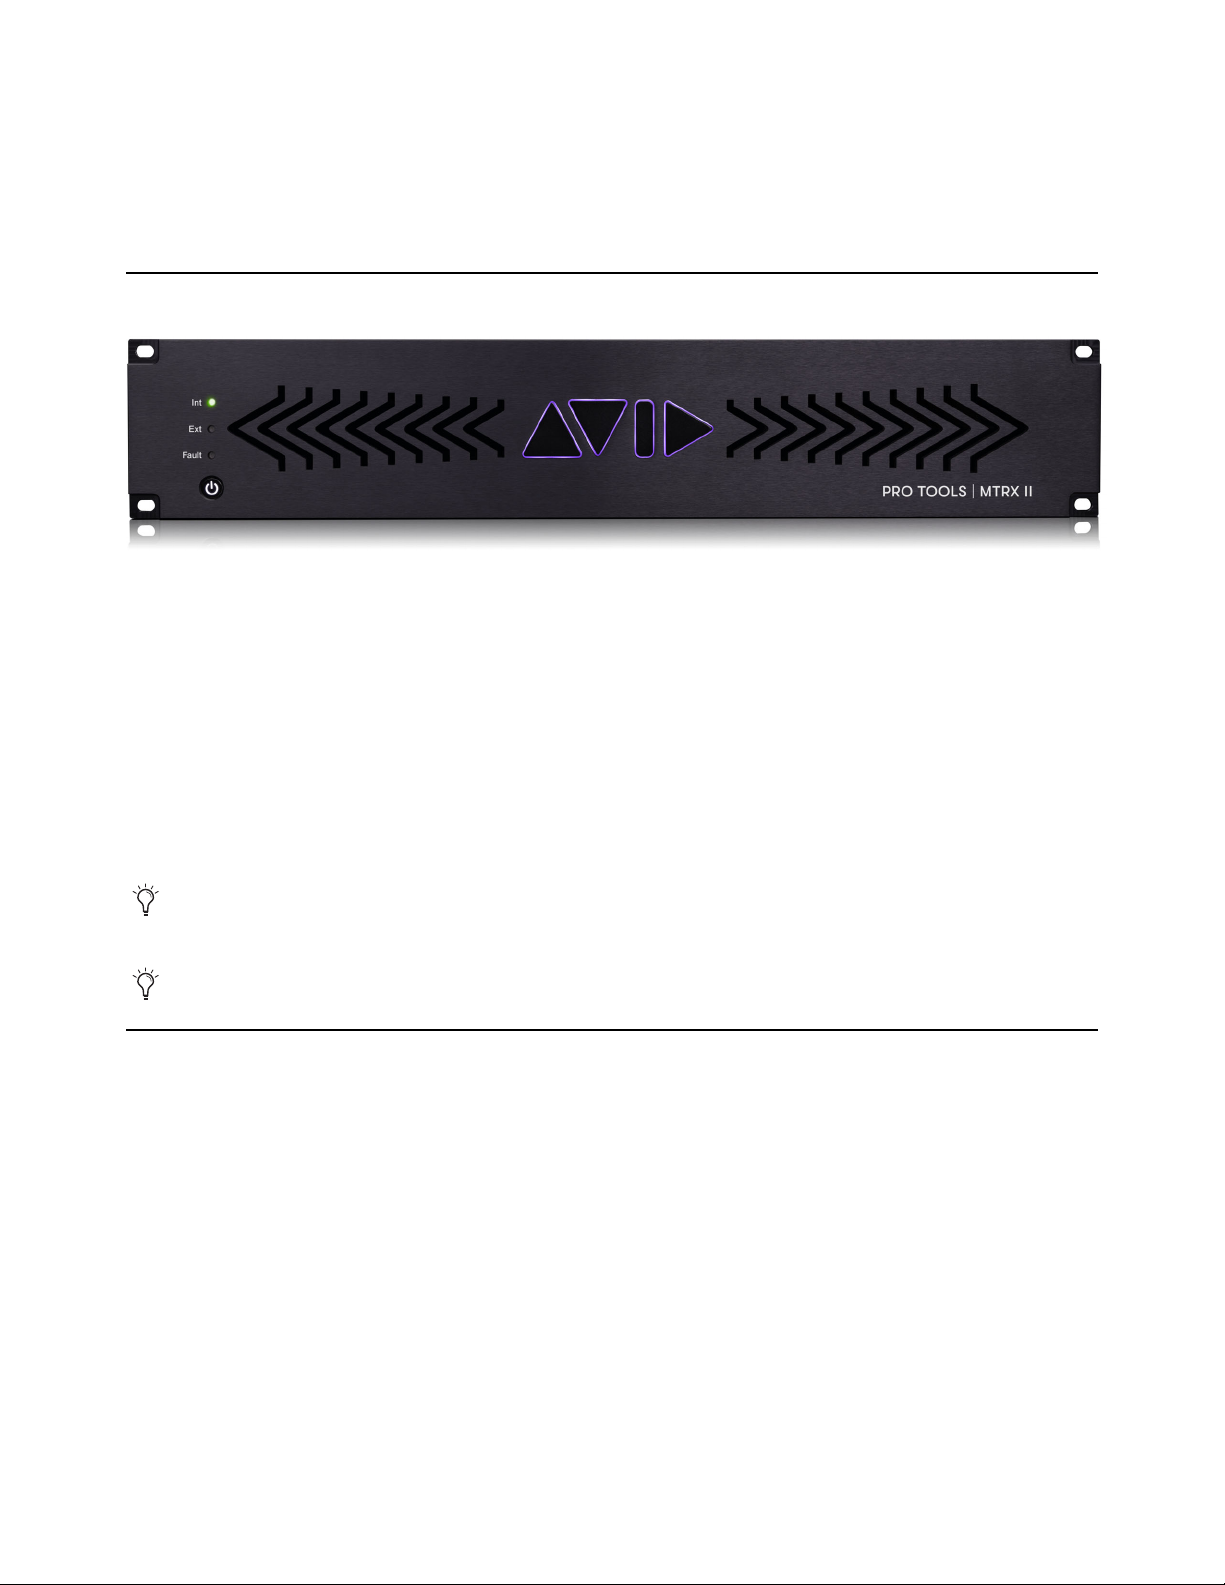
Chapter 4. Pro Tools | MTRX II Front and Back Panels . . . . . . . . . . . . . . . . . . . . . . . . . . . . . . . . . . . . . . . . . . . . . . 16
Pro Tools | MTRX II Front Panel. . . . . . . . . . . . . . . . . . . . . . . . . . . . . . . . . . . . . . . . . . . . . . . . . . . . . . . . . . . . . . . . 16
Pro Tools | MTRX II Back Panel . . . . . . . . . . . . . . . . . . . . . . . . . . . . . . . . . . . . . . . . . . . . . . . . . . . . . . . . . . . . . . . . 16
Digital I/O Connections . . . . . . . . . . . . . . . . . . . . . . . . . . . . . . . . . . . . . . . . . . . . . . . . . . . . . . . . . . . . . . . . . . . . . . 17
Analog I/O Connections . . . . . . . . . . . . . . . . . . . . . . . . . . . . . . . . . . . . . . . . . . . . . . . . . . . . . . . . . . . . . . . . . . . . . . 19
Example System Configurations . . . . . . . . . . . . . . . . . . . . . . . . . . . . . . . . . . . . . . . . . . . . . . . . . . . . . . . . . . . . . . . 20
Chapter 5. Installing and Configuring DADman Software. . . . . . . . . . . . . . . . . . . . . . . . . . . . . . . . . . . . . . . . . . . . 21
Installing DADman Software . . . . . . . . . . . . . . . . . . . . . . . . . . . . . . . . . . . . . . . . . . . . . . . . . . . . . . . . . . . . . . . . . . 21
Assigning the IP Address for your Computer and Pro Tools | MTRX II . . . . . . . . . . . . . . . . . . . . . . . . . . . . . . . . . 22
Updating Pro Tools | MTRX II Firmware . . . . . . . . . . . . . . . . . . . . . . . . . . . . . . . . . . . . . . . . . . . . . . . . . . . . . . . . . 23
Chapter 6. DADman Software . . . . . . . . . . . . . . . . . . . . . . . . . . . . . . . . . . . . . . . . . . . . . . . . . . . . . . . . . . . . . . . . . . . . . 24
DADman Menus . . . . . . . . . . . . . . . . . . . . . . . . . . . . . . . . . . . . . . . . . . . . . . . . . . . . . . . . . . . . . . . . . . . . . . . . . . . . 24
DADman Window . . . . . . . . . . . . . . . . . . . . . . . . . . . . . . . . . . . . . . . . . . . . . . . . . . . . . . . . . . . . . . . . . . . . . . . . . . . 26
Chapter 7. Monitor Profiles . . . . . . . . . . . . . . . . . . . . . . . . . . . . . . . . . . . . . . . . . . . . . . . . . . . . . . . . . . . . . . . . . . . . . . . 35
Monitor Profile Files . . . . . . . . . . . . . . . . . . . . . . . . . . . . . . . . . . . . . . . . . . . . . . . . . . . . . . . . . . . . . . . . . . . . . . . . . 35
Groups Page. . . . . . . . . . . . . . . . . . . . . . . . . . . . . . . . . . . . . . . . . . . . . . . . . . . . . . . . . . . . . . . . . . . . . . . . . . . . . . . 40
Fold Down Page . . . . . . . . . . . . . . . . . . . . . . . . . . . . . . . . . . . . . . . . . . . . . . . . . . . . . . . . . . . . . . . . . . . . . . . . . . . . 47
Contents

Pro Tools | MTRX II Guide
ix
Group Formats . . . . . . . . . . . . . . . . . . . . . . . . . . . . . . . . . . . . . . . . . . . . . . . . . . . . . . . . . . . . . . . . . . . . . . . . . . . . . 49
Mom Page . . . . . . . . . . . . . . . . . . . . . . . . . . . . . . . . . . . . . . . . . . . . . . . . . . . . . . . . . . . . . . . . . . . . . . . . . . . . . . . . . 52
Chapter 8. SPQ Processing . . . . . . . . . . . . . . . . . . . . . . . . . . . . . . . . . . . . . . . . . . . . . . . . . . . . . . . . . . . . . . . . . . . . . . . 53
EQ . . . . . . . . . . . . . . . . . . . . . . . . . . . . . . . . . . . . . . . . . . . . . . . . . . . . . . . . . . . . . . . . . . . . . . . . . . . . . . . . . . . . . . . 53
Configuring Bass Management . . . . . . . . . . . . . . . . . . . . . . . . . . . . . . . . . . . . . . . . . . . . . . . . . . . . . . . . . . . . . . . . 55
Chapter 9. Controlling MTRX II Preamps from Pro Tools
(Mac Only). . . . . . . . . . . . . . . . . . . . . . . . . . . . . . . . . . . . . . . . . . . . . . . . . . . . . . . . . . . . . . . . . . . . . . . . . . . . . . . . . . . . . . . 58
Configuring Audio MIDI Setup . . . . . . . . . . . . . . . . . . . . . . . . . . . . . . . . . . . . . . . . . . . . . . . . . . . . . . . . . . . . . . . . . 58
Configure DADman. . . . . . . . . . . . . . . . . . . . . . . . . . . . . . . . . . . . . . . . . . . . . . . . . . . . . . . . . . . . . . . . . . . . . . . . . . 59
Configure Pro Tools Software . . . . . . . . . . . . . . . . . . . . . . . . . . . . . . . . . . . . . . . . . . . . . . . . . . . . . . . . . . . . . . . . . 59
Controlling MTRX II from Pro Tools
(or from a Control Surface) . . . . . . . . . . . . . . . . . . . . . . . . . . . . . . . . . . . . . . . . . . . . . . . . . . . . . . . . . . . . 60
Appendix A. Specifications . . . . . . . . . . . . . . . . . . . . . . . . . . . . . . . . . . . . . . . . . . . . . . . . . . . . . . . . . . . . . . . . . . . . . . . . . . 61
Audio Specifications . . . . . . . . . . . . . . . . . . . . . . . . . . . . . . . . . . . . . . . . . . . . . . . . . . . . . . . . . . . . . . . . . . . . . . . . 61
Electrical Specifications. . . . . . . . . . . . . . . . . . . . . . . . . . . . . . . . . . . . . . . . . . . . . . . . . . . . . . . . . . . . . . . . . . . . . . 62
Mechanical Specifications . . . . . . . . . . . . . . . . . . . . . . . . . . . . . . . . . . . . . . . . . . . . . . . . . . . . . . . . . . . . . . . . . . . . 63
Environmental Specifications . . . . . . . . . . . . . . . . . . . . . . . . . . . . . . . . . . . . . . . . . . . . . . . . . . . . . . . . . . . . . . . . . 63
ThunderBolt 3 Option Card Specifications . . . . . . . . . . . . . . . . . . . . . . . . . . . . . . . . . . . . . . . . . . . . . . . . . . . . . . . 63
Appendix B. Installing MTRX Option Cards. . . . . . . . . . . . . . . . . . . . . . . . . . . . . . . . . . . . . . . . . . . . . . . . . . . . . . . . . . . . . 64
Overview of Installation . . . . . . . . . . . . . . . . . . . . . . . . . . . . . . . . . . . . . . . . . . . . . . . . . . . . . . . . . . . . . . . . . . . . . . 64
Preparing for the Installation . . . . . . . . . . . . . . . . . . . . . . . . . . . . . . . . . . . . . . . . . . . . . . . . . . . . . . . . . . . . . . . . . . 64
Opening the MTRX II Chassis. . . . . . . . . . . . . . . . . . . . . . . . . . . . . . . . . . . . . . . . . . . . . . . . . . . . . . . . . . . . . . . . . . 65
Installing an Expansion Card . . . . . . . . . . . . . . . . . . . . . . . . . . . . . . . . . . . . . . . . . . . . . . . . . . . . . . . . . . . . . . . . . . 65
Installing a MTRX MADI Module. . . . . . . . . . . . . . . . . . . . . . . . . . . . . . . . . . . . . . . . . . . . . . . . . . . . . . . . . . . . . . . . 67
Completing the Installation . . . . . . . . . . . . . . . . . . . . . . . . . . . . . . . . . . . . . . . . . . . . . . . . . . . . . . . . . . . . . . . . . . . 69
Appendix C. Installing Thunderbolt 3 Option Module . . . . . . . . . . . . . . . . . . . . . . . . . . . . . . . . . . . . . . . . . . . . . . . . . . . . 70
Overview of Installation . . . . . . . . . . . . . . . . . . . . . . . . . . . . . . . . . . . . . . . . . . . . . . . . . . . . . . . . . . . . . . . . . . . . . . 70
Preparing for the Installation . . . . . . . . . . . . . . . . . . . . . . . . . . . . . . . . . . . . . . . . . . . . . . . . . . . . . . . . . . . . . . . . . . 71
Hardware Installation . . . . . . . . . . . . . . . . . . . . . . . . . . . . . . . . . . . . . . . . . . . . . . . . . . . . . . . . . . . . . . . . . . . . . . . . 71
Driver and DADman Installation. . . . . . . . . . . . . . . . . . . . . . . . . . . . . . . . . . . . . . . . . . . . . . . . . . . . . . . . . . . . . . . . 73
Install and Configure Drivers . . . . . . . . . . . . . . . . . . . . . . . . . . . . . . . . . . . . . . . . . . . . . . . . . . . . . . . . . . . . . . . . . . 73
Install the Thunderbolt 3 Core Audio Driver on macOS . . . . . . . . . . . . . . . . . . . . . . . . . . . . . . . . . . . . . . . . . . . . . 74
Install the Thunderbolt 3 ASIO Driver on Windows . . . . . . . . . . . . . . . . . . . . . . . . . . . . . . . . . . . . . . . . . . . . . . . . 75
Appendix D. Network Fundamentals . . . . . . . . . . . . . . . . . . . . . . . . . . . . . . . . . . . . . . . . . . . . . . . . . . . . . . . . . . . . . . . . . . 77
What is a Network?. . . . . . . . . . . . . . . . . . . . . . . . . . . . . . . . . . . . . . . . . . . . . . . . . . . . . . . . . . . . . . . . . . . . . . . . . . 77
Infrastructure . . . . . . . . . . . . . . . . . . . . . . . . . . . . . . . . . . . . . . . . . . . . . . . . . . . . . . . . . . . . . . . . . . . . . . . . . . . . . . 78
Addressing . . . . . . . . . . . . . . . . . . . . . . . . . . . . . . . . . . . . . . . . . . . . . . . . . . . . . . . . . . . . . . . . . . . . . . . . . . . . . . . . 78
Appendix E. Monitoring with MTRX II and S6 . . . . . . . . . . . . . . . . . . . . . . . . . . . . . . . . . . . . . . . . . . . . . . . . . . . . . . . . . . . 81
Assigning Monitor Sources on S6, S4, or Avid Control . . . . . . . . . . . . . . . . . . . . . . . . . . . . . . . . . . . . . . . . . . . . . 81
Appendix F. I/O Delays . . . . . . . . . . . . . . . . . . . . . . . . . . . . . . . . . . . . . . . . . . . . . . . . . . . . . . . . . . . . . . . . . . . . . . . . . . . . . 84
MTRX II Input to Output Delays . . . . . . . . . . . . . . . . . . . . . . . . . . . . . . . . . . . . . . . . . . . . . . . . . . . . . . . . . . . . . . . . 84

Pro Tools | MTRX II Guide
x
Appendix G. Troubleshooting. . . . . . . . . . . . . . . . . . . . . . . . . . . . . . . . . . . . . . . . . . . . . . . . . . . . . . . . . . . . . . . . . . . . . . . . 85
Disabling Avid Audio Sever to Prevent Clock Disruptions with Sync X . . . . . . . . . . . . . . . . . . . . . . . . . . . . . . . . 85
Recovery Mode . . . . . . . . . . . . . . . . . . . . . . . . . . . . . . . . . . . . . . . . . . . . . . . . . . . . . . . . . . . . . . . . . . . . . . . . . . . . . 85
Appendix H. Warranty Claims Information . . . . . . . . . . . . . . . . . . . . . . . . . . . . . . . . . . . . . . . . . . . . . . . . . . . . . . . . . . . . . 86
Chapter 1: Introduction 1
Chapter 1: Introduction
Pro Tools | MTRX II
Welcome to Pro Tools | MTRX™II for Pro Tools Ultimate™software running with Pro Tools | HDX™or Pro Tools | HD™Native
hardware. MTRX II is an extremely capable multi-channel audio converter, router, and monitor mixer. MTRX II has eight slots for
optional I/O cards, including DigiLink, MADI, Dante with SRC, 3G SDI, AES/EBU, pristine 8-channel analog line and micro-
phone input, and 8-channel analog line as installable card options.
MTRX II supports an optional Thunderbolt 3 module with 256 bidirectional channels for connection to a computer. Integrated dig-
ital I/O provides 64 channels of DigiLink™, 256 channels of Dante™, and 64 channels of MADI. Sample rates are supported from
44.1 to 348 kHz and a resolution of 32-bit floating point over Thunderbolt 3 or 24-bit resolution with DigiLink. An optional
128-channel mini MADI I/O module can be also installed.
The MTRX II routing engine provides a 4,096 x 4,096 matrix where all inputs and outputs can be patched in any combination. In
addition a 512x64 channel summing processor and a built-in 1,024 filter SPQ equalizer is also available for Control Room Moni-
toring and Cue sends.
Pro Tools | MTRX II Overview
Pro Tools | MTRX II features:
• 64-channel audio interface for Pro Tools with two DigiLink Mini ports (Primary and Primary/Expansion).
• Built-in MADI coaxial connections for up to 64 channels of digital I/O at all sample rates.
• Ethernet IP audio interface for 256 I/O channels using Dante with configurable redundant network (with an additional 128 Chan-
nels using the Dante Expansion card).
• Digital router and format converter between all analog and digital inputs and outputs.
• Sample rates of 44.1–384 kHz as well as DSD64/DSD 128 with high precision internal clock and PLL.
• Sample rate can be adapted to the setting of an external device.
• Synchronization by Word Clock, AES11, Video, and all digital audio inputs.
• All settings are controlled over Ethernet (or Thundebolt 3) using DADman software (macOS or Windows).
• Ultra low-noise internal fan with speed adaptation to the temperature.
MTRX II is operated using DADman control software. The control channel is over Ethernet or Thunderbolt connection to the
computer.
With the optional Thunderbolt 3 module installed, MTRX II can be used with any tier of Pro Tools.

Chapter 1: Introduction
2
Pro Tools | MTRX II lets you install optional I/O expansion cards in any of the eight back panel slots that include:
• Up to 64 analog channels depending on the configuration of installed Analog I/O Expansion Cards:
• Pro Tools | MTRX II 8 Line Pristine AD Card provides eight channels of line-level analog inputs.
• Pro Tools | MTRX II 2 Mic/Line Pristine AD Card provides two channels of analog inputs and mic preamps with relay-based gain
circuit—an ideal low-cost option for talk-back and tracking—includes microphone preamplifiers with relay-based gain circuits.
• Pro Tools | MTRX II 8 Mic/Line Pristine AD Card provides eight channels of analog inputs and mic preamps with relay-based gain
circuits.
• Pro Tools | MTRX II Pristine 8 DA Card provides eight channels of line-level analog outputs with an output level control.
• Digital I/O Expansion Cards:
• Pro Tools | MTRX II 8 AES3 I/O Card provides eight line AES3 inputs and outputs (16 channels) with built-in sample rate con-
version.
• Pro Tools | MTRX II Dual SDI/HD/3G Card provides 2 x 16 channels of SDI/HD/3G connections with built-in sample rate con-
version.
• Pro Tools | MTRX II Dual MADI I/O Card provides up to 128 channels of MADI inputs and outputs through two optical SFP ports,
and also provides SRC on input.
• Pro Tools | MTRX II MADI mini-module for the Base Unit provides additional one or two 64-channel I/O coaxial or optical MADI
module to the chassis.
• Pro Tools | MTRX II Dante 128 Card provides up to 128 channels of high-density, low-latency digital audio using Dante (128 chan-
nels at 44.1 kHz or 32 channels at 192 kHz), and also provides Sample Rate Conversion (SRC).
• DigiLink Expansion Card:
• Pro Tools | MTRX II DigiLink Card provides 2 DigiLink ports to connect to HDX cards, HD Native, or additional audio interfaces
(such as HD MADI I/O) for up to 64 channels of DigiLink I/O per card at all sample rates.
MTRX II is compliant with the Dante Controller and Dante Virtual Sound Card, and also supports Dante Domain Manager.

Chapter 1: Introduction
3
Clock and Synchronization System
The MTRX II clock system supports various internal and external clock modes. MTRX II has a precise and very high quality internal
sample clock generator, which can also be clocked from an external clock signal by means of a very accurate Digital Phase Locked Loop
(DPLL) system.
The MTRX II clock system has to be set to the correct sample rate with which the units should operate. This is the case both when op-
erating with the internal sample clock generator as master clock, or when synchronized to an external clock source. The sample rates
supported are based on either 44.1 or 48 kHz sampling. An external clock must always have a correct base rate in relation to the sample
rate used.
The sample rate with which the MTRX II should operate can be set manually using DADman software. You can also set the sample rate
from Pro Tools. When using the IP Audio interface powered by Dante, the sample rate of the Dante I/O node to the IP Audio network
can be set to follow the sample rate of the MTRX II. When multiple MTRX II units are operating in the same set up or IP Audio network,
they must all be set to the same sample rate.
MTRX II sample clock circuit
Ext. Clock
sync sources
Clock generator
DPLL
Word Clock
Video Ref.
Clock input
Digital signal input
MADI 1-3
IP Audio
Int. Clock
44,1
48
88,2
96
174,4
192
352,8
384
DSD
Manual Sample
Rate selection
Sample rate
adapt to:
Pro Tools
M
Thunderbolt (option)
ADI
Sample Rate
Control
Free
or follow
IP Audio
Sample Rate set manually or
via external adaptation
Sample Rate set to
Internal or external
Internal
sample clock

Chapter 1: Introduction
4
Routing Matrix
Pro Tools | MTRX II provides a powerful routing matrix. All input signals can be patched to one or more outputs on a mono-channel
basis, so MTRX II is also a digital patch bay. Configure MTRX II routing using DADman software. In order to set up the correct signal
flow in MTRX II, the correct connections have to be set in the matrix using DADman software. Any of the analog or digital inputs in-
stalled in the MTRX II can be patched to any analog or digital output, or can be routed to multiple outputs. For example, with sixteen
analog input channels, each one can be routed to Pro Tools and from Pro Tools to a MADI output. At the same time, another two chan-
nels from Pro Tools can be routed to stereo analog outputs on MTRX II. Additionally, each of the AES/EBU input channels can be
routed to matching optical MADI outputs.
It is essential that all digital signals connected to the MTRX II are synchronized to the same master clock.
In order to patch IP Audio channels between different devices, use the Dante Controller software tool from Audinate.
MTRX II block diagram
8 ch. Analog
in or out
I/O Card Main Board
PSU 1
2xBNC
Connectors
2xBNC
Connectors
2xSDR-mini
Connectors
2xRJ45
Connectors
FPGA based
router matrix,
DSP processor
and controller
Ethernet
GigaBit
Switch
I/O Card
I/O Card
Mini Module
1xD25
Connector
1xD25
Connector
1xD25
Connector
AD/mic pre
or DA
AD/mic pre
or DA
AD/mic pre
or DA
0 to 8 x I/0 Modules (analog or digital)
2xOptical
SFP Connector
Mains 1
Mains 2
WC/VBB in
WC sync out
1xMADI,
64 ch. I/O
2xDigiLink,
16/64 ch. I/O
2xGB Ethernet
Control and 256
ch. IP Audio I/O
8 ch. Analog
in or out
8 ch. Analog
in or out
2xMADI,
128 ch. I/O
Mini Module
2xOptical
SFP Connector
TB3,
256 ch. I/O

Chapter 1: Introduction
5
MTRX II router matrix
INPUTS
OUTPUTS
0 - 48 ch.
Analog inputs
Ch. 1-8
Ch. 9-16
Ch. 41-48
Ch. 1-64
Ch. 1-64
Ch. 1-64
1 x MADI input
2 x optical MADI
inputs
Ch. 1-32
Ch. 1-256
Ch. 1-32
2 x DigiLink inputs
IP Audio inputs
0 - 48 ch.
Analog outputs
Ch. 1-8
Ch. 9-16
Ch. 41-48
Ch. 1-64
Ch. 1-64
Ch. 1-64
1 x MADI output
2 x optical MADI
outputs
Ch. 1-32
Ch. 1-256
Ch. 1-32
2 x DigiLink
outputs
IP Audio outputs
4096 x 4096
Router Matrix

Chapter 1: Introduction
6
System Requirements and Compatibility Information
Pro Tools | MTRX II is supported by a compatible version of Pro Tools Ultimate software with Pro Tools | HDX or HD Native hardware.
MTRX II with the optional Thunderbolt 3 Option module is compatible with all tiers of Pro Tools software (please note that the available
I/O is limited by the tier of Pro Tools you are running).
Avid recommends using a grounded, switchable power supply with MTRX II for powering the unit on and off.
For the latest Pro Tools | MTRX II system requirements and resources, visit https://www.avid.com/MTRX-Support.
For complete system requirements and a list of qualified computers, operating systems, storage solutions, peripherals, control surfaces,
and third-party devices, visit www.avid.com/compatibility.
For Pro Tools | MTRX II FAQ, visit https://avid.secure.force.com/pkb/articles/en_US/FAQ/Pro-Tools-MTRX-Support.
Avid can only assure compatibility and provide support for hardware and software it has tested and approved.
Conventions Used in Pro Tools Documentation
Pro Tools documentation uses the following conventions to indicate menu choices, keyboard commands, and mouse commands:
:
The names of Commands, Options, and Settings that appear on-screen are in a different font.
The following symbols are used to highlight important information:
MTRX II require Pro Tools 2022.4 or higher with HDX and HD Native systems.
Convention Action
File > Save Choose Save from the File menu
Control+N Hold down the Control key and press the N key
Control-click Hold down the Control key and click with the mouse
Right-click Click with the right mouse button
User Tips are helpful hints for getting the most from your Pro Tools system.
Important Notices include information that could affect your Pro Tools session data or the perfor-
mance of your ProToolssystem.
Shortcuts show you useful keyboard or mouse shortcuts.
Cross References point to related sections in this guide and other Avid documentation.

Chapter 1: Introduction
7
Resources
The Avid website (www.avid.com) is your best online source for information to help you get the most out of your Avid system.
Account Activation and Product Registration
Activate your product to access downloads in your Avid account (or quickly create an account if you do not have one). Register your
purchase online, download software, updates, documentation, and other resources.
www.avid.com/account
Support and Downloads
Contact Avid Customer Success (technical support), download software updates and the latest online manuals, browse compatibility
documents for system requirements, search the online Knowledge Base or join the worldwide Avid user community on the User Con-
ference.
www.avid.com/support
Training and Education
Study on your own using courses available online, find out how you can learn in a classroom setting at an Avid-certified training center,
or view video tutorials and webinars.
www.avid.com/education
Video Tutorials
The Get Started Fast with Pro Tools series of online videos provide tutorials to help if you are new to Pro Tools. They also provide vid-
eos for the experienced user that introduce new features found in the latest versions of Pro Tools.
www.avidblogs.com/get-started-fast-with-pro-tools/
The MTRX in Focus series of video tutorials on YouTube dedicated to the MTRX family of products.
Products and Developers
Learn about Avid products, download demo software, or learn about our Development Partners and their plug-ins, applications, and
hardware.
www.avid.com/products
Chapter 2: Installation and Registration 8
Chapter 2: Installation and Registration
Installing Pro Tools | MTRX II involves the following:
1Unpacking MTRX II
2Registering your MTRX II
3Downloading and installing software
4Authorizing Pro Tools DigiLink I/O License with iLok License Manager
5Installing Expansion cards
6Installing Option modules
7Rack mounting MTRX II (optional)
8Connecting cables
9Configuring network settings
Unpacking MTRX II
Before you get started installing Pro Tools | MTRX II, unpack the box, which contains the following:
• MTRX II chassis
• 1 IEC power cable
• Welcome card with redemption code and serial number
Keep the Welcome card on hand to register your MTRX II and access software downloads and firmware updates. Set the power ca-
ble aside until you are ready to start connecting cables. Remove the MTRX II from the box and packaging, and place it on a hard
and dry surface.
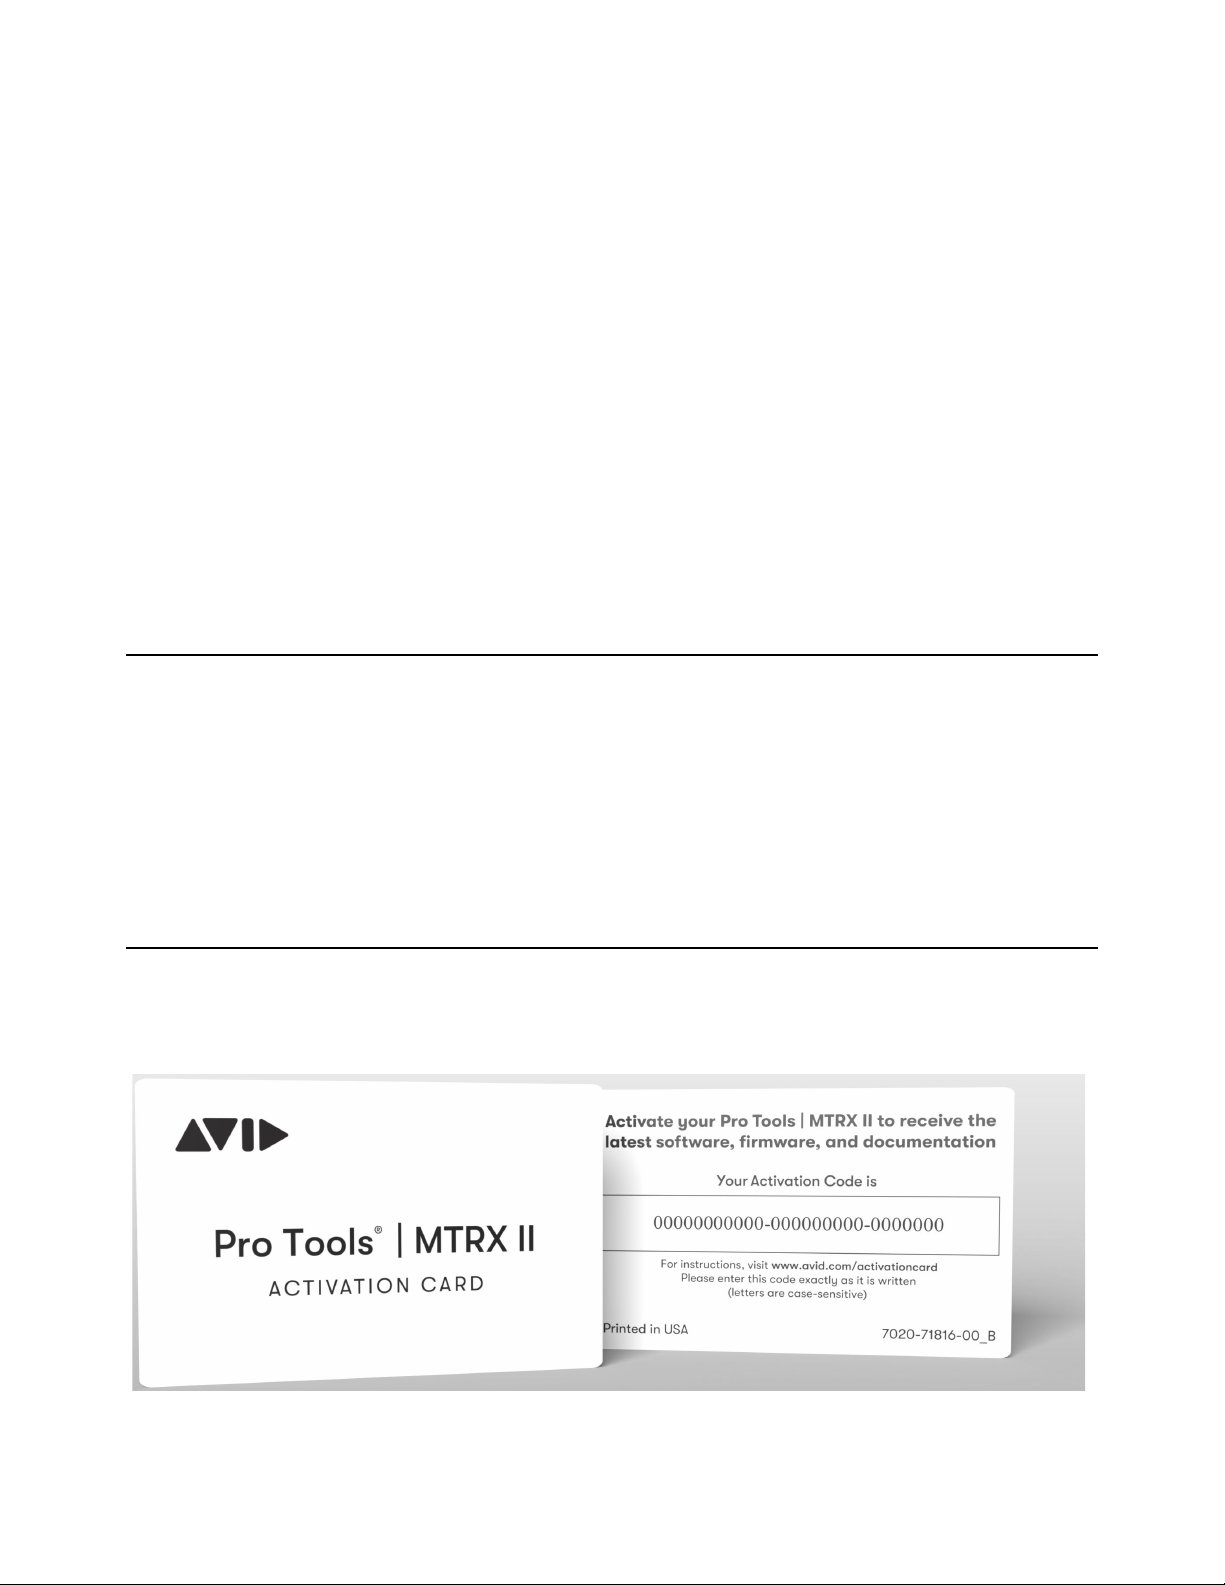
Register Pro Tools | MTRX II and Activate your Avid Master Account
Your Pro Tools | MTRX II includes an Activation card with a code that lets you register the unit, and access software, firmware,
and documentation downloads.

Chapter 2: Installation and Registration
9
To register and access Pro Tools | MTRX II–related downloads through your Avid Master Account:
1Locate the Activation card.
2Visit https://www.avid.com/register and continue with the next step.
3Log in to your Avid Master Account. If you do not already have an Avid Master Account, create a new one and log in.
4Enter the redemption code on the Registration card and click Register.
You are directed to the My Products page for your Avid Master Account.
Download Software
Once you have registered MTRX II, you can download software and firmware updates from your Avid Master Account. For DADman
installation and configuration instructions, see Installing and Configuring DADman Software
To download MTRX II software and firmware:
1Log in to your Avid Master Account (if you are not already).
2Under My Products, click the My Products and Subscriptions link.
3Under the My Products tab, click Pro Tools | MTRX II.
4To the right of Product Details and Download Links, click Show.
5Click the links for any Read Me documentation about firmware and/or software updates. Review this information carefully to ensure
the successful installation of DADman software, firmware updates, and proper function of MTRX II.
6Click the link to download the installer for the latest version of DADman software for your operating system (macOS or Windows).
DADman software is required to use MTRX II with Pro Tools.
Pro Tools | MTRX II Chassis and Expansion Cards
Pro Tools | MTRX II is a modular unit with standard digital I/O and processing built-in. It also provides eight expansion card slots for
optional analog and digital I/O, and processing cards. All eight slots can be used with any combination of expansion cards.
MTRX II has a dedicated slot for an optional Dual MADI I/O mini-module (MADI). The MTRX Dual MADI I/O module uses “Small
form-factor pluggable” (SFP) transceiver modules, which provide 2 x 64 MADI channels (optical or coaxial).
The MTRX II has a dedicated slot for an optional Thunderbolt 3 module with 2 USB-C Thunderbolt 3 ports for I/O connectivity between
your computer and MTRX Studio.
Rack Mounting MTRX II
If you install MTRX II into a 19-inch rack, be sure to leave plenty of room for ventilation.
MTRX II is fitted with two ultra-quiet fans to ensure optimum operating temperature. The fans are temperature-controlled, so the rota-
tion speed, and thereby noise, is dependent on the temperature inside the MTRX II. The fans should be hardly audible during normal
operation, assuming MTRX II is correctly installed.
For information on installing and configuring DADman, see Installing and Configuring DADman Software
For information on installing optional expansion cards, refer to Installing MTRX Option Cards
For information on installing the optional MTRX MADI module, see Installing a MTRX MADI Module.
For information on installing and configuring the optional Thunderbolt 3 card, see Installing Expansion Cards.

Chapter 2: Installation and Registration
10
The optimal air flow is from the vents in the front of the unit to the rear holes in the rear and top plate. When the unit is installed, con-
siderations have to be made to ensure proper air circulation from the bottom to the rear. It is recommended that you leave one rack unit
of space free under unit, and do not block the back and top panel vent holes. The speed of the two low-noise fans will increase automat-
ically to keep the internal temperature low if there is insufficient airflow. A temperature alarm appears in the front panel display if the
internal temperature exceeds 60º C / 140º F.
Connecting Cables
Once you have installed MTRX II in a rack (optional), you are ready to start connecting cables.
Connect Power
Connect the included IEC cable to MTRX II. Then connect the cable to a grounded AC power outlet. It is recommended that you connect
to a grounded power switch or power conditioner.
Connect Ethernet
Connect the MTRX II directly to your computer or to your computer’s network using a GigaBit Ethernet cable (not included) (see Net-
work Configuration). Note that when using the optional Thunderbolt 3 module, only a Thunderbolt 3 cable connection is required.
Connect DigiLink
Connect one or two DigiLink Mini cables (not included) to the DigiLink Mini ports on MTRX II. Then connect the other end of these
cables to an HDX card, or an HD Native card or HD Native Thunderbolt box. See Connecting Pro Tools | MTRX II to a
Pro Tools | HDX or HD Native System Note that when using the optional Thunderbolt 3 module, only a Thunderbolt 3 cable connection
is required.
Connect Thunderbolt 3 (Optional)
If you have installed the optional Thunderbolt 3 module, connect one end of a Thunderbolt 3 compatible cable to an available port on
the MTRX II Thunderbolt 3 port to a Thunderbolt 3–compatible port on your computer. You can use the Thunderbolt 3 module with any
tier of Pro Tools and without DigiLink or Ethernet connections.
Connect Clock Sync
If you are installing Pro Tools | MTRX II in a system with multiple audio interfaces (such as HD I/O) and/or a synchronization peripheral
(such as SYNC X), make the appropriate Word Clock or Video Reference cable connections using shielded BNC cables (not included).
Connect Audio
Make sure that your sound system is powered off. Make the appropriate analog and digital audio cable connections for your system.
Refer to the mechanical specifications section for more details regarding installation.
In order to meet EMC requirements and in order to obtain the highest performance of MTRX II, use high-quality, properly shielded
cables for all external connections when installing MTRX II. For the power connection, a normal unshielded power cable with a
proper protective earth conductor can be used.
To orient yourself with MTRX II back panel connections, see Pro Tools | MTRX II Front and Back Panels
For more information, see Installing Thunderbolt 3 Option Module.
Table of contents


