manuals.online logo
Brands
  1. Home
  2. •
  3. Brands
  4. •
  5. PROEL
  6. •
  7. Lighting Equipment
  8. •
  9. PROEL PLSC250 User manual

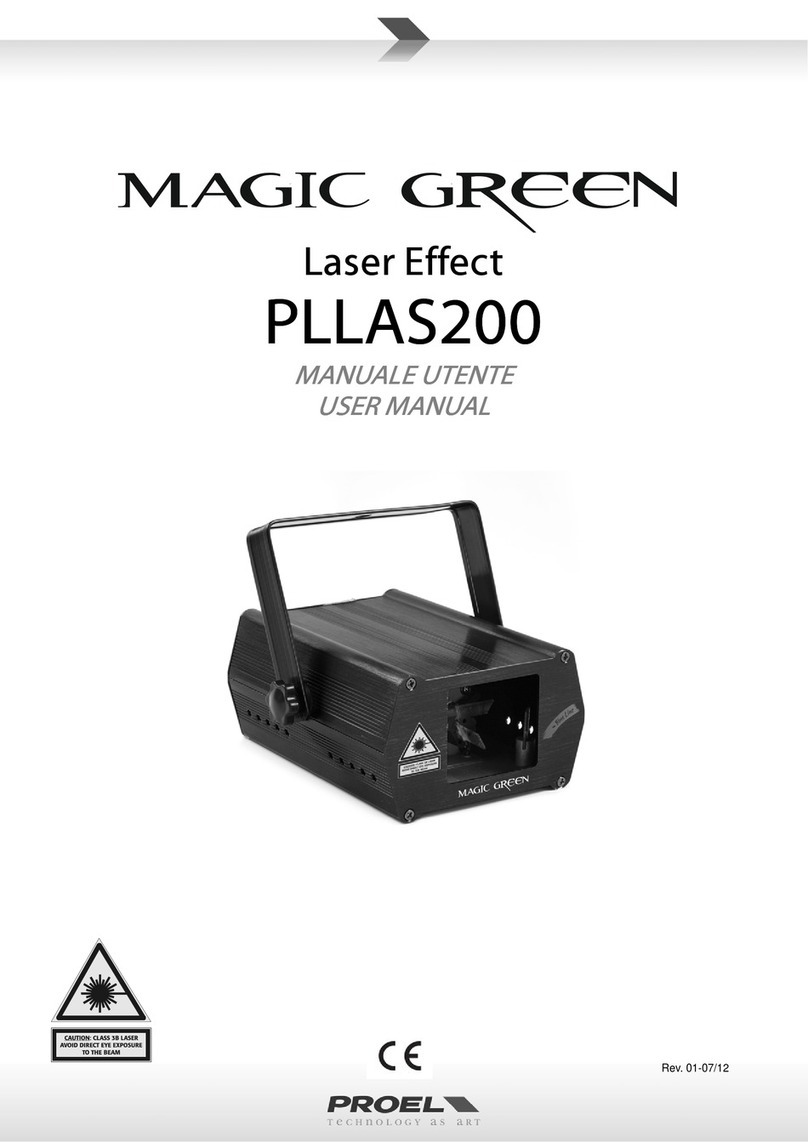
PROEL PLSC250 User manual

MANUALE UTENTE –USER’S MANUAL
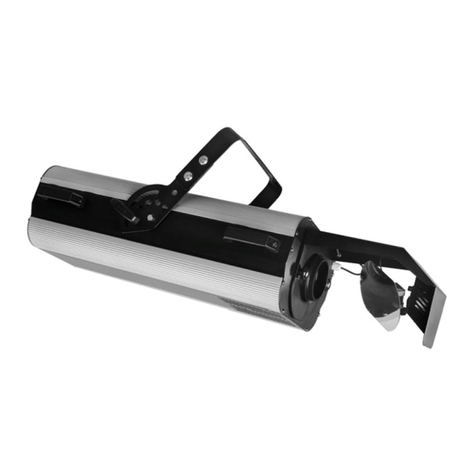
SCOOPSCAN 250 A SCARICA
PLSC250
Note:
Specifiche Tecniche -PLSC250:
1. Alimentatore: AC 230V 50/60Hz
2. Potenza massima: 280W
3. Lampada: HSD 250 PLLPHSD250
4. 4 canali DMX per inclinazioni orizzontali, verticali, colori e gobos
5. Protocollo: Standard DMX 512
6. 7 colori + bianco
7. 5 gobos + strobo 0%-100%
8. Movimento orizzontale: 180°
9. Movimento verticale: 90°
10. Dimensioni: mm. 570 x 280 x 280
11. Peso: 10 kg
Manutenzione:
Collocare sempre l’apparecchiatura in un luogo asciutto
L’uso non continuo della lampada ne permette una maggiore durata
Pulire regolarmente le lenti e il ventilatore dell’apparecchio in modo da mantenere temperatura e
luminosità regolari.
Evitare l’utilizzo di solventi organici (ad esempio alcool) per pulire la superficie esterna
dell’apparecchiatura.
Avvertenze:
L’apparecchiatura è stata accuratamente testata e confezionata dal produttore. Assicuratevi che la
confezione e l’apparecchiatura siano in buone condizioni prima di procedere all’installazione e
all’uso.
Perdite causate da un cattivo uso dell’apparecchiatura, sulla base delle indicazioni di questo
manuale, non potranno imputarsi al produttore o al rivenditore.
Questo manuale può essere soggetto a modifiche senza notifica da parte del produttore.
Attenzione:
Prevenite gli shock elettrici!
Per qualsiasi riparazione rivolgetevi a tecnici qualificati!
Prima di qualsiasi istallazione o riparazione assicuratevi che l’alimentatore sia stato disinserito!
Evitate l’utilizzo di errata tensione o di lampade inadatte!
Alta temperatura. Tenete l’apparecchiatura lontano da materiale infiammabile. Non toccate
l’apparecchiatura quando è in funzione!
Non avvicinate gli occhi al fascio di luce!
Importante:
L’apparecchiatura può essere installata, messa in funzione e riparata solo da tecnici qualificati.
L’apparecchiatura è utilizzabile solo in locali al chiuso.
Prima dell’utilizzo, assicurarsi che non abbia subito danni durante il trasporto
Prima di sostituire la lampada, disinserire l’alimentatore e attendere che la lampada si raffreddi. La
temperatura in superficie potrebbe essere superiore a 200°
Non toccare la lampada con le dita
Chiudere la copertura prima di operare
L’apparecchiatura va sempre installata in un posto ventilato. Assicurarsi che il ventilatore di scarico
funzioni regolarmente.
L’apparecchiatura deve essere messa a terra.
Il fatto che l’apparecchiatura, al suo primo utilizzo, emani un leggero odore o fumo è da considerarsi
normale.
Fragile! Non scuotere l’apparecchiatura.
Appendix
DMX channels:
lighting has 4 channels, controlled by international standard DMX512 signal
channel 1: Pan motion
channel 2: Tilt motion
channel 3: colours (7 colours + white)
channel 4: gobos (fade / strobe / open)
IP code setting:
Lighting has 10 IP switches, 1-9 are IP CODE
CODE 1=1
CODE 2=2
CODE 3=4
CODE 4=8
CODE 5=16
CODE 6=32
CODE 7=64
CODE 8=128
CODE 9=256
Perform test:
Turn lighting the 9th and 10th ON, other IP code turn OFF, lighting will run in its internal program
mode
WARNING: If the discharge lamp is turned off during the operation, please wait until the lamp is cold
and then turn it on again. To avoid the risk of breaking the appliance, please do not turn on the lamp
before and use the black-out command. This command is started up by DMX controller.
DMX termination:
For all installation, having long signal cables or in the presence of electrical noise, for example a
discotheque, it is recommended practice to use a DMX terminator: this assist in preventing
corruption of the digital control signal by external noise. The DMX terminator is simply an XLR
connector with a 120Ω(Ohm) resistor connected across pins 2 and 3, which is then plugged into the
DIGITAL THRU socket on the last projector in the chain. The connections are illustrated below.
for example:
1st machine
2nd machine
3rd machine
Appendice
Canali DMX:
Il faro ha quattro canali controllati da un segnale DMX
canale 1: movimento orizzontale (Pan)
canale 2: movimento verticale (Tilt)
canale 3: colori (7 colori + bianco)
canale 4: gobos (dissolvenza / strobo / aperto)
Esempi di assegnazione:
Il faro è dotato di 10 interruttori DIP, da usare per le assegnazioni solo i primi 9
CODE 1=1
CODE 2=2
CODE 3=4
CODE 4=8
CODE 5=16
CODE 6=32
CODE 7=64
CODE 8=128
CODE 9=256
Programma di test:
Indirizzare con i microinterruttori in posizione ON il n° 9 e 10
ATTENZIONE: La lampada a scarica, se spenta durante il funzionamento, deve avere un tempo di
raffreddamento prima della riaccensione. Qualora non venisse dato tale tempo di riposo, il continuo
tentativo di innescare la lampada da parte dell’accenditore, porterebbe alla rottura dello stesso.
Utilizzare pertanto il black-out attivabile da centralina DMX.
Terminazione segnale DMX:
Per installazioni dove il cavo di segnale deve percorrere lunghe distanze o dove vi sono disturbi
elettrici, per esempio in discoteca, è consigliato l’uso di una terminazione DMX. Il terminatore DMX
è semplicemente un connettore XLR con collegato ad esso una resistenza da 120Ω(Ohm) tra i
piedini 2 e 3. La resistenza viene innestata nella presa DIGITAL THRU dell’ultimo proiettore della
catena. La connessione è illustrata qui di seguito.
esempio:
primo faro
secondo faro
terzo faro
Technical Specifications -PLSC250:
1. Power supply: AC 230V; 50/60 Hz
2. Rated Power: 280W
3. Lamp: HSD 250 PLLPHSD250
4. 4 DMX channels for pan, tilt, colours and gobos
5. Protocol: Standard DMX 512
6. 7 colours + white
7. 5 gobos + strobe 0%-100%
8. Pan motion: 180°
9. Tilt motion: 90°
10. Size: mm. 570 x 280 x 280
11. Weight: kg. 10
Maintenance:
Always keep the apparatus in a dry place.
Intermittent use longer life of lamp.
Clean fan and lenses regular to keep the normal temperature and brightness.
Please do not use any organic solvent, e.g. Alcohol, for cleaning the case of the apparatus.
Notice:
The apparatus is tested and packed properly by the manufacturer. Please make sure the packing
and the apparatus in good conditions before install and use.
Any loss caused by improper uses according this manual will not be assumed by the manufacturer
or dealer.
This manual is subject to change without notification.
Warning:
Be care of electric shock!
Refer to qualified technicians only before any service.
Make sure power supply cut off before installing or service.
Avoid to use improper power voltage or inapposite lamp.
High temperature. Keep the apparatus from inflammable material. Never touch the apparatus by
hand when the apparatus is working.
Keep your eyes away from direct expose to the light beam.
Important:
The apparatus can be installed, operated or serviced by competent technicians only.
The apparatus is for indoor uses only.
Please check if there is any damage during transportation before use.
Before replace lamp, please cut off the power supply and wait till the lamp is cooled. The surface
temperature could be over 200°
Please do not touch the lamp direct with fingers.
Fasten the cover before operating.
Always install the apparatus in the ventilate place. Check for sure the exhaust fan working normally.
Keep the apparatus earth contacted.
It is normal when the apparatus produces a little smoke or smell at its first use.
Fragile! Never shake the apparatus.

This manual suits for next models

1

Other PROEL Lighting Equipment manuals

PROEL PLHT575S User manual

PROEL

PROEL PLHT575S User manual

PROEL PAR64 User manual

PROEL

PROEL PAR64 User manual

PROEL PLLAS055 User manual

PROEL

PROEL PLLAS055 User manual

PROEL PLLEDC56ALN User manual

PROEL

PROEL PLLEDC56ALN User manual

PROEL LIGHTING LED - User manual

PROEL

PROEL LIGHTING LED - User manual

PROEL PLFT100EP ANTIALO?PLFT100EF FRESNEL User manual

PROEL

PROEL PLFT100EP ANTIALO?PLFT100EF FRESNEL User manual

PROEL PLC56AL User manual

PROEL

PROEL PLC56AL User manual

PROEL PLLED110 User manual

PROEL

PROEL PLLED110 User manual

PROEL PLLEDSPAR12 User manual

PROEL

PROEL PLLEDSPAR12 User manual

PROEL PLLAS050 User manual

PROEL

PROEL PLLAS050 User manual

PROEL SAGITTER J-BEAM 230 User manual

PROEL

PROEL SAGITTER J-BEAM 230 User manual

PROEL PLML250SCN User manual

PROEL

PROEL PLML250SCN User manual

PROEL PLLED185 User manual

PROEL

PROEL PLLED185 User manual

PROEL PLLEDMLBG User manual

PROEL

PROEL PLLEDMLBG User manual

PROEL PLSC575ECN User manual

PROEL

PROEL PLSC575ECN User manual

PROEL PLLED160 User manual

PROEL

PROEL PLLED160 User manual

PROEL PLLED150 User manual

PROEL

PROEL PLLED150 User manual

PROEL SPIDER 575 PLCP575 User manual

PROEL

PROEL SPIDER 575 PLCP575 User manual

PROEL PLLED145 User manual

PROEL

PROEL PLLED145 User manual

PROEL Slimpar 5 RGBW User manual

PROEL

PROEL Slimpar 5 RGBW User manual

PROEL PLLEDC64AL User manual

PROEL

PROEL PLLEDC64AL User manual

PROEL STROBO 1000 User manual

PROEL

PROEL STROBO 1000 User manual

PROEL Magic green PLLAS200 User manual

PROEL

PROEL Magic green PLLAS200 User manual

PROEL PLLAS045 User manual

PROEL

PROEL PLLAS045 User manual

Popular Lighting Equipment manuals by other brands

CCS LN-60/200SW2-HK-STK Instruction guide

CCS

CCS LN-60/200SW2-HK-STK Instruction guide

Vision X XMITTER Series Installation instructions & user manual

Vision X

Vision X XMITTER Series Installation instructions & user manual

PLG ASY R user manual

PLG

PLG ASY R user manual

ETC HIGH END SYSTEMS SolaPix 37 user manual

ETC

ETC HIGH END SYSTEMS SolaPix 37 user manual

LED Group Robus RTK1240-01 quick start guide

LED Group

LED Group Robus RTK1240-01 quick start guide

Pool Cover Specialists INFINITY 4000 installation guide

Pool Cover Specialists

Pool Cover Specialists INFINITY 4000 installation guide

ETC Source Four jr quick start guide

ETC

ETC Source Four jr quick start guide

Prilux Arisa TOP4 quick start guide

Prilux

Prilux Arisa TOP4 quick start guide

BeLuce OTTICA ECO RM instructions

BeLuce

BeLuce OTTICA ECO RM instructions

Barco IEX Series product manual

Barco

Barco IEX Series product manual

Safco 1005 instructions

Safco

Safco 1005 instructions

Global Pool Products TSUNAMI owner's guide

Global Pool Products

Global Pool Products TSUNAMI owner's guide

Techni-Lux DL-BAR05C126 manual

Techni-Lux

Techni-Lux DL-BAR05C126 manual

Rollei Soluna 300 Pro manual

Rollei

Rollei Soluna 300 Pro manual

Perko 0317 Series installation manual

Perko

Perko 0317 Series installation manual

IKEA SAMMANLANKAD manual

IKEA

IKEA SAMMANLANKAD manual

Griven GoboLED 7-Pro user manual

Griven

Griven GoboLED 7-Pro user manual

Clas Ohlson WX-C-3VLED44-80WW-1 quick start guide

Clas Ohlson

Clas Ohlson WX-C-3VLED44-80WW-1 quick start guide

manuals.online logo
manuals.online logoBrands
  • About & Mission
  • Contact us
  • Privacy Policy
  • Terms and Conditions

Copyright 2025 Manuals.Online. All Rights Reserved.