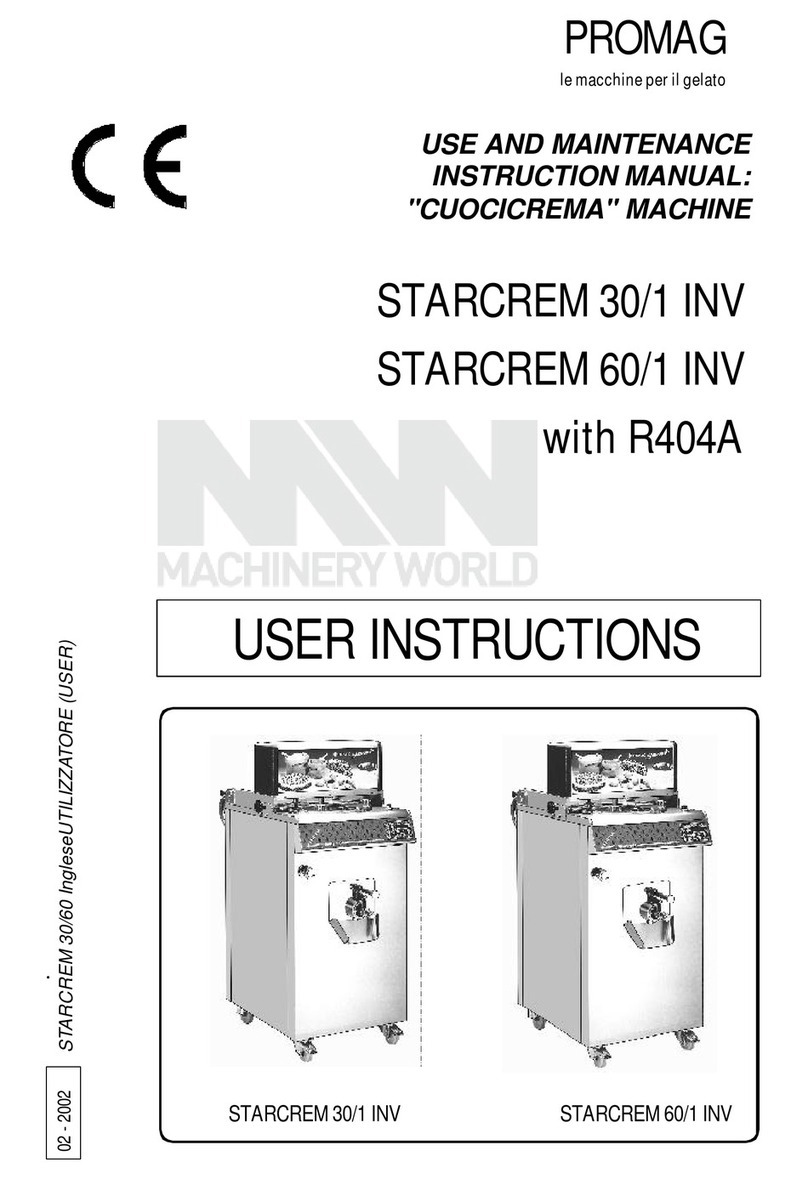
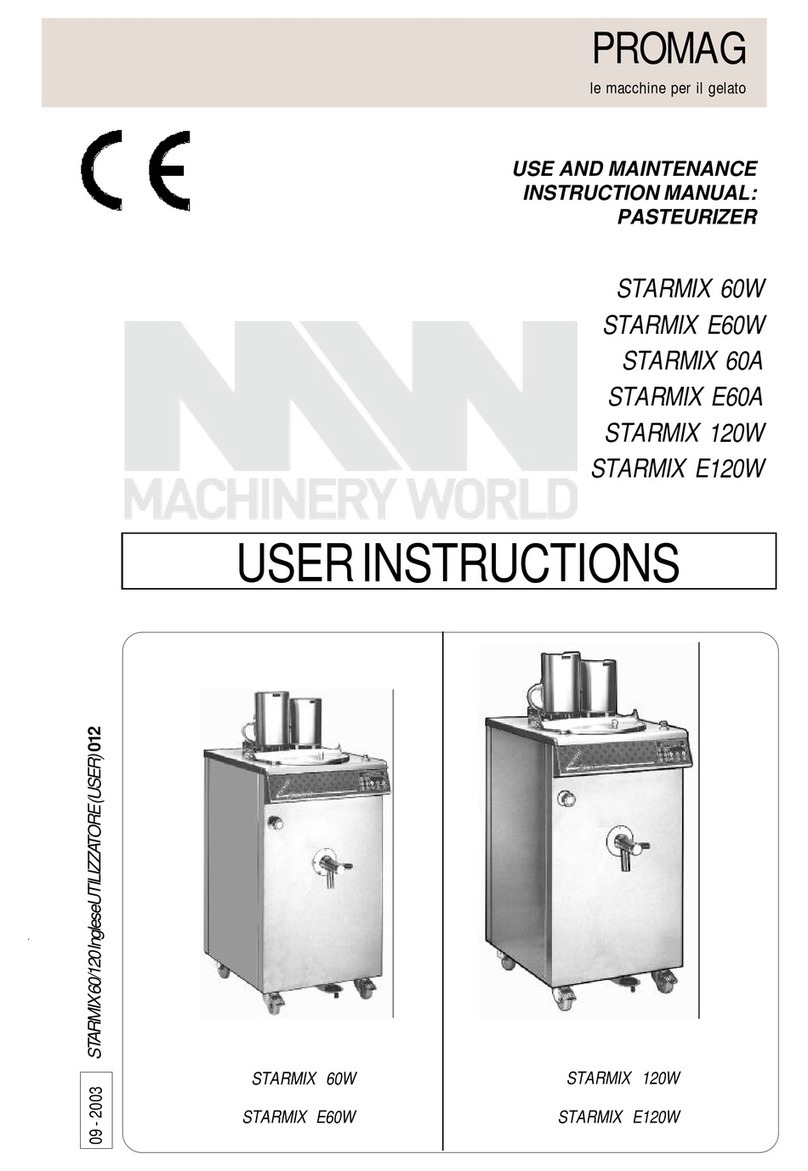
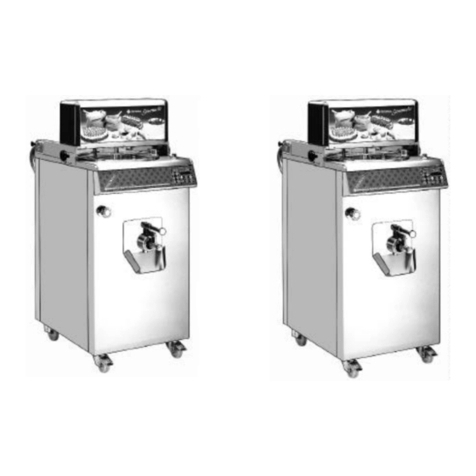
Promag EASY MIX 120 PLUS User manual

File
Date
Changes on previous version
Me Easymix 120 plus_01.docx
EasyMix120plus01.mot
06/09/2018
First version from Me Eps plus3.docx
ELECTRONIC MANUAL

2
ABBREVIATION LEGEND
For the sake of simplicity, this manual uses the following abbreviations:
EVF : Cooling solenoid valve
EVF_SUP : Top part cooling solenoid valve
EVGC : Hot Gas solenoid valve
EVW : Water Inlet solenoid valve
MA : Beater motor
MC : Compressor motor
MV : Fan motor (air version)
TTR : Heating element Contactor
TTR2 : Heating element 2 Contactor
TTC : Compressor Contactor
Set : Heating or cooling set temperature
TEV : In-hopper mix temperature probe
TER : Heating element temperature probe (Heating plate)
TER2 : Heating element 2 temperature probe (Heating plate)
TGV : Hopper Ice Temperature probe
PR : Pressure switch
TES : Safety thermostat

3
INSTALLATION
Connect the machine to the water supply mains with the water pipes (in the water cooled
condenser version) and to the power supply line with the power cable.
Power the machine.
As soon as the machine is switched on, display reads "EASYMIX120PLUS" followed by a digit
indicating the software version.
E.g.:
Easymix120Plus01
means version 01
In case of machine malfunction, your technician will always have to mention this number
as well as the machine serial number on data plate, in order to take the best advantage of
Technical Service. At the same time, all the button LED's are lit for a functional check.
After that, the set model is displayed, ex.:
Model 03
Finally (in case the machine was in Stop mode), the display will read:
15:38 10-08
EASYMIX 120 PLUS

4
DISPLAY SCREEN
The machine features an alphanumerical display showing a series of messages when the machine
is switched on as well as during use.
In STOP mode, the display reads:
15:38 10-08
EASYMIX 120 PLUS
When activating a function, the parameters connected to the cycle are displayed. The top part
(first line) usually shows the cycle name, whereas the bottom part (second line) usually shows the
real temperature read by TEV probe at a specific moment (on the right) and the temperature to
be reached (on the left). Temperature ramp is in the middle.
E.g.:
PASTO+85 120-60
+85°C +22°C
When AUTO button is pressed in the automatic cycles, the set will be displayed and the following
page will show the TER, TEV and TGV probes (only with step T78 = YES).
Besides, the display will read alarm messages to make troubleshooting easier.

5
POSITION OF SENSORS
EASYMIX 120 PLUS (right side view)
EASYMIX 120 PLUS (left side view)
TER 2
RIGHT
SIDE
TES 3
LEFT
SIDE
TER
TES
TGV
TES 1
TEV

6
FUNCTIONS
STOP
In this function, the machine is not working and the relevant red LED is on.
The display reads time, date and machine model.
15:38 10-08
EASYMIX 120 PLUS
DISPLAY OF PASTEURIZATIONS, EVENTS, METERS, MA and MC HOUR COUNTER RESET
Hold the Stop button pressed while the machine is in Stop mode to enable:
- reading the events relevant only to the pasteurization cycle phases by releasing the button
after 3 seconds when the display reads “***Read pasto***”. Refer to the EVENTS
paragraph.
- read the events by releasing the Button after 6 seconds when the display shows “***Read
Events***”. Refer to the EVENTS paragraph.
- reading the beater motor operating hours and the number of cycles carried out in a specific
type of cooling by releasing the button after 8 seconds when the display reads
“***Meters***”
RESET PROCESSING METER AND COOLING CYCLE METERS
The machine also features a set of meters that enable storing the number of times a specific
processing was carried out. To reset these meters, press the Stop button on machine start. The
display will read the message “Recipe Meter Reset”.

7
INCREASE / DECREASE
The button LED's turn on when a value can be edited from the display.
Decrease button is used also to reset the alarms.
The Increase button is used as well to skip a Pasteurization phase. To do so, hold it pressed after
a cycle has started. This function is enabled only in the main function page and not in the
secondary pages (temperature display, etc.).

8
AUTOMATIC FUNCTIONS
(AUTO)
4 cycles are available. To select one of them, place the asterisk on the side of the cycle using the
Increase/Decrease buttons:
- PASTO +85
- PASTO +90
- PASTO +65
- COOLING/AGING
The first 3 cycles are Pasteurization cycles, whereas the last one is a Cooling/Aging cycle.
* PASTO +85
PASTO +90
After pressing the AUTO button, the last selected cycle 85°, 90°, 65° and COOLING/AGING is
shown and the display reads (ex. 90°):
* PASTO +90
PASTO +65
On pressing AUTO the filling selection, i.e. the amount of mix in the hopper, is shown.
In this case as well place the asterisk on the side of the filling option relevant to the cycle carried
out.
In case no button is pressed, after about 3 seconds, cycle+filling will be activated.
* 120-60
60-40
full filling
half filling
* 60-40
60-40 Plus
half filling
half filling plus
Otherwise, press AUTO to force the cycle start.
Before starting the cycle the display will show the Mix Added confirmation request:
Mix added?
Press then the AUTO button to start the cycle.

9
The display shows the cycle and the filling option on the first line, and on the second line from the
left: set – ramp – TEV.
PASTO+90 120-60
+90°C +68°C
To change the speed press the Speed key and change it using the Increase/Decrease keys.
In speed change mode the display shows:
HEATING
Set +090 05
Full Filling is always selected when the machine is started from the Stop mode. Instead, if Half
Filling is set, the cycle will restart in the Half Filling option in case of power blackout.
Note for AIR machine:
In heating mode, when TEV=50°C temperature is reached, MV activates at low speed.
When TEV reaches 83°C, MV activates at maximum speed.

10
Full Filling Cycle (120-60)
Heating
Following elements are activated in the Full Filling cycle Heating:
- Beating at speed = 5
- Heating elements (TTR and TTR2)
- Hot Gas Solenoid valve (EVGC) + EVSUP
- Compressor (MC)
The heating plate (TER) temperature is checked.
When TER reaches the value set in T24, heating is disabled (TTR OFF).
When TER1 reaches the value set in T24, heating is disabled on left side (TTR1 OFF).
When TER2 reaches the value set in T24, heating is disabled on right side (TTR2 OFF).
Heating is reactivated with a hysteresis set in T25.
When TEV reaches 40°C the display shows for 10” the following message:
PASTO+85 120-60
Add Powders
Heating will then continue until TEV reaches the temperature set
on display (Set). E.g.:
PASTO +85 120-60
+85°C +68°C
Beating is always active and set to value 5 when heating is activated.
Switching to Cooling is immediate for the +85°C and +90°C sets, whereas for the +65°C set the
mix is maintained at this temperature for 30 minutes with beating always ON (at 67°C heating
elements are deactivated and they are reactivated again at 65°C). After 30 minutes, the machine
switches to Cooling.

11
Cooling
In the first Cooling stage, the MC disables for a minute, while the cool SVs remain on.
After the first minute, the MC activates for another minute intermittently, 10” ON and 20” OFF.
After these 2 minutes, the actual Cooling starts.
Following elements are activated in the Full Filling cycle Cooling:
- Beating at speed = 5
- Compressor (MC)
- EVF1 and EVF_SUP
The display shows:
PASTO+90 120-60
+04°C +90°C
from the left: set, ramp and current TEV.
In this phase, TGV temperature for anti-freezing is checked.
Press AUTO button to display the set temperature and speed in the first page:
PASTO+90 120-60
Set +004 05
Press AUTO button again (only with step T78 = YES) to display temperatures:
TGV-005 TER2+003
TEV+90 TER+003
Press AUTO button again to return to start page.
When TGV reaches the Anti-freezing set (T06), EVGC is activated until temperature is increased
by its hysteresis (T07).
During EVGC activation, EVF and EVF_SUP are deactivated if step T29 is set to No, whereas they
remain active if step T29 is set to Yes.
On reaching the set, MC+EVGC is activated with beating always on for a programmable time
(T30). After such time, the outputs are deactivated.

12
Storage / Aging
The speed of the previous step is kept in Storage / Aging mode.
This speed can be changed by pressing the Start key to access the speed display page:
PASTO+90 120-60
Set +004 03
Then press the Speed key and change it using the Increase/Decrease keys.
On reaching 4°C Storage temperature, EVF is deactivated and MC+EVGC are activated for a
settable time at the T30 step, then all the outputs are deactivated and the machine is thermostat-
controlled indefinitely.
Therefore, if a cooling request is made (TEV=6°C), MC, EVF and Beating are activated.
Beating is then activated with the times settable at the user’s steps (U08 and U09).
Half Filling Cycle (60-40)
Half Filling cycle is activated in the same way as the full filling cycle, however in this case the
asterisk is placed to the side of “60-40”.
120-60
* 60-40
full filling
half filling
* 60-40
60-40 Plus
half filling
half filling plus
Following elements are activated:
- Beating at speed = 5
- Heating elements (TTR and TTR2)
till TEV reaches the Set.
The Hot Gas Solenoid valve (EVGC) is never activated.
The heating plate (TER) temperature is checked.
Following elements are activated in cooling mode:
- Beating (speed=5)
- Compressor (MC)

13
- EVF
Then the cycle is similar to the “Full Filling” cycle.
Half Filling Cycle Plus (60-40 plus)
Available only for pasteurization cycles.
Half Filling cycle Plus is activated by placing the asterisk to the side of “60-40 Plus”.
120-60
60-40
full filling
half filling
60-40
* 60-40 Plus
half filling
half filling plus
By selecting half filling plus, the automatic cycle will work at full filling in heating mode and at half
filling in cooling mode.

14
COOLING AGING (COOL/AGI)
In the first Cooling stage, the MC disables for a minute, while the cool SVs remain on.
After the first minute, the MC activates for another minute intermittently, 10” ON and 20” OFF.
After these 2 minutes, the actual Cooling starts.
PASTO +65
* COOLING/AGING
Also in this case, as in the case of pasteurization, the mix filling in the hopper at the beginning of
the cycle is requested.
120-60
* 60-40 Plus
full filling
half filling
Following elements are activated in cooling mode:
- Compressor
- Solenoid valve (EVF) in case of half filling cycle or EVF + EVF_SUP in case of full filling cycle
- Beating (speed=5)
In this phase, TGV temperature for anti-freezing is checked.
When TGV reaches the Anti-freezing set (programmable), EVGC is activated until temperature is
increased by its hysteresis (T07).
During EVGC activation, EVF is deactivated if step T29 is set to No, whereas it remains active if
step T29 is set to Yes.
On reaching 4°C Storage temperature, EVF is deactivated and MC+EVGC are activated for a
settable time at the T30 step, then all the outputs are deactivated and the machine is thermostat-
controlled indefinitely.
Therefore, if a cooling request is made (TEV=6°C), MC, EVF and Beating (speed=5) are activated.
After reaching the temperature, the aging time is measured as well. E.g.:
COOL/AGING120-60
+04 00:12:39 -01
At this stage Beating will start for 15 seconds every 30 minutes or each time the compressor is
activated in order to bring the mix to the set temperature.

15
MANUAL FUNCTIONS
(BEATING)
If the Beating button is pressed the display will read:
* BEATING
HEATING
Also in this case, the asterisk is used to select the relevant cycle among:
- BEATING
- HEATING
- COOLING
BEATING
Beating is activated at speed 4. The display shows:
BEATING
29:59 +20° 04
At the top: cycle name; at the bottom: time decrease (once elapsed the machine will return to
Stop) and mix temperature (TEV) followed by the set speed.
To change the speed press the Speed key and change it using the Increase/Decrease keys.
Press the beating key for 10” to view the values of the 4 probes in a single page:
TGV-005 TER2+020
TEV+008 TER+015
Opening the lid will stop beater operation but will not stop the machine. Beating is
reactivated on closing the lid.
After 30 minutes, the machine switches to Stop and emits a sound signal.

16
HEATING
After selecting the cycle, enter the relevant filling value as in the automatic cycles:
* 120-60
60-40
full filling
half filling
Before starting the cycle the display will show the Mix Added confirmation request:
Mix added?
Press then the AUTO button to start the cycle. Beating at speed 5 + heating is activated as in the
automatic cycles.
The display shows:
HEATING
+85°C +68°C
Cycle name at the top, and at the bottom from the left: set – ramp – TEV.
Press the beating key for 10” to view the values of the 4 probes in a single page:
TGV-005 TER2+020
TEV+008 TER+015
To change the speed press the Speed key and change it using the Increase/Decrease keys.
In speed change mode the display shows:
HEATING
+85°C V=05 +68°C
Opening the lid will stop beater and heating operation but will not stop the machine.
Beating and heating are reactivated on closing the lid.
Set temperature can be edited with the Increase/Decrease buttons (relevant LEDs
are on) from 10°C to 90°C.
At the next cycle, temperature will return anyway to +85°C.

17
When the set is reached, the outputs are deactivated and the ramp is switched off. Only set
temperature and TEV are enabled and an intermittent sound signal, signaling the end of the
cycle, is activated.
HEATING
+85°C +86°C
The mix is thermostat-controlled at the set temperature indefinitely with the same beating of
the cycle carried out.
Note for AIR machine:
In heating mode, when TEV=50°C temperature is reached, MV activates at low speed.
When TEV reaches 83°C, MV activates at maximum speed.

18
COOLING
After selecting the cycle, enter the relevant filling value as in the automatic cycles:
* 120-60
60-40
full filling
half filling
Before starting the cycle the display will show the Mix Added confirmation request:
Mix added?
Press then the AUTO button to start the cycle. Beating at speed 5 + cooling is activated as in the
automatic cycles.
The display shows:
COOLING
+04°C +66°C
Cycle name at the top, and at the bottom from the left: set – ramp – TEV.
Press the beating key for 10” to view the values of the 4 probes in a single page:
TGV-005 TER2+020
TEV+008 TER+015
To change the speed press the Speed key and change it using the Increase/Decrease keys.
In speed change mode the display shows:
COOLING
+04°C V=05 +68°C
Opening the lid will stop beater and cooling operation but will not stop the machine.
Beating and cooling are reactivated on closing the lid.
Set temperature can be edited with the Increase/Decrease buttons (relevant LEDs
are on) from 0°C to 90°C.
At the next cycle, temperature will return anyway to +04°C.
When the set is reached, the ramp is switched off. Only set temperature and TEV are enabled
and an intermittent sound signal, signaling the end of the cycle, is activated.
COOLING
+04°C +04°C
The mix is thermostat-controlled at the set temperature indefinitely with the same beating of
the cycle carried out.

19
SHOWER
Water inlet is activated. To stop it, 3 options are available:
•press the same button again
•press Stop
•after 3 minutes
This function is independent from the other functions.

20
SOFTWARE UPDATE
For a control unit software upgrade, use the special serial cable supplied by the manufacturer,
connect it to the control unit through the Serial port (see electronic board layout) and to serial
port RS232 of any Personal Computer (PC).
The software Upgrade can be done by transferring the new software from the computer to the
CPU using M16C Flasher.
Once you have connected your PC (USB or RS 232) to the CPU (Serial) with the special cable
code: IC577400056 (USB) or IC577400032 (serial), power the machine.
After installing the M16C Flasher it is necessary:
- to start the program and press the Settings button
- to configure setting as follows:
This configuration shall be executed for the first time only.
- Close Settings window
- Press the arrow next to Settings button and select Prog new file…
- Select the program Easymix120plus*
After a software upgrade, offsets of the probes have to be reprogrammed.
Table of contents
Other Promag Commercial Food Equipment manuals
Popular Commercial Food Equipment manuals by other brands

Duke
Duke FWM3-22 Operator's and service manual
TaoTronics
TaoTronics TT-HP005 user guide
Gemm
Gemm Delice Series Instructions for use
Prince Castle
Prince Castle Sicom Chef EHB Series Setup manual
Henny Penny
Henny Penny FlexFusion FPG-615 Operator's manual
Tecnoinox
Tecnoinox BM4E9 Installation, use and maintenance
Skymsen
Skymsen DC-06 instruction manual
Redfox
Redfox VL 11 Instructions for installation and use
Fagor
Fagor Advance Plus APG-061 installation manual
Master Bilt
Master Bilt CB36 Installation, operation and maintenance
Diamond
Diamond ASM/185 Assembly instructions
Middleby
Middleby CTX Mighty Chef TCO2114 Owner's operating & installation manual
