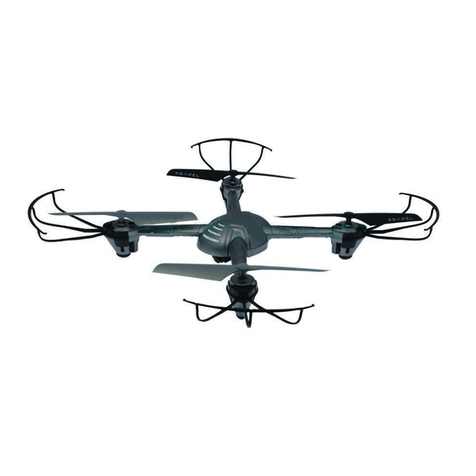
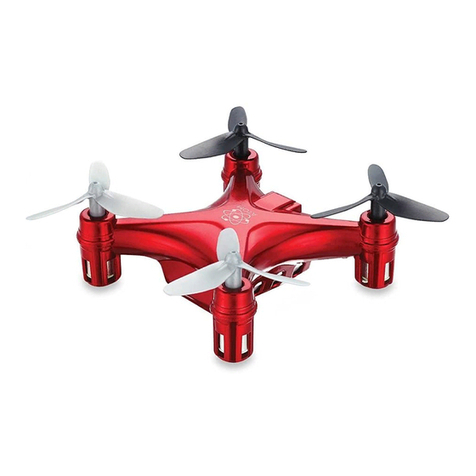
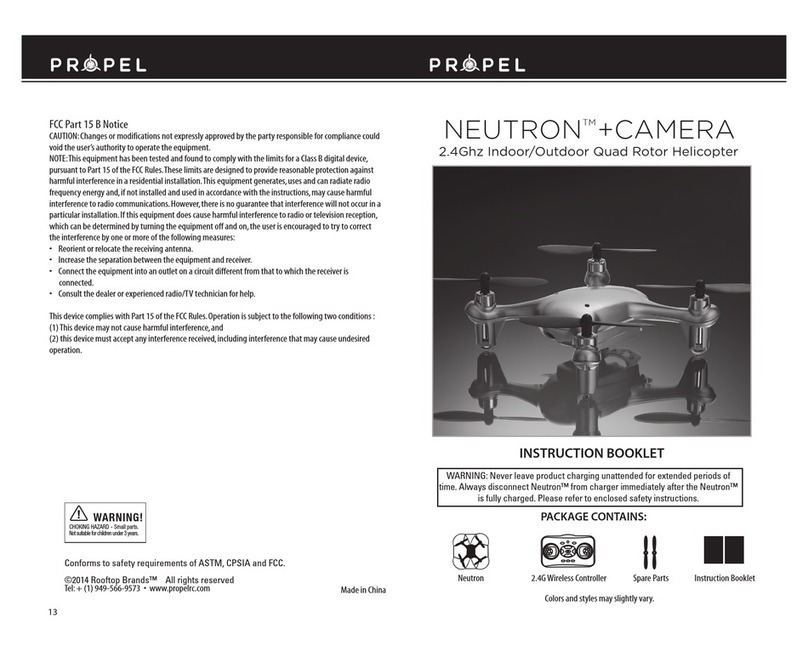
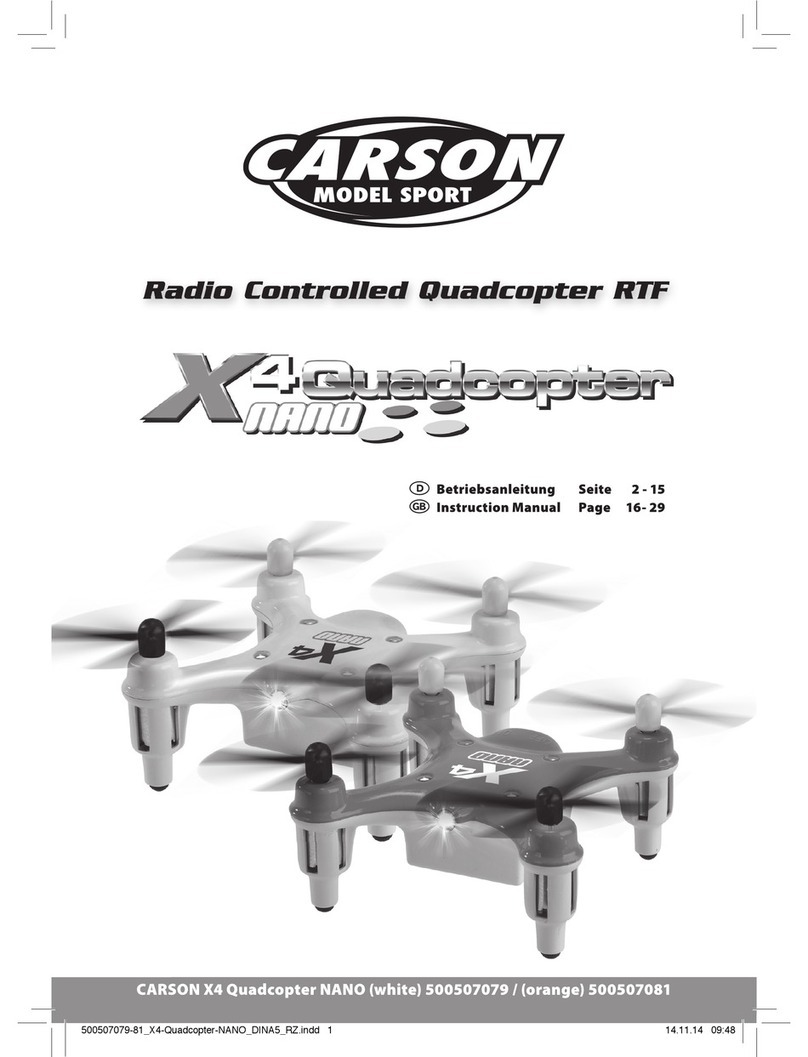
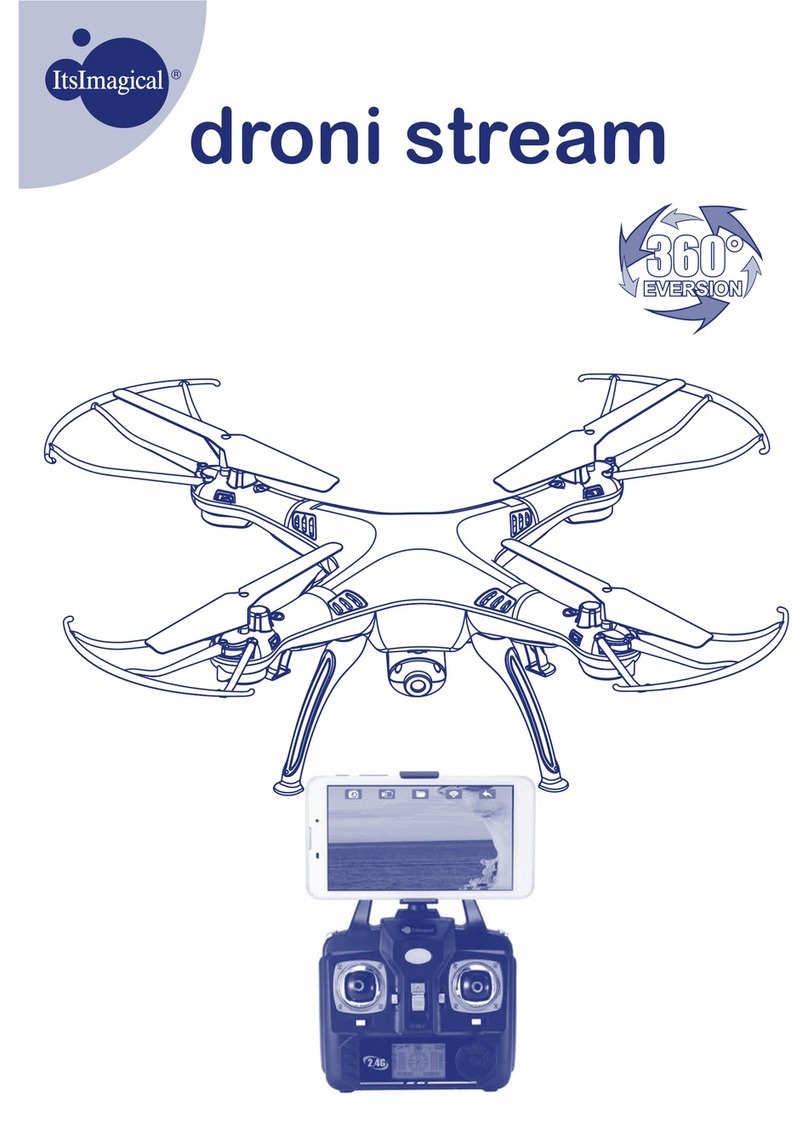
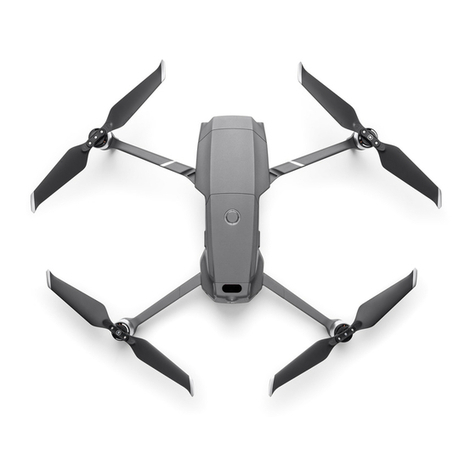
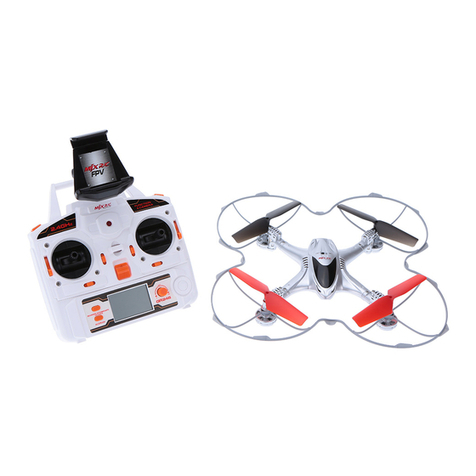
Thank you for purchasing the NEUTRON™ 2.4Ghz Indoor/Outdoor Quadrocopter. Please read this
instruction booklet as it contains valuable information on how to properly fly and care your NEUTRON™.
FEATURES
• Air pressure sensor locks flight altitude for stable video footage.
• Takes still photos and records video footage on microSDHC cards.
• Built in 6 axis gyroscopic chip keeps the NEUTRON™ extremely stable in all conditions.
• LED directional lights make the NEUTRON™ easy to follow.
• 4 channel flight controls allow for incredible maneuverability including 360˚ aerial stunts!
Unique Switch-Blade technology allows you to operate in either 3ch or
4ch modes from beginner to advanced pilots .
REMOTE CONTROL BATTERY INSTALLATION
1.Unscrew and slide off the battery cover from the back of the controller.
2.Install 2“AAA”alkaline batteries into the controller as shown in diagram A
3.Replace the battery cover and secure it.
4. Turn over the controller and turn the on/off switch to the on position. If the
indicator light turns on you have installed your batteries properly.
Battery Compartment
(2“AAA”batteries)
TABLE OF CONTENTS
Features............................................................................................................ 2
Remote Battery Installation....................................................................................... 2
Charging the NEUTRON™ Li-poly
Battery......................................................................... 2
NEUTRON™ Battery Installation................................................................................... 2
NEUTRON™ Diagram, Remote Diagram...........................................................................3
SyncingYour NEUTRON™...........................................................................................4
Preparing For Flight.................................................................................................4
Flying Tips...........................................................................................................4
Recognizing the Front and Rear of the Quadrocopter............................................................5
Forward / Backward Trim........................................................................................ 5
Banking Left / Right Trim........................................................................................ 5
3/4 Channel Select................................................................................................. 6
Automatically Take Off / Land................................................................................. 6
Speed Setting Button.............................................................................................. 6
UnderstandingThe Altitude Lock Sensor.......................................................................... 6
T (Training)mode................................................................................................... 7
4 Channel Flight Control........................................................................................... 7
3 Channel Flight Control........................................................................................... 8
How To Do 360º Stunt Rolls........................................................................................ 9
Using Your on Board Camera And Video Recorder..............................................................10
Formatting Your microSDHC card................................................................................10
Taking Digital Photos.............................................................................................10
Recording Videos..................................................................................................10
Removing Your microSDHC card.................................................................................11
Downloading and Clearing Space on Your microSDHC card....................................................11
Replacing The Propeller Blade...................................................................................11
Battery Warnings, Care and Maintenance...................................................................... 12
FCC Part 15 C Notice............................................................................................ 12
Battery Cover
Li-Poly
Battery
1 2
CHARGING THE NEUTRON™ LI-POLY BATTERY
1. Insert the battery to the charger as shown (see diagram B).
2. Connect the USB charging cord to your computer’s USB port (see diagram C).
Note:When the charger is charging it will show a RED charging indicator light.This lets you
know that charging is in progress.
3. When the NEUTRON™ battery is fully charged the charging indicator light will turn off.
4. Average charging time is approximately 30-40 minutes.A fully charged NEUTRON™ can
fly for 5-7 minutes depending on environment and user input.
NOTE:You may purchase additional batteries and rapid wall chargers at www.propelrc.com.
A
B C
NEUTRON™ BATTERY INSTALLATION
1.Slide the fully charged battery into NEUTRON™ battery compartment (see diagram D).
NOTE: The NEUTRON™ has no on/off switch. The NEUTRON™ automatically turns on when the
LI-POLY battery is inserted.To Switch off simply unplug the Battery
D
IMPORTANT:ALWAYS REMEMBER TO UNPLUGYOUR CHARGING
CORDWHEN NOT IN USE!
CAUTION! NEVER FORCETHE POWER PLUG:The power plug fits in only one direction,Use mild constant forward
pressure.If the plug seems stuck or won’t move easily try turning it over and study the jack closely.
