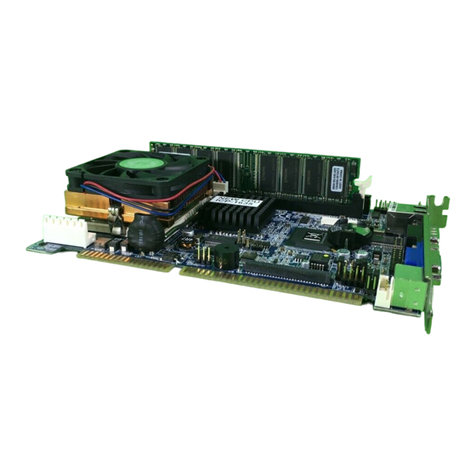
protech Prox SE-8124 User manual
Other protech Computer Hardware manuals
protech
protech ProX-1635LF User manual
protech
protech SA-5082 User manual
protech
protech BM-0972 User manual
protech
protech Prox-1260 M4 User manual
protech
protech ProX-1710 User manual
protech
protech ProX-1690 User manual
protech
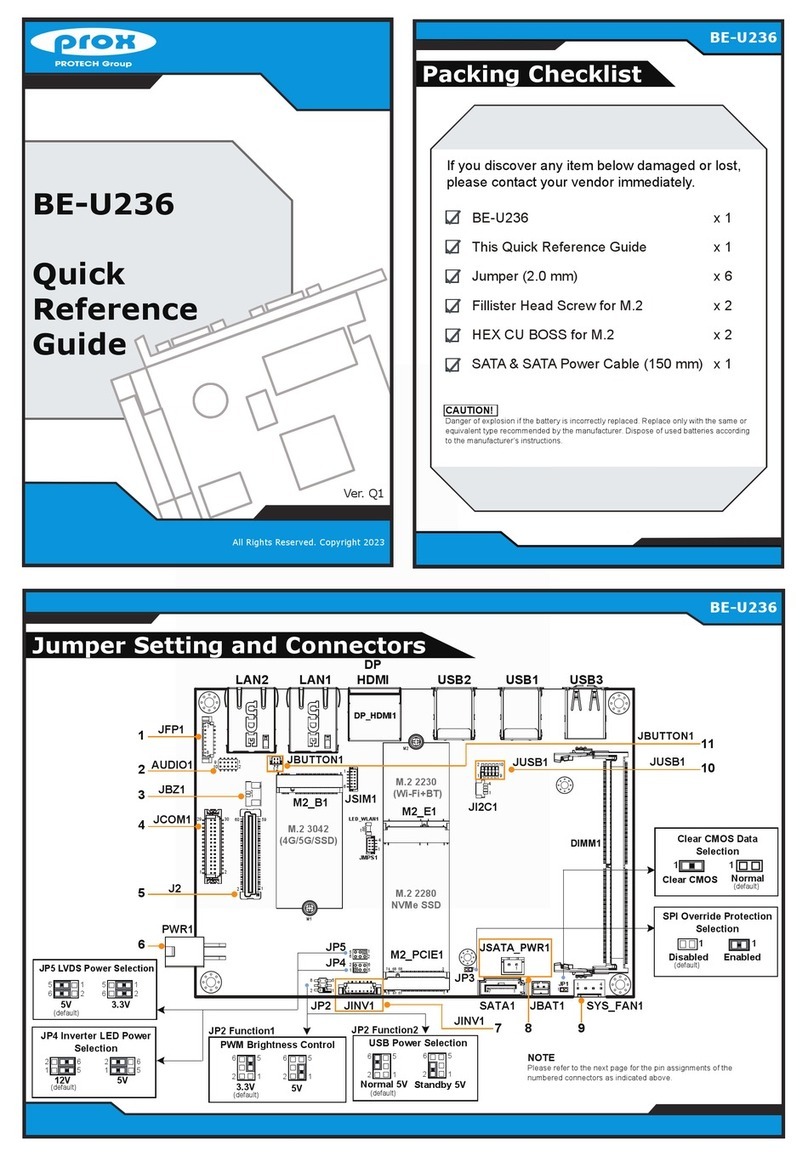
protech prox BE-U236 User manual

protech
protech Prox SG-S152 User manual
protech
protech ProX-1580 User manual
protech
protech ST-1942 User manual
protech
protech ProX-1640 User manual
protech
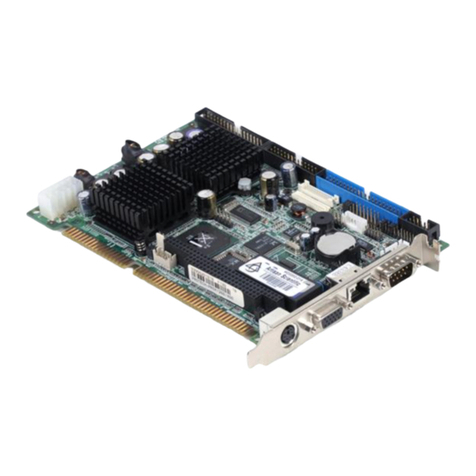
protech ProX-1260 User manual
protech
protech ProX-1630 User manual
protech
protech PC-550 User manual
protech
protech BE-0996 User manual
protech
protech Celeron EB-471LF M1 User manual
protech
protech ProX-1230 User manual
protech
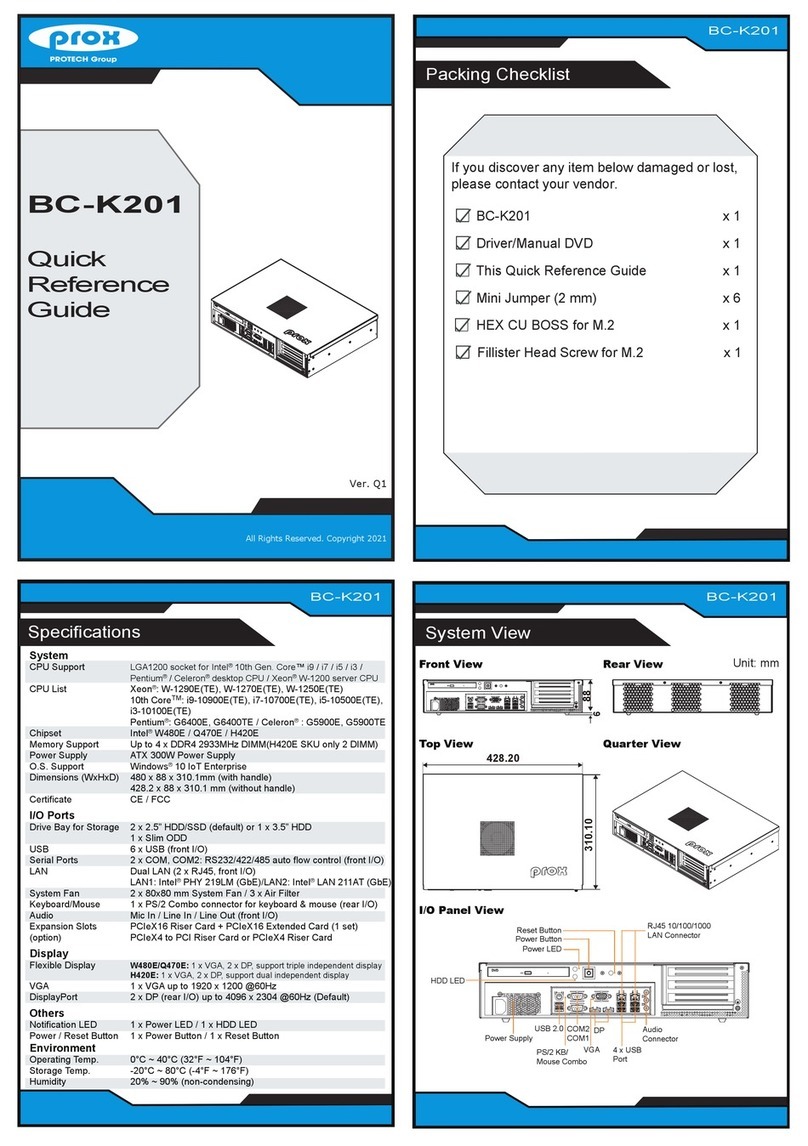
protech prox BC-K201 User manual
protech
protech ProX-1550 User manual
protech
protech BE-0986 User manual
Popular Computer Hardware manuals by other brands

Toshiba
Toshiba TOSVERT VF-MB1/S15 IPE002Z Function manual

Shenzhen
Shenzhen MEITRACK MVT380 user guide

TRENDnet
TRENDnet TEW-601PC - SUPER G MIMO WRLS PC CARD user guide

StarTech.com
StarTech.com CF2IDE18 instruction manual

Texas Instruments
Texas Instruments LMH0318 Programmer's guide

Gateway
Gateway 8510946 user guide

Sierra Wireless
Sierra Wireless Sierra Wireless AirCard 890 quick start guide

Leadtek
Leadtek Killer Xeno Pro Quick installation guide

Star Cooperation
Star Cooperation FlexTiny 3 Series Instructions for use

Hotone
Hotone Ampero user manual

Connect Tech
Connect Tech Xtreme/104-Express user manual

Yealink
Yealink WF50 user guide
