manuals.online logo
Brands
  1. Home
  2. •
  3. Brands
  4. •
  5. PST
  6. •
  7. Measuring Instrument
  8. •
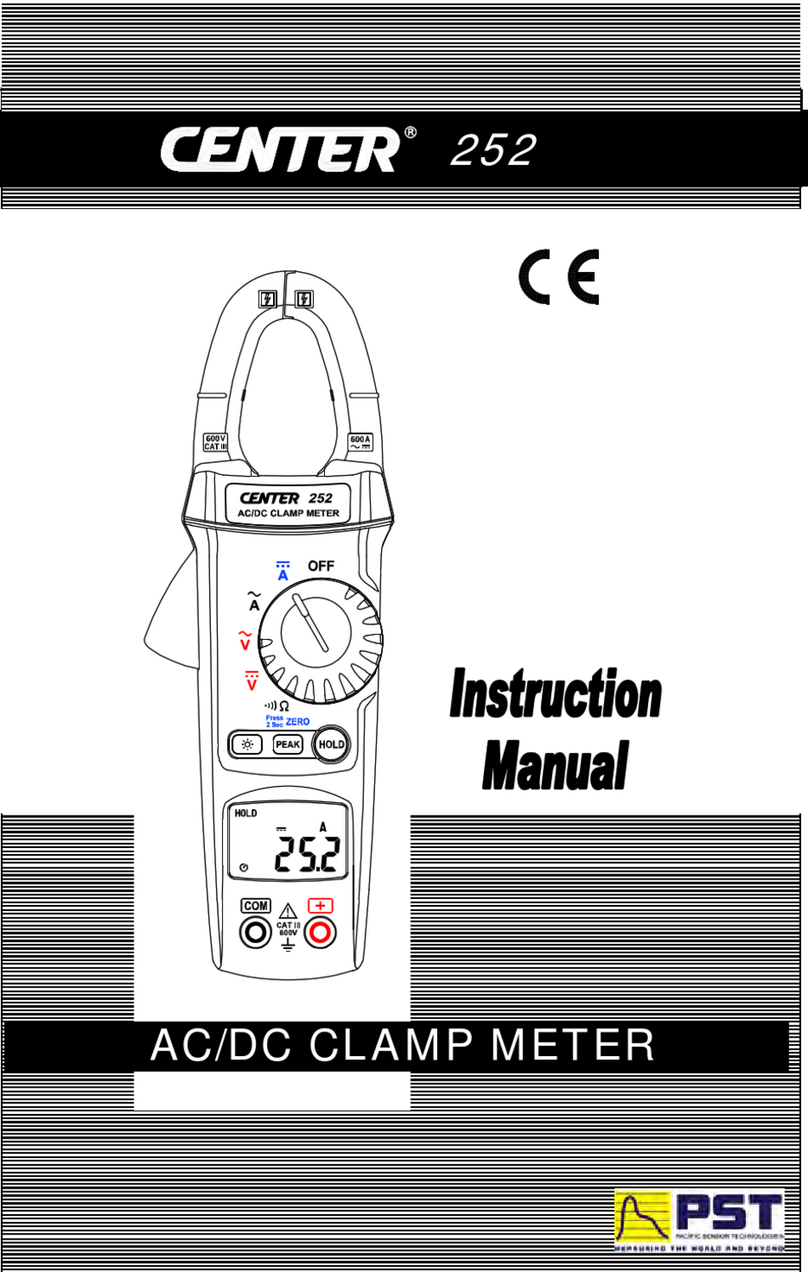
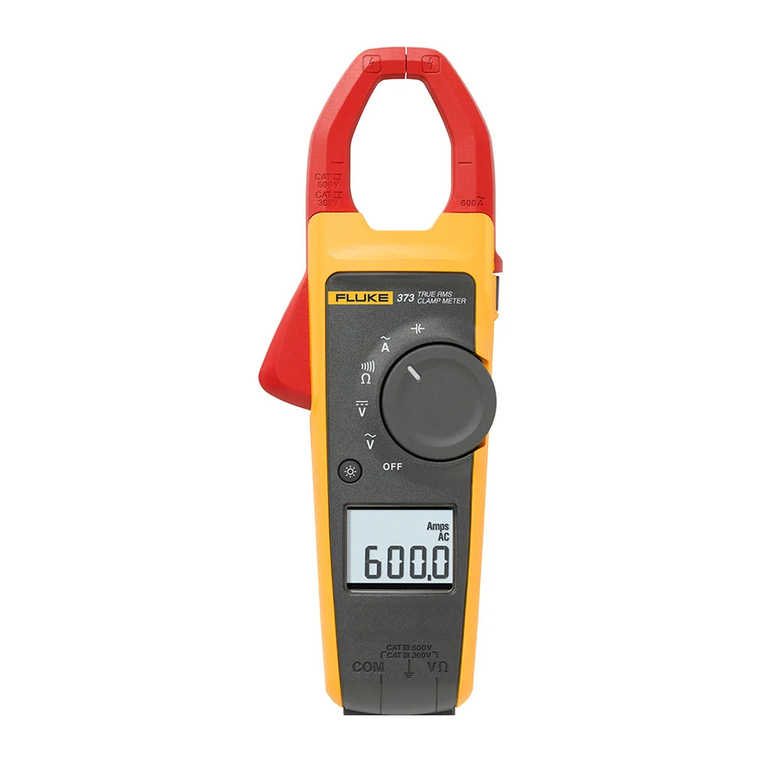
  9. PST CENTER 24 User manual

PST CENTER 24 User manual

24TRMS FLEXIBLE CURRENT METERCENTER TECHNOLOGY CORP. 4F, NO.415, Jung-Jeng Rd., Shu-Lin Dist., New Taipei City 238, TaiwanE-Mail:center@centertek.comhttp://www.centertek.comGCA000024-02000
n
o
M
i
t
a
c
n
u
r
u
t
a
s
l
n
I
Symbol Definition & Button Location1237Flexible current probeProbe couplingRange switchLCD display1. Name of Parts & Position:Safety InformationRead the operating instructions and follow all safety instructions before using this instrument.Do not operate the tester if the body of meter or the current probe looks broken.Check the main function dial and make sure it is at the correct position before each measurement.Always de-energize the circuit under test before installing flexible probe measuring head. Always inspect the electronics unit, connecting cable, and flexible probe for damage before using this product.Exercise extreme caution when measuring live system with voltage greater than 60V DC or 30V AC.To avoid false readings, replace the battery as soon as possible, when “ ” symbol appears.Always wear protective clothing and gloves if hazardous live parts are present in the installation where the measurement is carried out.Never use the probe on a circuit with voltages higher than 600 V CATIII.CATIII equipment is designed to protect against transients in equipment in fixed equipment installations, such as distribution panels, feeders and short branch circuits, and lighting systems in large buildings.456Data hold buttonMIN/MAX buttonBacklight buttonEnvironmental Conditions:Altitude up to 2000 meters.Operating temperature/humidity: 0°C~50°C, <80% RH, non-condensing243Read first, to ensure safe operating and service of this current clamp, follow these instructions: Explanation of Symbols:Attention! Refer to operation instructions.Do not apply around or remove from HAZARDOUS LIVE conductors.Product is protected by double insulation.Conforms to relevant European standardsMaintenanceWARNING & !CAUTIONBefore opening the battery door, disconnect flexible current probe and never use the meter if the battery door is open.Always inspect the unit, connecting cable, and flexible probe for damage before use.To avoid electric shock, keep the clean and free of surface contamination.Make sure the flexible probe, connecting cable, and electronics enclosure are dry before further use.To avoid contamination or static damage, do not touch the circuit board without proper static protection.REMARK:CLEANING:Periodically wipe the case with a dry cloth and detergent. Do not use abrasives or solvents on this instrument.If the meter is not going to be used for a long time, take out the battery and do not store the meter in high temperature or high humidity environment.When taking current measurement, keep the cable at the center of the clamp to get more accurate test result.Repairs or servicing not covered in this manual should be performed only by qualified person.Storage temperature/humidity:-10°C ~ 60°C, <70% RH, battery removedPollution Degree: 22. LCD Display:8Battery compartment coverMAX indicationMIN indicationAlternative source indicationAuto power off indicationLow battery indicationHold data indicationCurrent measurement indicationMeasurement readingindicationApprovals:EN61010 1000V CAT III / 600V CAT IV Authorized Distributor in Australia
Pacific Sensor Technologies Pty Ltd
Unit 4, 3 Neutron Place Rowville, VIC 3178 Australia
1300 662 720 | [email protected]
www.pacificsensortech.com.au
Measuring Ranges:Resolution:Accuracy (45-500Hz):Position Sensitivity: 4A/40A/400A0.001A/0.01A/0.1A±3% ±5digitsRefer to Figure 1.Power Supply:Battery Life:UM-4 or AAA 1.5V battery x2Approx.120Hours(alkaline battery)Temperature Coefficients:Add 0.1 x specified accuracy for each degree C above 28 or below 18°C°CPosition Sensitivity8765Always use appropriate equipment for personal protection. Do not use the flexible current probe to measure bare conductors unless wearing protective clothing and gloves suitable for high voltage work.Replacing Battery1. When the battery voltage drops below proper operation range the “ ” symbol will appear on the LCD display and the battery needs to be replaced.2. Remove the flexible current probe from any measuring object.3. Switch the main dial to “OFF”.4. Open the battery door with a screwdriver.5. Replace the old batteries with two new 1.5V (AAA Size) batteries.6. Close the battery door and fasten the screw.2 each AAA/R03 batteriesSpecificationsDigital Display:Over Load:Sample Rate:Low Power Indication:Power Source:Auto Power Off:4 digits LCD display with maximum reading 4200When the signal larger than the maximum will be shown2 times/secWhen the battery is below the proper operation range, will appear on the LCD display.UM-4 or AAA 1.5V battery x 2If there is no key or dial operation for 15 minutes, the meter will automatically power off to save battery consumption. The symbol indicates the function is enabled.GENERAL SPECIFICATION:8”Distance from optimumErrorFlexible Current Probe1 in± 1.0%1.3 in± 2%Note:Measurement uncertainty assumes centralized primary conductor at optimum position, no external electrical or magnetic field, and within operating temperature range.Measuring InstructionFigure 3. Measurement Setup
To activate unit, move the rotary switch from the “off” position to the required measuring range. Select the desired range. If the value of current being measured is unknown, first select the highest range and then reduce accordingly.Connect the flexible probe around the conductor (See Figure 2.)Center the conductor perpendicularly inside the flexible probe area.Observe the current value on the LCD.Disable-Auto Power Off:To disable the function, press the “Hold” button and keep it pressed while powering on the meter. The indicator will not be displayed.Dimension (Meter):120mm(L)x70mm(W)x26 mm(H); 4.7”(L)x2.8”(W)x1”(H)Probe Cable Length(s):203mm (8”)Probe Cable Diameter:5.5mm (nominal)Cable Length (Probe to Meter):1.5m (5 ft)Weight:Approx.196g (include battery)(At 23±5, ≦80 %RH, conductor located at the center of the flexible loop)°CELECTRICAL SPECIFICATION:Figure 2. Connecting the flexible probe around the conductorButton InstructionBack Light Button:Press the button to turn on back-light. Press the button again to turn off back-light. The back-light will also be turned off automatically after 30 seconds to extend battery life.Hold Button:Press the HOLD button to hold data. Press the HOLD button again to release held data.MAX/MIN Button:Press the MAX/MIN button to enter the Max/Min mode. Press the MAX/MIN button, to read Max, Min, and current reading in sequence. Press the MAX/MIN button for 2 seconds, to exit the Max/Min mode.Figure 1.
-OL-
1 in1.3 in

This manual suits for next models

1

Other PST Measuring Instrument manuals

PST Michell Instruments XTP601 User manual

PST

PST Michell Instruments XTP601 User manual

PST Michell Instruments TDL600 User manual

PST

PST Michell Instruments TDL600 User manual

PST Michell Instruments Pura Advanced Online 2 User manual

PST

PST Michell Instruments Pura Advanced Online 2 User manual

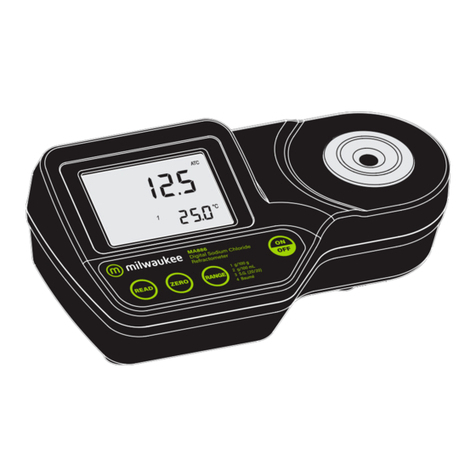
PST MA886 User manual

PST

PST MA886 User manual

PST MI414 User manual

PST

PST MI414 User manual

PST Michell Instruments Liquidew I.S. User manual

PST

PST Michell Instruments Liquidew I.S. User manual

PST MICHELL Instruments Easidew Advanced Online User manual

PST

PST MICHELL Instruments Easidew Advanced Online User manual

PST Comet Commeter D4130 User manual

PST

PST Comet Commeter D4130 User manual

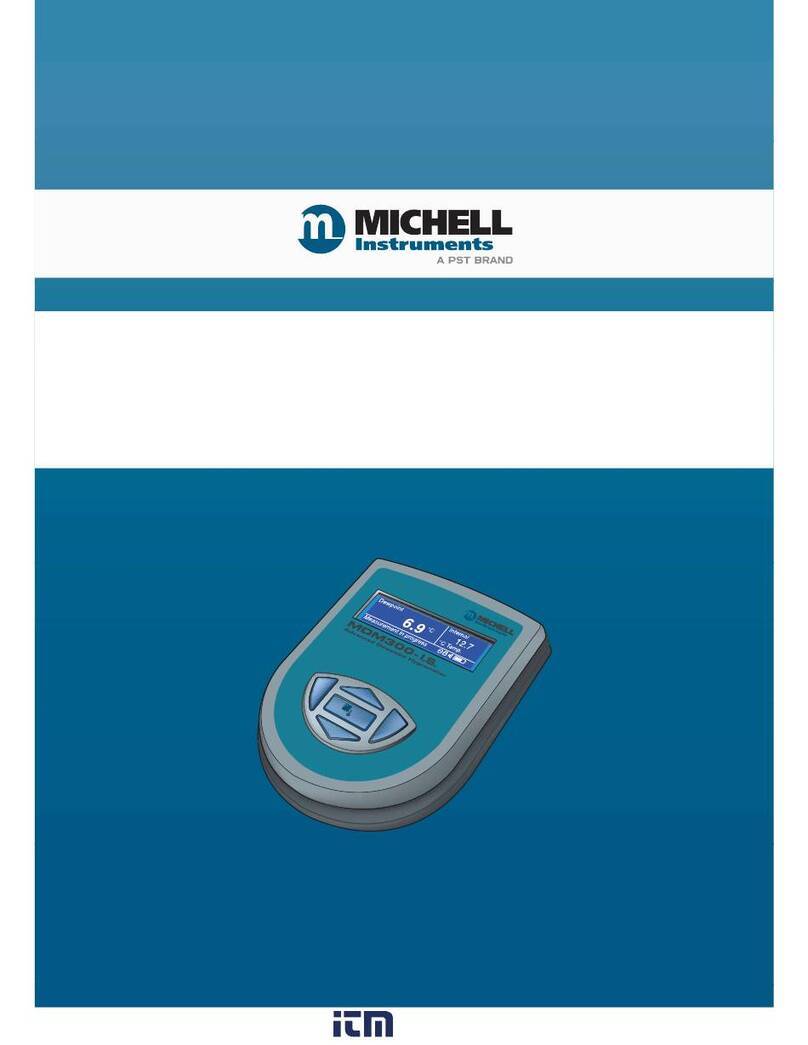
PST MICHELL Instruments MDM300 User manual

PST

PST MICHELL Instruments MDM300 User manual

PST SDK User manual

PST

PST SDK User manual

PST Center 252 User manual

PST

PST Center 252 User manual

PST MITCHELL S8000 -100 User manual

PST

PST MITCHELL S8000 -100 User manual

PST MICHELL Instruments MDM25 User manual

PST

PST MICHELL Instruments MDM25 User manual

PST MICHELL Instruments MDM300 User manual

PST

PST MICHELL Instruments MDM300 User manual

PST Michell Instruments S8000 -100 User manual

PST

PST Michell Instruments S8000 -100 User manual

Popular Measuring Instrument manuals by other brands

IRD Balancing 258 user manual

IRD Balancing

IRD Balancing 258 user manual

Micronics U1000-HM user manual

Micronics

Micronics U1000-HM user manual

CARLO GAVAZZI LDI 35 - CONFIGURATION SOFTWARE operating instructions

CARLO GAVAZZI

CARLO GAVAZZI LDI 35 - CONFIGURATION SOFTWARE operating instructions

BANTE 810 instruction manual

BANTE

BANTE 810 instruction manual

Orbis CONTAX-D 9073 S0 user manual

Orbis

Orbis CONTAX-D 9073 S0 user manual

3M EVM Series user manual

3M

3M EVM Series user manual

Isspro EV2 installation instructions

Isspro

Isspro EV2 installation instructions

Futech QUATTRO manual

Futech

Futech QUATTRO manual

JONARD TOOLS PON-55 instruction manual

JONARD TOOLS

JONARD TOOLS PON-55 instruction manual

MÜLLER + ZIEGLER DSM 96 manual

MÜLLER + ZIEGLER

MÜLLER + ZIEGLER DSM 96 manual

SDT Online4US user manual

SDT

SDT Online4US user manual

VOLTCRAFT HygroCube 100 operating instructions

VOLTCRAFT

VOLTCRAFT HygroCube 100 operating instructions

Fluke i400 instructions

Fluke

Fluke i400 instructions

Sealey AUTO SERVICE TA060 instructions

Sealey

Sealey AUTO SERVICE TA060 instructions

FLIR CM275 user manual

FLIR

FLIR CM275 user manual

Kentek TRAP-IT ABD-075 Operation manual

Kentek

Kentek TRAP-IT ABD-075 Operation manual

DeWalt DW077-XE manual

DeWalt

DeWalt DW077-XE manual

Flex Scada Flexs Q5 user guide

Flex Scada

Flex Scada Flexs Q5 user guide

manuals.online logo
manuals.online logoBrands
  • About & Mission
  • Contact us
  • Privacy Policy
  • Terms and Conditions

Copyright 2025 Manuals.Online. All Rights Reserved.