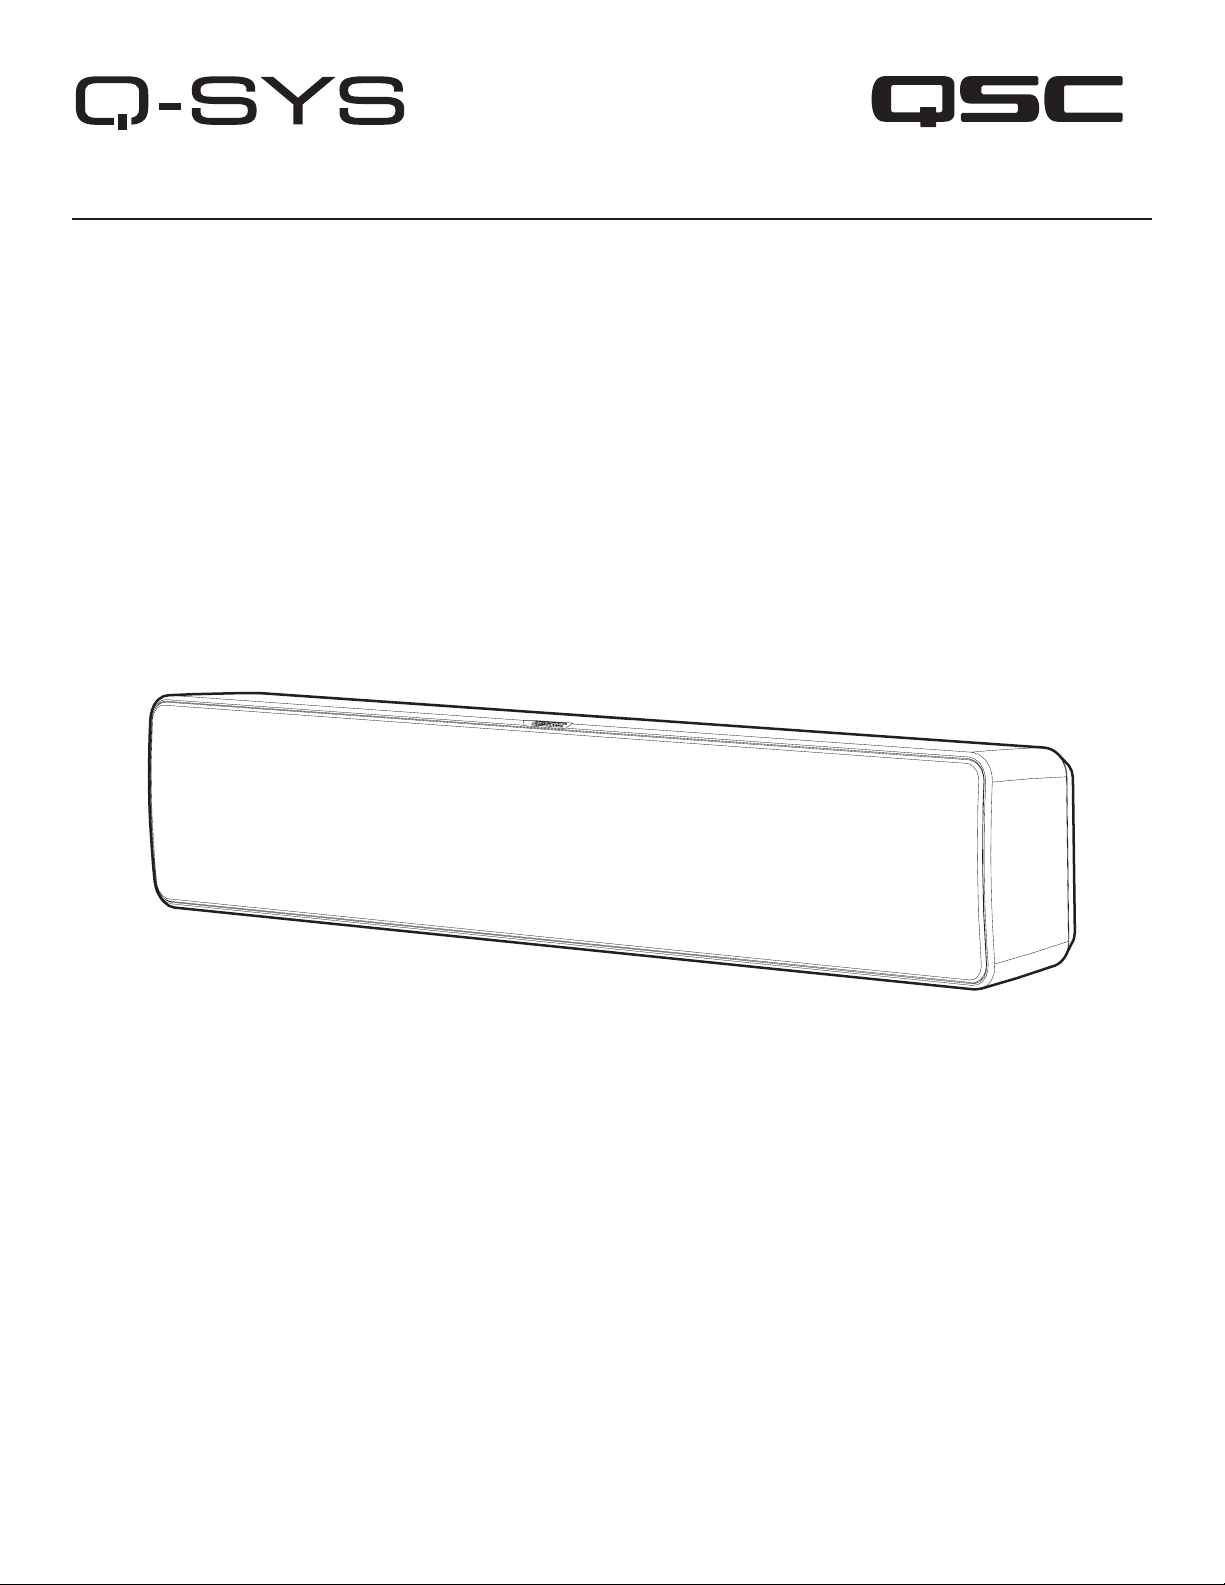
QSC Q-SYS NL-SB42 Instructions for use

™
Hardware User Manual
NL-SB42
4” Two-way Network Soundbar
®
TD-001638-01-A
*TD-001638-01*

2
The lightning flash with arrowhead symbol in a triangle alerts the user to the presence of uninsulated dangerous voltage within the
product’s enclosure that may constitute a risk of electric shock to humans.
The exclamation point within a triangle alerts the user to important safety, operating, and maintenance instructions in this manual.
WARNING!: TO PREVENT FIRE OR ELECTRIC SHOCK, DO NOT EXPOSE THIS EQUIPMENT TO RAIN OR MOISTURE.
1. Read, follow, and keep these instructions.
2. Heed all warnings.
3. Do not use this apparatus near water.
4. Clean only with a dry cloth.
5. Do not install near heat sources such as radiators, heat registers, stoves, or other apparatus (including amplifiers) that produce heat.
6. Only use attachments/accessories specified by the manufacturer.
7. Refer all servicing to qualified service personnel. Servicing is required when the apparatus has been damaged in any way, such as
when the power supply cord or plug is damaged, liquid has been spilled or objects have fallen into the apparatus, the apparatus has
been exposed to rain or moisture, does not operate normally, or has been dropped.
8. Do not use this apparatus in or near water or liquids.
9. Do not submerge the apparatus in water or liquids.
10. Do not use any aerosol spray, cleaner, disinfectant or fumigant on, near or into the apparatus.
11 . Adhere to all applicable, local codes.
12. Consult a licensed, professional engineer when any doubt or questions arise regarding a physical equipment installation.
Maintenance and Repair
WARNING: Advanced technology, e.g., the use of modern materials and powerful electronics requires specially adapted
maintenance and repair methods. To avoid a danger of subsequent damage to the apparatus, injuries to persons and/or the creation of
additional safety hazards, all maintenance or repair work on the apparatus should be performed only by a QSC authorized service station
or an authorized QSC international distributor. QSC is not responsible for any injury, harm or related damages arising from any failure of
the customer, owner or user of the apparatus to facilitate those repairs.
IMPORTANT! PoE Power Input – PoE+ Type 2 Class 4 capable. See “Connections and Controls”.
Cleaning
WARNING: Liquids entering the housing may damage the internal electronics. Keep liquids away and do not use any solvents or
chemicals to clean this product. Clean only with a soft, slightly damp or dry cloth.
IMPORTANT SAFETY INSTRUCTIONS
EXPLANATION OF TERMS AND SYMBOLS
The term “WARNING” indicates instructions regarding personal safety. Failure to follow them may result in bodily injury or death.
The term “CAUTION” indicates instructions regarding possible damage to physical equipment. Failure to follow them may result in
equipment damage to equipment that may not be covered under the warranty.
The term “IMPORTANT” indicates instructions or information that are vital to the successful completion of theprocedure.
The term “NOTE” indicates additional useful information.

3
Specifications and Dimensions
Product specifications and dimension drawings for the NL-SB42 can be found online at www.qsc.com.
FCC Statement
NOTE: This equipment has been tested and found to comply with the limits for a Class B digital device, pursuant to part 15 of
the FCC Rules. These limits are designed to provide reasonable protection against harmful interference in a residential installation. This
equipment generates, uses and can radiate radio frequency energy and, if not installed and used in accordance with the instructions,
may cause harmful interference to radio communications. However, there is no guarantee that interference will not occur in a particular
installation. If this equipment does cause harmful interference to radio or television reception, which can be determined by turning the
equipment off and on, the user is encouraged to try to correct the interference by one or more of the following measures
• Reorient or relocate the receiving antenna.
• Increase the separation between the equipment and receiver.
• Connect the equipment into an outlet on a circuit different from that to which the receiver is connected.
• Consult the dealer or an experienced radio/TV technician for help
Environmental
• Expected Product Life Cycle: 10 years
• Storage Temperature Range: -20°C to +70°C
• Relative Humidity: 5 to 85% RH, non-condensing
RoHS Statement
The QSC Q-SYS NL-SB42 is in compliance with European Directive 2011/65/EU – Restriction of Hazardous Substances (RoHS2).
The QSC Q-SYS NL-SB42 is in compliance with “China RoHS” directives per GB/T 26572. The following chart is provided for product use
in China and its territories:
QSC Q-SYS NL-SB42
部件名称
(Part Name)
有害物质
(Hazardous Substances)
铅
(Pb)
汞
(Hg)
镉
(Cd)
六价铬
(Cr(vi))
多溴联苯
(PBB)
多溴二苯醚
(PBDE)
电路板组件
(PCB Assemblies)
X O O O O O
机壳装配件
(Chassis
Assemblies)
X O O O O O
本表格依据 SJ/T 11364 的规定编制。
O: 表示该有害物质在该部件所有均质材料中的含量均在 GB/T 26572 规定的限量要求以下。
X: 表示该有害物质至少在该部件的某一均质材料中的含量超出 GB/T 26572 规定的限量要求。
(目前由于技术或经济的原因暂时无法实现替代或减量化。)
This table is prepared following the requirement of SJ/T 11364.
O: Indicates that the concentration of the substance in all homogeneous materials of the part is below the relevant
threshold specified in GB/T 26572.
X: Indicates that the concentration of the substance in at least one of all homogeneous materials of the part is above the
relevant threshold specified in GB/T 26572.
(Replacement and reduction of content cannot be achieved currently because of the technical or economic reason.)

4
What’s in the Box
(1x)
NL-SB42
(1x)
Wall mount bracket
(2x)
Rubber feet and
screws
(4x)
Wall isolation washers
(1x)
Warranty statement
(1x)
Safety information
Connections and Controls
Front
1. LED Light Bar: Indicates the status of the NL-SB42.
Rear
1. Q-LAN/PoE Port: For Q-LAN connection. The NL-SB42 is a PoE Enabled Device (PoE+ Type 2 Class 4 capable). Use a suitable PoE
network switch or supply connected to this port.
2. ID Button: Press to identify this product in Q-SYS Designer Software and Q-SYS Configurator.
3. Reset Button: Use the Reset button to restore default network settings and recover factory default settings. Before attempting a reset,
refer to the Q-SYS Help for details.
1
2
3
1— Figure 1 —
— Figure 2 —

5
Freestanding Installation
1. Attach the rubber feet with the included
screws (Figure 3).
2. Bend down the feet to pull off the protective
film and affix the feet to the soundbar (Figure
4).
3. Place the soundbar on a table or credenza.
4. Connect a network cable to the Q-LAN/PoE
port at the back of the soundbar.
5. Connect the the other end of the network
cable to a PoE+ switch.
— Figure 3 — — Figure 4 —
Permanent Installation
IMPORTANT! Mount to a surface capable of supporting the weight of the soundbar.
WARNING: Install the system in accordance with local building codes and regulations. Use a licensed contractor or professional
engineer. QSC, LLC is not responsible for damages resulting from the negligent installation of any bracket or loudspeaker.
Wall Mount Bracket Features
Refer to Figure 6.
1. Release Latches
2. Safety Locking Screws (both sides)
3. Cable Pass Notch
— Figure 5 —
Soundbar Mounting Features
Refer to Figure 5.
1. Hanging Bracket Bosses
2. Wall Bracket Bars
3. Adjustment Nut
1
2
3
1
2
3
— Figure 6 —

6
Mount the Bracket
Refer to Figure 9. Horizontal orientation shown.
1. Feed the Ethernet cable through the bracket before mounting.
2. Place the four Wall Isolation Washers between the wall and
the bracket.
3. Attach the bracket to the wall using mounting hardware (not
included) suitable for the wall composition – wood studs,
concrete, brick, metal studs, etc.
4. Continue to “Wire the Loudspeaker”.
NOTE: If you are not feeding the Ethernet cable through the wall,
mount the bracket so that the center notch is pointing toward the
cable entry – typically toward the display (Figure 10).
— Figure 9 —
— Figure 10 —
Place the Bracket
Refer to Figure 8. Horizontal orientation shown.
1. Place the bracket on the wall – for example, centered under
a display.
2. Level the bracket, and then trace the anchor slots.
3. Mark the cable exit location.
4. Set the bracket aside.
5. Draw a level line horizontally through the top wall trace
marks and vertically through the left and right side trace
marks.
6. Drill or cut a hole for the cable.
7. Pull the cable through.
1
23
57
— Figure 8 —
Mounting and Cabling Options
You can mount the soundbar horizontally or vertically, with the Ethernet cable routed through the wall (directly behind the bracket) or
through the bracket’s Cable Pass Notch. For ease of access when releasing the speaker from the bracket in the horizontal position, it is
recommended to position the bracket with the Release Latches (Figure 6) on the bottom.
NOTE: If you are not feeding the cable through the wall and bracket, position the Cable Pass Notch toward the display, as
shown in Figure 7. In this case, orient a horizontally-positioned bracket with the Release Latches on top.
— Figure 7 —

7
Connect the Cable
Before mounting the speakerbar, plug the Ethernet cable’s RJ45
connector securely into the jack on the back of the enclosure (Figure
11).
Attach the Soundbar
Push the soundbar onto the wall bracket. The Wall Bracket Bars on
the soundar will snap and lock onto the wall bracket (Figure 12).
Align the Soundbar – Horizontal
You can adjust the soundbar left or right as needed to align with the display, cameras, or other wall-mounted objects.
1. Review the soundbar’s alignment with other objects (Figure 13).
2. Release the soundbar from the wall bracket. See “Release the Soundbar”.
3. Re-attach the soundbar in the desired position.
NOTE: Sliding the soundbar while it is locked to the bracket is not recommended.
— Figure 11 — — Figure 12 —
Align the Soundbar – Vertical
For vertical installations, you can adjust the soundbar’s alignment with the Adjustment Nut. There is approximately 1 inch of room for
adjustment.
1. Review the soundbar’s alignment with other objects, such as another soundbar (Figure 14).
2. Turn the Adjustment Nut to raise or lower the soundbar (Figure 15).
— Figure 13 —
— Figure 14 —
— Figure 15 —

8
Release the Soundbar
To remove the soundbar from the wall bracket, press the Release Latches located on the top or bottom of the bracket, depending on the
orientation (Figure 17).
RIGHT LED
LEFT LED
Tighten the Safety Lock Screws
For safety and security, tighten the Safety Locking Screws on both sides of the wall bracket (Figure 16).
Confirm Connections
1. Once the NL-SB42 is connected to a suitable PoE+ network switch, the RJ45 jack LEDs will indicate network status.
Left LED Right LED
Yellow Green
Dark - Disconnected Dark - Disconnected/10Mbps/100Mbps
Solid - Link Solid - 1 Gigabit Link
Flashing - Activity
2. For Q-SYS status, check the status LED under the grille (Figure 18).
Identify Initializing Fault
NL-SB42 Yellow - Flashing Blue - Breathing Red - Breathing
NOTE: Before you can use the NL-SB42, you must add and configure the soundbar in a design using Q-SYS Designer Software. Refer to
the Q-SYS Help for more information.
LED Light Bar
(under grille)
— Figure 16 —
— Figure 17 —
— Figure 18 —

9
®
QSC Self Help Portal
Read knowledge base articles and discussions, download software and firmware, view product documents and training videos, and
create support cases.
https://qscprod.force.com/selfhelpportal/s/
Customer Support
Refer to the Contact Us page on the QSC website for Technical Support and Customer Care, including their phone numbers and
hours of operation.
https://www.qsc.com/contact-us/
Warranty
For a copy of the QSC Limited Warranty, visit the QSC, LLC., website at www.qsc.com.
© 2022 QSC, LLC. All rights reserved. QSC and the QSC logo, Q-SYS, and the Q-SYS logo are registered trademarks of QSC, LLC in the U.S. Patent and
Trademark Office and other countries. Patents may apply or be pending. All other trademarks are the property of their respective owners.
www.qsc.com/patent
Table of contents
Other QSC Speakers System manuals
Popular Speakers System manuals by other brands

Electro-Voice
Electro-Voice Phoenix PX2181 Technical specifications

Bowers & Wilkins
Bowers & Wilkins 800D owner's manual

DAS
DAS WR-6415 user manual

Louroe Electronics
Louroe Electronics LE-018 Installation and operating instructions

TCL
TCL P733W quick start guide

Harman
Harman JBL CINEMA SB400 Service manual