Quoizel CRG9010MB User manual
Other Quoizel Outdoor Light manuals

Quoizel
Quoizel MBH8407PN Mounting instructions

Quoizel
Quoizel BEC8406SBK User manual

Quoizel
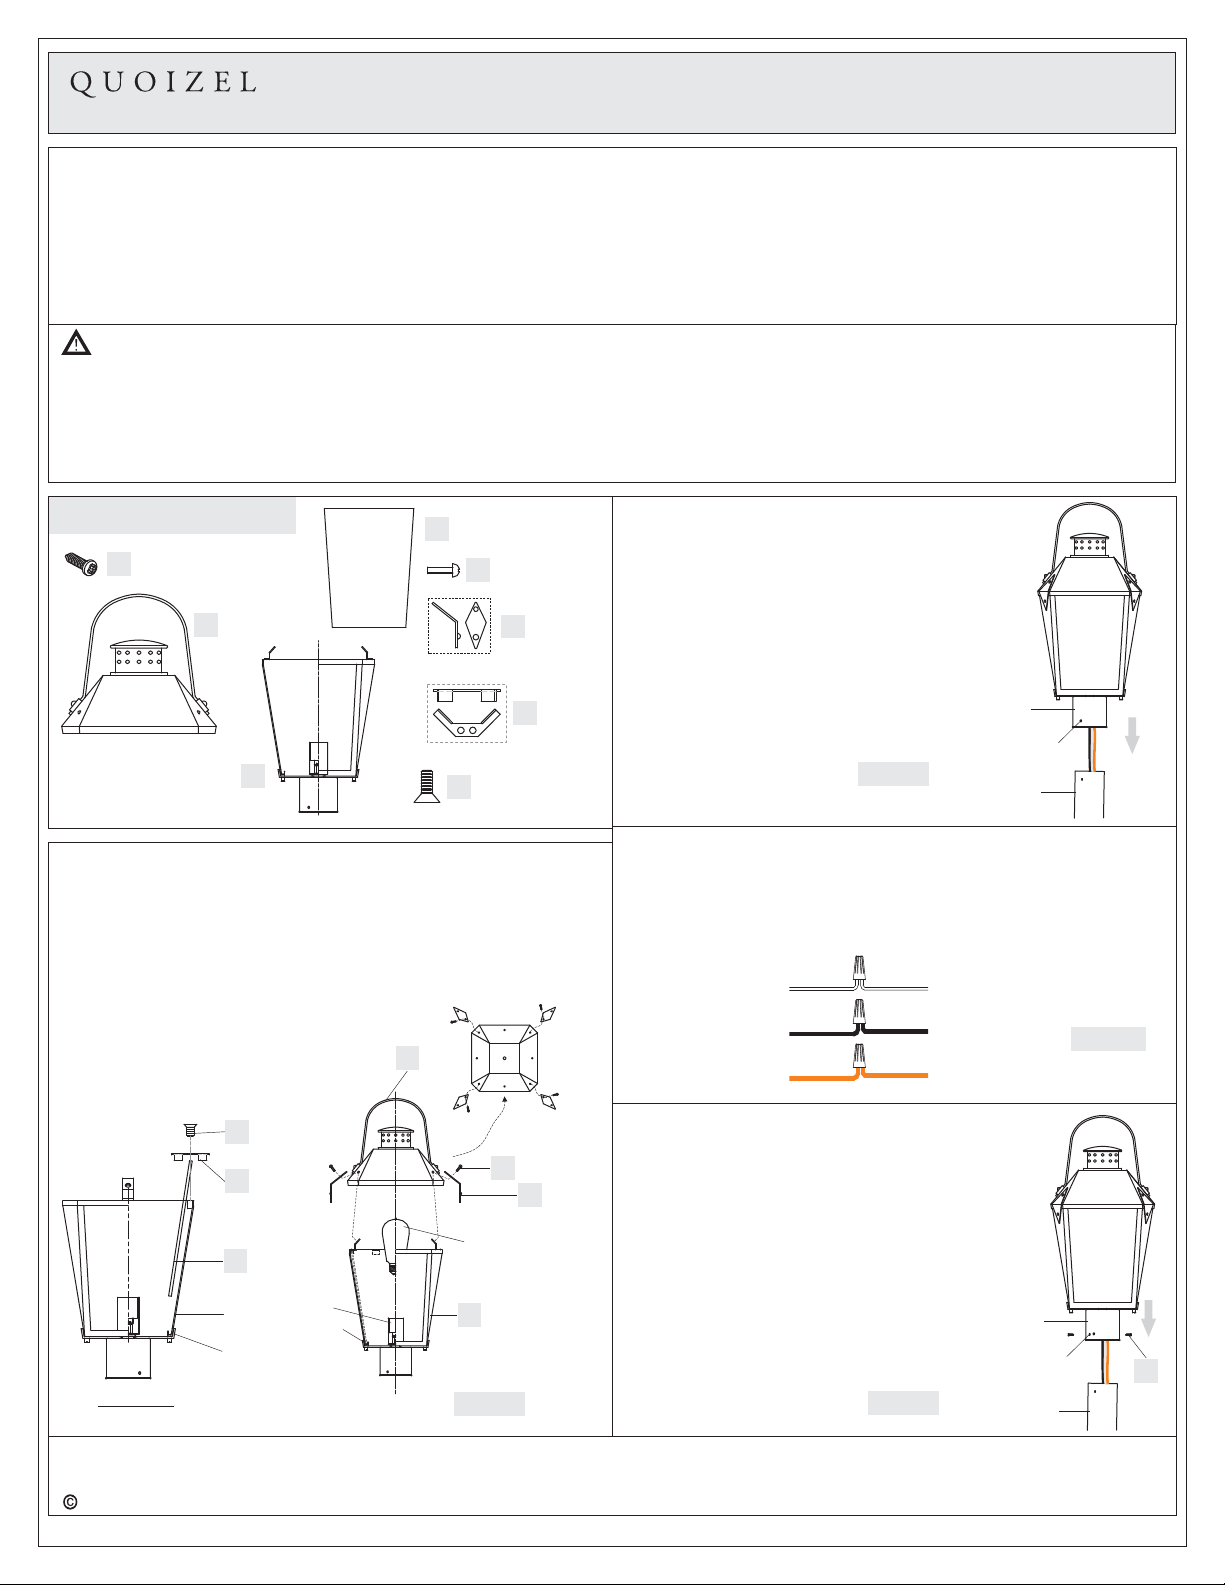
Quoizel Abernathy ABY8407OZ User manual

Quoizel
Quoizel SYN8406EK User manual

Quoizel
Quoizel CAT8407PN Mounting instructions

Quoizel
Quoizel CLI9009EK User manual

Quoizel
Quoizel DRS8407EK User manual

Quoizel
Quoizel WKF8407EK Mounting instructions

Quoizel
Quoizel CHI9011IB User manual

Quoizel
Quoizel IS-RPT8407PN Mounting instructions

Quoizel
Quoizel Zephyr ZP8418MD Mounting instructions

Quoizel
Quoizel MOI8408EK User manual

Quoizel
Quoizel LNG8407CHB Mounting instructions

Quoizel
Quoizel INF8407EK User manual

Quoizel
Quoizel WVR8405A User manual

Quoizel
Quoizel Style OAS8411Z Mounting instructions

Quoizel
Quoizel TFIK8409VA Mounting instructions

Quoizel
Quoizel STG1512BN User manual

Quoizel
Quoizel WWD8409IB User manual

Quoizel
Quoizel BRN8412IB Mounting instructions


Popular Outdoor Light manuals by other brands


HEPER
HEPER DOGO Side LW6048.585-US Installation & maintenance instructions

Maretti
Maretti VIBE S 14.6080.04.A quick start guide

BEGA
BEGA 84 253 Installation and technical information

HEPER
HEPER LW8034.003-US Installation & maintenance instructions

HEPER
HEPER MINIMO Installation & maintenance instructions

LIGMAN
LIGMAN BAMBOO 3 installation manual

Maretti
Maretti TUBE CUBE WALL 14.4998.04 quick start guide

Maxim Lighting
Maxim Lighting Carriage House VX 40428WGOB installation instructions

urban ambiance
urban ambiance UQL1273 installation instructions

TotalPond
TotalPond 52238 instruction manual

Donner & Blitzen
Donner & Blitzen 0-02661479-2 owner's manual

LIGMAN
LIGMAN DE-20023 installation manual