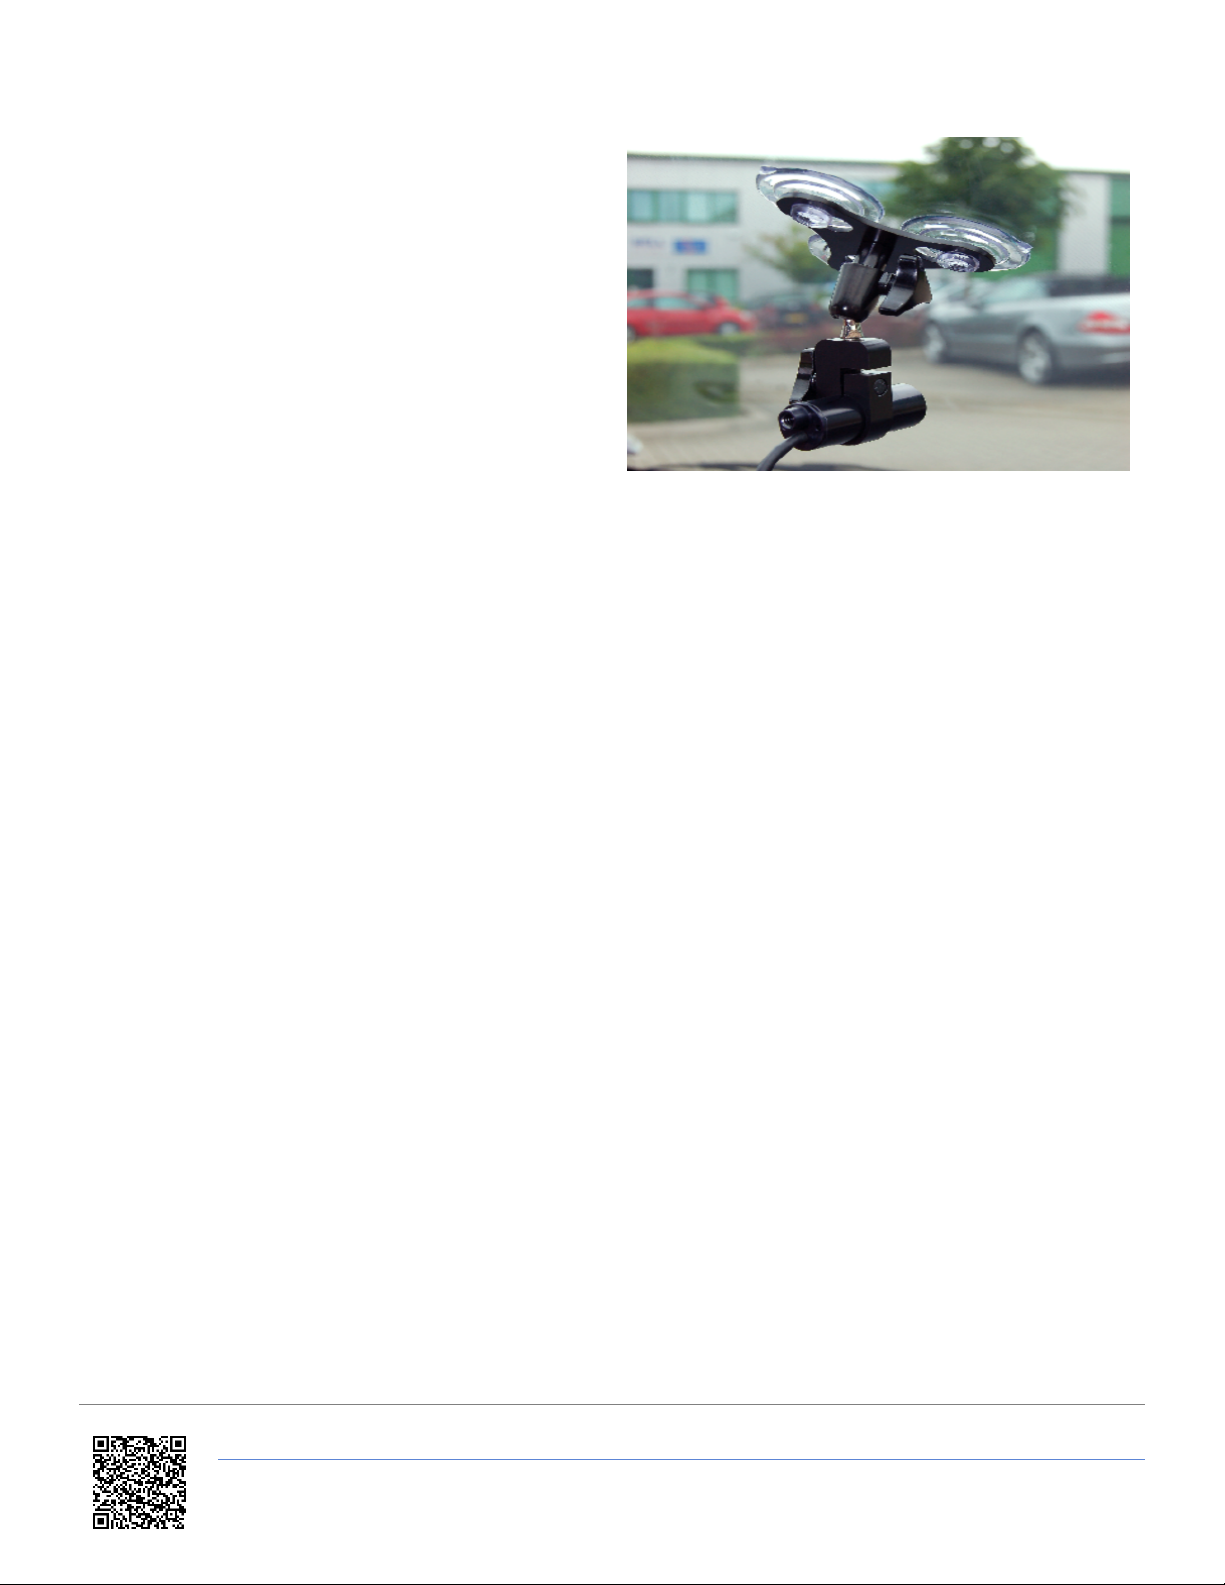
5) Securely attach the HD camera mount to the
windscreen of your car, or other desired location.
Once the camera is mounted, connect it to the unit.
Use the line on the top of the camera to make an
approximate alignment.
For better alignment, use an SDI monitor, connected to
the SDI- Output on the rear of the unit, which has a
default output of 60Hz.
6) A mono microphone is supplied as standard, plug this into the MIC input to record a mixed mono audio stream.
7) When a memory card has been inserted, the unit will beep and the STATUS LED will illuminate showing it is ready to
record.
8) Position the vehicle so the antenna has a clear view of the sky. It will take up to two minutes to acquire a satellite lock,
at which point the GPS LED will illuminate.
If you are in an open area and you are still having trouble gaining lock, press and hold the RECORD button for 10
seconds, this will perform a GPS ‘cold start’.
9) The unit is set to ‘record only when moving’. Once satellite lock has been obtained, the unit will start recording every
time the vehicle speed goes above 5kph and stop when the speed has been 0kph for 5 seconds.
You can override this setting and toggle the recording by pressing the RECORD button.
IMPORTANT: NEVER eject the SD card if the RECORD LED is showing, you will lose video. To stop recording, either
come to a halt, press the RECORD button.
10) To turn the VBOX HD off, push and hold the power button for 3 seconds to initiate shutdown.
https://en.racelogic.support//Product_Info/Legacy_Products/VBOX_HD_Broadcast/Quick_Start_Guide/VBOX_HD-SDI_Quick_Start
3