manuals.online logo
Brands
  1. Home
  2. •
  3. Brands
  4. •
  5. Radio Shack
  6. •
  7. Batteries Charger
  8. •
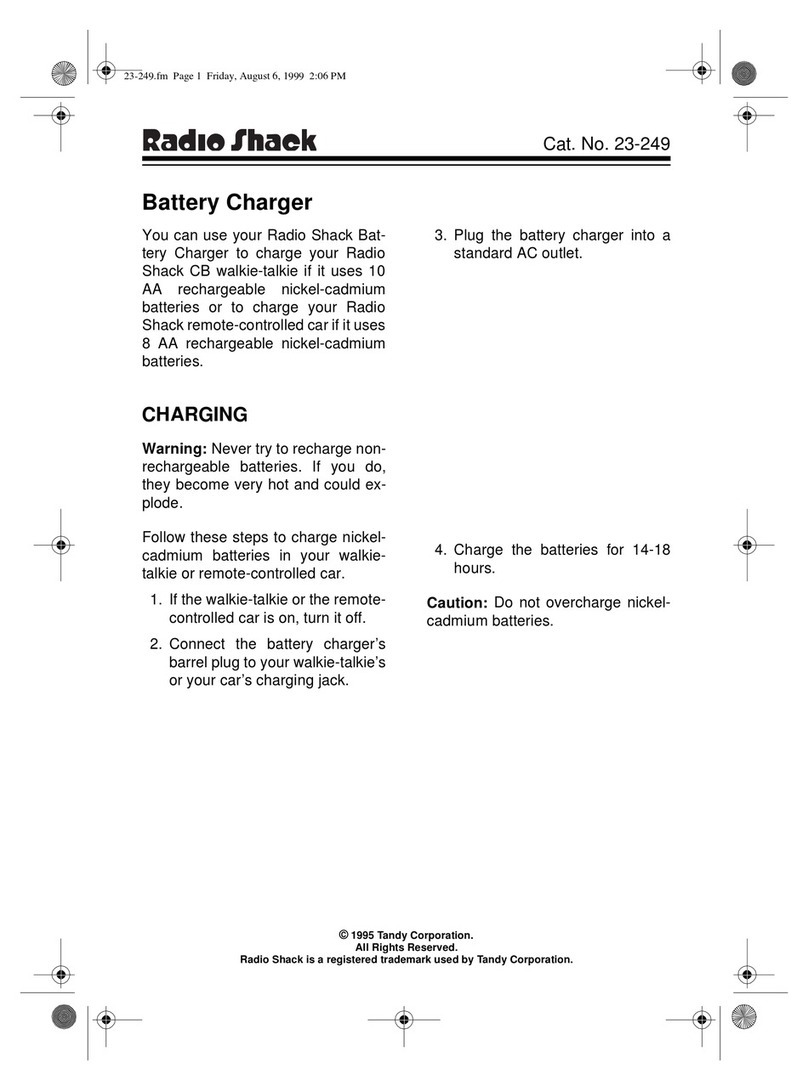
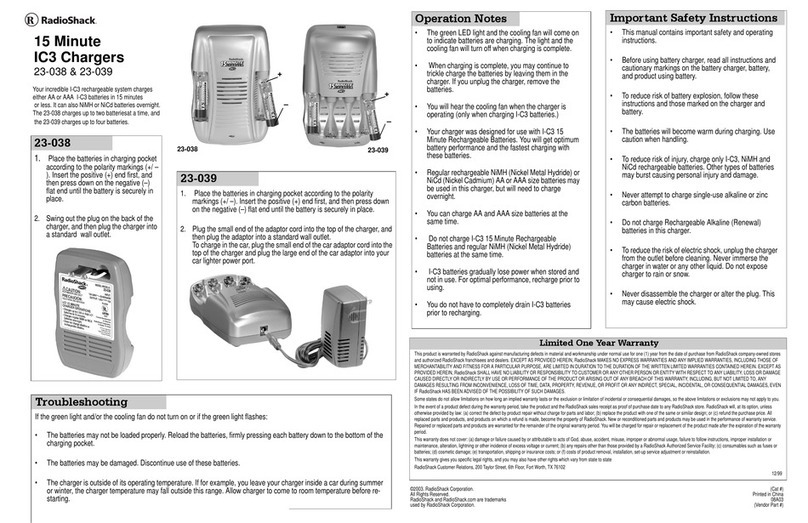
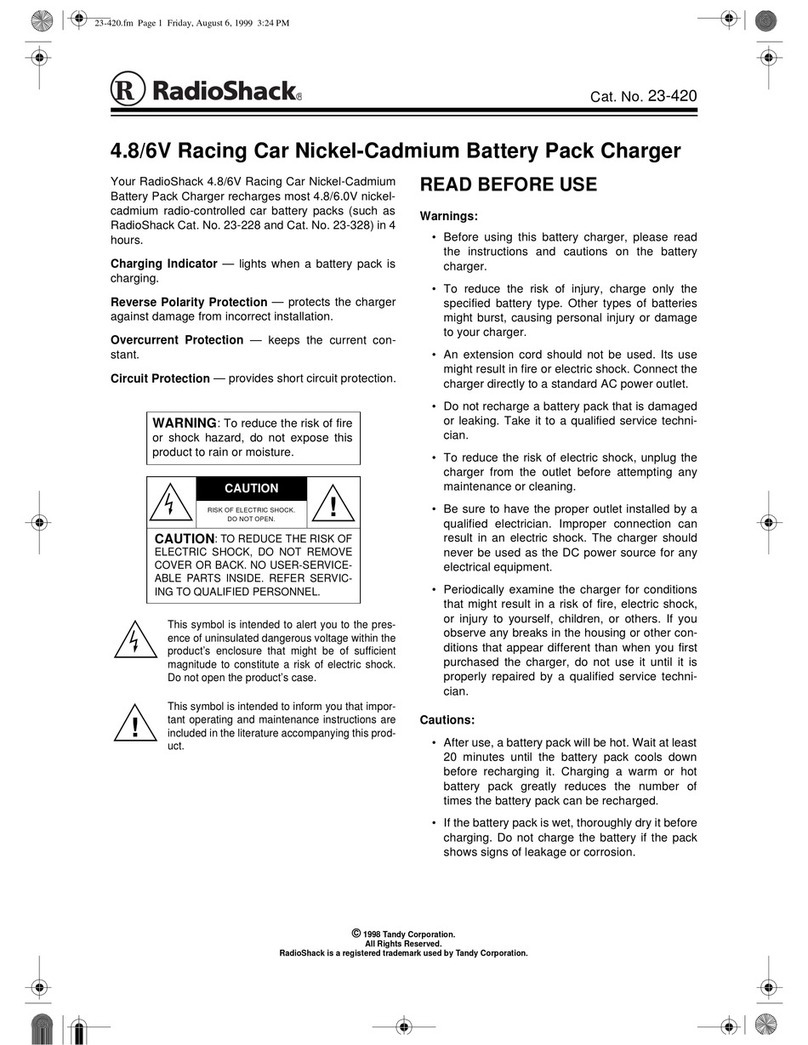
  9. Radio Shack RC Car Battery Universal Fast Charger User manual

Radio Shack RC Car Battery Universal Fast Charger User manual

©2002 RadioShack Corporation.
All Rights Reserved.
RadioShack and RadioShack.com are trademarks used by
RadioShack Corporation.
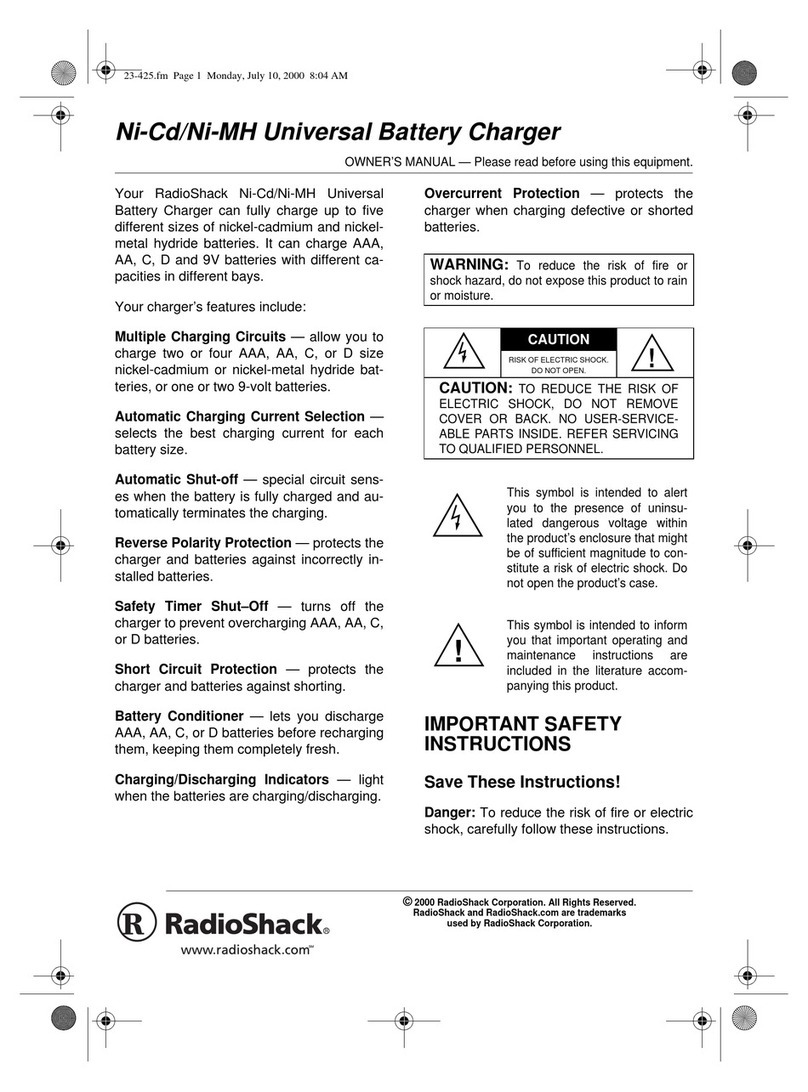
OWNER’S MANUAL —
Please read before using this equipment.
www.radioshack.com™
23-446
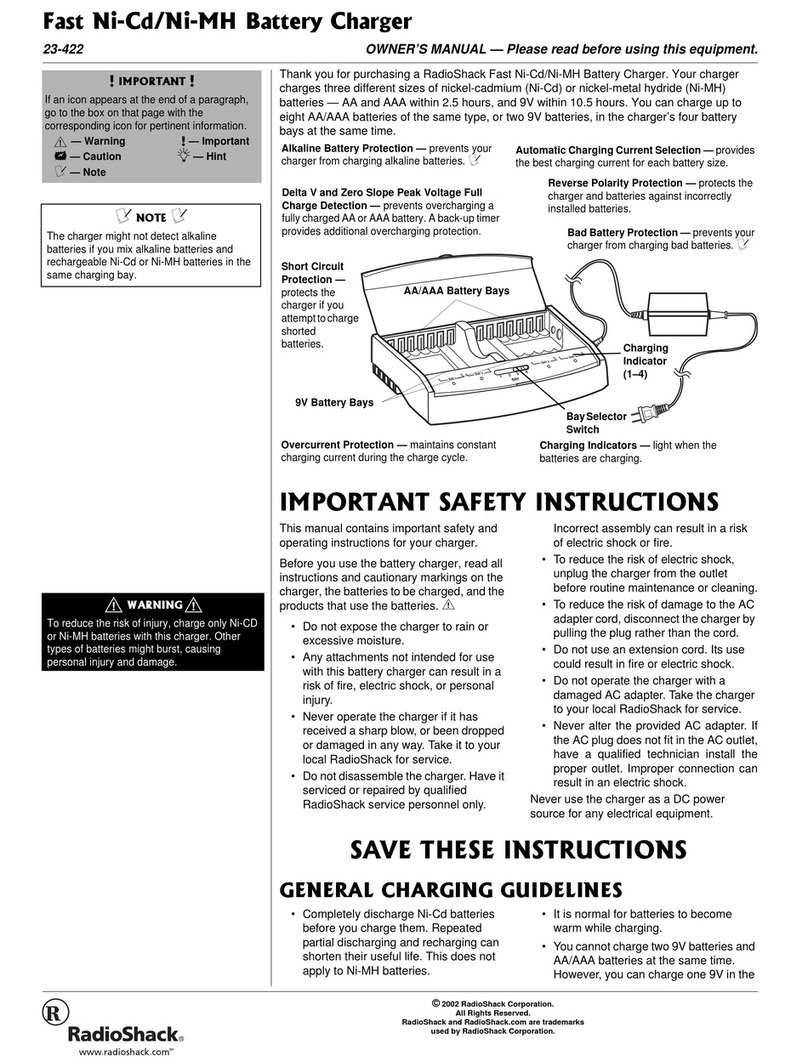
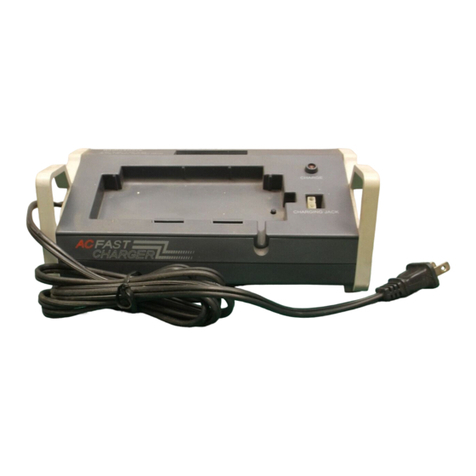
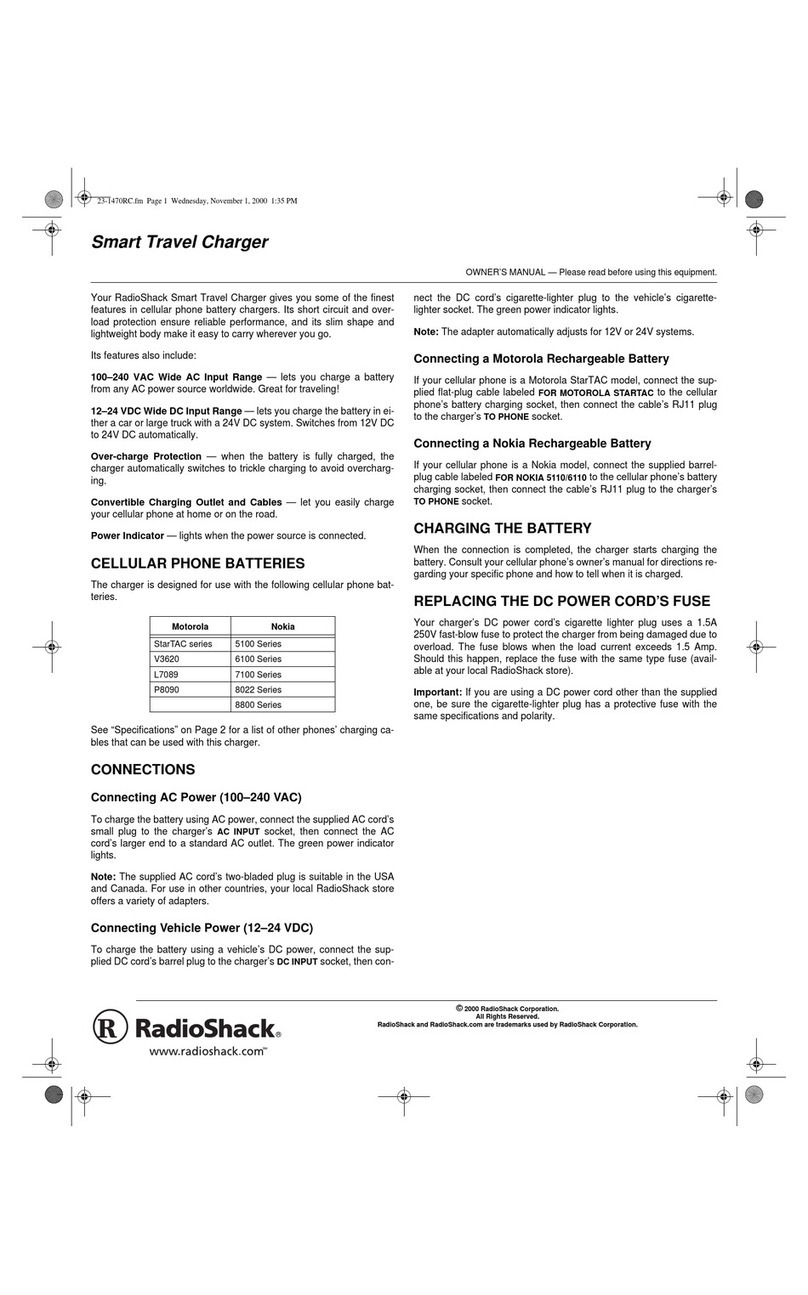
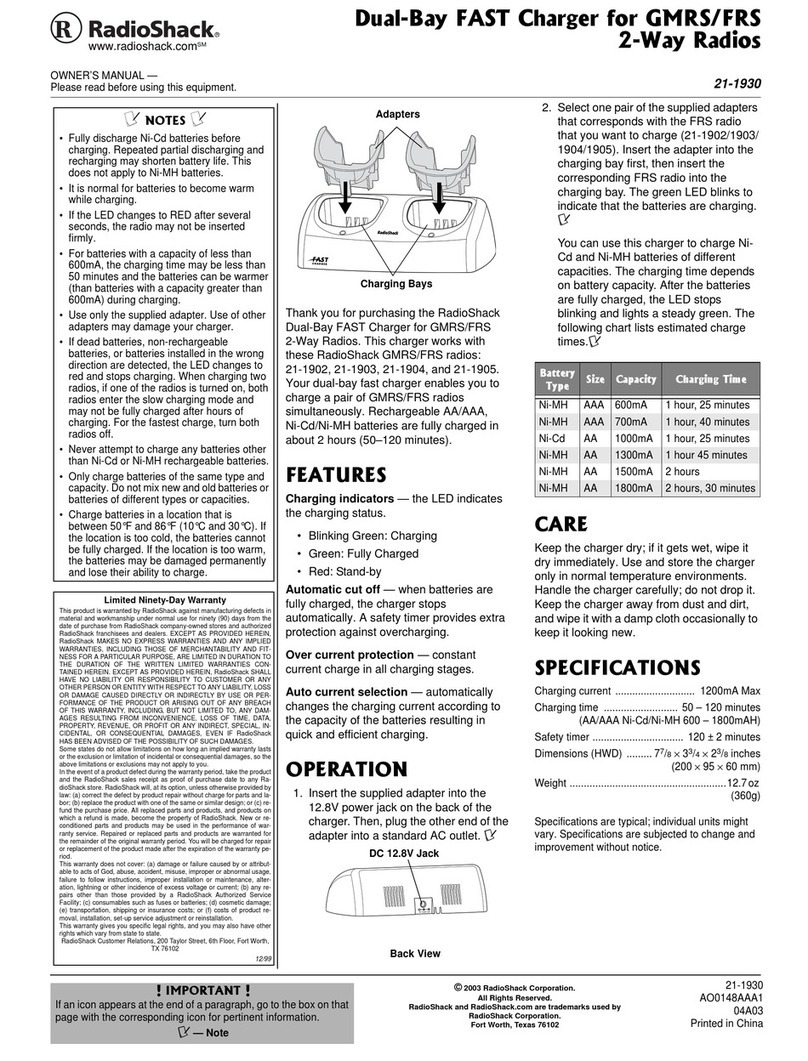
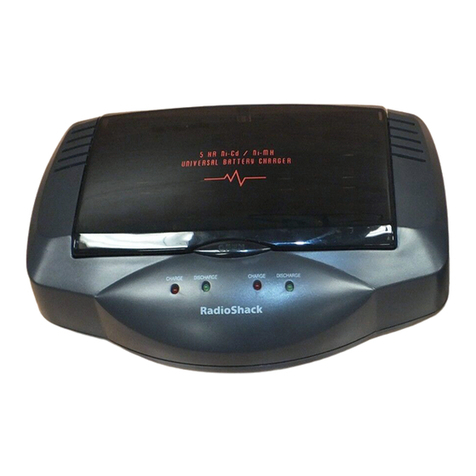
Thank you for purchasing a RadioShack
Universal Charger. It can quickly charge
4.8V, 6V, 7.2V, and 9.6V Ni-Cd and Ni-MH
cord-connected or cartridge battery packs. It
also charges 9V rechargeable batteries.
219'4+0)"6*'"%*#4)'4
Power the charger using the supplied 12V,
1600mA AC adapter. .
..
.
Plug the AC/DC adapters’ barrel plug into
DC 12V 1600mA jack on the side of the
charger. Then plug the adapter into a
standard AC outlet. The POWER LED lights.
If the POWER LED does not light, make
sure the AC/DC adapter and the charger are
properly connected.
%*#4)+0)"$#66'4+'5
To charge a cord-connected battery pack,
insert the battery connector of the battery
pack into connector, and insert the battery
pack into the charger’s large compartment.
Make sure that the battery pack contacts
with the voltage selector sensor and the two
latches at the bottom of the compartment. ±
±±
±
The CHARGING LEDs flash in turn.
If all the CHARGING LEDs flash at the same
time, check the battery connection and re-
connect the battery pack to the charger. If
the problem persists, the battery pack might
need to be replaced or there might be a
short in the Connector. Try charging a
different battery pack. If the charger still
does not work, disconnectit from power and
take it to your local RadioShack for
assistance.
If the connector does not fit, turn it over and
try again. Do not force it. R
RR
R
To charge a standard cartridge battery
(pack), simply place it into the battery
compartment according to the
corresponding symbols marked inside.
To charge a 4.8-volt cord-connected battery
pack, fully plug the small end of the adapter
cord (not supplied) into the battery pack’s
connector. Then plug the adapter cord’s
large end fully into Connector.
Although you can charge a 4.8V cord-
connected battery pack and a 9V
rechargeable battery simultaneously, you
cannot mix two different battery packs (cord-
connected or cartridge battery pack) for
charging.ý
ýýýR
RR
R
When the battery pack is fully charged, all
CHARGING LEDs light steady. Unplug the
charger and remove the battery pack.
7.2V/9.6V Connector
DC 12V 1600mA Jack
POWER LED —
indicates the
charger is
connected
correctly to power.
FiveRedCHARGINGLEDs
— indicate the status of the
battery being charged.
Automatic Battery Type Selection —
automatically selects the battery type when
you place the battery into the charging
compartment.
Bad Battery Detection –
preventsthechargerfrom
charging bad batteries.
Short Circuit Protection –
prevents the charger and
batteries from damage.
Safety Timer Shut-Off – turns off
the charger to prevent overcharging
the battery. Reverse Polarity Protection – protects the charger and
batteries against incorrectly installed batteries.
."%#76+10".
• You must use a Class 2 power
source that supplies 12V DC and
delivers at least 1600 mA. Its center
tip must be set to positive and its
plug must fit the charger’s DC 12V 1600mA
jack. The supplied adapter meets these
specifications. Using an adapter that does
not meet these specifications could damage
the charger or the adapter.
• Always connect the AC adapter to the
charger before you connect it to AC power.
When you finish, disconnect the adapter
from AC power before you disconnect it from
the charger.
!
±"016'"±"
• Charge batteries/battery packs in an area
between 32°to 113°F (0°to 45°C). If the
area is too cold, the batteries can
permanently lose their ability to charge. If the
area is too warm, the batteries will not be
fully charged.
• It is normal for batteries/battery packs to
become warm while charging.
• To protect batteries/battery packs, allow
them to cool before recharging them.
• If you mix a 9V rechargeable battery with a
4.8V cord-connected battery pack for
charging, all CHARGING LEDs keep
flashing even though the 4.8V cord-
connected battery pack is fully charged.
R"9#40+0)ý
ýýýR
Connect or disconnect battery connectors only
when the charger’s power is off.
4%"%CT"$CVVGT["7PKXGTUCN"(CUV"%JCTIGT
#"+/2146#06"#
If an icon appears at the end of a paragraph, go to the box on that page with the corresponding icon
for pertinent information.
R
RR
Rý— Warning #— Important ±
±±
±—Note .
..
.—Caution °
°°
°— Hint
23-446
0904-0210-22301
08A02
Printed in China
RadioShack Corporation
Fort Worth, Texas 76102
(%%"56#6'/'06
This equipment has been tested and found
to comply with the limits for a Class B digital
device, pursuant to Part 15 of the
FCC
Rules
. These limits are designed to provide
reasonable protection against harmful
interference in a residential installation. This
equipment generates, uses and can radiate
radio frequency energy and, if not installed
and used in accordance with the
instructions, may cause harmful interference
to radio communications.
However, there is not guarantee that
interference will not occur in a particular
installation. If this equipment does cause
harmful interference to radio or television
reception, which can be determined by
turning the equipment off and on, the useris
encouraged to try to correct the interference
by one or more of the following measures:
• Reorient or relocate the receiving
antenna.
• Increase the separation between the
equipment and receiver.
• Connect the equipment into an outlet on
a circuit different from that to which the
receiver is connected.
• Consult your local RadioShack store or
an experience radio/TV technician for
help.
If you cannot eliminate the interference, the
FCC requires that you stop using your
charger.
Changes or modifications not expressly
approved by RadioShack may cause
interference and void the user’s authority to
operate the equipment.
%#4'
Keep the charger dry; if it gets wet, wipe it
dry immediately. Use and store the charger
only in normal environments. Handle the
charger carefully; do not drop it. Keep the
charger away from dust and dirt, and wipe it
with a damp cloth occasionally to keep it
looking new.
Modifying or tampering with the charger’s
internal components can cause malfunction
and invalidate its warranty. If your charger is
not performing as it should, take it to your
local RadioShack store for assistance.
52'%+(+%#6+105
Adapter:
Input Voltage .......... AC 120V (±15V), 60Hz, 28W
Output Voltage .... DC 12.8V (±1V), Max 1600mA
Charger:
Input Rating ................ 11-16V DC, Max 1600mA
Charging Current:
7.2V battery pack ........... DC 1500mA ±10%
@ DC 8.7V
4.8V battery pack ............. DC 800mA ±10%
@ DC 5.8V
6.0V battery pack ..............DC800mA±10%
@ DC 7.2V
9.6V battery pack ............. DC800mA±10%
@ DC 11.6V
9.0V battery......................... DC 23mA ±10%
@ DC 9.0V
Operation Temperature ..................... 32o– 113oF
(0o– 45oC)
Storage Temperature......................... 13o – 140oF
(–25o– 60oC)
Safety Guard Timer.................................. 3 Hours
Specifications are typical; individual units might
vary. Specifications are subject to change and
improvement without notice.
#"+/2146#06"#
#"5#('6;"+05647%6+105#
This manual contains important safety and
operation instructions for your charger. Before
using your charger, read all instructions and
cautionary marking on the battery charger, the
batteries to be charged, and the product that
uses the batteries.
R"9#40+0)"R
• Charge only Ni-Cd and Ni-MH batteries/
batteries packs with this charger. Other
types of batteries might burst, causing
personal injury.
• Do not try to charge batteries other than
those listed in this manual, or use
procedures other than those described in
this manual.
• Unplug the AC/DC adapter from AC outlet
before attempting any maintenance or
cleaning.
• Do not disassemble the charger. Take it to a
qualified service technician when service or
repair is required. Improper re-assembly
may result in a risk of electric shock or fire.
• Do not use an attachment not recommended
or sold by RadioShack as this could result in
a risk of fire, electric shock, or injury.
• Connect or disconnect battery connectors
only when the charger’s power is off.
."%#76+10".
• Do not expose the charger to rain or
excessive moisture.
• Do not operate the charger if it has received
a sharp blow, or been dropped or damaged
in any way. Take it to a qualified service
technician for repair.
• Do not use an extension cord. Its use could
result in fire or electric shock.
• Never use the adapter or charger as a DC
power source for any electrical equipment. Limited Ninety-Day Warranty
This product is warranted by RadioShack against manufacturing defects in material and workmanship under normal
use for ninety (90) days from the date of purchase from RadioShack company-owned stores and authorized Ra-
dioShack franchisees and dealers. EXCEPT AS PROVIDED HEREIN, RadioShack MAKES NO EXPRESS WAR-
RANTIES AND ANY IMPLIED WARRANTIES, INCLUDING THOSE OF MERCHANTABILITY AND FITNESS FOR
A PARTICULAR PURPOSE, ARE LIMITED IN DURATION TO THE DURATION OF THE WRITTEN LIMITED WAR-
RANTIES CONTAINED HEREIN. EXCEPT AS PROVIDED HEREIN, RadioShack SHALL HAVE NO LIABILITY OR
RESPONSIBILITY TO CUSTOMER OR ANY OTHER PERSON OR ENTITY WITH RESPECT TO ANY LIABILITY,
LOSS OR DAMAGE CAUSED DIRECTLY OR INDIRECTLY BY USE OR PERFORMANCE OF THE PRODUCT OR
ARISING OUT OF ANY BREACH OF THIS WARRANTY, INCLUDING, BUT NOT LIMITED TO, ANY DAMAGES
RESULTING FROM INCONVENIENCE, LOSS OF TIME, DATA, PROPERTY, REVENUE, OR PROFIT OR ANY IN-
DIRECT, SPECIAL, INCIDENTAL, OR CONSEQUENTIAL DAMAGES, EVEN IF RadioShack HAS BEEN ADVISED
OF THE POSSIBILITY OF SUCH DAMAGES.
Some states do not allow limitations on how long an implied warranty lasts or the exclusion or limitation of incidental
or consequential damages, so the above limitations or exclusions may not apply to you.
In the event of a product defect during the warranty period, take the product and the RadioShack sales receipt as
proof of purchase date to any RadioShack store. RadioShack will, at its option, unless otherwise provided by law:
(a) correct the defect by product repair without charge for parts and labor; (b) replace the product with one of the
same or similar design; or (c) refund the purchase price. All replaced parts and products, and products on which a
refund is made, become the property of RadioShack. New or reconditioned parts and products may be used in the
performance of warranty service. Repaired or replaced parts and products are warranted for the remainder of the
original warranty period. You will be charged for repair or replacement of the product made after the expiration of the
warranty period.
This warranty does not cover: (a) damage or failure caused by or attributable to acts of God, abuse, accident, mis-
use, improper or abnormal usage, failure to follow instructions, improper installation or maintenance, alteration, light-
ning or other incidence of excess voltage or current; (b) any repairs other than those provided by a RadioShack
Authorized Service Facility; (c) consumables such as fuses or batteries; (d) cosmetic damage; (e) transportation,
shipping or insurance costs; or (f) costs of product removal, installation, set-up service adjustment or reinstallation.
This warranty gives you specific legal rights, and you may also have other rights which vary from state to state.
RadioShack Customer Relations, 200 Taylor Street, 6th Floor, Fort Worth, TX 76102
12/99
The lightning symbol is intended to alertyou to the presence
of uninsulated dangerous voltage within this product’s
enclosurethat might be of sufficient magnitudetoconstitute
a risk of electric shock. Do not open the product’s case.
The exclamation symbol is intended to inform you that
important operating and maintenance instructions are
included in the literature accompanying this product.
!
WARNING:To reduce the risk of fire or shock hazard,
do not expose this product to rain or moisture.
..CAUTION..
RISK OF ELECTRIC SHOCK
DO NOT OPEN
!
CAUTION: TO REDUCE THE RISK OF ELECTRIC
SHOCK, DO NOT REMOVE COVER OR BACK. NO USER-
SERVICEABLE PARTS INSIDE. REFER SERVICING TO
QUALIFIED PERSONNEL.
This manual suits for next models

1

Other Radio Shack Batteries Charger manuals

Radio Shack 23-248 User manual

Radio Shack

Radio Shack 23-248 User manual

Radio Shack Racing Battery Pack AC/DC Charger User manual

Radio Shack

Radio Shack Racing Battery Pack AC/DC Charger User manual

Radio Shack Battery Charger User manual

Radio Shack

Radio Shack Battery Charger User manual

Radio Shack 23-437 User manual

Radio Shack

Radio Shack 23-437 User manual

Radio Shack AA Travel Charger Pack User manual

Radio Shack

Radio Shack AA Travel Charger Pack User manual

Radio Shack Twin RC User manual

Radio Shack

Radio Shack Twin RC User manual

Radio Shack 5-Hour User manual

Radio Shack

Radio Shack 5-Hour User manual

Radio Shack 23-226 User manual

Radio Shack

Radio Shack 23-226 User manual

Radio Shack 23-228 User manual

Radio Shack

Radio Shack 23-228 User manual

Radio Shack Ni-Cd User manual

Radio Shack

Radio Shack Ni-Cd User manual

Radio Shack 23-427 User manual

Radio Shack

Radio Shack 23-427 User manual

Radio Shack 23-322 Operating and maintenance instructions

Radio Shack

Radio Shack 23-322 Operating and maintenance instructions

Radio Shack 23-402 User manual

Radio Shack

Radio Shack 23-402 User manual

Radio Shack 23-436 User manual

Radio Shack

Radio Shack 23-436 User manual

Radio Shack 1-Hour AA & AAA Ni-Cd/Ni-MH Battery Charger User manual

Radio Shack

Radio Shack 1-Hour AA & AAA Ni-Cd/Ni-MH Battery Charger User manual

Radio Shack 23-043 User manual

Radio Shack

Radio Shack 23-043 User manual

Radio Shack 23-428 User manual

Radio Shack

Radio Shack 23-428 User manual

Radio Shack 08A01 User manual

Radio Shack

Radio Shack 08A01 User manual

Radio Shack Ni-Cd/Ni-MH Universal Battery Charger User manual

Radio Shack

Radio Shack Ni-Cd/Ni-MH Universal Battery Charger User manual

Radio Shack 23-249 User manual

Radio Shack

Radio Shack 23-249 User manual

Radio Shack Seven Hour • Eight User manual

Radio Shack

Radio Shack Seven Hour • Eight User manual

Radio Shack Twin Charger for Startac Cellular Phones User manual

Radio Shack

Radio Shack Twin Charger for Startac Cellular Phones User manual

Radio Shack 20 Hour 9.6 V Ni-Cd/NI-MH Battery Pack... User manual

Radio Shack

Radio Shack 20 Hour 9.6 V Ni-Cd/NI-MH Battery Pack... User manual

Radio Shack 23-348 User manual

Radio Shack

Radio Shack 23-348 User manual

Popular Batteries Charger manuals by other brands

Belkin BOOST CHARGE WIB001 Product and Warranty Information

Belkin

Belkin BOOST CHARGE WIB001 Product and Warranty Information

Technaxx TX-196 operating instructions

Technaxx

Technaxx TX-196 operating instructions

Hama Delta Ready Pro Operating	 instruction

Hama

Hama Delta Ready Pro Operating instruction

DeWalt DCB118X2 Original instructions

DeWalt

DeWalt DCB118X2 Original instructions

GREAT PLANES ElectriFly LIPO quick start guide

GREAT PLANES

GREAT PLANES ElectriFly LIPO quick start guide

Motomaster Nautilus instruction manual

Motomaster

Motomaster Nautilus instruction manual

AcraDyne AB-C18110 user manual

AcraDyne

AcraDyne AB-C18110 user manual

Gallagher Apollo 3000 manual

Gallagher

Gallagher Apollo 3000 manual

Schumacher Electric SC1307 owner's manual

Schumacher Electric

Schumacher Electric SC1307 owner's manual

WATSON Duo Charger D-1547 owner's manual

WATSON

WATSON Duo Charger D-1547 owner's manual

Sealey ELECTROSTART E/START800.V2 manual

Sealey

Sealey ELECTROSTART E/START800.V2 manual

Jula 937-142 operating instructions

Jula

Jula 937-142 operating instructions

Monoprice 43460 user manual

Monoprice

Monoprice 43460 user manual

AEG PBA 7224 MB Instructions for use

AEG

AEG PBA 7224 MB Instructions for use

Huskie Tools CH-185 operating instructions

Huskie Tools

Huskie Tools CH-185 operating instructions

Streetwize SWSOL1 INTENTION FOR USE

Streetwize

Streetwize SWSOL1 INTENTION FOR USE

Absaar SL30 manual

Absaar

Absaar SL30 manual

ToolKitRC M6DAC manual

ToolKitRC

ToolKitRC M6DAC manual

manuals.online logo
manuals.online logoBrands
  • About & Mission
  • Contact us
  • Privacy Policy
  • Terms and Conditions

Copyright 2025 Manuals.Online. All Rights Reserved.