manuals.online logo
Brands
  1. Home
  2. •
  3. Brands
  4. •
  5. Radio Shack
  6. •
  7. Motorized Toy Car
  8. •
  9. Radio Shack ZIPZaps User manual

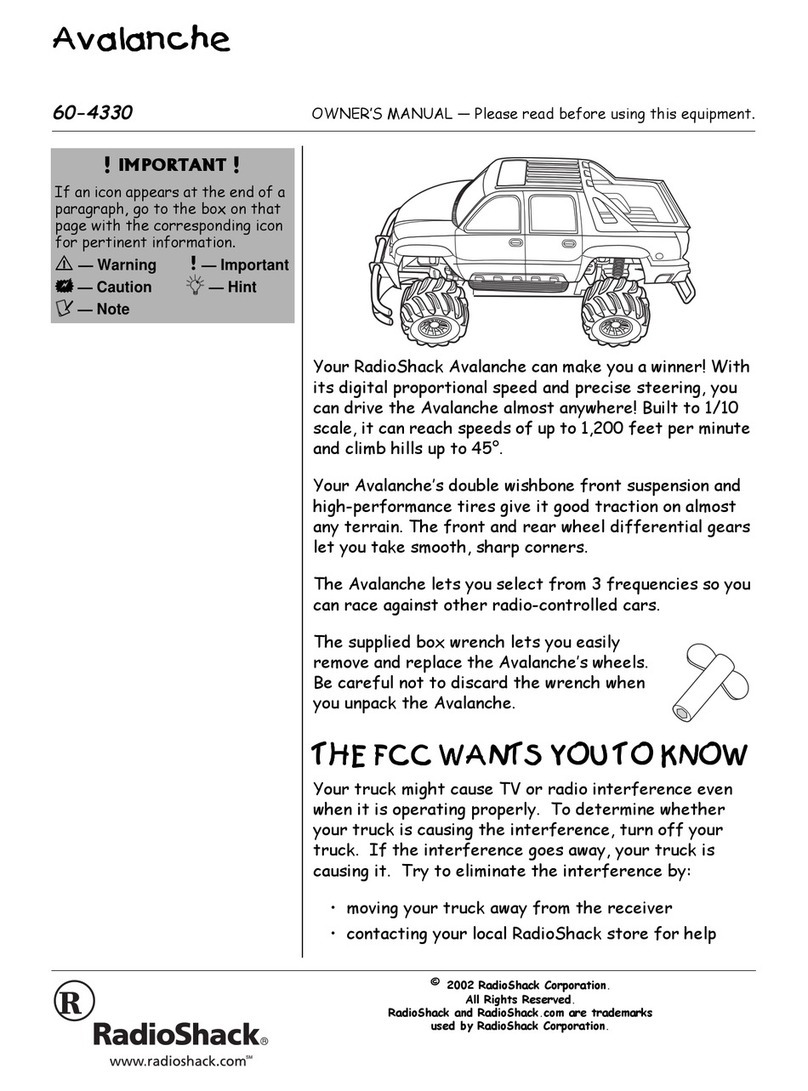
Radio Shack ZIPZaps User manual

Performance Tune
Performance Tune
Performance Tune
Zoom Away!
Zoom Away!
Zoom Away! ZipZaps Pit CrewZipZaps Pit Crew
Performance MotorsPerformance Motors
23,500 RPM
21,500 RPM turbo21,500 RPM turbo
1 ,000 RPM performance1 ,000 RPM performance
10,000 RPM control10,000 RPM control
23,500 RPM
Control SpeedControl Speed
stock
stock
12:1 stock
9.8 :1 performance
performance
9.8 :1 performance
8.25:1 turbo
turbo
8.25:1 turbo
Control SpeedControl Speed
Performance GearsPerformance Gears
ZipZaps Care
ZipZaps Care
ZipZaps Care
Zip TipsZip Tips
Welcome to
the ultimate radio
control experience!
Owner’s Manual
RELEASE
RELEASE
RELEASE
For optimum racing conditions use a smooth, flat surface.
Avoid rugs, carpets and family pets! Warning: Do not run
your micro RC in the street.
Open the removable cover on the top of
the CON ROLLER. Fully extend the antenna.
Set ON/OFF on the CON ROLLER to ON.
he ON/OFF indicator light will turn green.
Steering: Use the CON ROLLER buttons to drive and steer.
•Press forward to move forward •Press left to turn left
•Press backward to move backward •Press right to turn right
•Release to stop •Release to stop
When you’re finished driving, slide ON/OFF on the CON ROLLER to
OFF and retract the CON ROLLER’S antenna.
Wheel Alignment: If the micro RC does
not drive in a straight line when you
release the right control lever, adjust
the wheel alignment control on the
bottom of the micro RC. urn the con-
trol toward L if the micro RC is pulling
to the right or toward R if the micro RC
is pulling to the left.
ALIGNMEN
Left Control Button Right Control Button
LIMITED NINETY (90) DAY WARRANTY
his product is warranted by
RadioShack against manufacturing defects in material and workmanship
under normal use for ninety (90) days from the date of purchase from
RadioShack company-owned stores and authorized RadioShack fran-
chisees and dealers. EXCEP AS PROVIDED HEREIN, RadioShack MAKES NO
EXPRESS WARRAN IES AND ANY IMPLIED WARRAN IES, INCLUDING
HOSE OF MERCHAN ABILI Y AND FI NESS FOR A PAR ICULAR PURPOSE,
ARE LIMI ED IN DURA ION O HE DURA ION OF HE WRI EN LIMI ED
WARRAN IES CON AINED HEREIN. EXCEP AS PROVIDED HEREIN,
RadioShack SHALL HAVE NO LIABILI Y OR RESPONSIBILI Y O CUS OMER
OR ANY O HER PERSON OR EN I Y WI H RESPEC O ANY LIABILI Y, LOSS
OR DAMAGE CAUSED DIREC LY OR INDIREC LY BY USE OR PERFORMANCE
OF HE PRODUC OR ARISING OU OF ANY BREACH OF HIS WARRAN Y,
INCLUDING, BU NO LIMI ED O, ANY DAMAGES RESUL ING FROM
INCONVENIENCE, LOSS OF IME, DA A, PROPER Y, REVENUE, OR PROFI
OR ANY INDIREC , SPECIAL, INCIDEN AL, OR CONSEQUEN IAL DAMAGES,
EVEN IF RadioShack HAS BEEN ADVISED OF HE POSSIBILI Y OF SUCH
DAMAGES. Some states do not allow limitations on how long an implied
warranty lasts or the exclusion or limitation of incidental or consequential
damages, so the above limitations or exclusions may not apply to you. In
the event of a product defect during the warranty period, take the product
and the RadioShack sales receipt as proof of purchase date to any
RadioShack store. RadioShack will, at its option, unless otherwise provided
by law: (a) correct the defect by product repair without charge for parts
and labor; (b) replace the product with one of the same or similar design;
or (c) refund the purchase price. All replaced parts and products, and products
on which a refund is made, become the property of RadioShack. New or
reconditioned parts and products may be used in the performance of war-
ranty service. Repaired or replaced parts and products are warranted for
the remainder of the original warranty period. You will be charged for
repair or replacement of the product made after the expiration of the war-
ranty period. his warranty does not cover: (a) damage or failure caused
by or attributable to acts of God, abuse, accident, misuse, improper or
abnormal usage, failure to follow instructions, improper installation or
maintenance, alteration, lightning or other incidence of excess voltage
or current; (b) any repairs other than those provided by a RadioShack
Authorized Service Facility; (c) consumables such as fuses or batteries; (d)
cosmetic damage; (e) transportation, shipping or insurance costs; or (f)
costs of product removal, installation, set-up service adjustment or rein-
stallation. his warranty gives you specific legal rights, and you may also
have other rights which vary from state to state. RadioShack Customer
Relations, 200 aylor Street, 6th Floor, Fort Worth, X 76102 12/99
•If the micro RC’s motor runs but it does not respond to the
CON ROLLER, move closer to the micro RC and try again.
•You cannot operate your micro RC near devices with CON ROL-
LERS that use the same frequency as your micro RC. Check your
micro RC’s CON ROLLER to see which frequency your car uses.
•If the micro RC moves slowly and you just charged or recharged the
micro RC, check the wheel mechanisms for lint, thread, hair, or dust.
•CBs could interfere with control of the micro RC. If this happens, move
the micro RC away from the CB.
Keep your ZipZaps micro RC dry; if it gets wet, wipe it dry immed-
iately. Use and store your micro RC only in normal temperature
environments – running your micro RC continuously for long periods
can generate high heat levels. Handle your micro RC carefully and
do not drop it. Keep your micro RC away from dust and dirt – you
can wipe it with a damp cloth occasionally to keep it looking new.
Modifying or tampering with your ZipZaps micro RC’s internal compon-
ents can cause a malfunction and might invalidate its warranty and
void your FCC authorization to operate it. If your micro RC is not per-
forming as it should, take both the car and the CON ROLLER to your
local RadioShack store for assistance.
FCC Declaration of Conformity:
his device complies with Part 15 of the FCC Rules. Operation is subject
to the following two conditions:
1) this device may not cause harmful interference, and
2) this device must accept any interference received,
including interference that may cause undesired operation
©2002 RadioShack Corporation. All rights reserved. The Fast and The
Furious is a registered trademark and copyright of Universal Studios.
Licensed by Universal Studios Licensing LLLP. All rights reserved. A Note
to Parents: The Fast and The Furious is rated PG-13. Consult www.film-
ratings.com for further information. NOS is a registered trademark of
Holley Performance Products. Chrysler is a registered trademark of Daim-
lerChrysler Corporation. Chrysler®P Cruiser™and its trade dress are
used under license from DaimlerChrysler and is used under license by
Hobby- ech, Inc. ©DaimlerChrysler Corporation 2002. Ford Mustang
Cobra trademarks are used under license from Ford Motor Company.
Honda©, the “H” logo,®Civic®and the automobile designs and distinct-
ive likeness of the Honda Civic are trademarks of Honda Motor Co., Ltd.,
used under license from American Honda Motor Co., Inc. Mazda RX-7 is
manufactured under approval. his product is manufactured under
license of Mitsubishi Motors Corporation. Porsche, the Porsche shield and
the distinctive design of Porsche cars are trademarks and trade dress of
Porsche AG. Permission granted. he OYO A Logo and SUPRA are trade-
marks of oyota Motor Corporation and are used with the company
approval. VW, BEE LE, and the BEE LE Silhouette are trademarks of Volks-
wagen AG and are used with permission. Manufacturer specs may vary.
60-7001 to 60-7010 08A02 Printed in Hong Kong
he realistic styling and performance
of your ZipZaps micro RC is made possible by
official licenses from the ZipZaps Pit Crew:
Porsche
Customize your ZipZaps
micro RC with performance,
body and power upgrade kits,
available at your nearby
RadioShack.
he charts at right will
give you an idea of what
a little performance tuning
can do for your micro RC!
Visit the ZipZaps Showroom
at www. ip aps.com
and your local
Zap it
Zap it
Zap it
on the Charger
on the Charger
on the Charger
Zip Your Car Together
Power Up Your Controller
Starter Kit Includes
Starter Kit Includes Attach the Wrist Strap
Attach the Wrist Strap
It’s the ultimate radio control experience! Your Starter Kit comes with
a radio controller and a full set of factory parts to assemble your car.
With a quick charge of about 45 seconds, your ZipZaps micro RC will
be revving in no time.
Your ZipZaps micro RC comes with a built-in Ni-MH rechargeable battery
to power the car, and requires two AAA batteries (not supplied) for
the controller/charger.
Built to 1:64 scale, your tunable ZipZaps micro RC is small enough to
carry in your pocket. ZipZaps are perfect for anyone ages 8 and up.
o really rev up the fun factor, you can customize your ZipZaps micro RC
with optional performance upgrade kits, available at the ZipZaps Show-
room at www.zipzaps.com and your local RadioShack. Just follow these
steps to get your car up to speed and ready to race!
CON ROLLER
IRES HUBCAPS BODY OP CHASSIS
WRIS S RAP
RANSFER
GEAR
REAR AXLE GEAR
SCREWDRIVER
PERFORMANCE MO OR
WI H DRIVE GEAR
MO OR CLIP
WI H SE SCREW
ON
OFF
RELEASE
Your ZipZaps micro RC Starter Kit includes everything you see here:
1) Mount the HUBCAPS to the front axle wheels,
then press the IRES over the HUBCAPS as
shown at left.
4) Secure the MO OR CLIP WI H SE SCREW with
the SCREWDRIVER; which is stored in the left
side of the CON ROLLER. Plug the RANSFER
GEAR into the axle as shown at right.
1
2
Your micro RC comes with a built-in Ni-
MH rechargeable battery for power. You
can charge the battery using the power
from the CON ROLLER.
Set ON/OFF on the CON ROLLER to ON.
he indicator light will turn green.
Open the cover on the top of the CON-
ROLLER. Align the metal contact points
on the car’s chassis with the metal contact
points on top of the CON ROLLER. Place
the micro RC as shown below and snap it
into position – it will lock automatically.
he CON ROLLER indicator light will turn
red to let you
know it’s
charging.
he CON ROLLER indicator light will turn
green when the micro RC is fully charged.
Press the RELEASE button to unlock the
micro RC.
Caution: Always use the RELEASE button
when removing the car from the charger.
If the micro RC runs slowly or not at all
or does not respond to the CON ROLLER,
recharge the micro RC.
Caution: After you charge or recharge
the micro RC, disconnect it from the
CON ROLLER. Overcharging the micro
RC could damage it.
Attach the WRIS S RAP as shown below to prevent dropping
your CON ROLLER.
he CON ROLLER charges your micro RC and controls its steering and
speed. You’ll need to install two AAA batteries. For the best performance
and longest life, the ZipZaps factory recommends RadioShack Enercell Plus
alkaline batteries.
1) Set ON/OFF on the CON ROLLER to OFF.
2) Slide the battery compartment cover in the direction of
the arrow to remove the cover.
3) Place two AAA batteries in the compartment according
to the polarity symbols (+ and –) marked inside.
4) Replace the cover and snap shut.
5) If you notice the range of your CON ROLLER decreasing,
it’s time to replace the batteries.
Installing Batteries Cautions:
•Use only fresh batteries of the required size and recommended type.
•Do not mix old and new batteries, different types of batteries
(standard, alkaline, or rechargeable), or rechargeable batteries of
different capacities.
•If you do not plan to use the micro RC for several days, remove all
the batteries from the CON ROLLER. Batteries can leak chemicals
that can destroy electronic parts.
•Never leave dead or weak batteries in the CON ROLLER.
•Dispose of dead batteries promptly and properly;
do not burn or bury them.
REQUIRES 2 “AAA”
BA ERIES
3) Rotate the MO OR CLIP WI H SE SCREW as
shown below to set the MO OR in position.
2) Install the S OCK MO OR WI H DRIVE GEAR
in the groove on the back of the CHASSIS. Care-
fully snap the MO OR CLIP WI H SE SCREW
into the groove closest
to the MO OR as
shown at left.
6) hread the AN ENNA
through the hole in
the BODY OP. Snap
the BODY OP to the
back of the CHASSIS,
then secure the front
by gently pushing the
BODY OP onto the
CHASSIS as shown
at right.
5) Plug the HUBCAPS into the REAR AXLE GEAR,
and then press the IRES over the HUBCAPS. Next,
secure the REAR AXLE
GEAR assembly into
the CHASSIS as
shown at right.
Caution: Do not
overtighten the
SE SCREW.

Other Radio Shack Motorized Toy Car manuals

Radio Shack Turmoil User manual

Radio Shack

Radio Shack Turmoil User manual

Radio Shack YAMAHA RAPTOR 660R 660R User manual

Radio Shack

Radio Shack YAMAHA RAPTOR 660R 660R User manual

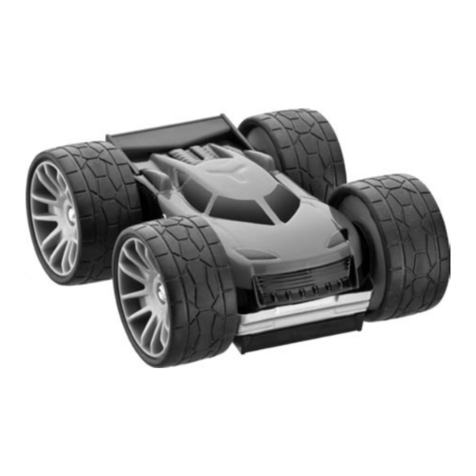
Radio Shack Flipz Racer User manual

Radio Shack

Radio Shack Flipz Racer User manual

Radio Shack 60-2797 User manual

Radio Shack

Radio Shack 60-2797 User manual

Radio Shack 60-202 User manual

Radio Shack

Radio Shack 60-202 User manual

Radio Shack Roughneck User manual

Radio Shack

Radio Shack Roughneck User manual

Radio Shack BMW i8 Concept User manual

Radio Shack

Radio Shack BMW i8 Concept User manual

Radio Shack JackHammer User manual

Radio Shack

Radio Shack JackHammer User manual

Radio Shack Mini Transbot 60-4307 User manual

Radio Shack

Radio Shack Mini Transbot 60-4307 User manual

Radio Shack Scorpion User manual

Radio Shack

Radio Shack Scorpion User manual

Radio Shack Attacker User manual

Radio Shack

Radio Shack Attacker User manual

Radio Shack FORD TRUCK F-150 User manual

Radio Shack

Radio Shack FORD TRUCK F-150 User manual

Radio Shack Child Guidance 60-2794 User manual

Radio Shack

Radio Shack Child Guidance 60-2794 User manual

Radio Shack '64 Impala Lowrider 60-4325 User manual

Radio Shack

Radio Shack '64 Impala Lowrider 60-4325 User manual

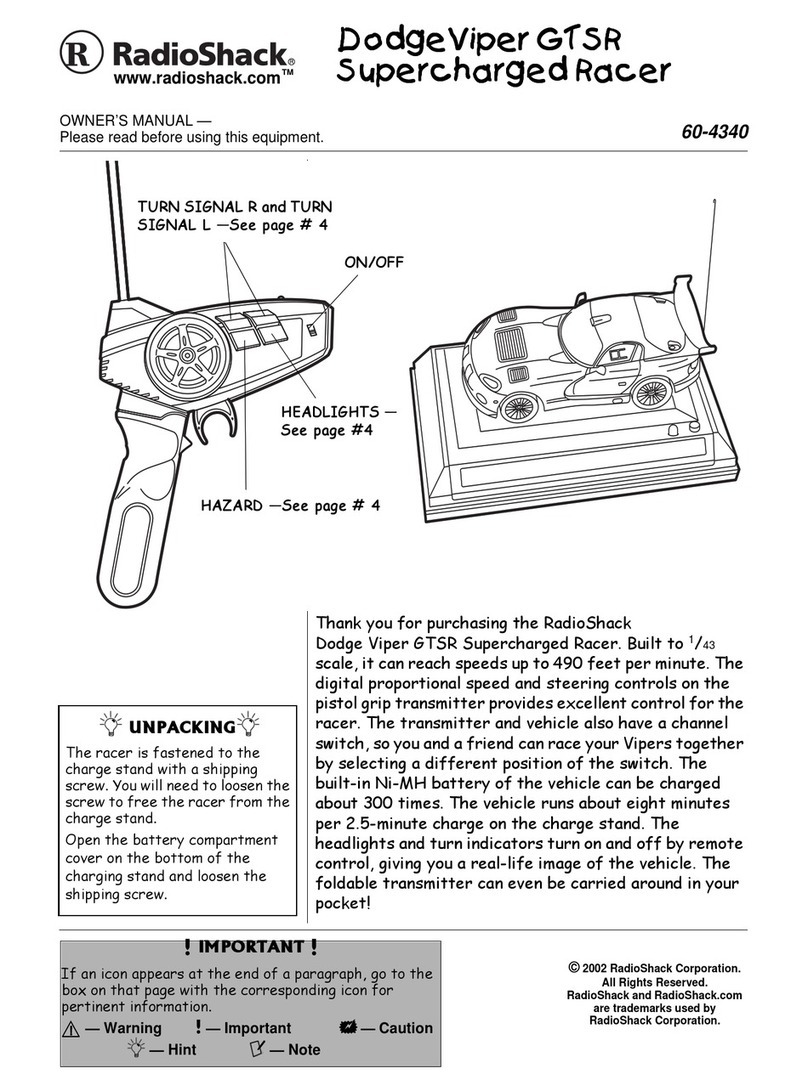
Radio Shack DodgeViper GTSR Supercharged Racer 60-4340 User manual

Radio Shack

Radio Shack DodgeViper GTSR Supercharged Racer 60-4340 User manual

Radio Shack Ford F-150 User manual

Radio Shack

Radio Shack Ford F-150 User manual

Radio Shack Xmods 60-507 User manual

Radio Shack

Radio Shack Xmods 60-507 User manual

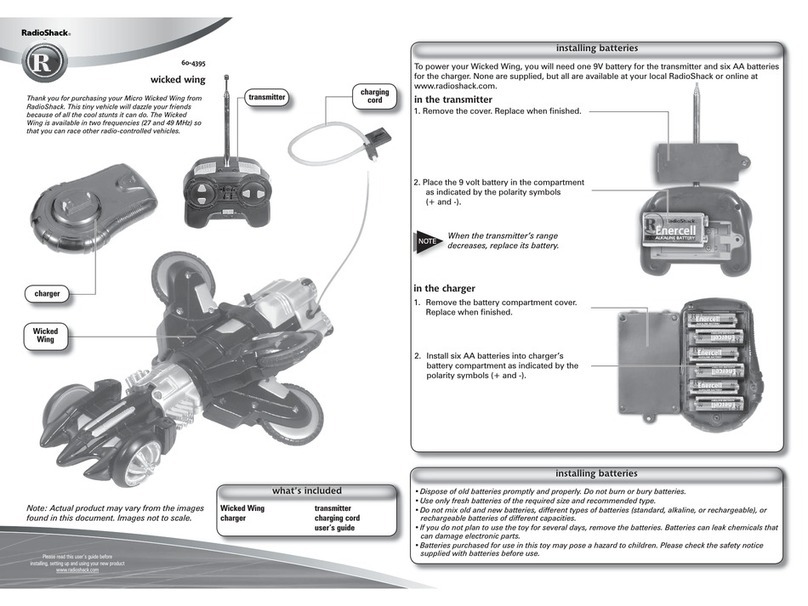
Radio Shack 60-4395 User manual

Radio Shack

Radio Shack 60-4395 User manual

Radio Shack 60-4308 User manual

Radio Shack

Radio Shack 60-4308 User manual

Radio Shack Baja Banshee User manual

Radio Shack

Radio Shack Baja Banshee User manual

Radio Shack 60-4458 User manual

Radio Shack

Radio Shack 60-4458 User manual

Radio Shack RamRod 60-4321 User manual

Radio Shack

Radio Shack RamRod 60-4321 User manual

Radio Shack Dodge Toyota Tundra Truck User manual

Radio Shack

Radio Shack Dodge Toyota Tundra Truck User manual

Radio Shack Xmods 60-391 User manual

Radio Shack

Radio Shack Xmods 60-391 User manual

Popular Motorized Toy Car manuals by other brands

Kyosho DBX2.0 Maintenance manual

Kyosho

Kyosho DBX2.0 Maintenance manual

Amewi R/C GRABBER TELESCOPIC FORKLIFT manual

Amewi

Amewi R/C GRABBER TELESCOPIC FORKLIFT manual

Jamara Shifter Stuntcar Instruction

Jamara

Jamara Shifter Stuntcar Instruction

Tamiya MITSUBISHI MONTERO manual

Tamiya

Tamiya MITSUBISHI MONTERO manual

Carrera GO! Spongebob Assembly and operating instructions

Carrera

Carrera GO! Spongebob Assembly and operating instructions

Kidi Race Hit The Road RV 2410 owner's manual

Kidi Race

Kidi Race Hit The Road RV 2410 owner's manual

Jamara Ferrari FXX K Evo instructions

Jamara

Jamara Ferrari FXX K Evo instructions

Serpent Medius X20 manual

Serpent

Serpent Medius X20 manual

RTR EIGHT MINI instruction manual

RTR

RTR EIGHT MINI instruction manual

battat DRIVEN WH1140 quick start guide

battat

battat DRIVEN WH1140 quick start guide

Fisher-Price Power Wheels B1476 owner's manual

Fisher-Price

Fisher-Price Power Wheels B1476 owner's manual

Fujimi 123370 instructions

Fujimi

Fujimi 123370 instructions

TTS Rugged Racers 2 quick start guide

TTS

TTS Rugged Racers 2 quick start guide

Jetson Safara JSAFAR-RED manual

Jetson

Jetson Safara JSAFAR-RED manual

Mattel THE TORMENTOR instructions

Mattel

Mattel THE TORMENTOR instructions

Bezerk RC Litesabre Pro10 instruction manual

Bezerk RC

Bezerk RC Litesabre Pro10 instruction manual

Mattel Disney Pixar Cars X7271 user manual

Mattel

Mattel Disney Pixar Cars X7271 user manual

Peg-Perego IGOD0066 Use and care

Peg-Perego

Peg-Perego IGOD0066 Use and care

manuals.online logo
manuals.online logoBrands
  • About & Mission
  • Contact us
  • Privacy Policy
  • Terms and Conditions

Copyright 2025 Manuals.Online. All Rights Reserved.