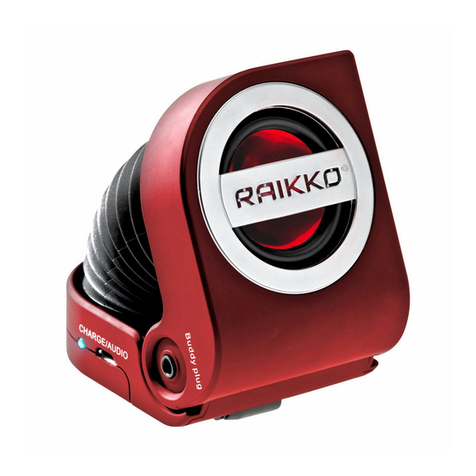
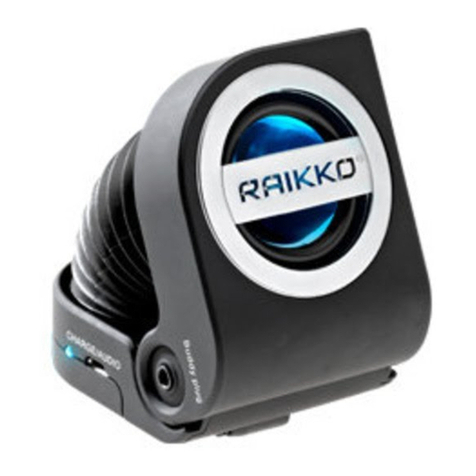
Raikko SCREW User manual

BEDIENUNGSANLEITUNG
OPERATING INSTRUCTIONS
MODE D’EMPLOI
MANUALE DI ISTRUZIONI
INSTRUCCIONES DE MANEJO
GEBRUIKSAANWIJZING
SCREW Vacuum Speaker

Alle dargestellten Handelszeichen dienen nur Referenzzwecken.
Bluetooth® und das Bluetooth®-Logo sind Handelsmarken im Besitz von
Bluetooth SIG, Inc. iPhoneTM, iTunesTM, iPodTM und das Apple Logo sind
eingetragene Markenzeichen der Apple Computer, Inc. Cupertino, Calif., U.S.
Copyright 2012 by RAIKKO®
All trademarks shown are for reference purposes only.
Bluetooth® and the Bluetooth® logo are registered trademarks of Bluetooth SIG,
Inc. iPhoneTM, iTunesTM, iPodTM and the Apple logo are registered trademarks of
Apple Computer, Inc. Cupertino, Calif., U.S.
Copyright 2012 by RAIKKO®

SCREW Vacuum Speaker
CONTENTS
Language:
Deutsch
English
Français
Italiano
Español
Nederlands
Page:
4
10
16
22
28
34

Deutsch
Einleitung
Lieber Kunde, wir bedanken uns, dass Sie sich für ein RAIKKO®
Produkt entschieden haben. Für eine einwandfreie Nutzung des er-
worbenen Produktes bitten wir Sie, die Anleitung sowie Sicherheits-
und Warnhinweise aufmerksam zu lesen.
Lieferumfang
• 1 RAIKKO® SCREW Vacuum Speaker
• 1 Micro-USB Lade- und Verlängerungskabel
• 1 Transportbeutel
Übersicht
4
2. BuddyPlug
3. Lade-/Audio-Buchse 4. Lautstärkeregler
6. Anschlusskabel
5. Status-LED
1. On/Off

Deutsch
Entfalten des Resonanzraums
Zum Öffnen des SCREW Vacuum Speaker und zur Entfaltung des
vollen Klangvolumens bitte den unteren Teil mit einer Hand und den
oberen Teil mit der anderen Hand festhalten und gegeneinander
drehen.
Wichtig: Den oberen Teil des SCREW Vacuum Speaker gegen den
Uhrzeigersinn drehen, um den SCREW Vacuum Speaker zu öffnen.
Mit dem Uhrzeigersinn drehen, um den SCREW Vacuum Speaker
zu schließen.
Schließen Sie den SCREW Vacuum Speaker nun über das im Boden
aufgerollte Anschlusskabel (6) an den Kopfhörerausgang (3,5 mm)
einer Audioquelle an. Sollte die Länge des integrierten Kabels nicht
ausreichen, können Sie den SCREW Vacuum Speaker auch über
den Audiostecker des mitgelieferten Micro-USB Kabels anschließen.
Achtung: Ziehen Sie den geöffneten SCREW Vacuum Speaker nicht
auseinander, die eingebaute Feder entfaltet den Schall-
körper auf ein ausreichendes Volumen.
Einschalten
Schieben Sie den Ein-/Ausschalter (1) ganz nach rechts, um den
SCREW Vacuum Speaker einzuschalten. Die Status-LED (5) leuch-
tet nun blau. Schieben Sie den Schalter ganz nach links, um den
SCREW Vacuum Speaker auszuschalten.
Lautstärke
Nach dem Einschalten ist die Lautstärke auf eine mittlere Intensität ein-
gestellt. Stellen Sie die Lautstärke über die Stärke des Eingangssignals
und/oder den Lautstärkeregler (4) am SCREW Vacuum Speaker ein.
5
6. Anschlusskabel

Deutsch
Aufladen des integrierten Akkus
Schließen Sie den SCREW Vacuum Speaker an den USB-Port
eines PC/Mac oder eines USB-Netzadapters an, um ihn zu laden.
Verwenden Sie dazu das mitgelieferte Micro-USB Lade- und
Verlängerungskabel. Die LED-Anzeige leuchtet während des
Ladevorgangs rot.
Die LED-Anzeige leuchtet blau, sobald der Akku vollgeladen ist.
Je nach Ladestand kann dieser Vorgang 2– 3 Stunden benötigen.
Mehrere Lautsprecher verbinden
Für mehr Leistung und besseren Sound können mehrere
RAIKKO®-Vacuum Speaker in Reihe geschaltet werden. Verbinden
Sie dazu das Anschlusskabel (6) eines SCREW Vacuum Speaker
mit dem BuddyPlug (2) eines weiteren.
Spezifikationen
Gewicht: 75 g
Abmessungen (geschlossen): 53 mm (L) x 53 mm (B)
x 39 mm (H)
Lautsprecher: Ø 36 mm Membran
Ausgangsleistung: 2,7 Watt
Frequenzbereich: 200 Hz–16 kHz
Batterietyp: Lithium-Polymer
Ladespannung: 5 V ± 0,5 V
Ladeanschluss: Universal Serial Bus (USB)
Batteriebetrieb: 4–6 h
Temperaturbereich: 0–40° C
Kompatibilität: Alle Geräte mit 3,5 mm
Klinkenausgang
6

Deutsch
Konformitätserklärung
Die CE-Konformitätserklärung sowie alle weiteren Pflichtangaben
können unter http://www.RAIKKO.com/cert/ abgerufen werden.
Garantie
Für die Aktivierung der Garantiezeit sowie Informationen über Produktneuheiten,
bitten wir Sie, das erworbene Produkt unter http://www.RAIKKO.com/register/
zu registrieren. Sie benötigen dafür die Seriennummer, die Sie an der Unterseite
des Produktes nden.
Sicherheitshinweise:
• Um Ihre Sicherheit zu gewährleisten, bitten wir Sie, die Bedienungsanleitung,
sowie alle Sicherheitshinweise und Warnungen genau zu lesen. Schäden die
durch unsachgemäße Verwendungen des Produktes entstehen werden vom
Hersteller nicht übernommen.
• Halten Sie das Produkt unbedingt von Kindern fern, es ist nicht zum Verzehr
geeignet und darf nicht in den Mund genommen werden.
• Reinigen Sie das Produkt nur mit einem trockenen Tuch.
• Benutzen Sie das Produkt nur mit dafür bestimmten Energiequellen und/oder
Audio-Geräten.
• Zerlegen oder beschädigen Sie das Produkt nicht.
• Versuchen Sie nicht, den eingebauten Akku auszutauschen.
• Benutzen Sie das Produkt nicht in feuchten Räumen oder bei hohen Temperaturen,
z. B. Badezimmer, Sauna, Schwimmbad etc.
• Sollten bei der Benutzung des Produktes Unregelmäßigkeiten, merkwürdige
Gerüche oder anderweitige Probleme auftreten, schalten Sie das Produkt sofort
ab und trennen es von einer etwaigen Stromquelle oder anderen angeschlossenen
Geräten. Wenden Sie sich umgehend an den Kundenservice des Herstellers.
Warnung!
• Laden Sie das Produkt nur mit dem dafür vorgesehenen Netzgerät oder über
einen USB-Anschluss.
• Lagern Sie das Produkt nur in trockenen, staubfreien vor Sonneneinstrahlung
geschützten Umgebungen. Bewahren Sie das Produkt auf keinen Fall bei
hohen Außentemperaturen in Ihrem KFZ auf, auch nicht in Handschuhfach oder
Kofferraum.
• Zerlegen Sie das Produkt auf keinen Fall.
• Laden Sie das Produkt nur mit den dafür vorgesehenen Ladekabeln und über die
dafür vorgesehenen Ladebuchsen (gekennzeichnet am Produkt).
7

Deutsch
• Verursachen Sie keinen Kurzschluss am Produkt. Trennen Sie das Produkt nach
Abschluss des Ladevorgangs sofort vom Netz oder USB-Anschluss.
• Berühren Sie das Produkt nicht mit nassen Händen.
• Setzen Sie das Produkt nicht starken mechanischen Belastungen aus.
• Setzen Sie das Gerät nicht überhöhten Spannungen oder der gleichen aus (siehe
technische Details).
• Sollte Flüssigkeit aus dem eingebauten Akku mit Ihren Augen in Kontakt geraten,
reiben Sie auf keinen Fall Ihre Augen, sondern spülen sofort mit klarem Wasser
und konsultieren Sie sofort einen Arzt.
• Halten Sie das Produkt außerhalb der Reichweite von Kindern.
• Beachten Sie die angegebenen Ladezeiten und Sicherheitshinweise.
Ihr RAIKKO® Produkt wurde mit größter Sorgfalt und qualitativ hoch-
wertigen Materialen hergestellt.
Bitte entsorgen Sie dieses Produkt am Ende der Nutzungsdauer
ausschließlich bei Ihrer örtlichen oder kommunalen Sammelstelle
für Elektrik- und Elektronikgeräte. Werfen Sie das Produkt auf kei-
nen Fall in Ihren Hausmüll. Denken Sie bitte an unsere Umwelt.
ACHTUNG: Die RAIKKO GmbH kann nicht für evtl. Schäden,
Datenverluste oder anderweitige Probleme haftbar gemacht werden,
die durch den Einsatz des Produktes auftreten.
8

Deutsch
Kundenservice
Unseren Kundenservice erreichen Sie:
Montag bis Freitag von 9.00–18.00 Uhr
per Internet über www.RAIKKO.com
per Email über service@RAIKKO.com
oder telefonisch über unsere Hotline
(aus Deutschland) 0180-333 7 555 01
(teleword, 0,09 EUR/Min. Festnetz, Mobilfunk max. 0,42 EUR/Min.)
außerhalb Deutschland wählen Sie bitte +49-7144-88 76 41
9

English
Introduction
Dear customer, thank you for choosing a RAIKKO® product.
Please read the manual and the safety and warning instructions
carefully to ensure trouble-free operation of your purchased
product.
Product includes
• 1 RAIKKO® SCREW Vacuum Speaker
• 1 Micro-USB charging and extension cable
• 1 carrying bag
Overview
2. BuddyPlug
3. Charging/
audio socket
4. Volume control
6. Connection cable
5. Status-LED
1. On/Off
10

English
Opening the resonance chamber
To open the SCREW Vacuum Speaker and produce the full volume,
please hold the bottom with one hand and the top with the other and
rotate in opposite directions.
Important: Turn the top of the SCREW Vacuum Speaker anti-
clockwise to open it. Turn it clockwise to close it. Now connect the
headphone socket (3.5 mm) of the SCREW Vacuum Speaker to
an audio source using the connection cable (6) that is rolled up in
the base. If the integrated cable is not long enough, you can also
connect the SCREW Vacuum Speaker via the audio plug of the
Micro-USB cable supplied.
Caution: Do not pull the open SCREW Vacuum Speaker apart:
the integrated spring expands the soundbox to the
appropriate volume.
Switching on
Slide the on/off switch (1) fully to the right to switch the SCREW
Vacuum Speaker on. The status LED (5) will turn blue. Slide the
switch fully to the left to switch the SCREW Vacuum Speaker off.
Volume
When you switch the speaker on, the volume is set to a medium
level. Set the volume by means of the strength of the input signal
and/or the volume control (4) on the speaker.
6. Connection cable
11

English
Charging the integrated battery
Connect the SCREW Vacuum Speaker to the USB port of a PC/Mac
or a USB mains adapter to charge it. Use the Micro-USB charging
and extension cable for this purpose. The LED display turns red
while charging is taking place.
The LED display turns blue as soon as the battery is fully charged.
Depending on the battery level, this process may take 2– 3 hours.
Connecting several speakers
For greater output and a better sound, several RAIKKO® Vacuum
Speaker can be connected together in series. To do so, use the
connecting cable (6) to connect one speaker to the BuddyPlug (2)
of another.
Specifications
Weight: 75 g
Dimensions (closed): 53 mm (L) x 53 mm (B) x 39 mm (H)
Speaker: Ø 36 mm membrane
Output: 2.7 Watt
Frequency range: 200 Hz–16 kHz
Battery type: Lithium-polymer
Charging voltage: 5 V ± 0.5 V
Charging connection: Universal Serial Bus (USB)
Battery life: 4–6 h
Temperature range: 0–40 °C
Compatibility: Any device with 3.5 mm audio jack
12

English
Declaration of Conformity
The CE Declaration of Conformity and all other mandatory
information can be viewed at http://www.RAIKKO.com/cert/.
Warranty
To activate the warranty period and for further information about new products,
please register your purchase at http://www.RAIKKO.com/register/.
To do this, you will need the serial number, which is located on the underside of
the product.
Safety instructions:
• To ensure your safety, please read all operating instructions, safety instructions
and warnings carefully. The manufacturer is not liable for any damage caused
by improper use of the product.
• Ensure you keep this product out of reach of children; it is not suitable for
consumption and may not be placed in the mouth.
• Only clean the product using a dry cloth.
• Only use the product with the power sources and/or audio devices intended for it.
• Do not disassemble or damage the product.
• Do not attempt to replace the integrated battery.
• Do not use this product in damp rooms or in high temperatures, e. g. bathroom,
sauna, swimming pool, etc.
• Should irregularities, strange smells or other problems occur when using the
product, switch it off immediately and disconnect it from any power source or
other devices. Immediately contact your manufacturing support centre.
Warning!
• Only charge the product with the power device provided or by means of a USB
connection.
• Only store the product in dry, dust-free conditions and protect from direct
sunlight. Do not under any circumstances keep the product in your vehicle,
including the glove compartment or boot, when the outside temperature is high.
• Do not disassemble the product under any circumstances.
• Only charge the product with the charging cable and via the charging socket
provided (marked on the product).
• Do not cause a short circuit in the product. When the charging process is
complete, disconnect the product immediately from the power supply or USB
connection.
• Do not touch the product with wet hands.
13

English
• Do not expose the product to strong mechanical stress.
• Do not expose the device to excessive voltages or similar (see technical details).
• Should liquid from the integrated battery come into contact with your eyes, do
not rub them under any circumstances, but rinse them immediately with clean
water and consult your doctor without delay.
• Keep the product out of the reach of children.
• Observe the charging times and safety instructions provided.
Your RAIKKO® product has been produced with the greatest care
using high quality materials.
At the end of its useful life, please dispose of your product at your
local collection point for waste electrical and electronic equipment.
Do not throw it away with your household waste. Please consider the
environment.
Note: RAIKKO GmbH cannot be held liable for any damage, loss of
data or any other problems that may arise as a result of using this
product.
14

English
Customer service
You can contact our customer service:
mon–fri 9 a.m.–6 p.m. (Central European Time)
by internet at www.RAIKKO.com
by email at service@RAIKKO.com
by our telephone hotline
(calls from inside Germany) 0180 333 7 555 01
or from outside Germany please call +49 7144 88 76 41
15

Français
Introduction
Cher client, nous vous remercions d‘avoir choisi un produit
RAIKKO®. Pour une parfaite utilisation du produit dont vous avez
fait l’acquisition, nous vous prions de lire attentivement la notice,
les instructions de sécurité et les mises en garde.
Contenu de la livraison
• 1 RAIKKO® SCREW Vacuum Speaker
• 1 câble de rechargement / rallonge Micro-USB
• 1 pochette de transport
Aperçu
2. BuddyPlug
3. Fiche de
chargement/audio
4. Réglage du volume
6. Câble de raccordement
5. Témoin lumineux DEL
1. Marche/arrêt
16

Français
Déploiement de la caisse de résonance
Pour ouvrir le haut-parleur et déployer l‘intégralité du volume sonore,
veuillez tenir la partie inférieure avec une main et la partie supérieure
avec l‘autre, puis les tourner en les appuyant l‘une contre l‘autre.
Important : tournez la partie supérieure du haut-parleur dans le
sens inverse des aiguilles d‘une montre pour ouvrir le haut-parleur.
Tournez-la dans le sens des aiguilles d‘une montre pour fermer le
haut-parleur.
Raccordez désormais le haut-parleur à la prise casque (3.5 mm)
d‘une source audio en utilisant le câble de raccordement enroulé
dans la base (6). Si le câble fourni n‘est pas assez long, vous pouvez
également brancher le haut-parleur en utilisant la che audio du
câble Micro-USB fourni.
Attention : le ressort installé déploie la caisse de résonance pour
atteindre un volume sufsant, n‘étirez donc pas le
haut- parleur ouvert.
Mise en marche
Poussez l‘interrupteur Marche/arrêt entièrement vers la droite
pour mettre le haut-parleur en marche. Le témoin DEL (5) s‘allume
maintenant en bleu. Poussez l‘interrupteur entièrement vers la
gauche pour arrêter le haut-parleur.
Volume
Après la mise en marche, le volume est réglé sur une intensité
moyenne. Réglez le volume par le biais de la puissance du signal
d‘entrée et/ou par le bouton de réglage du volume (4) du haut-parleur.
6. Câble de raccordement
17

Français
Chargement de la batterie intégrée
Raccordez le haut-parleur au port USB d‘un PC/Mac ou d‘un bloc
d‘alimentation USB pour le charger. Utilisez à cet effet le câble de
rechargement / rallonge Micro-USB fourni. Pendant le processus de
chargement, le témoin DEL s‘allume en rouge.
Le témoin DEL s‘allume en bleu dès que la batterie est
complètement chargée.
Selon l‘état de charge, cette opération peut nécessiter 2 à 3 heures.
Relier plusieurs haut-parleurs
Il est possible de relier plusieurs haut-parleurs RAIKKO® en série
afin d‘obtenir des performances accrues et une meilleure qualité
sonore. Pour ce faire, reliez le câble de raccordement (6) d‘un
haut-parleur avec le BuddyPlug (2) d‘un second haut-parleur.
Caractéristiques
Poids : 75 g
Dimensions (fermé) : 53 mm (L) x 53 mm (W) x 39 mm (D)
Haut-parleur : Ø 36 mm membrane
Puissance : 2.7 Watts
Gamme de fréquence : 200 Hz–16 kHz
Type de batterie : lithium-polymère
Tension de charge : 5 V ± 0,5 V
Raccordement : Universal Serial Bus (USB)
Autonomie de la batterie : 4 à 6 heures
Plage de température : 0 – 40 °C
Compatibilité : Tous les appareils avec sortie jack 3.5 mm
18

Français
Déclaration de conformité
La déclaration de conformité CE ainsi que toutes les autres
mentions obligatoires peuvent être téléchargés sur le site :
http://www.RAIKKO.com/cert/.
Garantie
Pour activer la période couverte par la garantie et pour obtenir des informations sur les
nouveautés produits, nous vous serions reconnaissants d’enregistrer le produit que
vous avez acheté à l’adresse http://www.RAIKKO.com/register/, il
vous suffit d’indiquer le numéro de série qui se trouve en règle général en
dessous du produit.
Consignes de sécurité :
• Afin de garantir votre sécurité, nous vous prions de lire attentivement le manuel
d’utilisation ainsi que toutes les consignes de sécurité et mises en garde. Le
fabricant décline toute responsabilité pour les dommages occasionnés suite à
des utilisations non conformes du produit.
• Conservez impérativement le produit hors de portée des enfants, il est impropre
à la consommation et ne doit pas être mis dans la bouche.
• Nettoyez le produit uniquement avec un chiffon sec.
• Utilisez le produit uniquement avec les sources d‘alimentation et/ou les
appareils audio indiqués.
• Ne démontez pas ou n’endommagez pas le produit.
• N‘essayez pas de remplacer la batterie intégrée.
• N’utilisez pas le produit dans des pièces humides ou lorsque les températures
sont élevées, par ex. salle de bains, sauna, piscine, etc.
• Si vous constatez des dysfonctionnements, une odeur inhabituelle ou d‘autres
problèmes lors de l‘utilisation du produit, éteignez immédiatement le produit
et débranchez-le de toute source d‘alimentation ou des autres appareils
connectés. Adressez-vous sans délai à l‘assistance technique du fabricant.
Attention !
• Ne chargez le produit qu‘avec le bloc d‘alimentation prévu à cet effet ou en
utilisant un port USB.
• Entreposez le produit uniquement dans des environnements secs, non
poussiéreux et protégés des rayons du soleil. Ne laissez en aucun cas le produit
dans votre voiture lorsque les températures extérieures sont élevées, pas même
dans la boîte à gants ou le coffre.
• Ne démontez en aucun cas le produit.
19

Français
• Ne chargez le produit qu‘avec les câbles de chargement appropriés et en
utilisant les prises de chargement prévues à cet effet (indiquées sur le produit).
• N’occasionnez aucun court-circuit au niveau du produit. Une fois le processus
de chargement terminé, débranchez immédiatement le produit du secteur ou
du port USB.
• Ne touchez pas le produit avec des mains mouillées.
• N’exposez pas le produit à de fortes sollicitations mécaniques.
• Ne soumettez pas le produit à des tensions excessives ou similaires (voir les
caractéristiques techniques).
• Si du liquide issu de la batterie interne entre en contact avec vos yeux, ne
les frottez surtout pas, mais rincez-les aussitôt à l‘eau claire et consultez
immédiatement un médecin.
• Conservez le produit hors de la portée des enfants.
• Respectez le temps de chargement indiqué ainsi que les consignes de sécurité.
Votre produit RAIKKO® a été fabriqué avec grand soin et à l’aide de
matériaux de grande qualité.
A la fin de sa durée d’utilisation, veuillez éliminer ce produit
exclusivement auprès de votre point de collecte local ou communal
pour appareils électriques et électroniques. Ne jetez surtout pas
le produit avec vos déchets ménagers ordinaires et pensez à notre
environnement !
ATTENTION : La responsabilité de RAIKKO GmbH ne peut pas
être engagée pour des dommages, pertes de données et autres
problèmes qui pourront éventuellement résulter de l’usage du produit.
20
Table of contents
Languages:
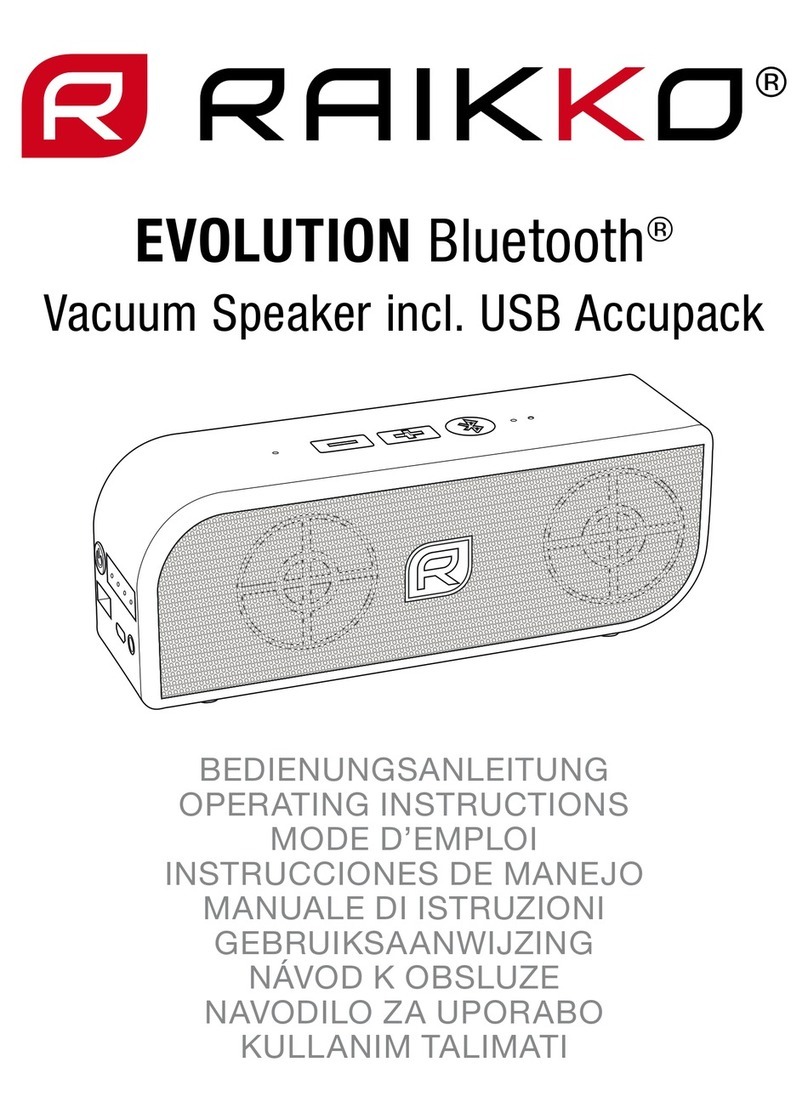
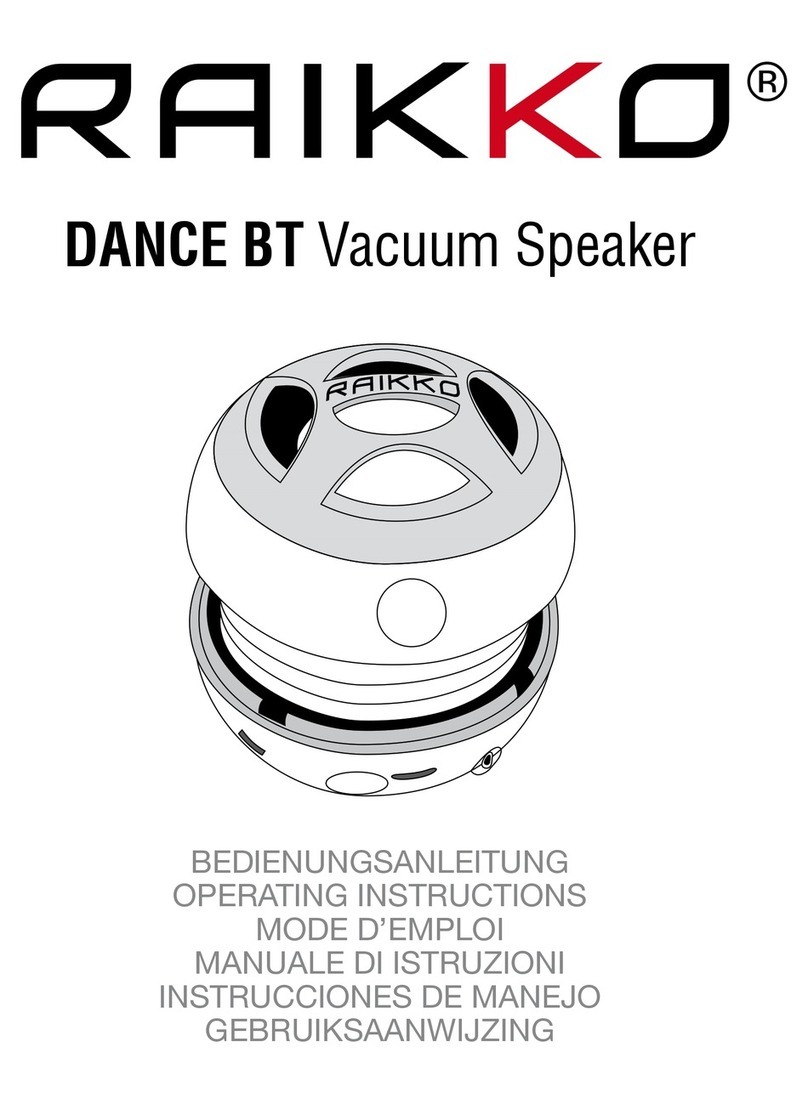
Other Raikko Speakers manuals

Raikko
Raikko HEAVY METAL User manual

Raikko
Raikko EVOLUTION User manual

Raikko
Raikko DANCE BT User manual

Raikko
Raikko PUMP User manual

Raikko
Raikko PUMP BLUETOOTH User manual

Raikko
Raikko DANCE VACUUM SPEAKER User manual

Raikko
Raikko POCKET BEAT User manual

Raikko
Raikko PARTY User manual

Raikko
Raikko Bass Disc User manual