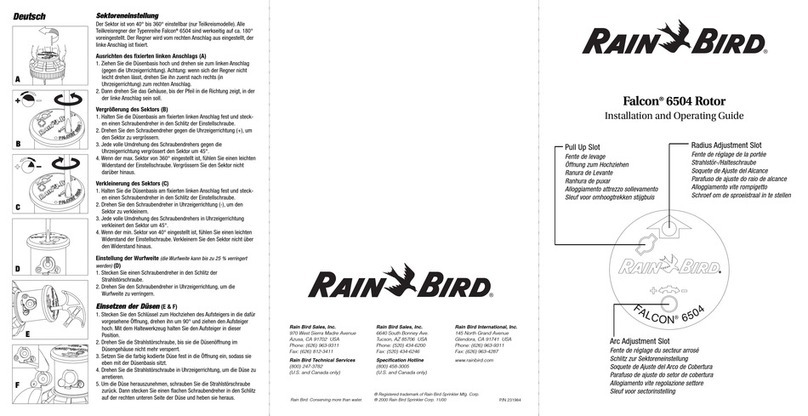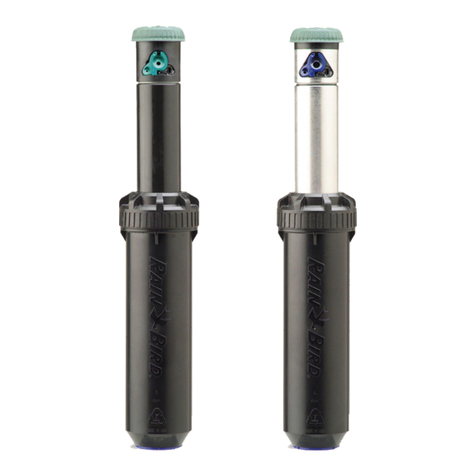
4Rain Bird 11000 Series Rotor Operation and Maintenance Manual
ARC ADJUSTMENT
Required Tool: Flat-head screwdriver
The LEFT leg of the sprinkler’s arc is
the xed leg.The 11000 Series Rotor
is shipped in full circle mode. Align
the left leg where it is needed for
your desired watering pattern while
installing the rotor case on the
swing joint.
The RIGHT leg of the arc is the
adjustable leg. It is shipped from the
factory at approximately 180 degrees
from the xed leg.
For best results, turn the head ON
to see where both legs“trip”(the
trip point is the point where the
rotor turns and begins rotating in
the opposite direction).To manually
advance the nozzle housing, SLOWLY
move it in the same direction it is
currently moving. After noting where
the head trips, return the head to
the left trip point. CAUTION: Do not
turn the turret manually against
the direction of rotation while in
operation.
Using a at-head screwdriver, turn
the arc adjustment screw on top of
the nozzle housing to reach your
desired arc.
Turn the screw clockwise to add arc,
or counterclockwise to subtract arc.
One complete turn of the adjustment
screw equals approximately 58
degrees of arc. 11000 Series rotors
are adjustable from 30° to 345°.
CAUTION: Turning the arc adjustment
past the stop may damage the
internal.
Turn on the rotor and let it run through
the forward and backward trip points to
verify the arc setting. Repeat steps 1 through 4 as needed.You
may also pull the internal assembly out of the rotor and adjust
the arc.Then reinstall the internal assembly and check for
performance.
Rain Bird 11000 Series Rotor Operation and Maintenance Manual
Manual de funcionamiento y mantenimiento del Rotor Rain Bird Serie 11000
AJUSTE DEL ARCO
Herramienta necesaria: desarmador plano
El extremo IZQUIERDO del arco del
aspersor es el jo. El Rotor de la serie
11000 se envía en modo de círculo
completo. Alinee el extremo izquierdo
donde sea necesario para el patrón de
riego deseado al instalar el cuerpo del
rotor en el codo articulado.
El extremo DERECHO del arco es la
pata ajustable. Se envía de fábrica a
aproximadamente 180 grados de la
extremidad ja.
Para obtener los mejores resultados,
encienda el cabezal para ver dónde se
«disparan» ambos extremos (el punto
de disparo es el punto en el que el
rotor cambia de dirección y empieza
a rotar en la dirección opuesta).
Para adelantar manualmente el
cabezal de la boquilla, muévala
LENTAMENTE en la misma dirección
en la que se está moviendo. Después
de identicar dónde el cabezal
cambia de identicar, colóquelo
nuevamente en el punto de disparo
izquierdo. PRECAUCIÓN: no gire
manualmente la torreta en
sentido contrario a la rotación
durante el funcionamiento.
Con un desarmador plano, gire el
tornillo de ajuste del arco situado
en la parte superior de la carcasa
de la boquilla hasta alcanzar el arco
deseado.
Gire el tornillo en sentido horario
para aumentar el arco, o en sentido
contrario a las manecillas para
disminuir el arco. Una vuelta completa
del tornillo de ajuste equivale a
aproximadamente 58 grados de arco.
Los rotores de la serie 11000 son
ajustables de 30° a 345°.
PRECAUCIÓN: si gira el ajuste del arco
más allá del tope, podría dañar el
mecanismo interno.
Encienda el rotor y deje que recorra los
puntos de disparo hacia adelante y hacia
atrás para vericar el ajuste del arco.
Repita los pasos 1 a 4 según sea necesario.
También puede sacar el mecanismo interno
del rotor y ajustar el arco. A continuación,
vuelva a instalar el mecanismo interno y
revise su funcionamiento.

