RANE SL3 FOR SERATO SCRATCH LIVE • OPERATOR’S MANUAL 2.4.4 7
Playing Regular Vinyl and CDs
NOTE: the SL3 must be powered by
USB or the supplied external power
supply for the DECK THRUs to work.
If external power is connected, the SL3
is self-powered and power is not used
from the USB port.
If external power is not connected, the
SL3 draws power from the USB port.
Power switching is automatic and the
device continues to operate uninterrupted
as long as a power sources is available.
If you wish to use the SL3 Thru outputs
when a computer is not connected, you
will need to connect the optional external
power supply. Thrus are turned on and off
in the Control Panel.
To turn the Thrus off and on in Scratch
Live, click on the THRU button just above
each Virtual Deck for the respective
channel. This will change the state of the
channels to Thru Mode, sending audio
direct from the SL2 inputs to your mixer.
See “Thru Mode” on page 16.
Power Supply
Connect the barrel connector of the power
supply to the 7.5 VDC jack on the SL3.
Plug the power supply into an AC outlet.
The yellow POWER indicator will light on
the SL3.
The universal power supply includes
different input plugs for the USA, Europe,
UK and Australia. The USA plug is
attached at the factory — you may need
to replace it in your country.
To remove a
plug, PUSH the
button while turning
the outer rim
counterclockwise.
To attach a plug,
rotate it to t into
the supply and turn
clockwise until it locks in place.
The power supply is regulated 7.5
volts DC, 1 amp, using a P6 type barrel
plug. Any substitute must meet these
specications.
-(5.5mm) +(2.5mm)
LOCK
LOCK
PUSH
OPEN
OPEN
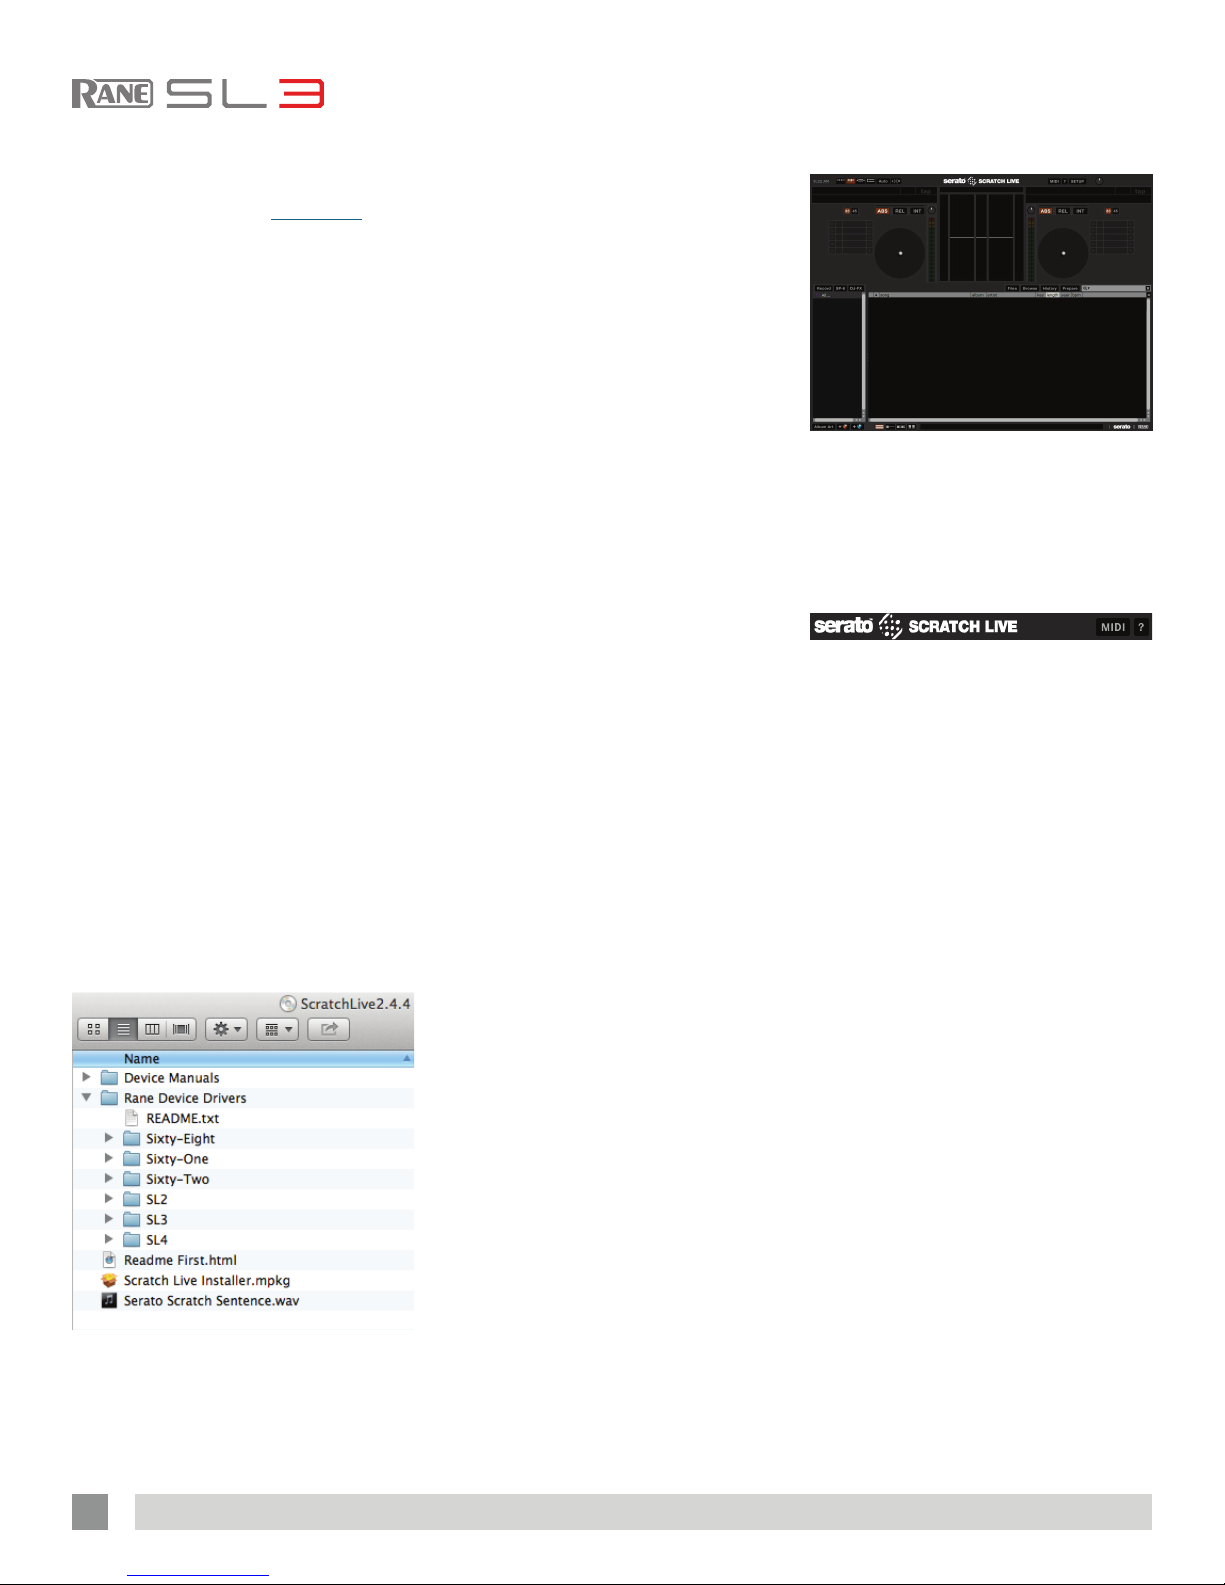
USB Drivers
The SL3 is a dual personality device.
When using Serato Scratch Live,
proprietary Serato Audio Research
drivers are used in place of Rane ASIO
(Windows) and Core Audio (Mac) drivers.
The included Rane drivers are used when
Scratch Live is not running.
Rane ASIO and Core Audio drivers
allow the SL3 to act as a 6-playback
and 6-record external USB sound card
for use with multiple third-party software
applications supporting Core Audio or
ASIO. ASIO and Core Audio drivers are
multi-client, meaning they allow multiple
applications on a computer to share
the device at the same time. ASIO and
Core Audio drivers are not available on a
machine when Scratch Live is running.
The ASIO and Core Audio drivers are
included in the Scratch Live installer as an
option. See the instructions in “Installing
Scratch Live” on page 8.
ASIO (Windows)
The SL3 uses a low-latency, multi-client,
ASIO device driver to interface with
software applications other than Scratch
Live on Windows operating systems.
Multi-client ASIO allows different audio
software applications to simultaneously
stream audio to and from the SL3. If the
same playback channel is selected in
more than one application, the driver
mixes the audio from different applications
before streaming it to the device.
The driver Control Panel may be
launched from the Windows Control
Panel. Select Start > Control Panel >
Rane SL3.
Core Audio (Macintosh)
The SL3 uses a low-latency, Core Audio
device driver to interface with software
applications other than Scratch Live
on Macintosh operating systems. Core
Audio allows different audio software
applications to simultaneously stream
audio to and from the SL3.
To launch the SL3 driver Control Panel,
open the System Preferences window.
Locate the SL3 in the “Other” section and
click the SL3 icon.
Control Panel
The Driver Control Panel supports:
• Analog Input Source: for Aux, Left
Deck and Right Deck, the Input as
selected on the SL3 is indicated. The
mode cannot be changed from the
control panel.
• Phono Sensitivity: control appears
as shown in the panel above if Phono
input is selected on the mixer. Clicking
on the down-arrow displays a list of
16 sensitivity settings between 2.5 mV
and 10 mV in 0.5 mV steps. Choose
the setting that most closely matches
the level of a CD input or to the setting
that provides the highest output without
clipping.
• Output Source: can be set for
independently for each of the three
stereo outputs. Click the USB icon for
USB playback and the Analog button for
analog THRU.
• Buffer Size increases or decreases the
USB driver buffer size. The SL3 drivers
run very reliably at latencies below
8 milliseconds. However, computer
performance and available resources
(number of apps running) may adversely
affect streaming audio. If pops and
clicks are heard in USB audio, try
increasing the buffer size. In ASIO, total
round-trip latency = buffer size + device
latency. In Core Audio, total round-
trip latency = buffer size + software
application latency + device latency. SL3
latency is 1.6 ms at 48 kHz and 1.8 ms
at 44.1 kHz.
• If the SL3 rmware on your computer
is newer than installed in your SL3,
the Update Device Firmware panel is
enabled. Pressing the Update Firmware
button updates the SL3 rmware to the
newer version installed with your driver.