USER MANUAL – iForks-Economy 2.0 4
IP65
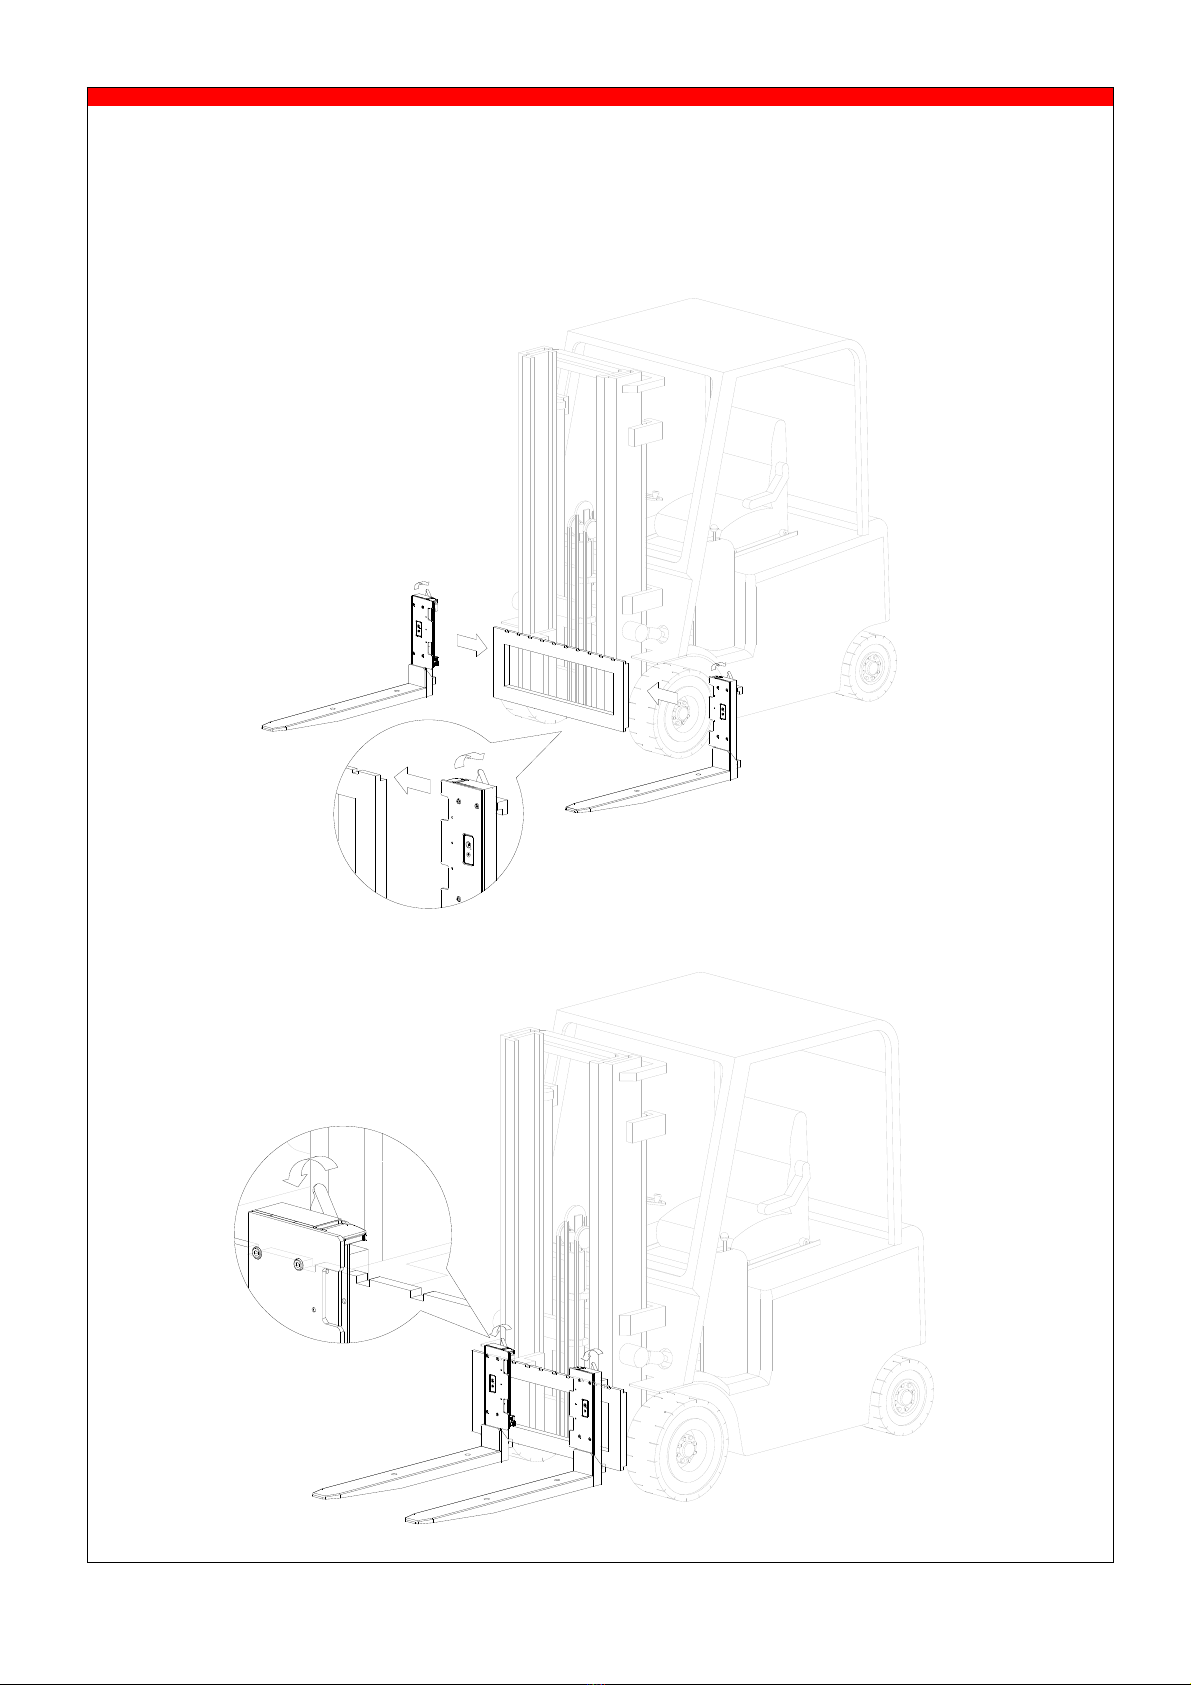
1. Introduction
This manual describes the installation and use of the iForks. Read this manual carefully. The installer
must be informed of the contents of this manual. Follow the contents of the manual precisely. Always
do things in the correct order. This manual should be kept on a safe and dry place.
In case of damage or loss the user may request a new copy of the manual from RAVAS.
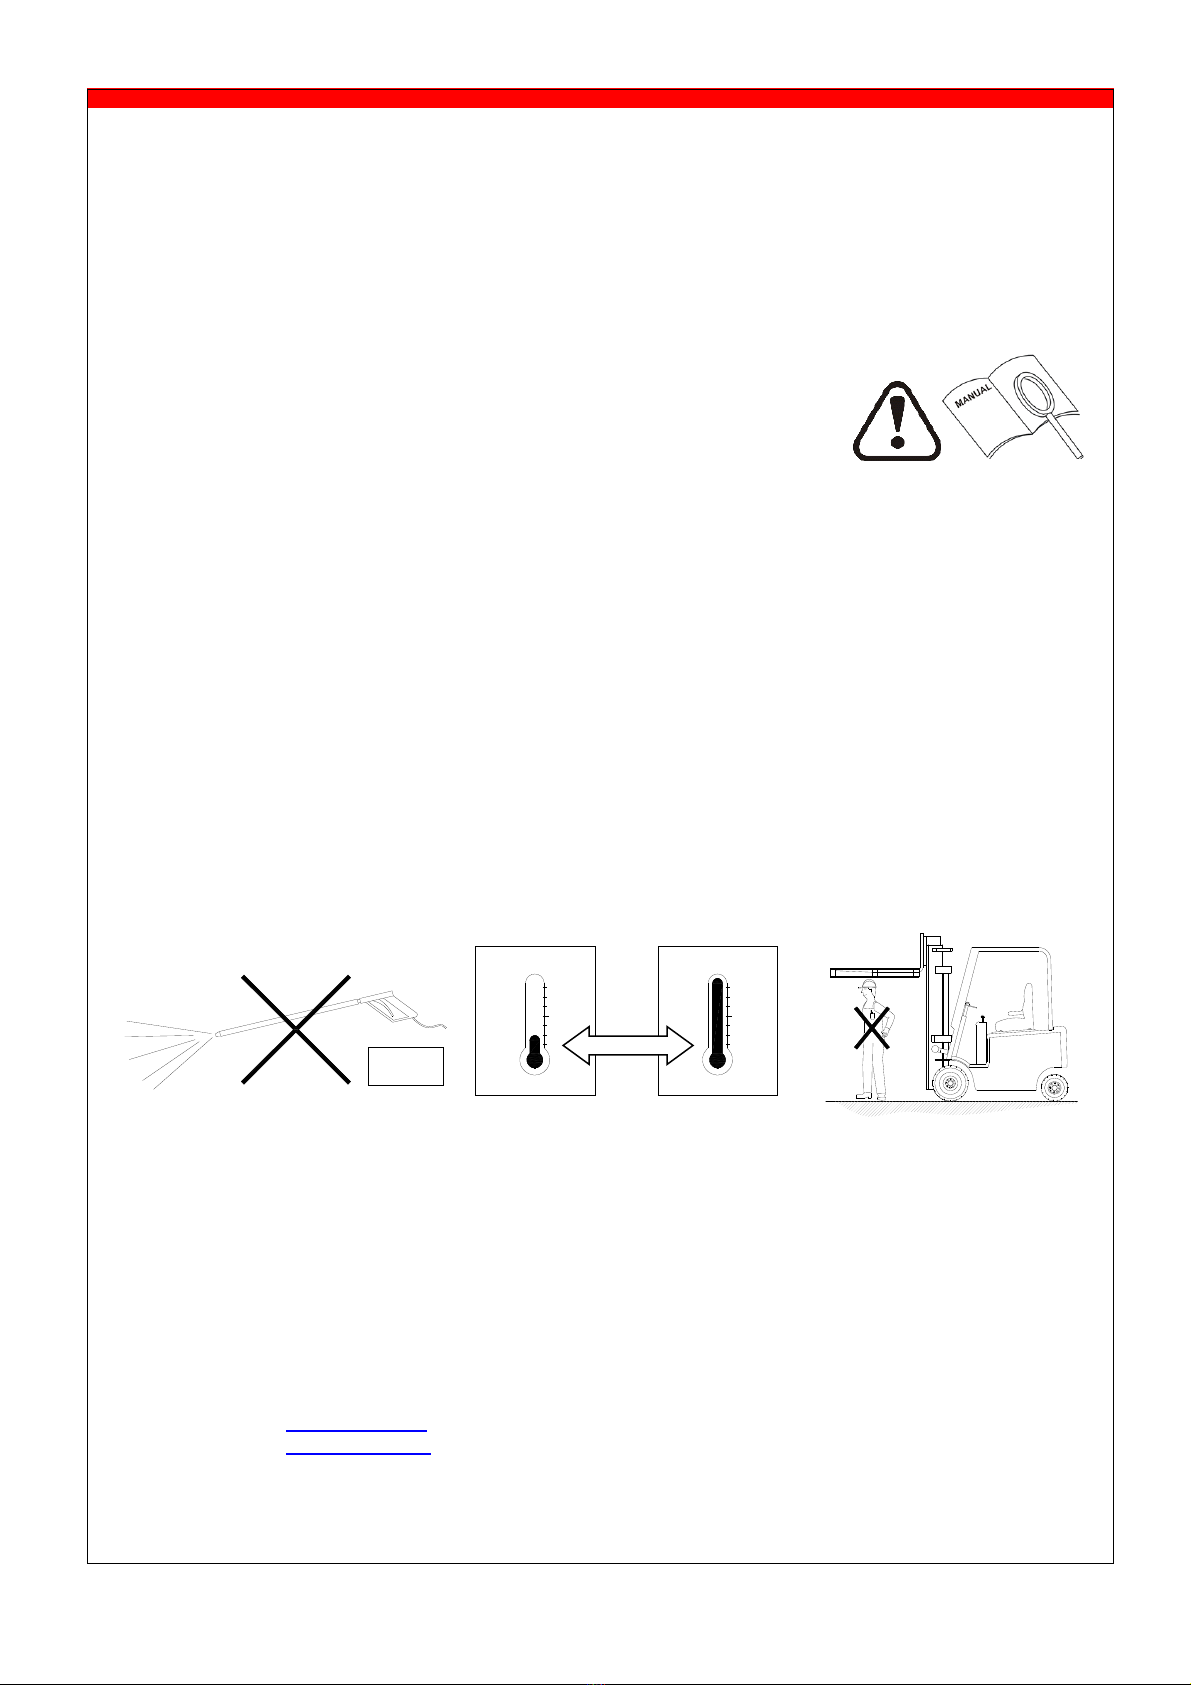
2. Warnings & Safety measures
When using the iForks, please observe the instructions and guidelines contained
in this manual carefully. Always perform each step in sequence. If any of the
instructions are not clear, please contact RAVAS.
- All safety regulations that apply to the truck remain valid and unchanged.
- No weighing operations are allowed if any persons or objects are in the vicinity; around, under
or close to the load.
- RAVAS is not responsible for any physical harm done to the operator because of the presence
of the indicator in the cabin.
- Any modifications done to the system must be approved in writing by the supplier, prior to any
work being completed.
- It is the sole responsibility of the purchaser to train their own employees in the proper use and
maintenance of this equipment.
- Do not operate this unit unless you have been fully trained in its capabilities.
- Check the accuracy of the scale on a regular basis to prevent faulty readings.
- Only trained and authorized personnel are allowed to service the scale.
- Always follow the operating, maintenance and repair instructions of this truck and ask the
supplier when in doubt.
- RAVAS is not responsible for errors that occur due to incorrect weightings or inaccurate
scales.
Should you have any further questions after reading this manual then you can contact us at:
RAVAS Europe B.V.
Toepadweg 7
Postbus 2023
5300 CA Zaltbommel
Nederland
Phone: +31 (0)418-515220
Fax: +31 (0)418-515320
Internet: www.ravas.com
Changes reserved
READ
CAREFULLY
min -10°C
15°F
00
max 40°C
105°F