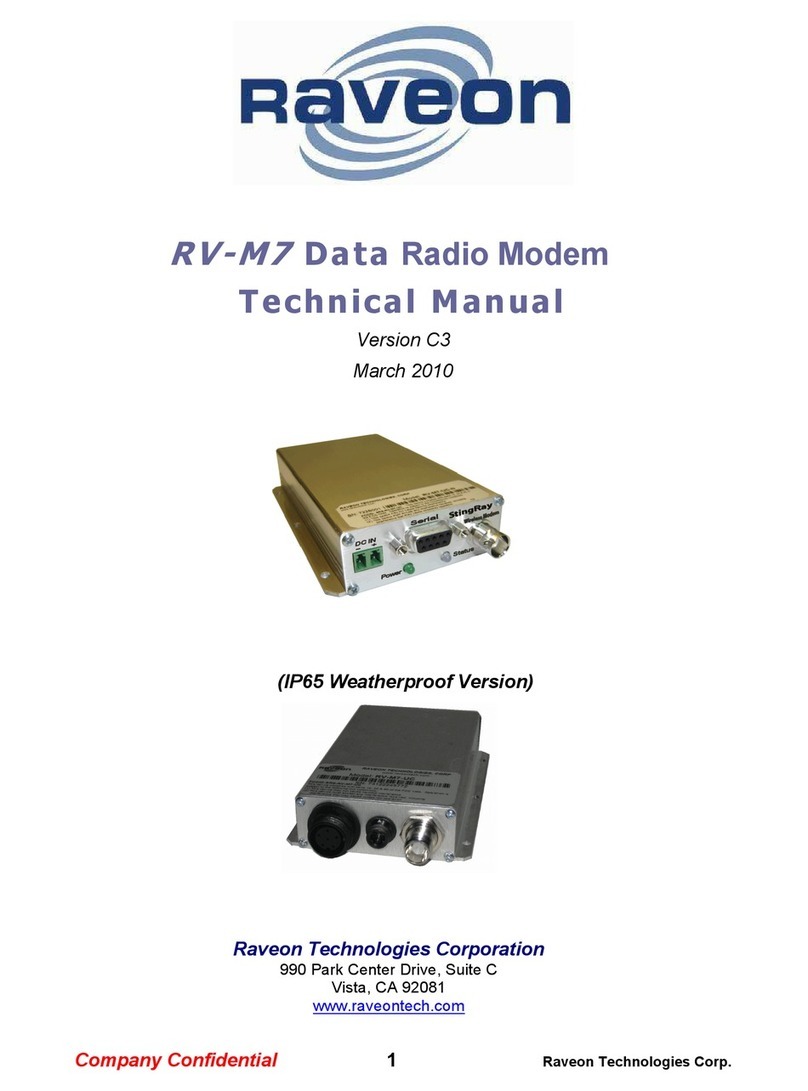
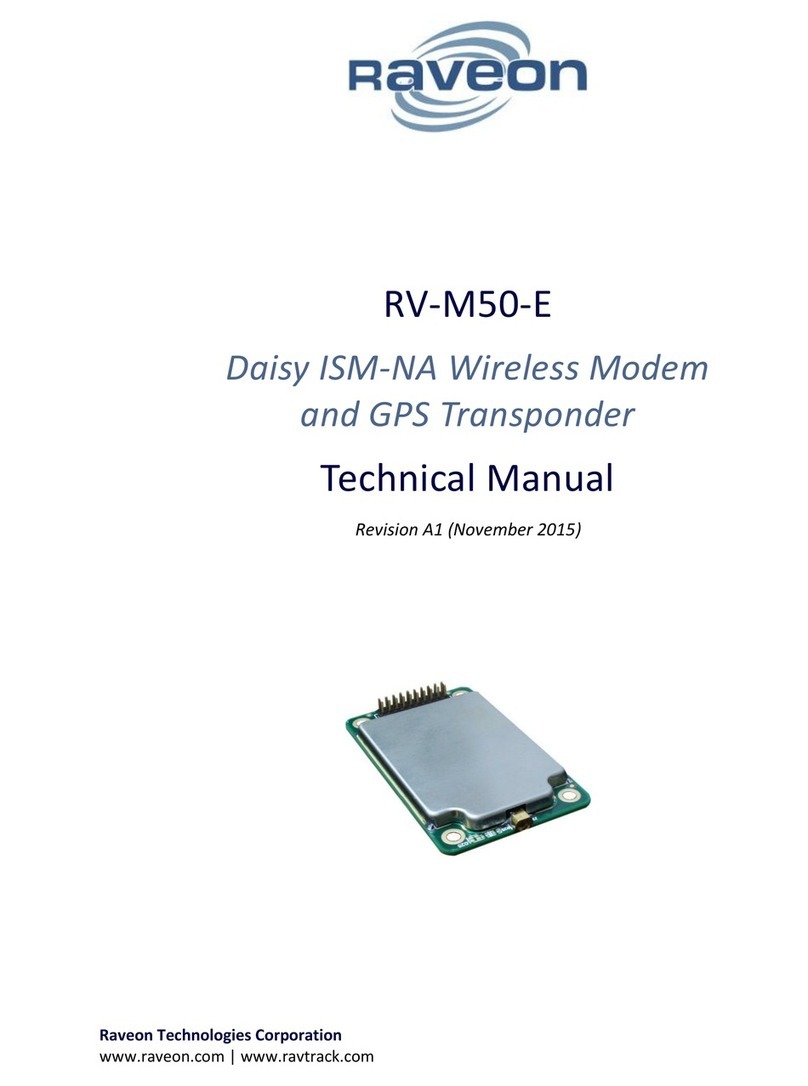
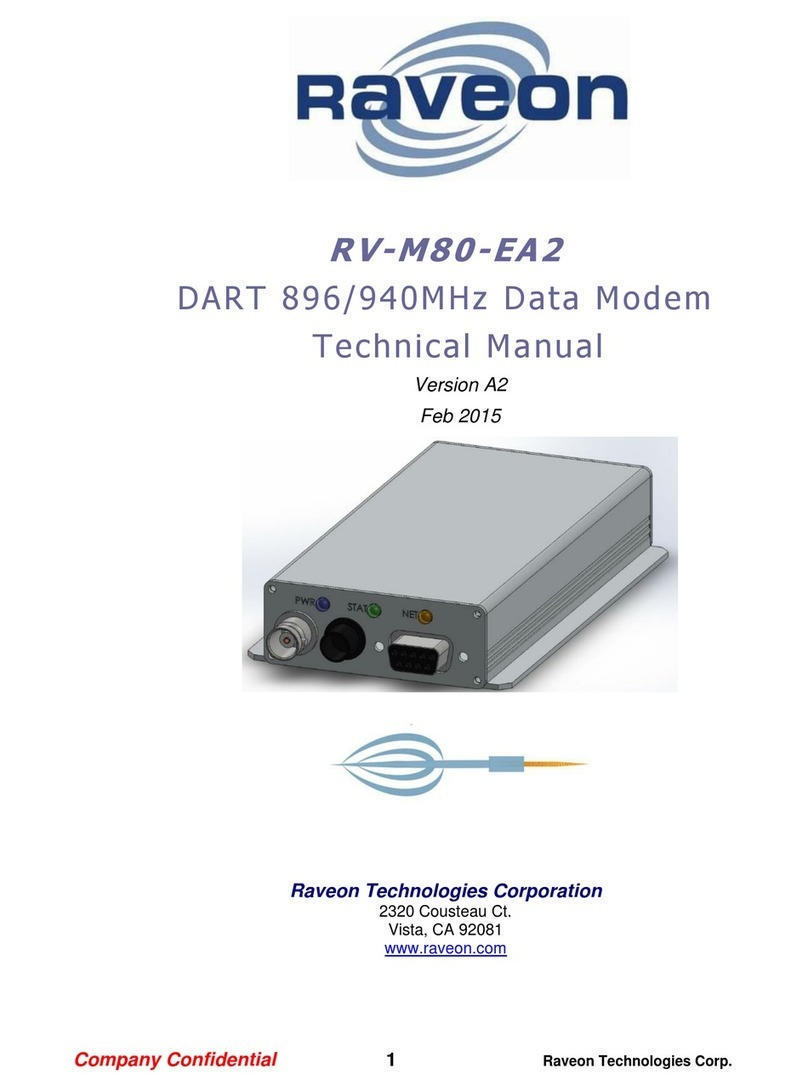
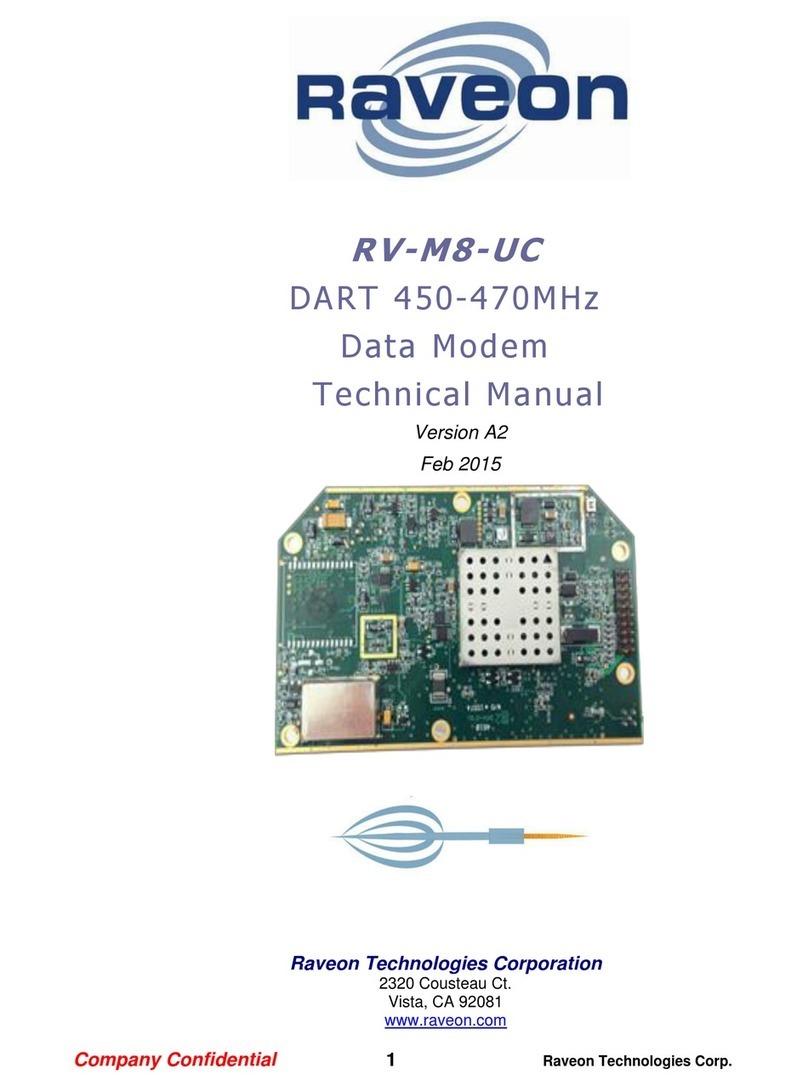
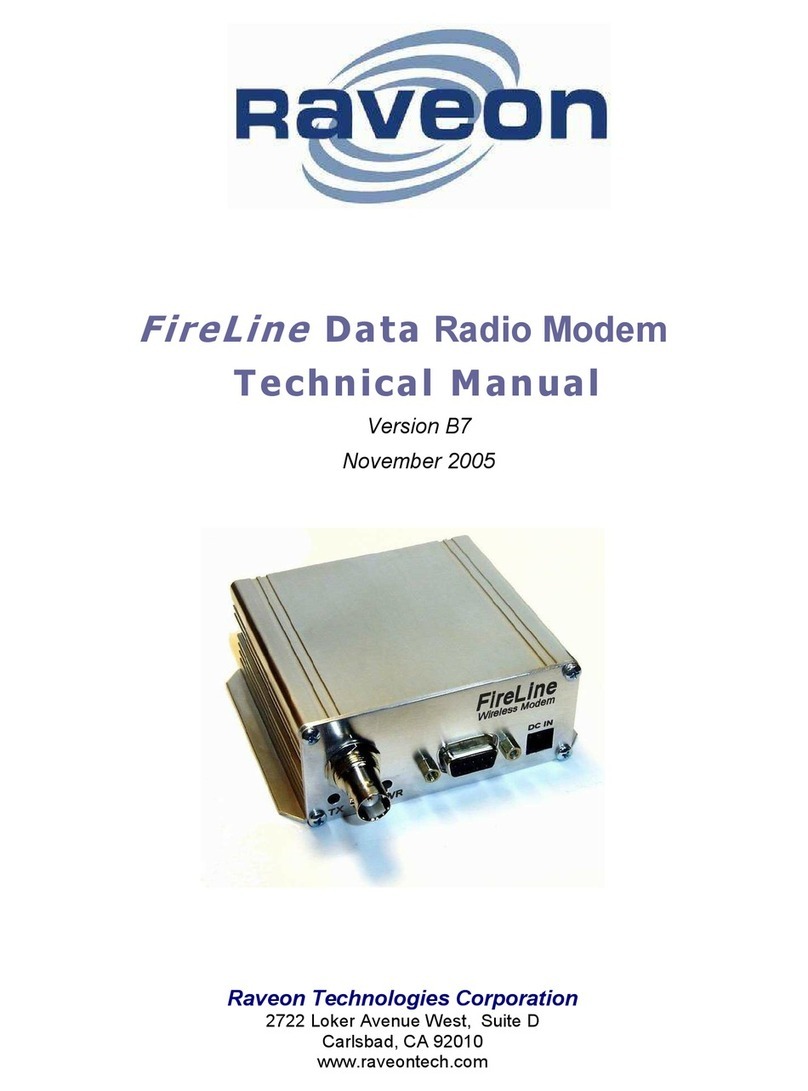
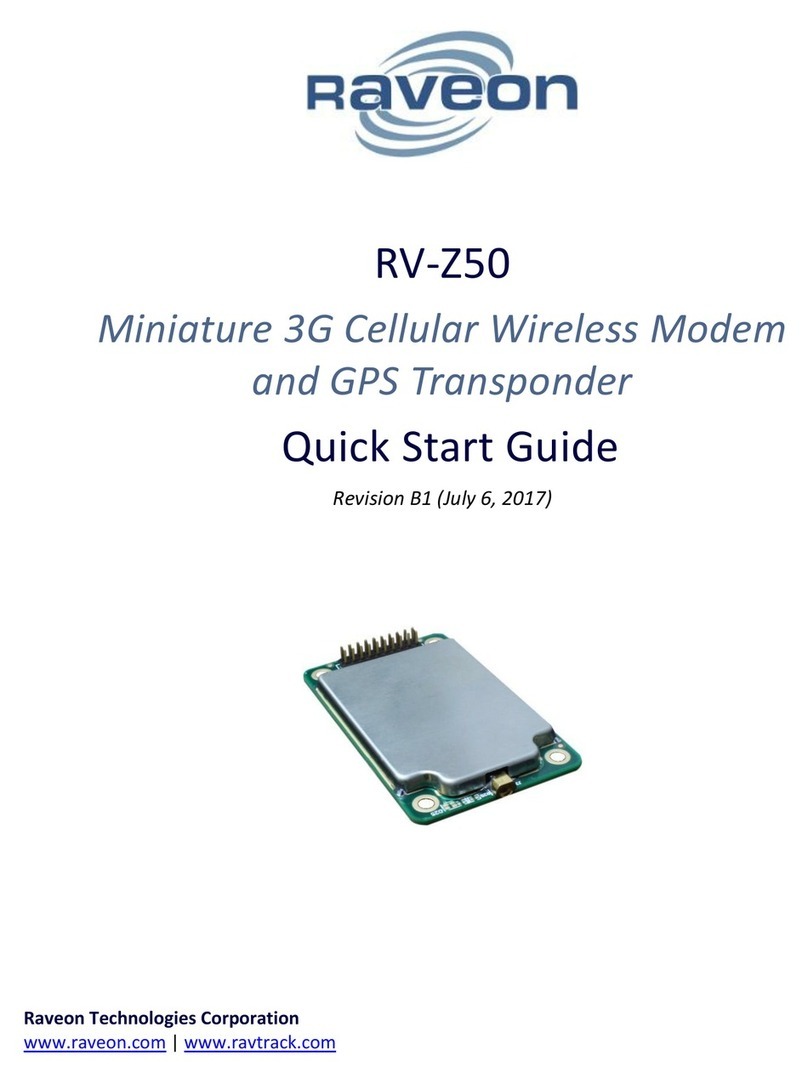
Raveon Tech Series User manual

2Raveon Technologies Corp.
Table of Contents
1. About This Manual ........................................................................................ 3
2. Tech Series Overview................................................................................... 3
2.1. M21 and M22................................................................................................................................. 3
2.2. I/O Options .................................................................................................................................... 4
2.3. Tech Series Flexibility.................................................................................................................... 4
2.4. Features ........................................................................................................................................ 5
2.5. Power ............................................................................................................................................ 6
2.6. Power Cable.................................................................................................................................. 6
2.7. LED Indicators............................................................................................................................... 7
PWR Power LED.................................................................................................................................. 7
STAT LED ............................................................................................................................................. 7
LINK LED............................................................................................................................................... 7
3. Tech Series I/O Interface Information ........................................................... 7
3.1. RS-232 [ S ] 5T835..................................................................................................................... 7
3.2. Analog [ A ] 5T838........................................................................................................................ 8
3.3. USB [ U ] 5T837 ......................................................................................................................... 11
3.4. RS-485 [ T ] 5T836-1.................................................................................................................. 11
Configuring.......................................................................................................................................... 12
Simplex or Full Duplex......................................................................................................................... 12
3.5. RS-422 [ F ] 5T836-2.................................................................................................................. 13
Configuring for RS-422 Dual-State (Duplex Communications)............................................................ 13
Configuring RS-422 Tri-State (Simplex Communication)..................................................................... 14
3.6. GPIO [ G ]................................................................................................................................... 15
SCADA and Telemetry Use................................................................................................................. 16
Configuring.......................................................................................................................................... 16
Summary of Input and Output functions. ............................................................................................. 16
3.7. FIO [ D ] Flexible IO................................................................................................................ 17
SCADA and Telemetry Use................................................................................................................. 18
Summary of Input and Output functions. ............................................................................................. 18
4. GPIO and FIO Commands and Configuration............................................. 18
Application Note AN234 has more information about how to use the Tech Series Radios for SCADA Applications.
Here is a summary of the information.................................................................................................. 18
4.1. SCADA and Telemetry Commands............................................................................................. 18
5. RV-M22 and RV-M21 series products Warranty......................................... 20
3Raveon Technologies Corp.
1. About This Manual
This manual covers interface options for Raveon’s Tech Series products. Various radio
models may be incorporated into the Tech Series products, so refer to the particular radio
module Technical Manual for specific information about how to configure and use the radio
features.
This manual covers Tech Series I/O features. The manuals for the radios used in Tech
Series products are:
RV-M8 VHF/UHF 5W radio modem module
RV-M6 VHF/UHF 2W radio modem module
RV-M50 915MHz ISM Daisy radio, License Free
RV-Z50 3G cellular radio modem
RV-Z55 LTE cellular radio modem
There are two different Tech Series Enclosures:
RV-M21 For M8 radio modules, up to 5 watts TX power.
RV-M22 For M6, M50m, Z50 radio models. Low power, miniature enclosure.
2. Tech Series Overview
2.1. M21 and M22
M22 Enclosure M21 Enclosure
The M21 is larger to utilize the 5 watt M8 radio modems. Both enclosures have GPS
options and can utilize the myriad of IO options.

4Raveon Technologies Corp.
2.2. I/O Options
The front interface of the M21 is fully field-reconfigurable. The following interface boards
may be attached or changed at any time:
RS-232 [ S ] 5T835 RS232 serial port, DB9.
USB [ U ] 5T837 USB for computer communication.
RS-485 [ T ] 5T836-1 RS-485 2-wire interface.
RS-422 [ F ] 5T836-2 RS-422 4-wire interface.
GPIO [ G ] contact sales General Purpose IO.
Analog [ A ] 5T838 Analog radio interface.
FIO [ D ] 5T832-1 Flexible IO. Digital INs and OUTs
2.3. Tech Series Flexibility
The Tech Series radios from Raveon is the most flexible radio platform in the industry.
A myriad of I/O options, and many RF band options, GPS options, wide/narrow
channels, Arduino option, and wide DC input voltage range.
I/O Connector Type
Connector Code
S
U
F,G, T
A,D

5Raveon Technologies Corp.
The Tech Series RV-M21-xxxx radio modems come pre-configured from Raveon with
the bandwidth, frequency band, GPS, and I/O option. The I/O interface may be
changed in the field.
2.4. Features
The Tech Series radio modems from Raveon have many unique features. Compared
to most radio modems, and Raveon’s industry-standard M7 radio modem, the Tech
Series products feature:
1) Water-proof DC power connection
2) Locking DC connector. A screw-on M8 type connector that will not come off
without unscrewing it.
3) Numerous I/O options. I/O options such as RS232/485/422 and USB are all
available, and field upgradable. The radio within the Tech Series enclosure
detects the I/O it is using, and adjusts its operation accordingly.
4) Low power consumption. The power supplies, receiver, GPS, and transmitter
all have lower power consumption than legacy products.
5) Secure. Built in AES encryption options allow users to add additional security to
their communication systems.
6) App Processor Option. You can order a TechSeries product with a built-in
Arduino application processor to run your own application on.

6Raveon Technologies Corp.
7) Broad RF Options. Radio modems used within the TechSeries enclosure are
available from Raveon in VHF, 220MHz, UHF, 800MHz, 900MHz, and 3G
cellular bands.
8) Wide DC input. Most Tech Series modems will work off of any DC input
voltage from 10V to 30V DC, twice the range of most radios.
9) Multiple Protocols. Tech series radios support many different protocols, such
as 4800, 9600, 19200 baud data modems, Bell 202 legacy analog AFSK
modulation, POCSAG paging, and audio modulation. 3G cellular and LoRa
WAN are also available.
2.5. Power
The TechSeries products from Raveon utilize a 3-pin power connector. Coincidentally,
the industry name for this connector is “M8”. The three pins are:
1. VIN. DC input voltage. Refer to the specific model number data sheet for input
voltage range.
2. GND. Chassis ground and sometimes cable shield.
3. GND. Chassis and signal ground.
4. Enable. Input to enable/disable the product. Connect to ground to turn off the
radio. It has an internal pull-up resistor on it. It must be > 2V for the product to start
working.
2.6. Power Cable
The cable that connects to the M21 and all Tech Series products is typically wires as
shown here. This 2 meter cable is Raveon part number 4C850-1.
Pin 1 (VIN) is a brown wire. Connect to + DC input voltage.
Pin 3 (Ground) is a blue wire. Connect to Ground or negative input voltage.

7Raveon Technologies Corp.
Pin 4 (Enable) is a black wire. Ground to disable product. Connect to Pin 1 or a
voltage > 2V to enable product, For enable voltages higher than 5V, put a 1K ohm
resistor in series with it.
2.7. LED Indicators
The TechSeries have 3 LEDs on their front panel:
PWR Power LED
The power LED blinks green every two seconds. To conserve energy, the blink is a
very short amount of time. If you look carefully at the PWR led, you will see the
periodic green flicker of light when the product is powered on.
STAT LED
The status LED indicates the status of the transmitter, receiver, and GPS.
Green: The receiver is receiving data over the air, or the channel is busy.
Red: The transmitter is transmitting data.
Orange: The GPS receiver in the product has not yet locked to the GPS satellites.
LINK LED
The LINK led is used on DART systems where the radio modem connects to a secure
network, and the LINK LED indicates the status. If the Dart system is not used, the link
LED will remain off.
Connected: The device is authenticated and can communicate on the network.
Red: The device is denied access to the network.
Off: The system does not use the LINK LED, or the user disabled it.
3. Tech Series I/O Interface Information
Products that are compatible with the Tech Series enclosure usually have an I/O mode
command to configure them for auto-detect of Tech Series I/O interfaces. ATIO is the
command. ATIO 8 sets the product to search the Tech Series front panel for
information about which panel is plugged into it.
3.1. RS-232 [ S ] 5T835
The RS-232 9-pin serial I/O connector is a female 9-pin D-subminiature connector
having the following pins configuration. It is pinned out so that it may be plugged
directly into a computer or PC’s 9-pin COM port.

8Raveon Technologies Corp.
Front-view of DB-9 connector on modem (female)
Pin
Name
Dir
Function
Level / Specification
1
CD
out
Carrier
detect
If enabled, indicates presence of carrier. Logical 0 (+ voltage on RS-
232) means carrier is present. Logical 1 (- voltage) means no carrier
detected. If disabled, it is asserted (0) whenever the modem is
operational, and not in the configuration mode. It will be a 1 when the
modem is in the configuration mode.
2
RxD
out
Receive
data
Data out of the modem. It is the data received over the air.
3
TxD
in
Transmit
data
Data into the modem.
Also used as digital input IN2 for exception reporting. GND or floating
for a 0, >3V for digital 1. If enabled for digital inputs, the serial data
entering this pin is ignored (except in the command mode). Use the
TRIGBITS command to set which bits are used as inputs.
4
DTR
in
Data
terminal
read
Normally ignored by the RV-M7 modem. May control the power-state
of the modem in low-power mode if this feature is enabled.
Also used as digital input IN0 for exception reporting. GND or floating
for a 0, >3V for digital 1. Use the TRIGBITS command to set which
bits are used as inputs.
5
GND
Ground
connection
Signal and power ground
6
DSR
out
Data Set
Ready
Normally is set to 0 when modem is powered on and running. Modem
sets to a 1 when in low-power mode.
7
RTS
in
Request to
send
or
IN1
Used to stop/start the flow of data coming out of the modem TxD pin.
0 = OK to send, 1 = don’t send. Leave disconnected if not used.
Also used as digital input IN1 for exception reporting. GND or floating
for a 0, >3V for digital 1. Use the TRIGBITS command to set which
bits are used as inputs.
8
CTS
out
Clear to
send
Used to stop the flow of data going into the RxD pin from the device
connected to the RV-M7. 0 = OK to send, 1 = don’t send. If the RV-
M7 cannot accept more data, it will negate this signal (level=1).
9
Power
In/out
DC power
User may supply the DC power to the modem on this pin.
Note: RS-232 signals use positive and negative voltages to represent digital 1s and 0s. A positive voltage is a 0,
and a negative voltage is a digital 1.
This pin-out allows it to be directly plugged into a computer’s 9-pin serial port using a
conventional 9-pin RS-232 serial cable. To connect it to a modem, or peripheral that
has a serial port, you will need a “null-modem” cable.
3.2. Analog [ A ] 5T838
The DB15 connector on the front panel has the following pin functions.
Pin#
Function
Description
1
MIC
Analog Input
2
Audio Out
Analog Output
3
RSSI
Radio Signal Strength Out
4
IOC
General IO –C
5
DTR
Digital DTR out
6
VIN
DC Voltage Input
7
V3
3./3V Output
8
RXD
RX data out, RS232 level

9Raveon Technologies Corp.
9
TXD
TX data in, RS232 level
10
CTS
CTS, 3V digital level
11
NC
No connect
12
PTT
Transmitter Enable Line. Active low. Input impedance is 10K.
TX Mode: Input < 2.9V RX Mode: > 3.0V or open circuit
13
NC
No connect
14
DCD
Data/Carrier Detect output. 0-0.1V no carrier, 2.2K pull-up resistor
to VIN when carrier is detected. The 2200ohm pull-up resistor is
driven by a MOSFET pulling it to ground when no carrier is present.
With a 12V DC input, this output can go to 12V.
15
GND
Ground, chassis and power gnd.
Pin 12 is the Push To Talk (PTT) input. It has a pull-up resistor of about 10K on it.
When PTT is low, the transmitter in the M8T will turn on, and output the audio signal on
pin 1.
When PTT is high, the M8T is in the receive mode, and the receive audio will be output
on pin 2.
On Tech Series products utilizing M8 radio modules, the PTT can be set to active high
via the ATPTT command.
There are a few commands designed specifically for use in configuring the operation of
the M8S in audio pass-through mode.
AFDC
Audio input DC offset –The DC bias level on the audio input in millivolt.
Adjust this setting so the audio transmissions are on the center of the
channel. Set to 0 to have the M8S auto-detect the average.
Range: -2000
- 2000
mV
0
AFLVL
Audio input level gain –internal gain of the audio input signal, in % .
Adjust this setting for the audio input deviation level.
Range: 0-
2000%
mV
100

10 Raveon Technologies Corp.
AFLIM
Audio deviation limit –Sets the peak audio deviation limit for TX audio
in the audio pass-through mode. In % of data deviation 100% limits audio
to same as data. .
Range: 0-
300%
100
TXTOT
Transmit Time-Out-Timer –Sets the maximum number of seconds that
the M8S will stay transmitting when the PTT input is asserted.
Range: 0-500
seconds
10
ATPTT
Push To Talk Polarity –Sets the PTT polarity. Default is active low (0)
and set to 1 for active high.
Range: 0-1
0
ATR2
Audio Frequency Response –In the audio mode use the ATR2 OTA
baud setting to set the audio frequency response. See table below
Range: 0-6
3
Receive Frequency Response:
Transmit Sampling Rate
Sampling Rate
ATR2 = 0
8kHz
ATR2 = 1
12kHz
ATR2 = 2
24kHz
ATR2 = 3
48kHz
ATR2 = 4
80kHz
ATR2 = 5
96kHz
ATR2 = 6
96khz

11 Raveon Technologies Corp.
The transmit audio input pin 1 is designed to have audio sent in with a 1.66 V DC bias.
If the audio input has a different DC bias voltage, the M8 can be reconfigured to use
the different DC bias offset. The AFDC sets the nominal DC bias voltage. Note, the
analog input range of the M8S is 0-3.3V. Ideally bias the DC input to 1.66V or AC
couple it with a capacitor and add two bias resistor to ground and 3.3V. One hundred
counts (or 100mV) will shift the frequency about .7kHz, use caution with this command.
To have the M8 determine the DC bias input automatically and use the measured DC
level as the DC input, set AFDC to 0 to have the M8 automatically find the DC input
bias and compensate for it.
The AFLVL command sets the DC gain of the TX audio input. With it set to 100%, an
audio signal with a peak-to-peak value of 500mV will produce +/- 2kHz of FM deviation.
With AFLVL set to 200, 250mV p-p input will give 2kHz p-p of FM deviation.
The AFLIM command sets a hard FM deviation limit, which will stop the M8 from
deviating the FM carrier beyond the preset limit when the input TX audio exceeds a
threshold that would cause the M8 to over-deviate.
Raveon suggests the AFDC, AFLVL, and AFLIM always be adjusted and calibrated by
trained radio technicians familiar with setting FM deviation gain and FM limiters.
The TXTOT command sets the transmit time-out-timer (TOT). The TOT protects the
radio and the system from damage and interference due to accidental over-keying of a
transmitter. Set the TXTOT value to the maximum number of seconds a TX audio
pass-through transmission should ever take. If the TXTOT times-out, the M8 will
automatically un-key, and not re-key again until the PTT line is negated, and then
some time re-asserted.
Typically, the audio output with a 2kHz FM deviation, will have a peak to peak of
300mV - 400mV and a DC offset around 500-1000mV. If you circuit does not
accommodate DC offset be sure to add a coupling capacitor.
3.3. USB [ U ] 5T837
The USB works as a serial to USB converter. This requires a FTDI USB driver. This
should automatically install to your computer when the radio is plugged in, if not,
please download the driver from the Raveon website.
3.4. RS-485 [ T ] 5T836-1
RS-485 is two-wire connection, with the pair of wires transmitting and receiving data.

12 Raveon Technologies Corp.
Pin #
Name
Direction
Function
Level / Specification
1
Do not connect this pin to anything.
2
B
I/O
B(+)
Non-inverting RS-485 data line
3
A
I/O
A(-)
Inverting RS-485 data in line
4
Do not connect this pin to anything.
5
Do not connect this pin to anything.
6
GND
-
Ground
Connect to earth ground.
The RS-485 differential line consists of two pins, A and B.
BTxD+/RxD+ aka non-inverting pin which is positive (compared to A) when the line
is idle.
ATxD-/RxD- inverting pin which is negative (compared to B) when the line is idle.
Configuring
The radio will auto-detect the 485 Tech Series board and set all necessary parameters
to enable RS485 communication.
The radio will only support RS485 Simplex. In simplex RS-485 mode, the radio’s serial
data receiver is internally disabled whenever it sends a character out the serial port, so
that it will not receive its own data.
If you wish to run the RS-485 in full-duplex mode using two radios, the interface must
be wired with two separate pairs of wires; A&B on one pair, and Out+ & Out- on the
other pair.
The radio’s RS-485 I/O circuit uses 3.3V logic to drive the lines, and the RS-485 pins
are ESD protected to ±15kV and 7kV human body model. Input current is less than
150uA. Output current when not driving the line is less than 50uA.
Simplex or Full Duplex
Simplex is the default. In simplex RS-485 mode, the serial data receiver is internally
disabled whenever it sends a character out the serial port, so that it will not receive its
own data nor will it receive data from any other device when it is sending data out.
If you want to use RS-485 full duplex with tri-state outs, utilize the RS-422 version of
the Tech Series panel, and use it in your system. RS-422 4-wire tri-state operates the
same as RS-485 4-Wire Tri-State Simplex.

13 Raveon Technologies Corp.
Tech Series RS-485 Interface
3.5. RS-422 [ F ] 5T836-2
RS-422 communications uses 4-wire differential signals. The Tech Series 422 board
has the following pin configuration.
Pin #
Name
Direction
Function
Level / Specification
1
MODE
I
T Mode
1(or Float) to default to tri-state simplex mode.
0(ground) to enable full duplex, dual mode output.
2
Y+
Out
Out+
Non-inverting RS-422 data OUT line
3
Z-
Out
Out-
Inverting RS-422 data OUT line
4
B+
In
In+
Non-Inverting data INPUT pin
5
A-
In
In-
Inverting data INPUT pin
6
GND
-
Ground
Connect to earth ground.
Configuring for RS-422 Dual-State (Duplex Communications)
The Tech Series enclosure will detect auto-detect the 422 Tech Series board and set
all necessary parameters to enable RS422 communication. The Tech Series hardware
connector is identical to the RS485 version.
Raveon’s RS-422 I/O circuit uses 3.3V logic to drive the lines, and the RS422 pins are
ESD protected to ±15kV and 7kV human body model. Output is tri-state (0, 1, and
Open circuit). Tri-State is used for full duplex communications.
RS-422 installations typically have a termination resistor across the Input and the
Output lines. A value of 150 ohms should work in most applications.
Connect Pin 1 (MODE) to ground to enable the Full Duplex Dual-State operation.

14 Raveon Technologies Corp.
Configuring RS-422 Tri-State (Simplex Communication).
To put the RS422 into a tri-state mode, do not connect pin 1 (MODE) to anything.
Leave it disconnected or set to 3.3V.
When the MODE pin is open or at 3.3V, the TX driver is in a tri-state mode, so
communications is Half Duplex, meaning the device cannot receive data when it is
sending data. 1-2mS after it sends out data, it can start receiving inbound data.
If you want to use RS-485 Simplex Tri-State outs, Order the RS422 version of the Tech
Series panel, and use it in your system. RS-422 4-Wire Tri-State operates the same as
RS-485 4-Wire Tri-State.

15 Raveon Technologies Corp.
As you can see, the MODE pin is not grounded, which is correct for simplex. If you want,
you can wire up the RS-422 Simplex to act like an RS-485 2-wire.
3.6. GPIO [ G ]
Uses the same IO connector as the RS-485, and has serial IO and general purpose IO
functions that are software configurable. The pin-numbers on this connector are
different than the RS-485 pin-out.
Pin #
Name
Direction
Function
Level / Specification
1
RX
In
Serial data Input
RS232
2
TX
Out
Serial Data Output
RS232
3
IO0
I/O
I/O Pin 0
Configurable General Purpose IO (GPIO).
Available Modes: A, C, E
4
IO1
I/O
I/O Pin 1
Configurable General Purpose IO (GPIO)
Available Modes: A, C, D, E
5
IO2
I/O
I/O Pin 2
Configurable General Purpose IO (GPIO).
Available Modes: A, C, D, E
6
GND
-
Ground
Connect to earth ground.
The GPIO pins have a variety of IO mode options. They are configured with the IOPIN
command. The configuration codes for the various modes are:
A Digital Input bit.
B Digital output bit. (Not supported in GPIO mode)
C Open drain MOSFET output.
D DC switched power output.
E Analog; voltage input
An RS232 serial cable can be connected to pins 1, 2, and 6 to
configure the internal radio modem and the MIMIC mode

16 Raveon Technologies Corp.
features. Here is a wiring diagram for an RS232 DB9 connector to be wired to the
GPIO connector.
Or contact Raveon to have the device pre-configured when it is purchased.
SCADA and Telemetry Use
The GPIO is an ideal interface for wireless SCADA and Telemetry systems. It can
operate as a Remote Terminal Unit (RTU) which saves cost in your system. The Tech
Series radio modems support MODBUS RTU communication messages, so Telemetry
systems can utilize MODBUS messages to read and manage the GPIOs. See
application note AN234 for details on how MODBUS is incorporated into these Tech
Series modems. AN230 has detailed information about the MODBUS communication
protocol.
Configuring
The radio will auto-detect the GPIO board and set all necessary parameters to enable
it. By default, the IO pins are set to digital inputs.
Summary of Input and Output functions.
IO pins 3, 4, and 5 can be configured with built-in commands to be either digital inputs,
digital outputs, analog inputs, switched DC power output, open-drain outputs.
Digital Input Specifications:
Low-level input voltage: Less than 0.5V
High-level input voltage: Greater than 2.2V
Input resistance: 5K-10K pull-down resistance.
Digital Output Specifications:
Low-level Output voltage: Less than 0.5V
High Level Output Voltage: 3.0 - 3.3V
Output resistance: 250 ohms
Open Drain Output Specifications:
Low-level Output voltage, on: 0V to 0.5V drawing less than 2.1A.
Open drain off leakage resistance 500uA, 0-5V, < 1mA 5-20V.
High Level Output Voltage, off: 0 - 20V
Output resistance, on: <250 milliohms to ground
Switched DC power output: (IO1 and IO2) IO0 does not have this capability.
Output voltage, on: Same as DC input, 90%-100%.
Maximum Output Current 2.0 amps
On state internal resistance 100-250mOhms.
Maximum reverse input voltage when off DC input + 150mV
Off output off leakage resistance 5-200uA
High Level Output Voltage, off: Same limit as RF board within the M21 enclosure.
Output resistance, on: <25 0 milliohms to
ground
Analog Input Specifications:
Low-level input voltage: 0V
High-level input voltage: Vin -1.0V. Vin is the voltage powering the Tech Series product.
Input resistance: 220K.

17 Raveon Technologies Corp.
3.7. FIO [ D ] Flexible IO
The Tech Series FIO Flexible IO version of the RV-M21 and RV-M22 series radio
modems is ideal for SCADA and telemetry. Here is a summary of the standard FIO
features. If you need other IO features or additional IO, please contact Raveon sales
personnel.
The FIO connector on the product is DB15 female.
The IO modes FIO pins can be set to are: A: Digital TTL Input, B: Digital TTL Output,
C: Open Drain MOSFET output. Please see the following table to see which FIO ports
can be used for which IO modes.
Pin #
Name
Direction
Function
Level / Specification
GPIO Modes
this pin can be
configured as:
1
VIN
DC Voltage Input
2
TxD
In
Serial Data Input. Data
to TX or command
inputs.
3
OD0
Out
Open Drain Out
C
4
IO0
I/O
I/O Pin 0 (digital bit 0)
Digital IO pin. Input or output.
A, B
12
IO1
I/O
I/O Pin 1
Digital IO pin. Input or output.
A, B
5
IO2
I/O
I/O Pin 2
Digital IO pin. Input or output.
A, B
13
IO3
I/O
I/O Pin 3
Digital IO pin. Input or output.
A, B
6
IO4
I/O
I/O Pin 4
Digital IO pin. Input or output.
A, B
14
IO5
I/O
I/O Pin 5
Digital IO pin. Input or output.
A, B
7
IO6
I/O
I/O Pin 6
Digital IO pin. Input or output.
A, B
15
IO7
I/O
I/O Pin 7
Digital IO pin. Input or output.
A, B
9
RxD
Out
RX serial data output.
RS232
10
VDIG
Digital Voltage
The internal IO port voltage
regulator outputs its voltage on
this pin.
A, B, C, D, E
8, 11
GND
-
Ground
An RS232 serial cable can be connected to pins 1, 2,
and 6 to configure the internal radio modem and the

18 Raveon Technologies Corp.
MIMIC mode features. Here is a wiring diagram for an RS232 DB9 connector to be
wired to the FIO connector.
Built in commands allow users to setup the FIO as they desire. Contact Raveon sales
to have the device pre-configured when it is purchased.
The FIO input pins’ state is measured and recorded every 50mS, and the status in the
input state registers is updated at this interval.
SCADA and Telemetry Use
The FIO is an ideal interface for wireless SCADA and Telemetry systems. It can
operate as a Remote Terminal Unit (RTU) which saves cost in your system. The Tech
Series radio modems support MODBUS RTU communication messages, so Telemetry
systems can utilize MODBUS messages to read and manage the FIOs. See
application note AN234 for details on how MODBUS is incorporated into these Tech
Series modems. AN230 has detailed information about the MODBUS communication
protocol.
Summary of Input and Output functions.
IO pins 4, 5, 6, 7, 12, 13, 14, 15 can be configured with built-in commands to be either
digital inputs, digital outputs.
Digital Input Specifications:
Low-level input voltage: Less than 0.5V
High-level input voltage: Greater than 2.2V
Input resistance: Floating, > 2K resistance.
Digital Output Specifications:
Low-level Output voltage: Less than 0.5V
High Level Output Voltage: 3.0 - 3.3V
Output resistance: 330 ohms.
4. GPIO and FIO Commands and Configuration
Application Note AN234 has more information about how to use the Tech Series Radios
for SCADA Applications. Here is a summary of the information.
For many SCADA systems, the Tech Series GPIO interface is the ideal interface to
monitor remote devices or control them. The ones with serial interfaces such as RS-232,
USB, and RS485 can be connected to a SCADA controller or HMI to communicate with a
remote Tech Series radio modem that has the GPIO interface.
4.1. SCADA and Telemetry Commands
The following commands are powerful SCADA and telemetry features in Tech Series devices.

19 Raveon Technologies Corp.
Command
Command Description
Parameters
Default
Settings
ATS330
ATS310 B SSSS Read or Configure the Pulse Counter. Bis the bit
number (0-15) that is being configured or read. SSSS is the integer value
to set it to. Set SSSSto 0 to reset the counter to 0. For example,
ATS300 4 0 will reset bit 4 (5th bit) to 0.
B: 0 - 15
SS: 0 - 65536
0
ATS331
ATS310 B SSSS Read or Configure a Reset Time used to reset the
bit’s Pulse Counter to 0. B is the bit number (0-15) that is being
configured. SSSS is the interval number of seconds that the transition
counter (pulse counter) will be reset to 0. Set SSSSto 0 to disable this
feature on the bit, and never automatically reset the counter.
B: 0 - 15
SS: 0 - 65536
0
ATS332
ATS310 B SSSS Read or Set an UP Timer. UP Timer is the number of
milli-seconds an input is UP (digital 1). UP Timer ticks up Bis the bit
number (0-15) that is being read or configured. SSSS is the new integer
timer value.
B: 0 - 15
SS: 0 - 65536
0
ATS333
ATS310 B SSSS Read or Configure a Down Timer. Down Timer is the
number of milli-seconds an input is Down (digital 0). Down Timer ticks up
Bis the bit number (0-15) that is being read or configured. SSSS is the
new timer value if you want to change it.
B: 0 - 15
SS: 0 - 65536
0
CALADC
CALADC X V.VV Used for calibrating the ADC input. By default it is 1V
per V, but users may recalibrate for other scaling factors. V.VV is the
voltage input in mV. X is the input pin numer 0 through… CALADC 1
2.50 calibrates using input 1 to measure the current voltage as 2.5V. All
inputs are then re-calibrated.
ADCMV
ADCMV xxxx Get/ set the ADC resolution. The value is mV per 100
ADC steps on the internal ADC converter. 1140 would mean an ADC
value of 200 is 2.28V.
GOUT
GOUT Get the output bit register in hexadecimal format. Example: will
return 00C3 if bits 0, 1, 14, 15 are set(1) and all other clear (0).
Returns Hex value,
16 bits max.
GVOLT
GVOLT X Get/read the voltage on an input X.
Returns floating
point, 3 decimal
places. .
GIO
GIO –Get the status of Output bit, Input bits and Analog values
GINP
GINP Get the input bit register in hexadecimal format. Example: will
return 00C3 if bits 0, 1, 14, 15 are set(1) and all other clear (0).
Returns Hex value,
16 bits max.
CBIT
CBIT XX Clears output bits, XX is hexadecimal format. Any bit in x set to
1 will cause the same output bit in the modem’s output register to be
cleared to 0. No bits get set. X=C3 to set bits 0, 1, 14, 15. To read the
output bit register, enter CLRBIT with no parameter or better to use
GETOUT command.
0-FF
SBIT
SBIT XX Sets output bits, XX is hexadecimal format of the bits being set.
Any bit in x set to 1 will cause the same output bit in the modem’s output
register to be set. No bits get cleared. X=C3 to set bits 0, 1, 14, 15. To
read the output bit register, enter SETBIT with no parameter or better to
use GETOUT command.
0-FF
0
TBIT
TBIT XX MMM Sets output bits for a specific time, XX is hexadecimal
format of the bits. Any bit in x set to 1 will cause the same output bit in the
modem’s output register to be set. MMM is in mS. 1000=one second,
60000=one minute,…To set bit #3 to 1 for 250mS: TBIT 4 250 After the
time expires, the bits that was st in XX is cleared to 0.
0-FF
2 –4000000000
(2mS –1100hours)
CNTTM
CNTTM B SS Configure a timer to reset the bit’s binary counter. Bis the
bit number (0-15) that is being configured. SS is the interval number of
seconds that the transition counter will be reset to 0. Set SS to 0 to never
automatically reset the counter.
B: 0 - 15
SS: 0 - 65536
IOPIN
IOPIN XX M Set the GPIO bits on the Tech Series GPIO front panel to
inputs or outputs. XX parameter are the hexadecimal representation of
the pins being configured. M is the mode for the XX pins. Mode M values:
A:Digital TTL Input, B:Digital TTL Output. C:Open Drain MOSFET output,
D:DC Power switch output. E:Analog Input X:Unused pin.
XX=Hex 00-FF
M=(A,B,C,D)
7
(Digital Inputs)

20 Raveon Technologies Corp.
The Tech Series SCADA features support custom “safe zones” and alert you automatically
if the sensor detects conditions outside of that range. Some safe zone settings can report: On,
OFF, XX number of transitions, pulses per second, pulses per minute.
Application Note AN234 has details on how the Tech Series modems can be used as
Remote Terminal Units (RTUs) and a Slave devices. There are many SCAD and
Telemetry features to look into:
1. How to configure the IO pins
2. How to use TTL digital IO, switched DC out, open collector, analog input,
voltage inputs, internal sensors…
3. How to read and set parameters.
4. How to configure the device for Pulse Counting.
5. How to setup alert thresholds for automatic reports.
5. RV-M22 and RV-M21 series products Warranty
Limited One Year Warranty
If within 12 months from date of purchase, this RV-M21 Tech Series Product fails conforms to Raveon
Technologies Corporation’s (the Company) published specifications for the model purchased due to a
defect in material or workmanship, Raveon Technologies Corporation will repair or replace it, at
Raveon’s sole discretion. This warranty is extended to the original purchasing end user only and is not
transferable. Any claim for breach of warranty must be brought to the Company’s attention within such
twelve (12) month period and the Product must be returned for action on any such claim within twelve
(12) months from the date of purchase Within a reasonable period of time after a claim, the Company
will correct any failure of the Product to conform to specifications or any defect in materials or
workmanship, or replace the Product, or at its option provide a full refund of the purchase price. A
repaired or replaced Product is warranted for 90 days from the date of return shipment to the buyer, or
for the balance of the original warranty period, whichever is longer. These remedies are the buyer’s
exclusive remedies for breach of warranty.
This warranty does not apply to: (a) product damage caused by accident, dropping or abuse in handling,
acts of God or any negligent use; (b) units which have been subject to unauthorized repair, opened,
taken apart or otherwise modified; (c) units not used in accordance with instructions; (d) damages
exceeding the cost of the product; (e) batteries; (f) the finish on any portion of the product, such as
surface and/or weathering, as this is considered normal wear and tear; (g) transit damage, initial
installation costs, removal costs, or reinstallation costs; (h) damage due to lighting, floods, fire, or
earthquakes (i) any product, components or parts not manufactured by the Company (j) defects caused
by failure to provide a suitable installation environment for the Radio; (k) damage during shipment; (l)
that the Product will be free from any claim for infringement of any patent, trademark, copyright or other
proprietary right, including trade secrets.
RAVEON TECHNOLOGIES INCORPORATED WILL NOT BE LIABLE FOR INCIDENTAL OR
CONSEQUENTIAL DAMAGES ARISING DIRECTLY OR INDIRECTLY OUT OF THE OWNERSHIP,
USE OR OPERATION OF THE RADIO REGARDLESS OF WHETHER SUCH DAMAGES ARE
PREDICATED OR BASED UPON BREACH OF WARRANTY, BREACH OF CONTRACT,
NEGLIGENCE, STRICT TORT, OR ANY OTHER LEGAL THEORY. SUCH DAMAGES INCLUDE,
BUT ARE NOT LIMITED TO, LOSS OF PROFITS, LOSS OF SAVINGS OR REVENUE, LOSS OF USE
OF THE RADIO OR ANY ASSOCIATED EQUIPMENT, COST OF CAPITAL, COST OF ANY
SUBSTITUTE EQUIPMENT, FACILITIES OR SERVICES, THE CLAIMS OF THIRD PARTIES,
INCLUDING CUSTOMERS AND INJURY TO PROPERTY. SOME STATES DO NOT ALLOW THE
EXCLUSION OR LIMITATION OF INCIDENTAL OR CONSEQUENTIAL DAMAGES, SO THE ABOVE
This manual suits for next models
2
Table of contents
Other Raveon Modem manuals

Raveon
Raveon RV-M8S User manual

Raveon
Raveon RF Neulink NL900PRO User manual

Raveon
Raveon RV-M8-UC series User manual

Raveon
Raveon RV-M7 User manual

Raveon
Raveon Daisy RV-M50-E User manual

Raveon
Raveon RV-Z50 User manual

Raveon
Raveon RV-D80-EB User manual

Raveon
Raveon RV-M50 User manual

Raveon
Raveon RV-M7 User manual

Raveon
Raveon RV-M80-EA2 User manual
Popular Modem manuals by other brands

Belkin
Belkin F5D7632uk4v3000 user manual

NETGEAR
NETGEAR DM602 - ADSL-Modem - 8 Mbps DSL Modem installation guide

Commzgate
Commzgate CG-ONE quick start guide

Moxa Technologies
Moxa Technologies OnCell G2151I Series user manual

Globe
Globe Tattoo Prepaid Kit user guide

cogeco
cogeco TG3452A Self-installation guide