Failure to follow instructions associated with this symbol risks injury or even death!
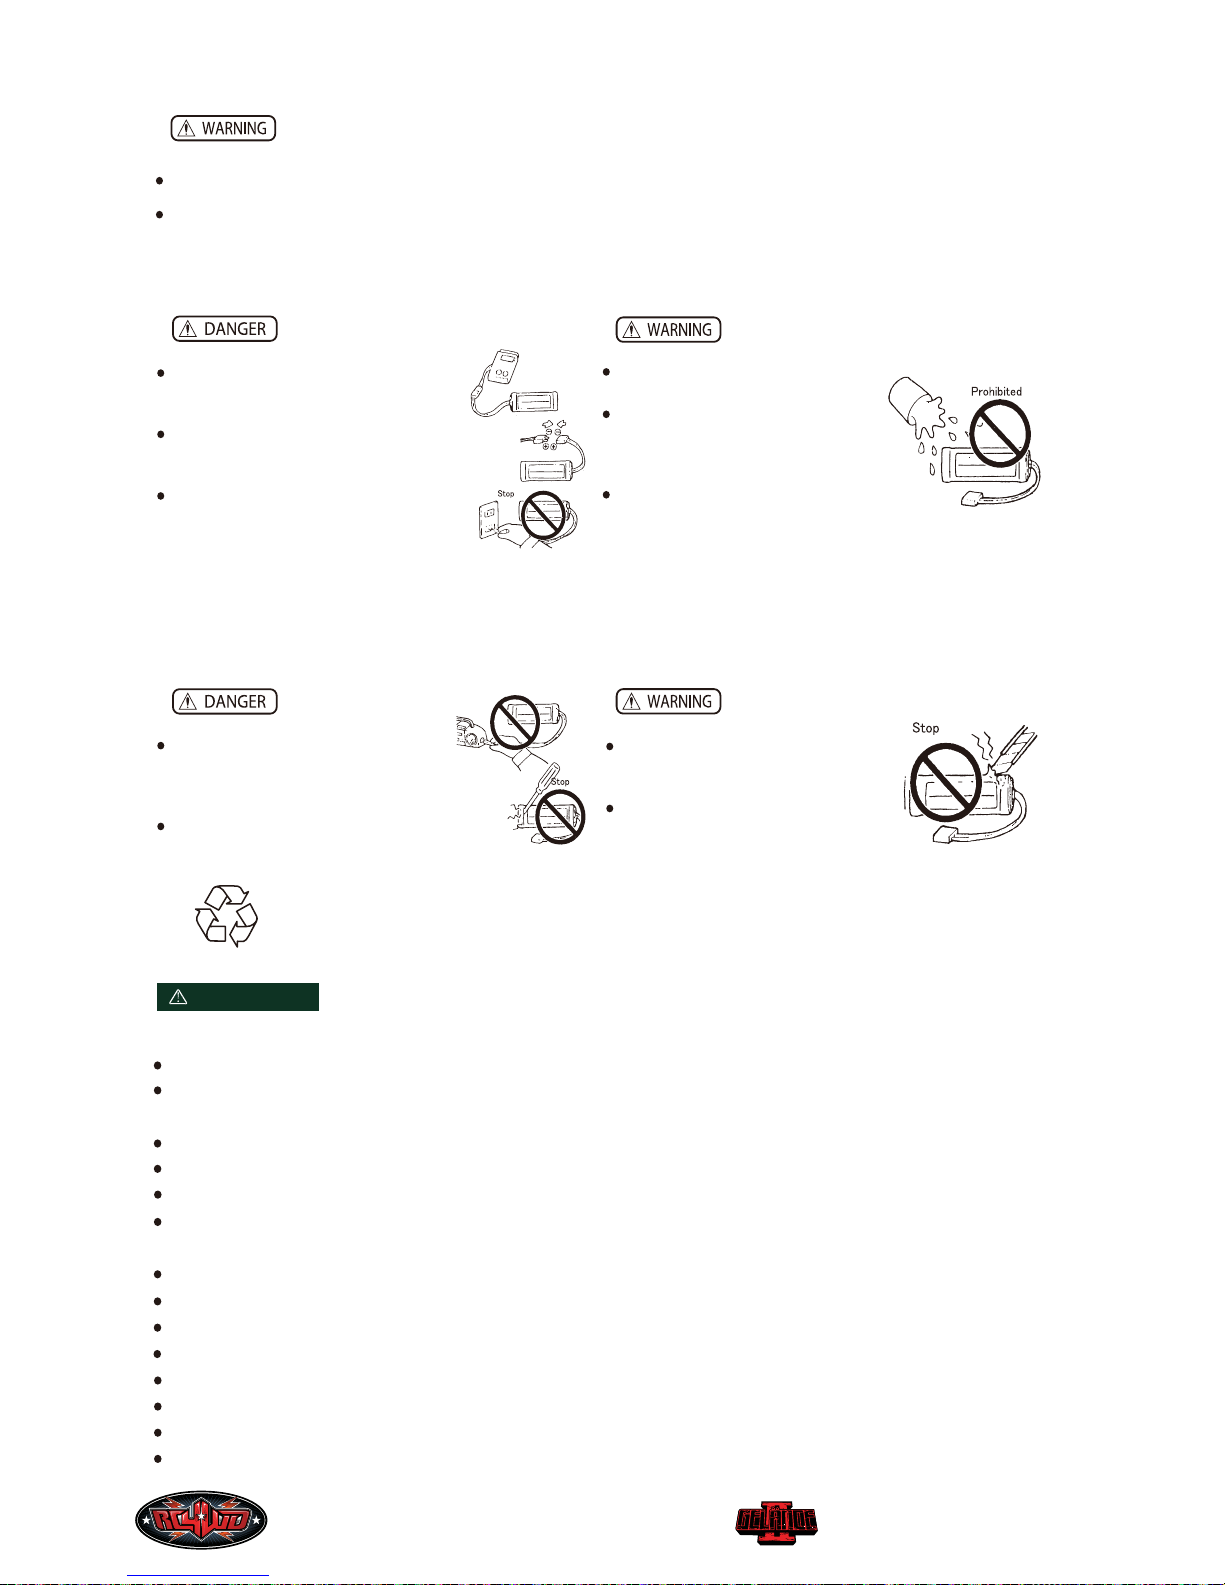
Avoid battery liquid contact with skin and clothing.
If contact occurs, remove contaminated clothing and wash skin thoroughly with water.
NEVER place a battery into water.
IF you experience irregular noise,
temperature or any leaking from your
battery, stop using it immediately!
KEEP battery away from exposed flame,
high temperatures and humidity.
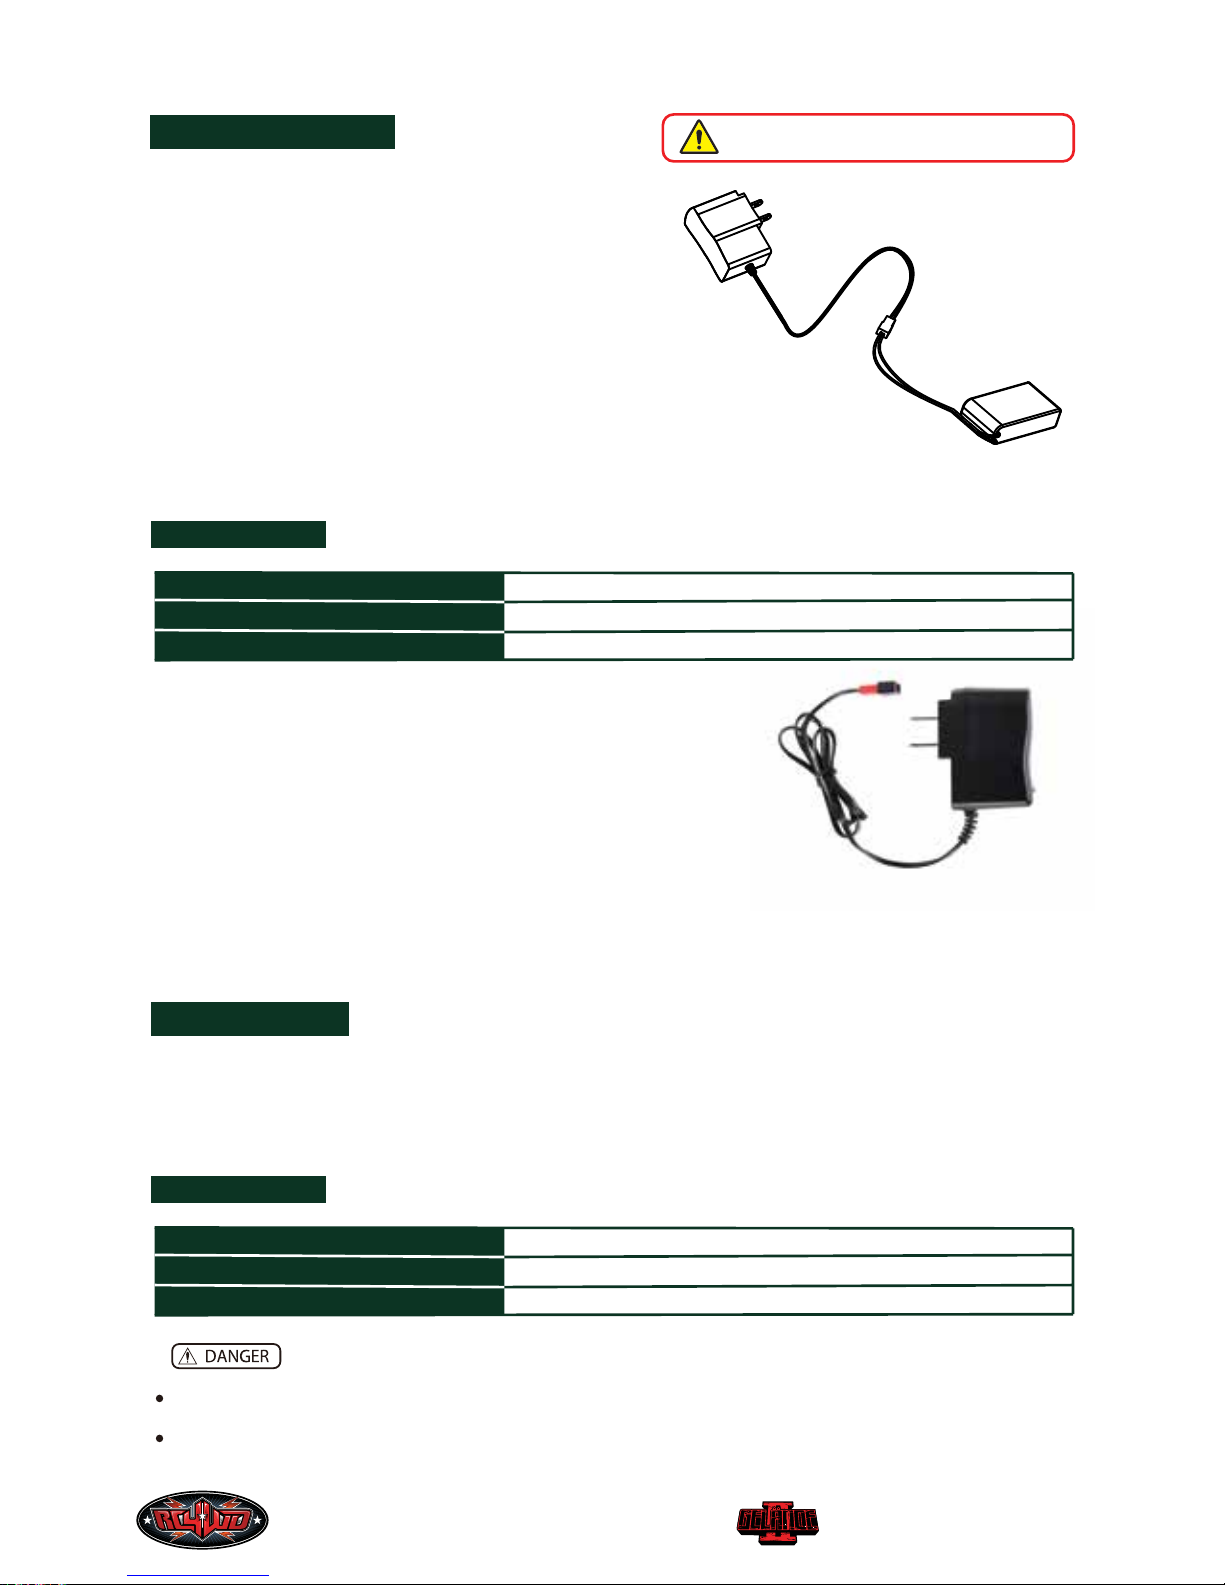
ONLY use genuine charger unit for
recharging brand LiPo batteries.
ENSURE polarity is correct when plugging
a battery into the charger unit.
NEVER plug a battery directly into
household outlets or cigarette lighters
in cars!
Before Use: Read and understand the battery and charger operating instructions before recharging.
NOTE: Before any use of this battery, ensure that it is fully charged.
During use: Always monitor a battery while it’s charging so you can react to any unexpected
problems.
LiPo batteries are ONLY for use in
R/C (radio control) models! Do NOT
use them for any other purpose!
NEVER disassemble or modify a battery!
Do NOT remove or cut the outer tube
from battery!
DISCONTINUE charging immediately
if the charge time has been exceeded,
even if the battery is not fully charged.
Battery is recyclable. At the end of its useful life, under various national, state or local laws, it may be
illegal to dispose of a battery into the municipal waste stream. Check with your local solid waste officials
for details in your area for recycling options or proper disposal.
WARNING
Before using, customers must read information below:
Use caution when holding the battery. Do not drop or attempt to dismantle the battery or any parts of the battery.
Do not mix usage of old and new cells or cells of different sizes, different chemistry and/or types in the same battery
assembly.
Do not heat or dispose of battery into fire, water and/or other liquids.
Do not place the battery into microwave, washing machine and/or drying machine.
Do not use a damaged battery (such as swollen, deformed, voltage is lower than 0.9V, destroyed, etc.)
Do not place batteries near heating sources or expose to direct sunlight for long periods. Elevated temperatures
may result in reduced battery life cycle.
Do not short-circuit the battery’s positive and negative terminals.
Do not charge, discharge or store the battery above or below the battery specifications.
Do not disassemble the battery.
Before charging battery, ensure polarity is correct.
Keep battery far away from easily flammable objects and children while charging.
Do not charge when battery is hot to the touch. Allow battery to cool before recharging.
Never leave batteries unattended while charging.
Do not leave battery installed in your model while not in use. Do not charge the battery while installed in models.
LiPo
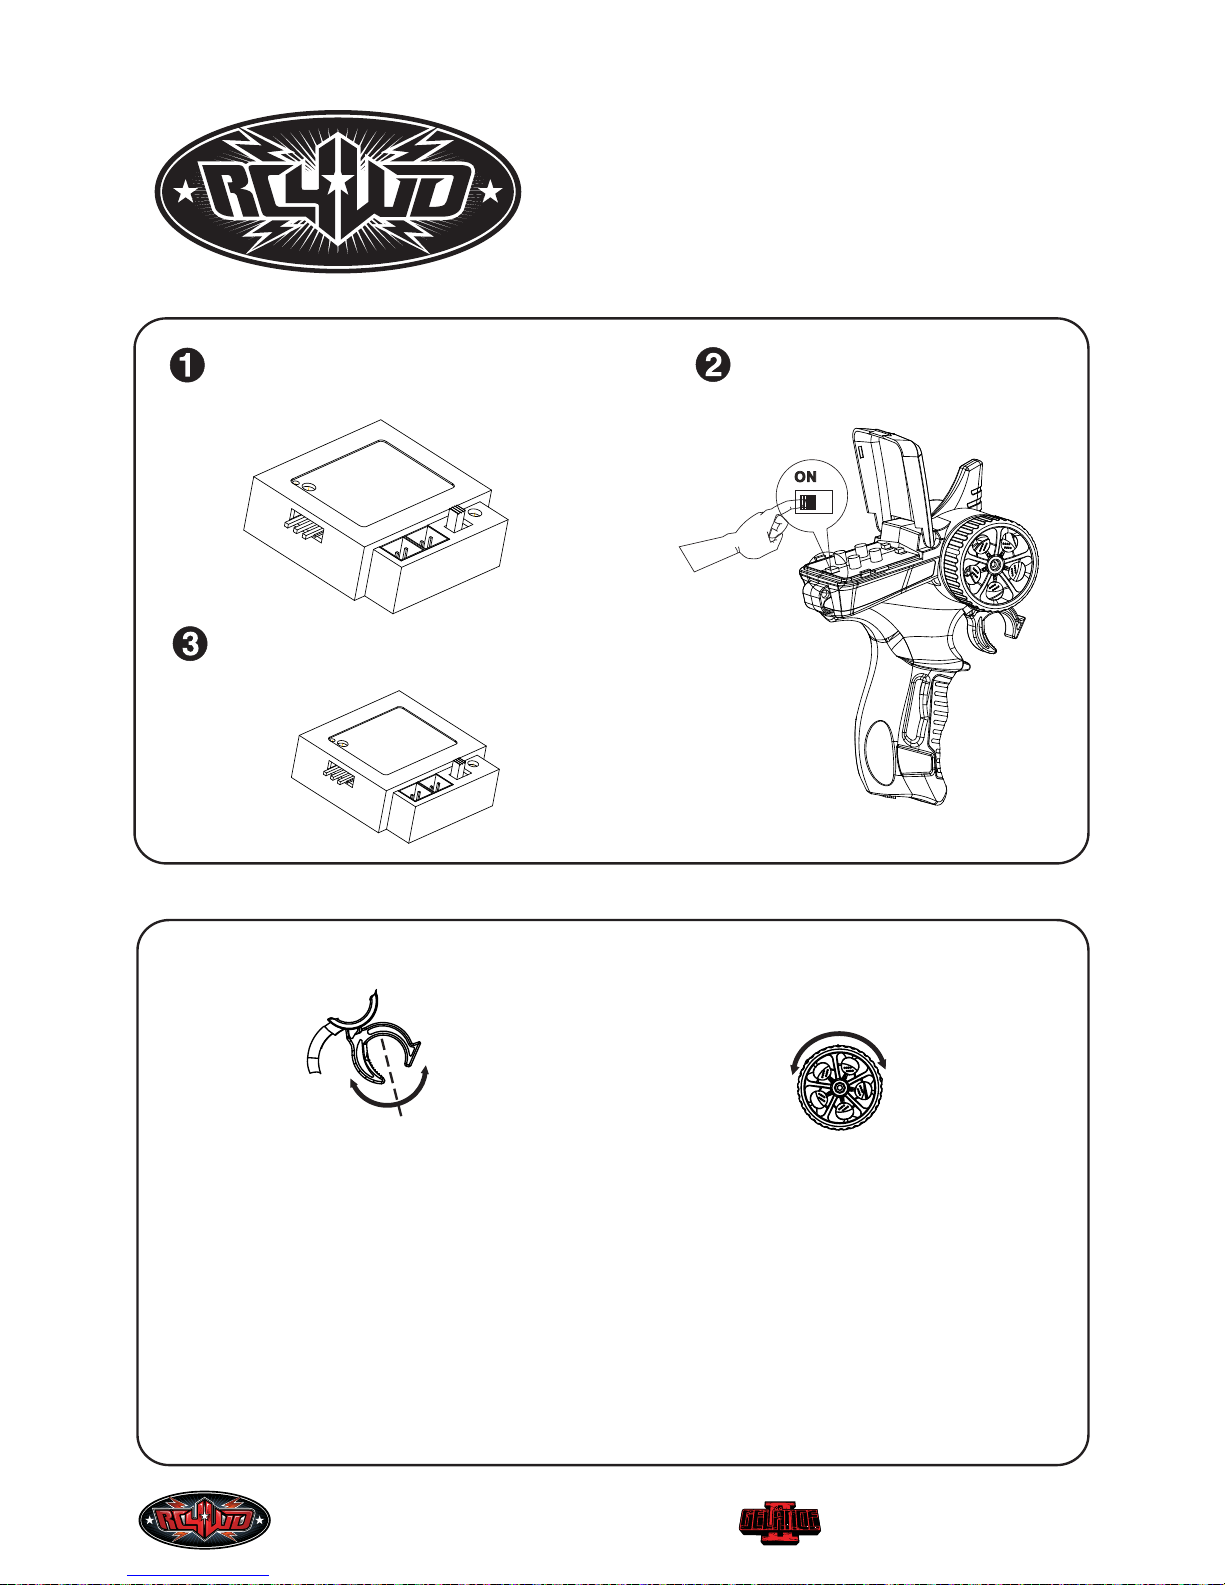
1/18 Gelande II Scale RTR Truck
4