Caution! Please read the
accompanying documents!
The symbol Caution! indicates a source
of danger. It draws your attention to a
working routine, a method of working,
a condition or other situation which
may lead to physical injury if
performed incorrectly or with
insufficient care.
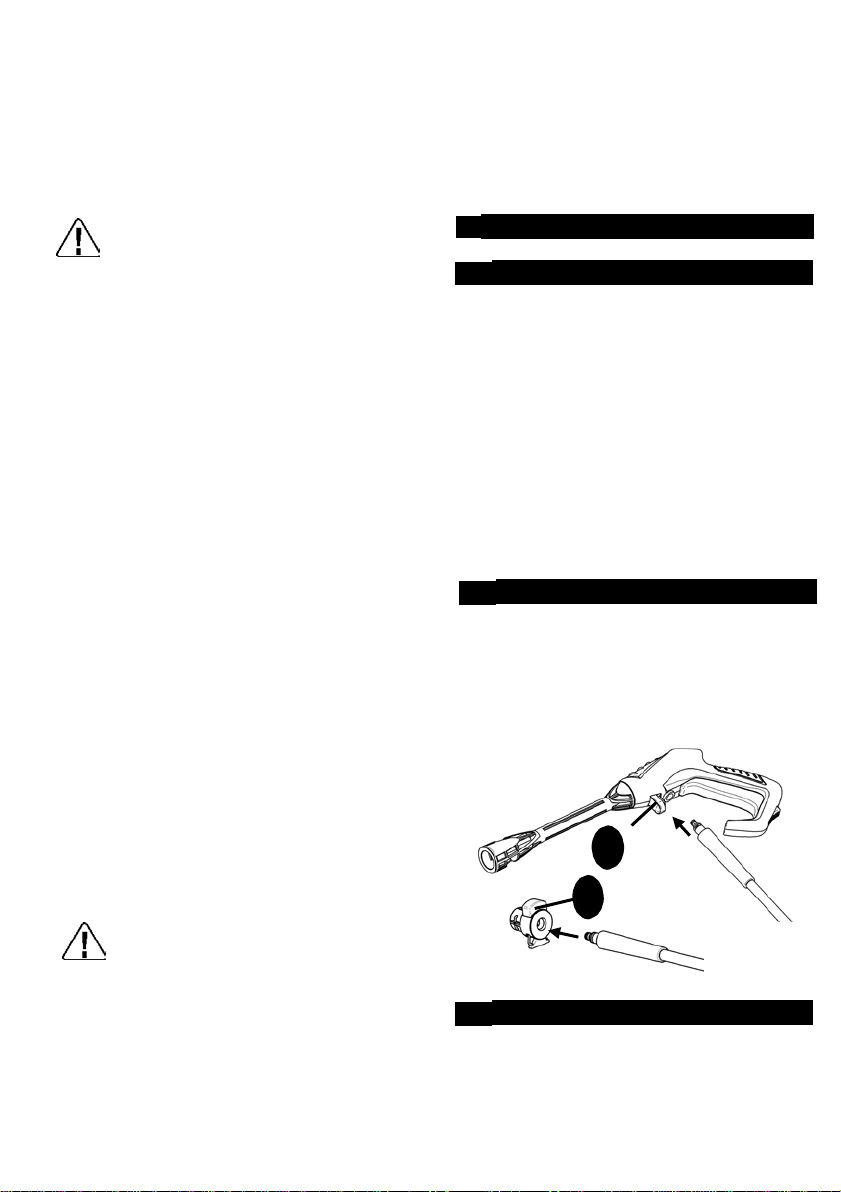
Warning Sign on the
Device
Never point the high-pressure jet at
people, animals, the device itself or
electrical parts.
5. GENERAL SAFETY INSTRUCTIONS
Read the operating instructions
carefully before putting the
appliance into operation and keep
the instructions including the
warranty, the receipt and, if
possible, the box with the internal
packing.
The appliance is designed
exclusively for private use and for
the envisaged purpose. This
appliance is not fit for commercial
use .The device is intended for
conditional use out of doors. Please
keep it away from heat, direct
sunlight, moisture and rain (it must
never be immersed into liquids),
frost and sharp edges. Do not use
the appliance with wet hands. If the
appliance is humid or wet, unplug it
immediately. Do not put it in water.
When cleaning or putting it away,
switch off the appliance and always
pull out the plug from the socket
(pull on the plug, not the cable) if
the appliance is not being used and
remove the attached accessories.
Do not operate the machine without
supervision. If you should leave the
workplace, always switch the
machine off or remove the plug from
the socket (pull the plug itself ,not
the lead).
To protect children from thedangers
posed by electrical appliances,
make sure that the cable is hanging
low and that children do not have
access to the appliance.
Check the appliance and the cable
for damage on a regular basis. Do
not use the appliance if it is
damaged.
Do not try to repair the appliance on
your own .Always contact an
authorized technician. To avoid the
exposure to danger, always have a
faulty cable be replaced only by the
manufacturer, by our customer
service or by a qualified person and
with a cable of the same type.
Use only original spare parts.
Pay Careful attention to the
following “Special Safety
Instructions”.
If the high-pressure washer is
handled incorrectly, this may prove
hazardous for individuals and
materials. Children and young
people are often not able to
evaluate risks. They should
therefore not be allowed to operate
the device.