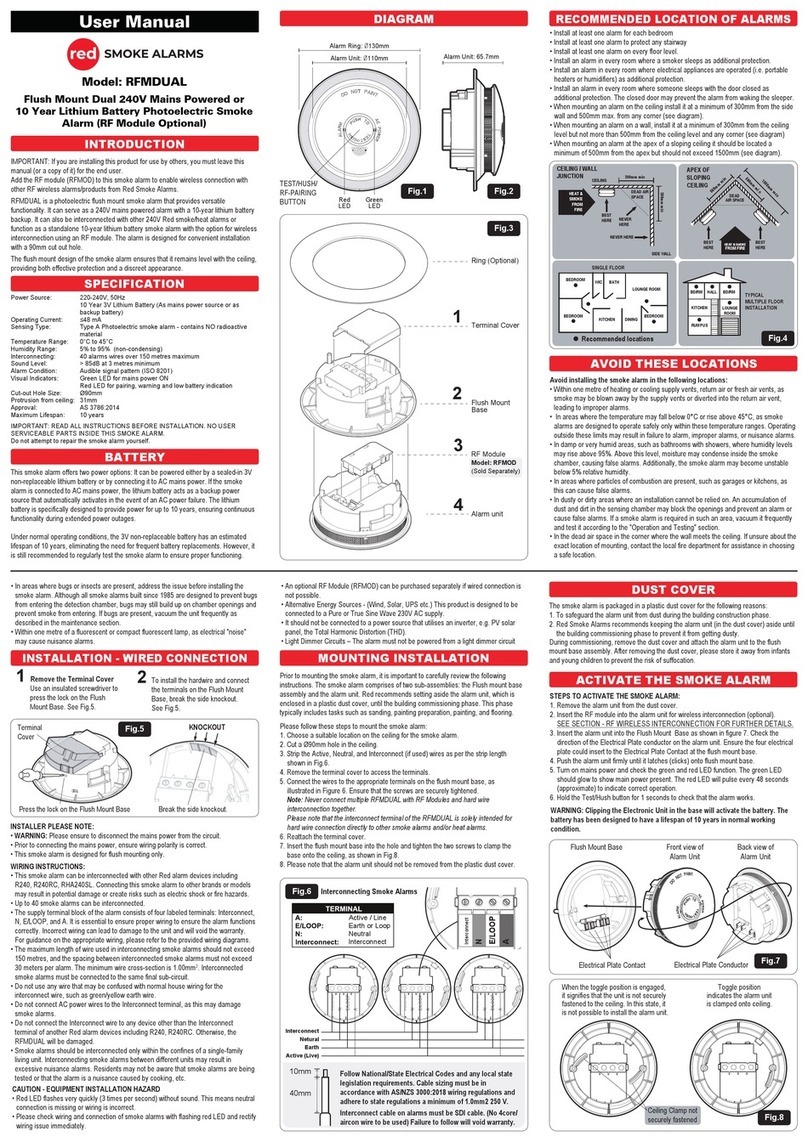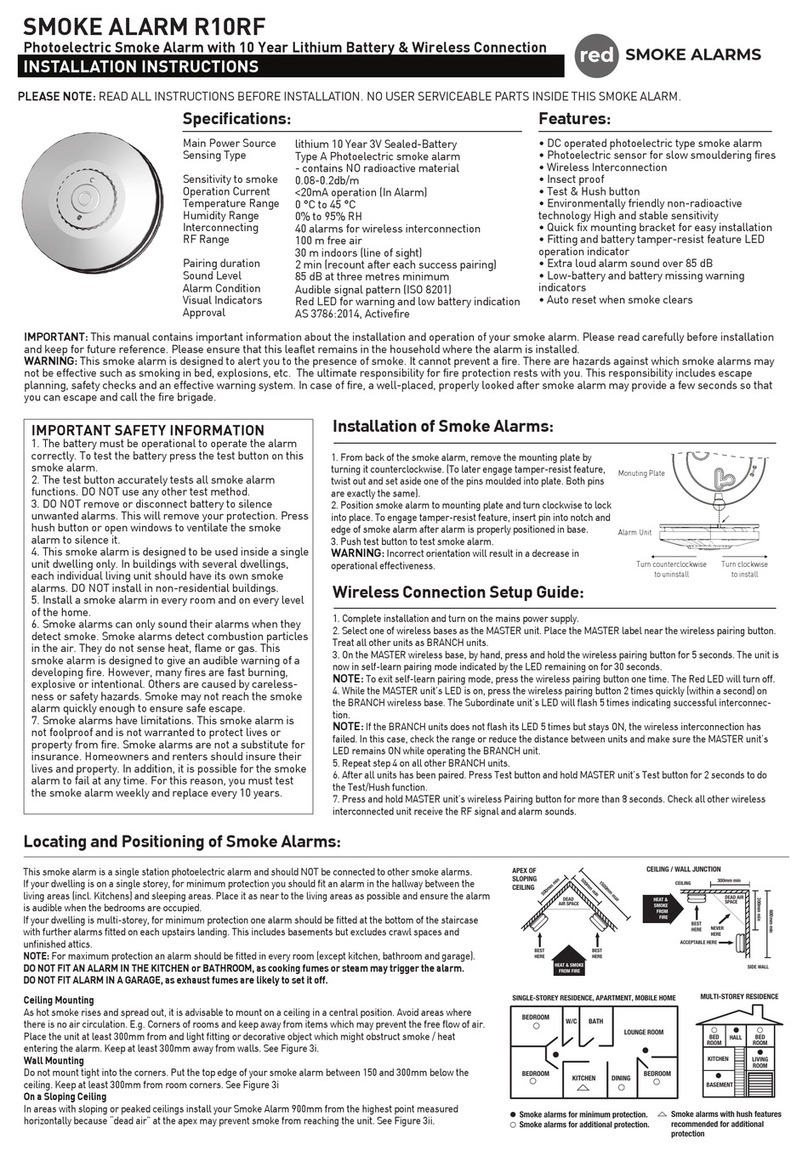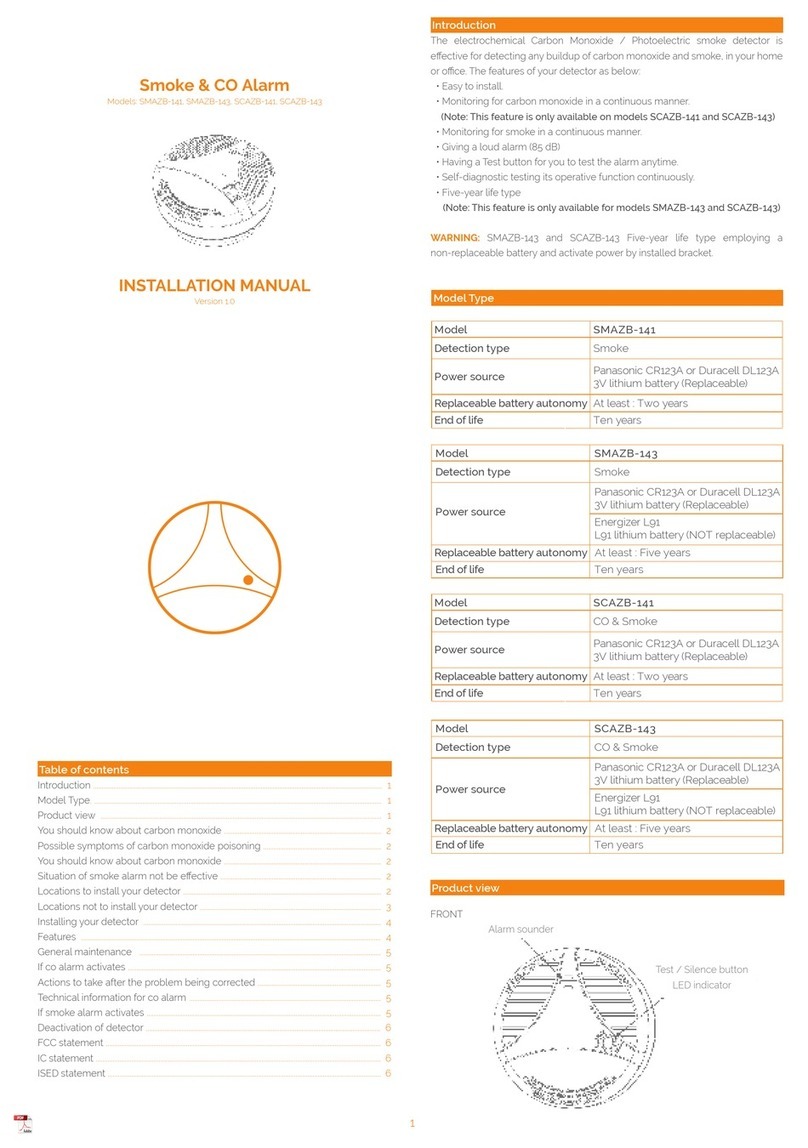
INSTRUCTION MANUAL
Model: RWB2
Red Wireless Base with 10
year 3V Lithium Battery
Backup and Conduit Adaption
SMOKE ALARMS
Main Power Source 220-240V ac, 50 Hz
Secondary Power Source 3V Sealed Lithium battery
Operating Current ≤40 mA
Temperature Range 0 °C to 45 °C
Humidity Range 5% to 95%
Interconnecting Wired/wireless interconnect up to 40
alarms over 150 metres maximum
Transmit Frequency 433.92 MHz
RF Range 100 m free air
30 m indoors (line of sight)
Terminals Active, Neutral, Loop and Interconnect
terminals each accommodates 2×1.5 mm
Pairing duration 2.5 mins (recount after each success
pairing)
Visual Indicators Red LED for pairing, warning and low
battery indication
Approval AS4268, AS/NZS CISPR 32:2015
• The Red Wireless base V2 is specifically engineered for cable/con-
duit installation, serving as an RF wireless interconnect base
intended for use with Red Smoke Alarms R240 and R240RC
smoke alarms.
• Not compatible with 3rd party products, systems or fire panels.
• Not compatible with model R10 and R9.
• Achieve wireless interconnection with the RF Lithium Battery
powered smoke alarm R10RF.
• This product must be installed by a licensed electrician. Incorrect
installation may lead to the risk of fatal electric shock or fire hazard.
• There are two available side knockouts for conduit surface mount,
each with a knockout space measuring 20x22mm.
• There is one internal knockout available for ceiling internal mount,
with a knockout space measuring 17x42mm.
• A RF Pairing Button located on the side allows for easy and
efficient wireless pairing.
• A plastic cover is provided to prevent any exposure of cables and
wires.
IMPORTANT - EQUIPMENT INSTALLATION
HAZARD
• Only install indoors.
• All interconnected smoke alarms (max 40) must be supplied from
the same interconnection. A common Neutral must be from the
same interconnection. A common Neutral must be used for the
interconnect to operate.
• DO NOT connect the interconnect wire to Active or Neutral.
WARNING: Failure to follow these instructions may result in
equipment damage or injury.
Wireless Connection Setup Guide:
1. Complete installation and turn on the mains power supply.
2. Select the wireless base with a smoke alarm as the MASTER
unit. Place the MASTER label near the RF pairing button. Treat all
other units as BRANCH units.
3. To initiate the self-learn process on the MASTER wireless base,
press and hold the RF pairing button manually for 5 seconds. The
unit will enter the self-learn mode, indicated by the LED remaining
illuminated for 2.5 minutes.
NOTE: To exit self-learn pairing mode, press the RF pairing button
once. The Red LED will turn off.
4. While the LED of the MASTER unit is illuminated, pair the
BRANCH units by quickly pressing their RF pairing button two times.
The LED of the BRANCH unit will flash five times, indicating
successful interconnection.
If a BRANCH UNIT fails to flash its LED five times, it indicates that
the wireless connection has not been successful. In such cases,
please verify that the LED of the MASTER unit remains illuminated
and is still in self-pairing mode while pairing the BRANCH unit.
Ensure that only one unit is designated as the MASTER, while all
others are subordinate BRANCH units. If reactivating the master
self-pairing mode, previously paired units do not need to be paired
again.
Hardwire Installation & Interconnect Guide:
WARNING: Please ensure to disconnect the mains power from the
circuit.
1. Remove the plastic cover, use a screwdriver to loosen both
security screws.
2. To surface mount the device with conduit, remove the two side
knockouts. Alternatively, for internal ceiling mounting, remove the
internal knockout.
3. Securely attach the mounting base to the ceiling using screws
and route the house wires through it.
4. Connect the house wires to the terminal block on the mounting
base.
5. Repeat step 4 on all other BRANCH units.
6. After all units has been paired, exit self-pairing mode on the
master unit, then press and hold the MASTER unit’s Test/Hush
button until all other wireless RF interconnect units alarm sound (It
may take some time for all units to sound the alarm.)
Cable
Entry
Hinge
RF Pairing
Button
Latch
Ceiling Screw
Hole
Plastic Cover
Phillips Head
Security Screws
Mounting Base
Knockout
Knockout
Fig.1
RF Pairing Button
Fig.3
LED INSIDE HOUSING
ILLUMINATES WHILE
BUTTON IS PRESSED
Mounting Base: Ø140mm 36.5mm
Electrical terminal index:
A: Active / Line
E/LOOP: Earth or Loop
N: Neutral
I: Interconnect
Fig.4
Active
Neutral E/loop
Interconnect
Cable
WARNING: Never hardwire the
Live/Neutral to the interconnect
terminal as this will damage the
alarm device.
WARNING: Never use E/loop
wire for interconnect wiring.
Fig.2
Refer to the manual for more details on the correct circuit wiring.
5. Cover all the wires with the plastic cover, use a screwdriver to
tighten the plastic cover with the security screws.
6. Attach the Red Smoke Alarm main unit to the hinge of the
mounting base by clipping it, and secure the unit by locking it with
the latch.
Product Description
Feature
Specifications:
