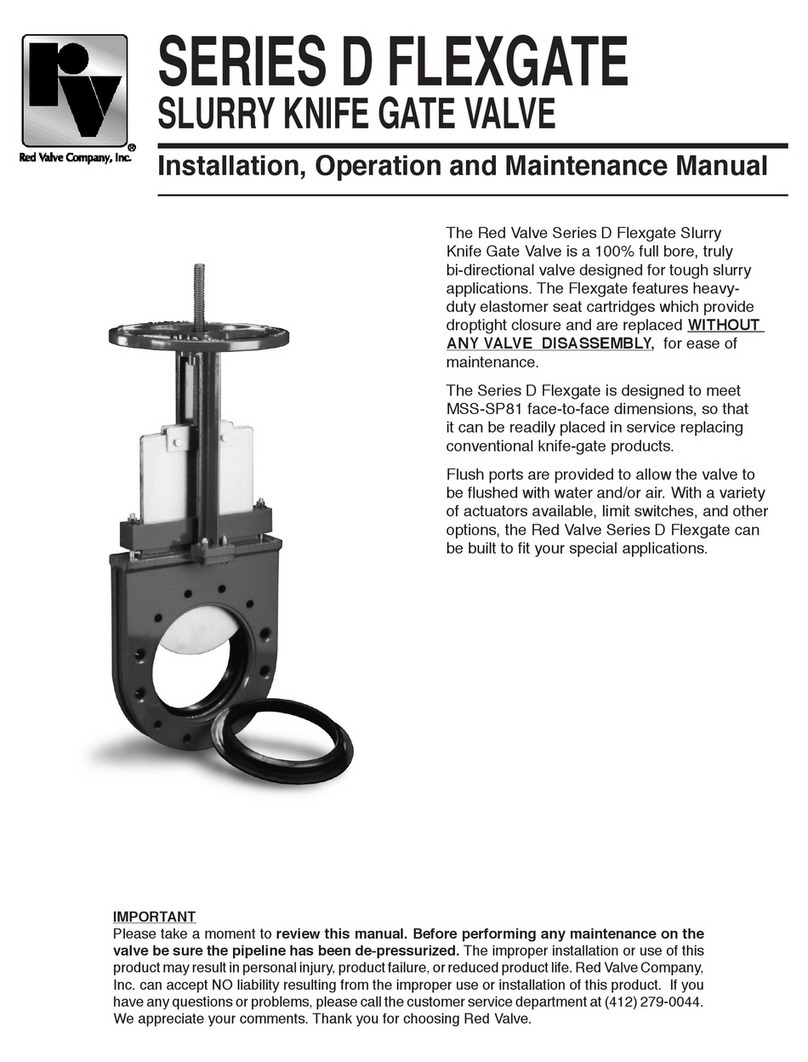
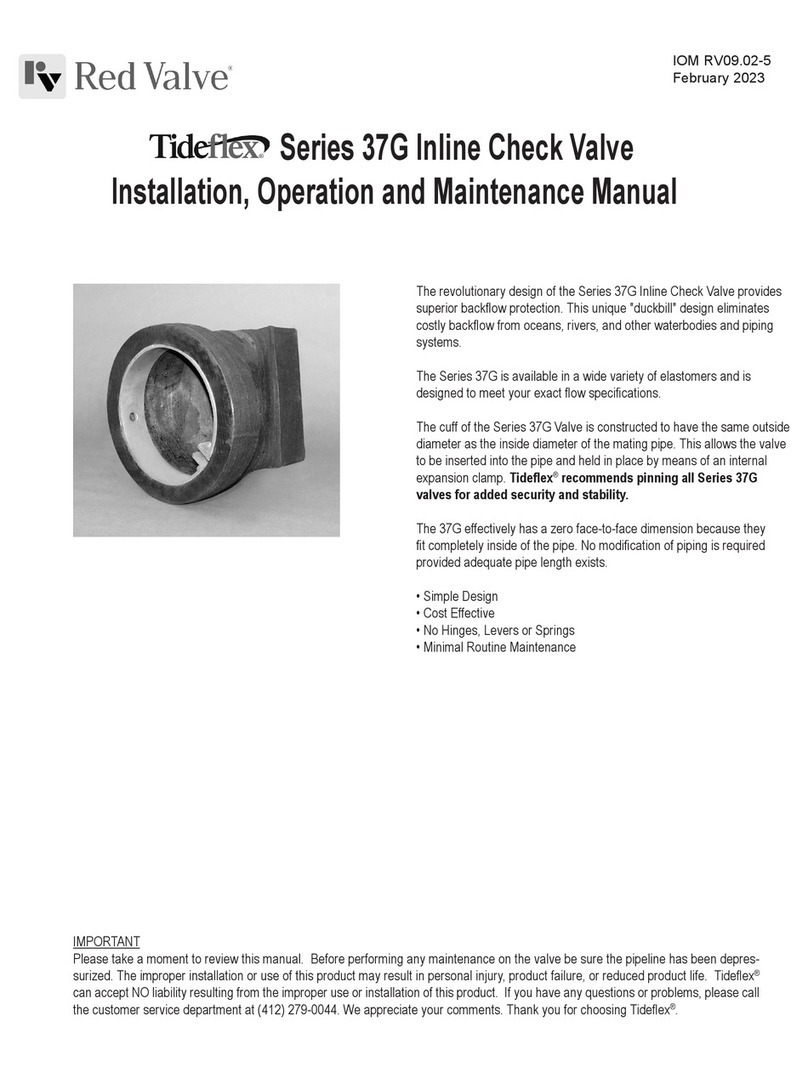
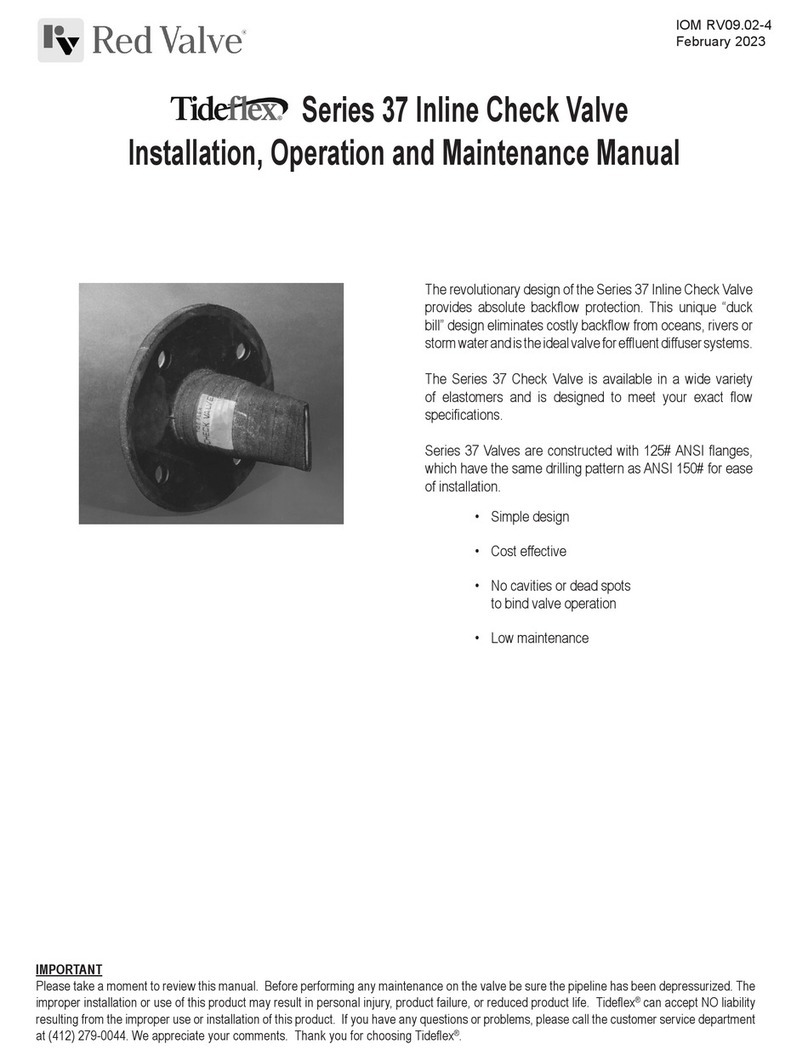
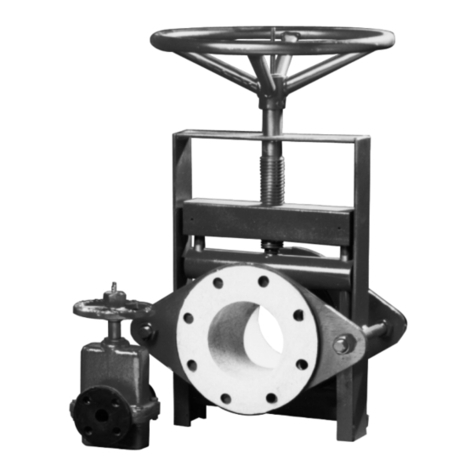
Red Valve Tideflex Series User manual

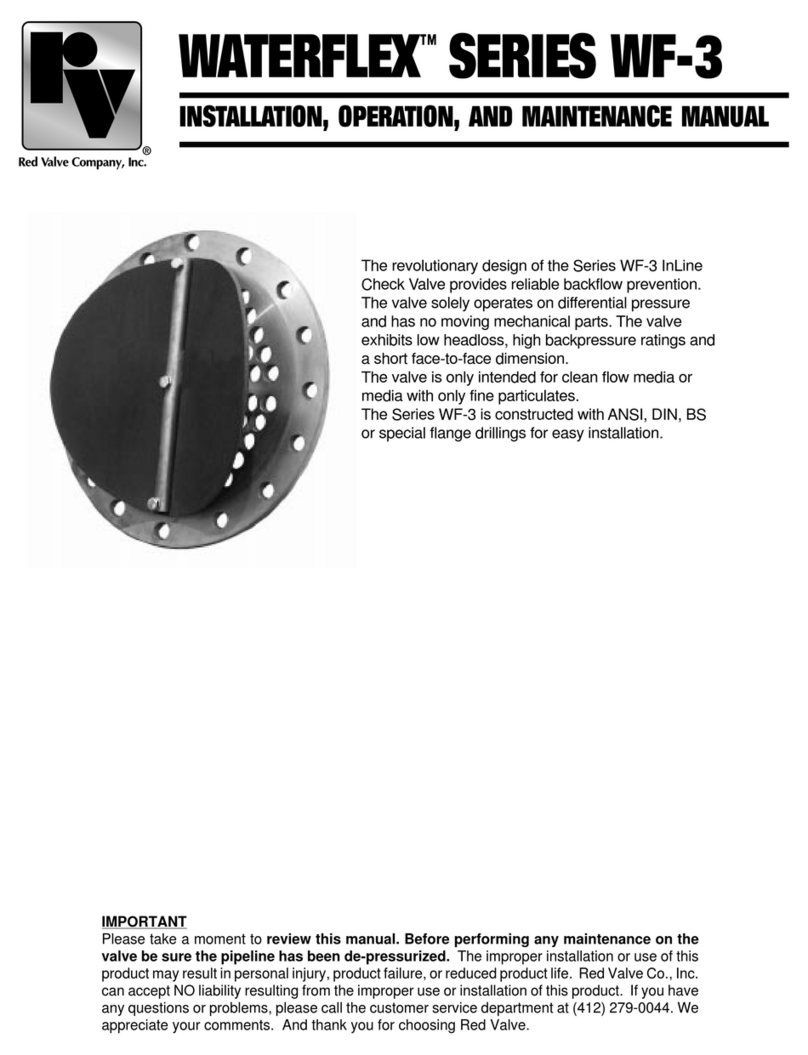
The revolutionary design of the Series WF-3 Check Valve
provides reliable backow prevention. The valve solely operates
on differential pressure and has no moving mechanical parts.
The valve exhibits low headloss, high backpressure ratings
and a short face-to-face dimension. The valve is only intended
for clean ow media or media with only ne particulates. The
Series WF-3 is constructed with ANSI, DIN, BS or special ange
drillings for easy installation.
IMPORTANT
Please take a moment to review this manual. Before performing any maintenance on the valve be sure the pipeline has been de-pressurized.
The improper installation or use of this product may result in personal injury, product failure, or reduced product life. Tideex® can accept NO liability
resulting from the improper use or installation of this product. If you have any questions or problems, please call the customer service department
at (412) 279-0044. We appreciate your comments. Thank you for choosing Tideex®.
TROUBLESHOOTING
Symptom: Leaking Flange
• Check gaskets
• Retighten all ange bolts uniformly in star pattern
(See gure to right)
Symptom: Valve Allows Backow
• Not enough pressure
• Membrane damaged
Symptom: Valve won't open or too much headloss
• Check pipe I.D. and membrane O.D. to verify membrane has not
clamped between disc and mating ange.
1
2
3
4
5
6
78
BOLTING SEQUENCE
(Start Pattern)
Series WF-3 Waterex®Check Valve
Installation, Operation and Maintenance Manual
IOM RV13.02-1
February 2023
Red Valve • 750 Holiday Drive, Suite 400, Pittsburgh, PA 15220 • 412-279-0044 • [email protected] • RedValve.com
© 2023 Red Valve Company

1. INSPECTION OF VALVE:
Check ange faces of pipe for rough/damaged areas. Pipeline
anges must be at, properly spaced, and parallel to achieve proper
seal. PVC anges may not seal properly, and are not recommended
by Tideex®. If PVC anges are used, metal back up rings should
be placed behind the PVC anges in order to prevent yielding.
Grind or le any sharp edges of pipeline ange to prevent damage
to the gaskets.
2. GASKETS:
Two flange gaskets are required, one on each side of
the disc. (See Figure 2.)
3. INSTALLING FLANGE BOLTS:
Tighten all bolts uniformly to distribute pressure evenly around
the sleeve ange. (For bolting sequence refer to the back cover
of this IOM).
4. VALVE ORIENTATION:
The membrane must be on the downstream side of the disc when
properly installed in a pipe line.
(See Figure 2.)
Make sure membrane is concentric with pipe I.D. When installed
in a horizontal pipeline, the rod must be in the vertical position.
(See Figure 3.)
GENERAL DESCRIPTION
Terms used in this I.O.M. to refer to various parts of the valve are
described below.
1.
Disk
2.
Membrane
3.
Mounting Rod
4.
Rod Fasteners with Lock Nuts
5.
Lifting Eye (sizes 10" and up)
(Figure 3.)
INSTALLATION
It is acceptable to install the valve in a vertical pipeline
provided normal flow direction is bottom to top.
(See Figure 4)
It is not recommended to install the valve in a vertical pipeline
where the ow direction is from top to bottom. The membrane
may tend to come away from the disc and may not seal.
(See Figure 4)
Mounting Rod
Membrane
(Figure 1.)
(Figure 2.)
(Figure 4.)
Flow
Flow
Flow
WF3 Disc
Pipe Flange
Pipe Flange
Membrane
Mounting Rod
Gaskets
MAINTENANCE
1. INSPECTION:
Valves should occasionally be inspected for damage and wear.
The inspection period should be determined by the severity of
the service and environment. If valves are periodically inspected
and preventive maintenance done, the valve will last longer and
operate better.
CAUTION: Do not remove the bolting or valve parts with pressure
in the line. It is easy to inspect the valve for obvious problems.
ELASTOMER MEMBRANE REPLACEMENT:
1. A spare replacement membrane should be placed on order when
this valve is placed in service.
2. Remove the existing valve and install the replacement as specied
under INSTALLATION.
The Series WF-3 operates soley on differential pressure. Positive
differential opens the valve allowing ow, reverse differential closes
the valve preventing backow.
The Series WF-3 Check Valve is a self containing Check Valve
with backpressure ratings shown in the table on this page.
Backpressures in excess of these ratings can damage the disc
or membrane.
Tideex®check valves are custom made products intended for a
specic application and have been designed to respond to criteria
unique to that purpose, such as line pressure, minimum and
maximum backow pressure, and chemical compatibility. Should
the conditions for which the valve has been designed be altered or
change in any way, it could affect the normal operation of the valve.
OPERATION
If your Waterex®Valve is to be stored for a period of time prior
to installation, the following storage guidelines will help preserve
your valve and assure a trouble free installation.
1. Store valve in a clean, cool, dry location. Avoid exposure to light,
electric motors, dirt or chemicals.
2. Store valve to prevent other items from contacting membrane or
anges to prevent possible damage.
3. Lay Waterex® at with membrane up.
4. Store this manual with the valve, so that it is readily available at
time of installation.
STORAGE
Backpressure Ratings Table
NOMINAL
PIPE
SIZE
4"
6"
8"
10"
12"
14"
16"
18"
20"
24"
30"
36"
42"
48"
ANSI
FLANGE
SIZE
4"
6"
8"
10"
12"
14"
16"
18"
20"
24"
30"
36"
42"
48"
OUTSIDE
DIAMETER
9"
11"
13.5"
16"
19"
21"
23.5"
25"
27.5"
32"
38.75"
46"
53"
59.50"
BACK PRESSURE
ANSI RATING
psi
150
150
125
100
75
75
75
75
75
50
50
50
50
50

The revolutionary design of the Series WF-3 Check Valve
provides reliable backow prevention. The valve solely operates
on differential pressure and has no moving mechanical parts.
The valve exhibits low headloss, high backpressure ratings
and a short face-to-face dimension. The valve is only intended
for clean ow media or media with only ne particulates. The
Series WF-3 is constructed with ANSI, DIN, BS or special ange
drillings for easy installation.
IMPORTANT
Please take a moment to review this manual. Before performing any maintenance on the valve be sure the pipeline has been de-pressurized.
The improper installation or use of this product may result in personal injury, product failure, or reduced product life. Tideex®can accept NO liability
resulting from the improper use or installation of this product. If you have any questions or problems, please call the customer service department
at (412) 279-0044. We appreciate your comments. Thank you for choosing Tideex®.
TROUBLESHOOTING
Symptom: Leaking Flange
• Check gaskets
• Retighten all ange bolts uniformly in star pattern
(See gure to right)
Symptom: Valve Allows Backow
• Not enough pressure
• Membrane damaged
Symptom: Valve won't open or too much headloss
• Check pipe I.D. and membrane O.D. to verify membrane has not
clamped between disc and mating ange.
1
2
3
4
5
6
78
BOLTING SEQUENCE
(Start Pattern)
Series WF-3 Waterex®Check Valve
Installation, Operation and Maintenance Manual
IOM RV13.02-1
February 2023
Red Valve • 750 Holiday Drive, Suite 400, Pittsburgh, PA 15220 • 412-279-0044 • [email protected] • RedValve.com
© 2023 Red Valve Company

Limited Warranty
Red Valve Company (“Seller”) manufactured products, auxiliaries and parts thereof that we manufacture for a period of twenty-four (24) months from
date of shipment from Seller’s factory, are warranted to the original purchaser only against defective workmanship and material, but only if properly
stored, installed, operated, and serviced in accordance with Seller’s recommendations and instructions.
For items proven to be defective within the warranty period, your exclusive remedy under this limited warranty is repair or replacement of the defective
item, at Seller’s option, FCA Incoterms 2020 Seller’s facility with removal, transportation, and installation at your cost.
Products or parts manufactured by others but furnished by Seller are not covered by this limited warranty. Seller may provide repair or replacement
for other’s products or parts only to the extent provided in and honored by the original manufacturer’s warranty to Seller, in each case subject to the
limitations contained in the original manufacturer’s warranty.
No claim for transportation, labor, or special or consequential damages or any other loss, cost or damage is being provided in this limited warranty.
You shall be solely responsible for determining suitability for use and in no event shall Seller be liable in this respect.
This limited warranty does not warrant that any Seller product or part is resistant to corrosion, erosion, abrasion or other sources of failure, nor does
Seller warrant a minimum length of service.
Your failure to give written notice to us of any alleged defect under this warranty within twenty (20) days of its discovery, or attempts by someone other
than Seller or its authorized representatives to remedy the alleged defects therein, or failure to return product or parts for repair or replacement as
herein provided, or failure to store, install, or operate said products and parts according to the recommendations and instructions furnished by Seller
shall be a waiver by you of all rights under this limited warranty.
This limited warranty is voided by any misuse, modification, abuse or alteration of Seller’s product or part, accident, fire, flood or other Act of God, or
your failure to pay entire contract price when due.
The foregoing limited warranty shall be null and void if, after shipment from our factory, the item is modified in any way or a component of another
manufacturer, such as but not limited to; an actuator is attached to the item by anyone other than a Seller factory authorized service personnel.
All orders accepted shall be deemed accepted subject to this limited warranty, which shall be exclusive of any other or previous warranty, and this
shall be the only effective guarantee or warranty binding on Seller, despite anything to the contrary contained in the purchase order or represented by
any agent or employee of Seller in writing or otherwise, notwithstanding, including but not limited to implied warranties.
THE FOREGOING REPAIR AND REPLACEMENT LIMITED WARRANTY IS IN LIEU OF ALL OTHER WARRANTIES, OBLIGATIONS AND
LIABILITIES, INCLUDING, BUT NOT LIMITED TO, ALL WARRANTIES OF FITNESS FOR A PARTICULAR PURPOSE OR OF MERCHANTABILITY
OR OTHERWISE, EXPRESSED OR IMPLIED IN FACT OR BY LAW, AND STATE SELLER’S ENTIRE AND EXCLUSIVE LIABILITY AND YOUR
EXCLUSIVE REMEDY FOR ANY CLAIM IN CONNECTION WITH THE SALE AND FURNISHING OF SERVICES, GOODS OR PARTS, THEIR
DESIGN, SUITABILITY FOR USE, INSTALLATION OR OPERATIONS. NEITHER ANY PERFORMANCE OR OTHER CONDUCT, NOR ANY ORAL OR
WRITTEN INFORMATION, STATEMENT, OR ADVICE PREPARED BY SELLER OR ANY OF OUR EMPLOYEES OR AGENTS WILL CREATE A
WARRANTY, OR IN ANY WAY INCREASE THE SCOPE OR DURATION OF THIE LIMITED WARRANTY.
Limitation of Liability
IN NO EVENT SHALL SELLER BE LIABLE FOR ANY DIRECT, INDIRECT, SPECIAL, PUNITIVE, EXEMPLARY, OR CONSEQUENTIAL DAMAGES
(INCLUDING, BUT NOT LIMITED TO, DAMAGE TO OR LOSS OF OTHER PROPERTY OR EQUIPMENT, BUSINESS INTERUPTION, COST OF
SUBSTITUTE PRODUCTS, LOSS OF TIME, LOSS PROFITS OR REVENUE, COST OF CAPITAL, LOSS OF USE, OR DIMINUTION IN VALUE)
WHATSOEVER, AND SELLER’S LIABILITY, UNDER NO CIRCUMSTANCES, WILL EXCEED THE CONTRACT PRICE FOR THE GOODS AND/OR
SERVICES FOR WHICH LIABILITY IS CLAIMED. ANY ACTION FOR BREACH OF CONTRACT BY YOU, OTHER THAN RIGHTS RESPECTING OUR
LIMITED WARRANTY DESCRIBED ABOVE, MUST BE COMMENCED WITHIN 12 MONTHS AFTER THE DATE OF SALE.
Sales and Service
For information about our worldwide locations, approvals, certifications and local representative:
750 Holiday Drive, Suite 400, Pittsburgh, PA 15220 • Phone: 412-279-0044
Red Valve Company reserves the right to incorporate our latest design and material changes without notice or obligation.
Design features, materials of construction and dimensional data, as described in this manual, are provided for your information only
and should not be relied upon unless confirmed in writing by Red Valve Company. Certified drawings are available upon request.
February 2023
This manual suits for next models
1
Table of contents
Other Red Valve Control Unit manuals

Red Valve
Red Valve 2600 Series User manual

Red Valve
Red Valve Tideflex 35 Series User manual

Red Valve
Red Valve 75 Series User manual

Red Valve
Red Valve Flexgate D series User manual

Red Valve
Red Valve TIdeFlex 37 Series User manual

Red Valve
Red Valve WATERFLEX SERIES WF-3 Installation and operating instructions

Red Valve
Red Valve G Series User manual

Red Valve
Red Valve Tideflex Series User manual

Red Valve
Red Valve Tideflex Series User manual