reedinstruments
www com
4
Environmental:
• Operating Temperature and Humidity:
0°C ~50°C (32°F - 122°F); 0 - 80% RH
• Storage Temperature and Humidity:
-10°C to 60°C (14°F - 140°F); 0 - 80% RH
• Altitude up to 2000 meters
Accuracy (at 23 ± 5°C):
Range Accuracy
-100°C ~ 300°C ±(0.1% reading + 0.4°C)
-148°F ~ 572°F ±(0.1% reading + 0.8°F)
Temperature Coefcient:
For ambient temperatures from 0°C to 18°C and 28°C to 50°C, for each
degree celcium ambient below 18°C or above 28°C add the following
tolerance into the accuracy specication ...
0.01% of reading + 0.03°C ( 0.01% of reading + 0.06°F )
The basic accuracy Specication does not include the error of
the probe, refer to the probe accuracy specications (on page 16) for
additional details.
Sample Rate: 2 times per second
Water resistance: IP67
Power Supply: Battery 1.5V x 3 size AAA
Battery Life: Approx. 100 hours with alkaline batteries
Dimensions: 150 × 66 × 31mm
Weight: 175g Approx.
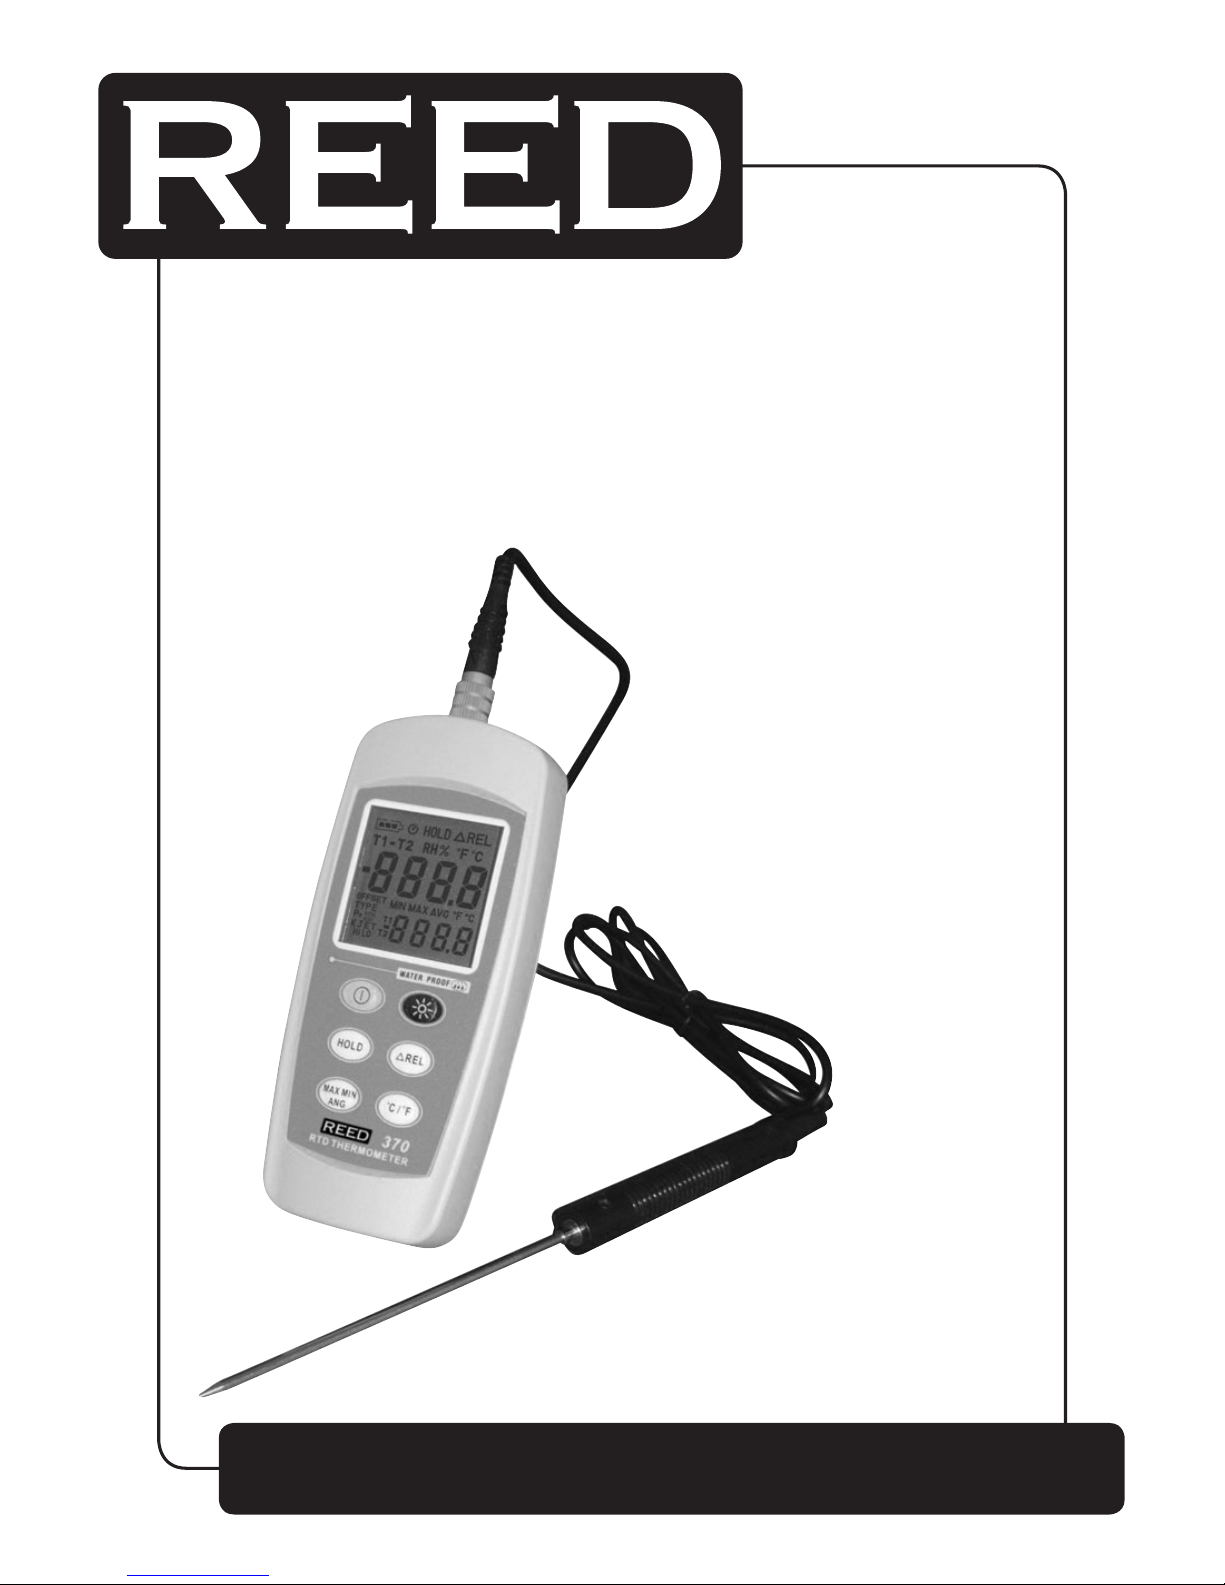
Accessories: Pt-100 Probe (class A) (model TP-R01),
batteries and instruction manual
Optional Accessories: Pt-100 Probe (class A) (model TP-R01),
soft carrying case (model CA-05A)
1.888.610.7664info@REED-Direct.com REED-Direct.com