9
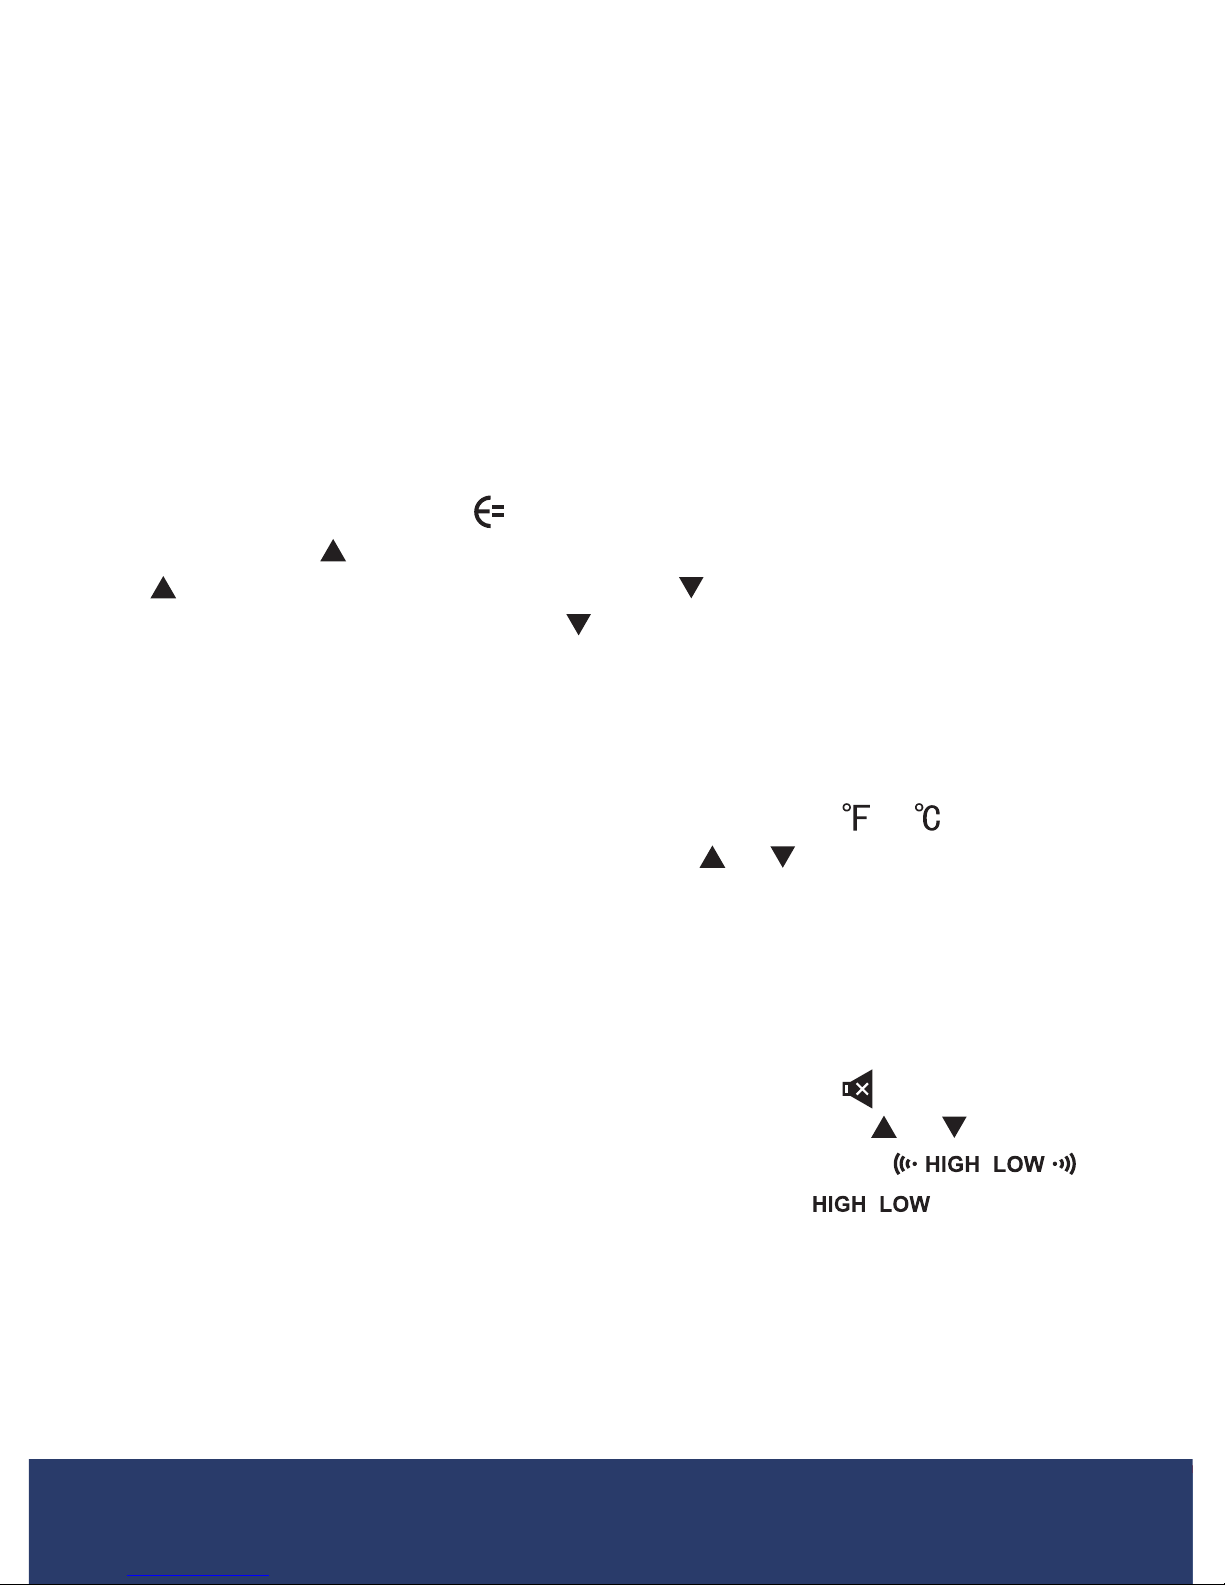
Entering Setting Mode
Press the trigger and then the SET button to enter the setting mode.
In this mode, a user can choose the desired setting for emissivity, unit
ofmeasure,alarmchimetoggleandHighandLowAlarmvalueadjust-
ment. Once in the setting mode, press the SET button to toggle through
eachmode.Thecorrespondingiconwillashindicatinganadjustment
canbemadefortheselectedparameter.Oncethedesiredadjustments
have been made, press and hold the SET button for 3 seconds to resume
normal operation.
Adjusting Emissivity
WheninSettingMode,the willash,indicatingthevaluecanbe
adjusted.Press to increase the emissivity value by 0.01. Press and hold
the forquickervalueadjustment.Press to decrease the emissivity
value by 0.01. Press and hold the forquickervalueadjustment.Once
thedesiredadjustmentshavebeenmade,pressandholdtheSET button
for 3 seconds to resume normal operation.
Switching the Unit of Measure (°F/°C)
WheninSettingMode,presstheSET button until the or ash,
indicating the value can be modied. Press or to toggle between
Fahrenheit and Celsius. Once the desired unit of measure has been
selected, press and hold the SET button for 3 seconds to save the selec-
tion and resume normal operation.
Turning the Alarm Chime ON or OFF
WheninSettingMode,presstheSET button until the ashes,indi-
catingthehigh/lowalarmchimecanbeadjusted.Press or to turn the
alarmchimeONorOFF.WhenthechimeissettoONthe
will be displayed. When the chime is set to OFF the will be
displayed.Pleasenotethatwhenthechimeisoff,theMAXandMINalarm
icons will still appear on screen when an alarm is triggered. Once the
desired selection has been made, press and hold the SET button for 3
seconds to save the selection and resume normal operation.
continued...
1.888.610.7664info@REED-Direct.com REED-Direct.com