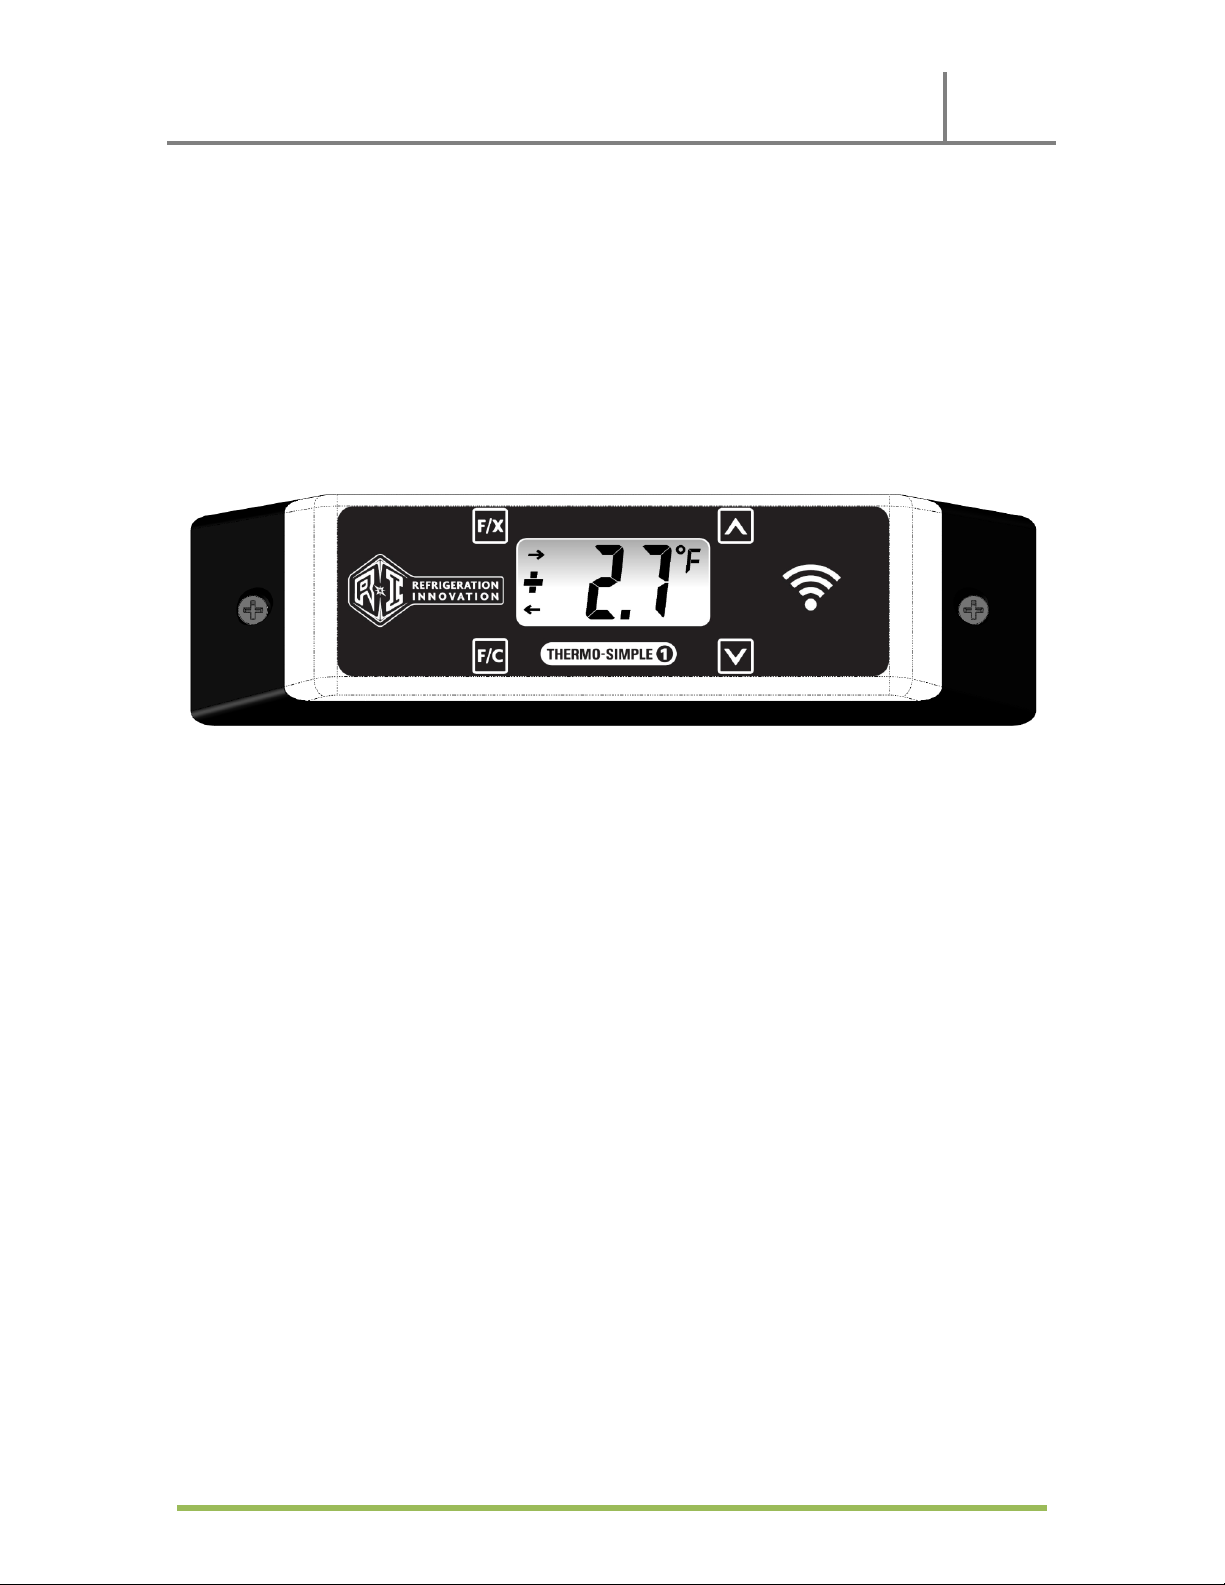
Thermo-Simple 1 version 2 (TS.1 ver.2)
2019
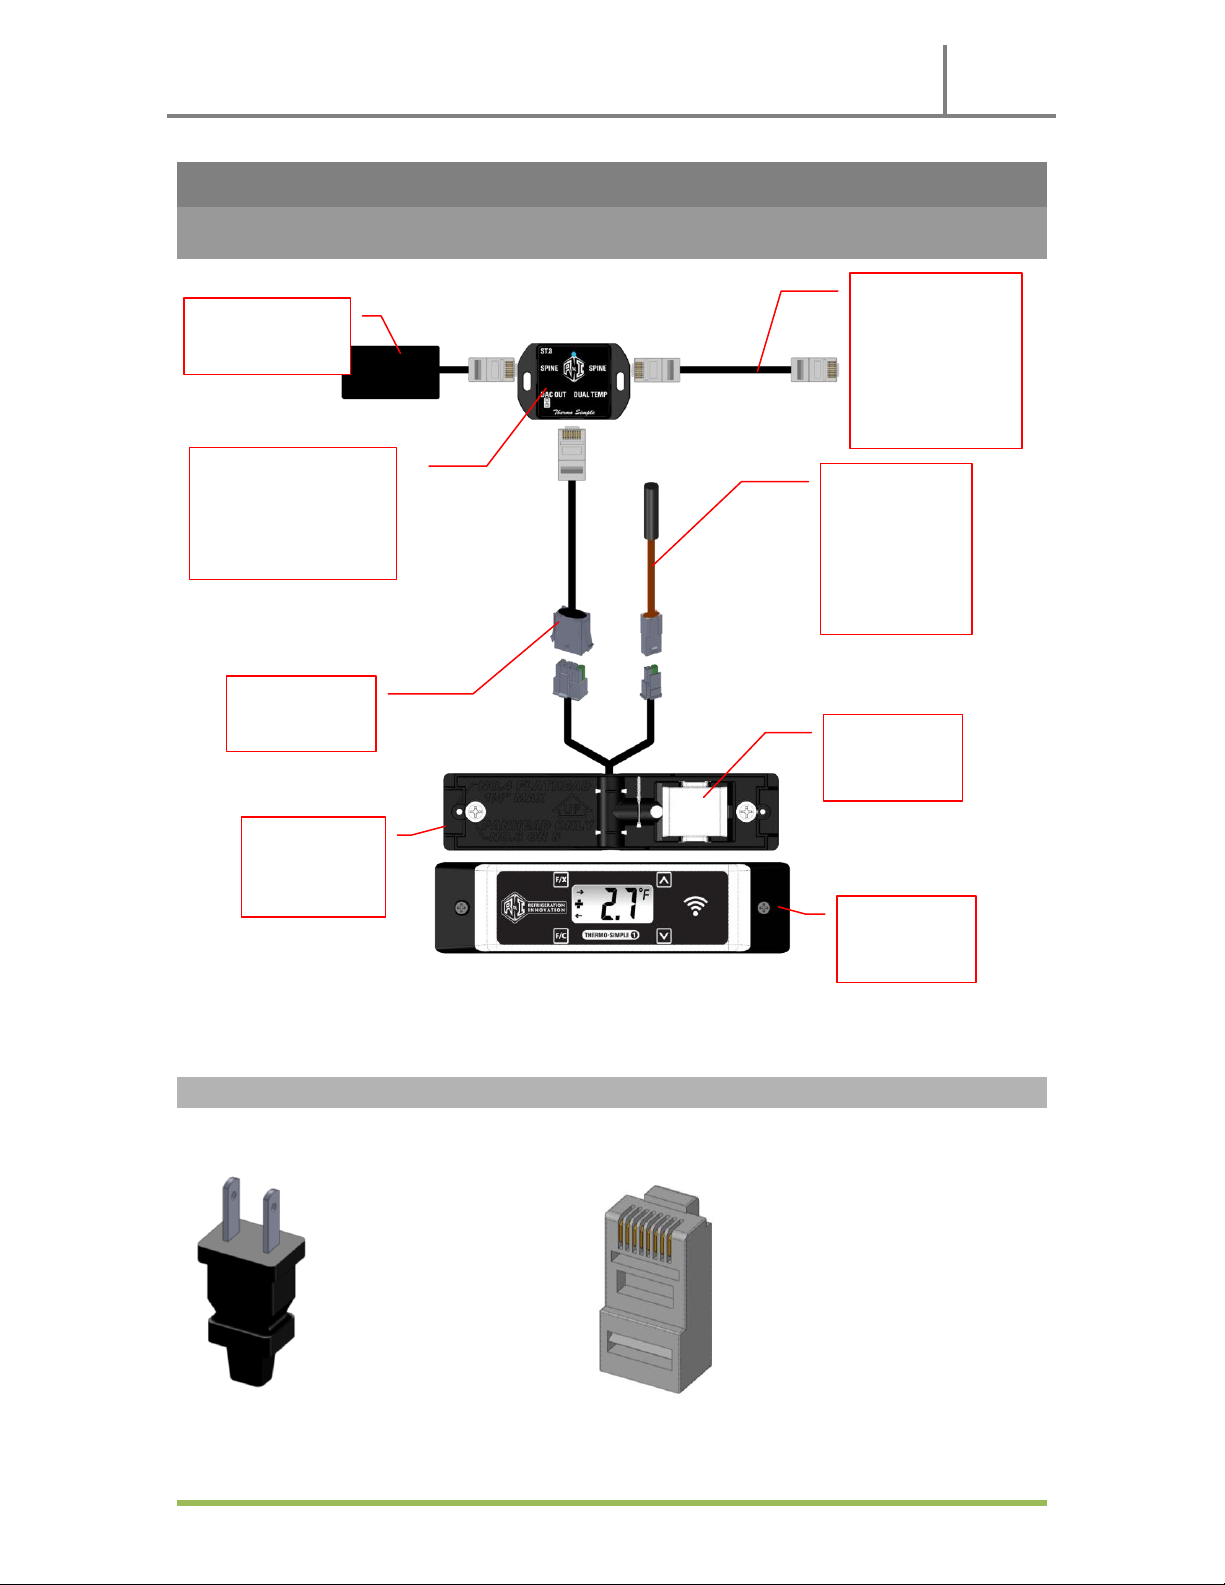
Refrigeration Innovation 575 Menlo Drive Suite 5 Rocklin, CA 95765 Page 9
Function #2: Enable/Disable Defrost Indicator
When a refrigeration unit goes out of temperature, there may be nothing wrong at all. It is part of the refrigeration unit cycle to
defrost. During this cycle by default the display unit will indicate ‘dEF’. If defrost indicator is disabled, the display unit will indicate
temperature reading.
Trigger the F/C switch to see temperature reading during this cycle.
To enable/disable defrost indicator, unlock the display unit first, and then follow these steps:
1. Trigger F/X switch. The display unit will ask for what Function to select.
2. Select #2 using Up/Down switch
3. Then trigger F/X switch again to confirm function selection.
The display unit will show the current Defrost indicator.
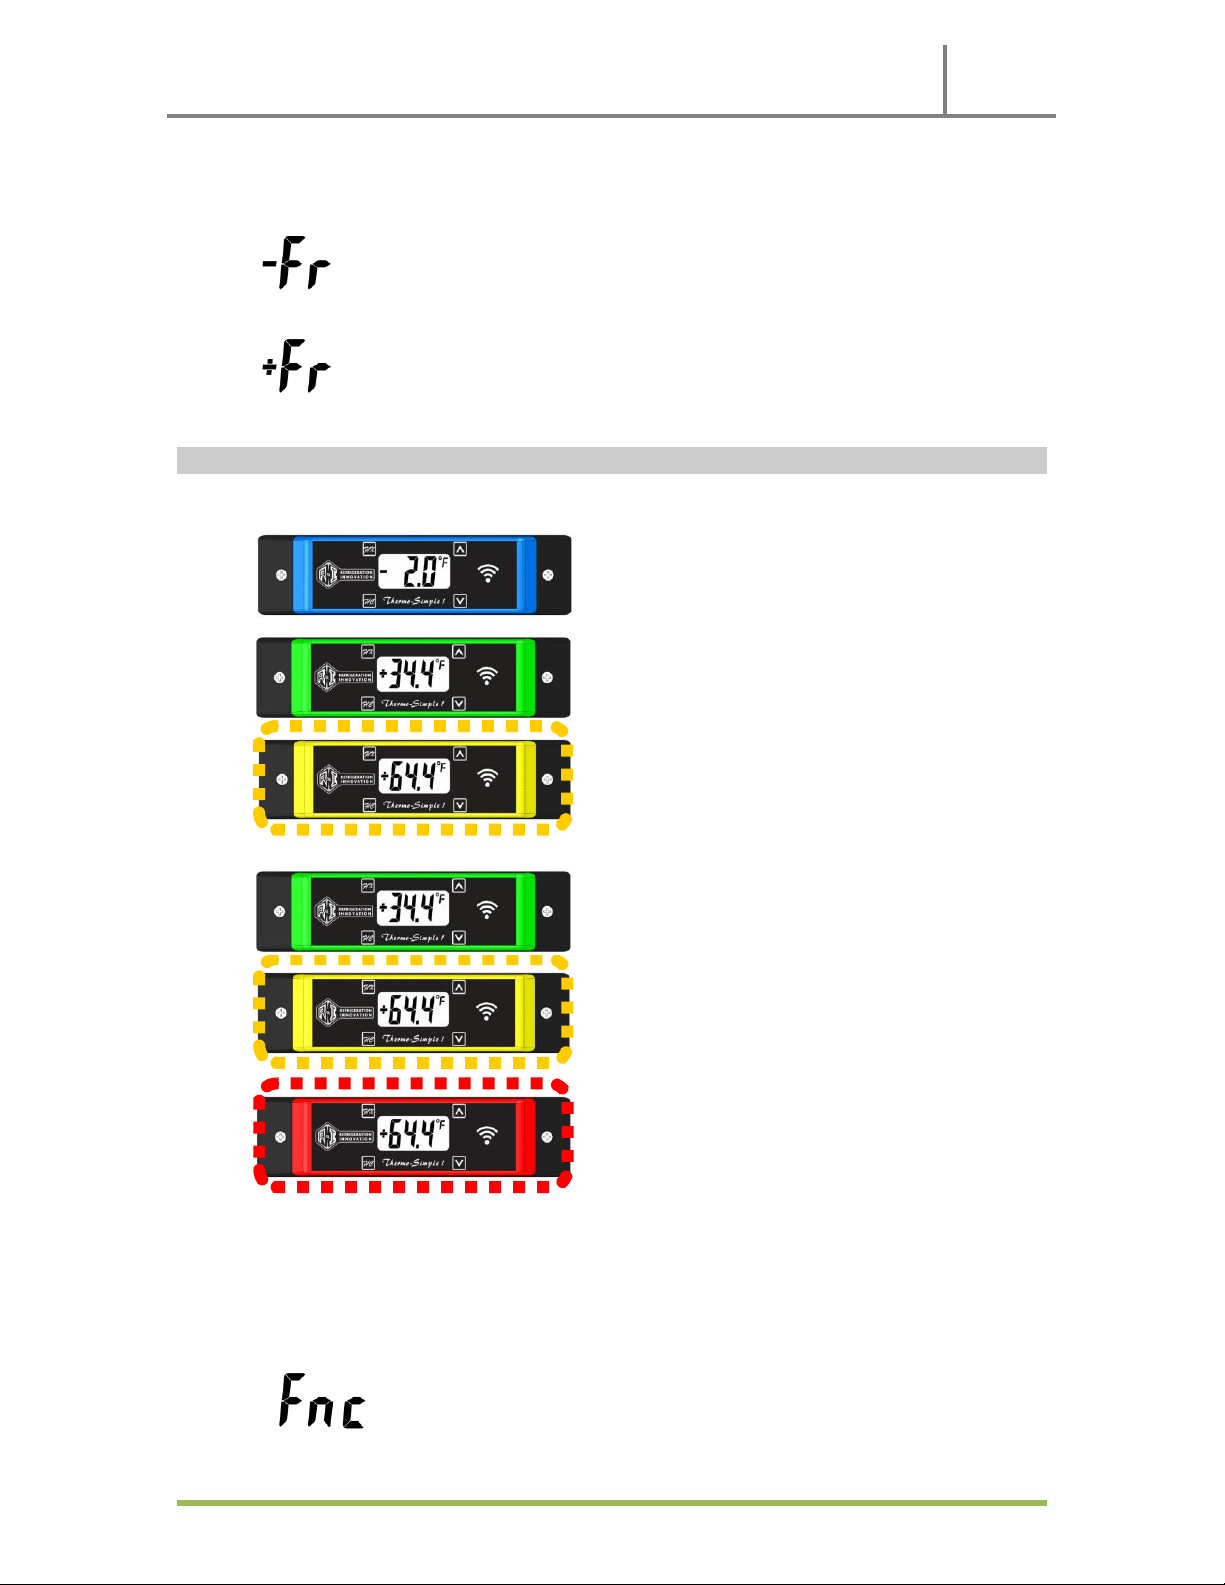
‘+dEF’ means that the defrost indicator is on.
‘-dEF’ means that the defrost indicator is off.
4. Turn off (or on) defrost indicator using Up/Down switch.
5. Trigger F/X switch to confirm your selection. Defrost indicator is now off.
Function #3: Enable/Disable Freeze Alarm
In some refrigeration case containing dairy, fresh produce, and other similar ingredients, it is necessary to keep the ingredients fresh
and cool but not frozen. For these cases enabling freeze alarm on the display unit may be appropriate.
By default, freeze alarm is disabled.
If enabled, display unit will start flashing blue if the temperature drops below 33.5°F
To enable/disable freeze alarm, unlock the display unit first, and then follow these steps:
1. Trigger F/X switch, the display unit will ask for what Function to select.
2. Select #3 using Up/Down switch