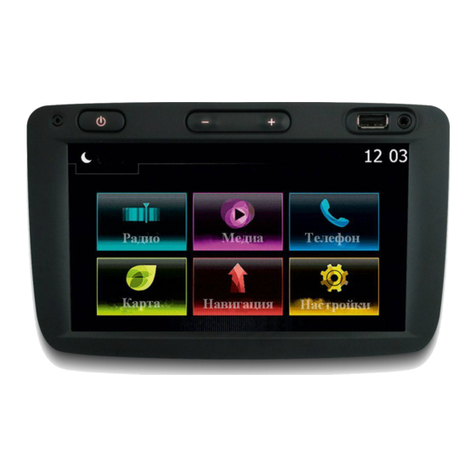
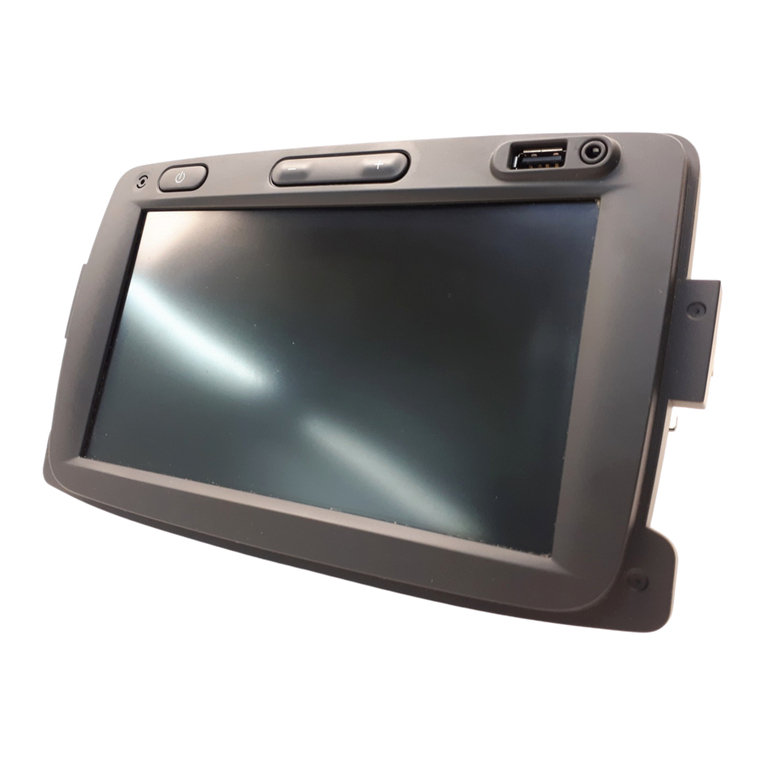
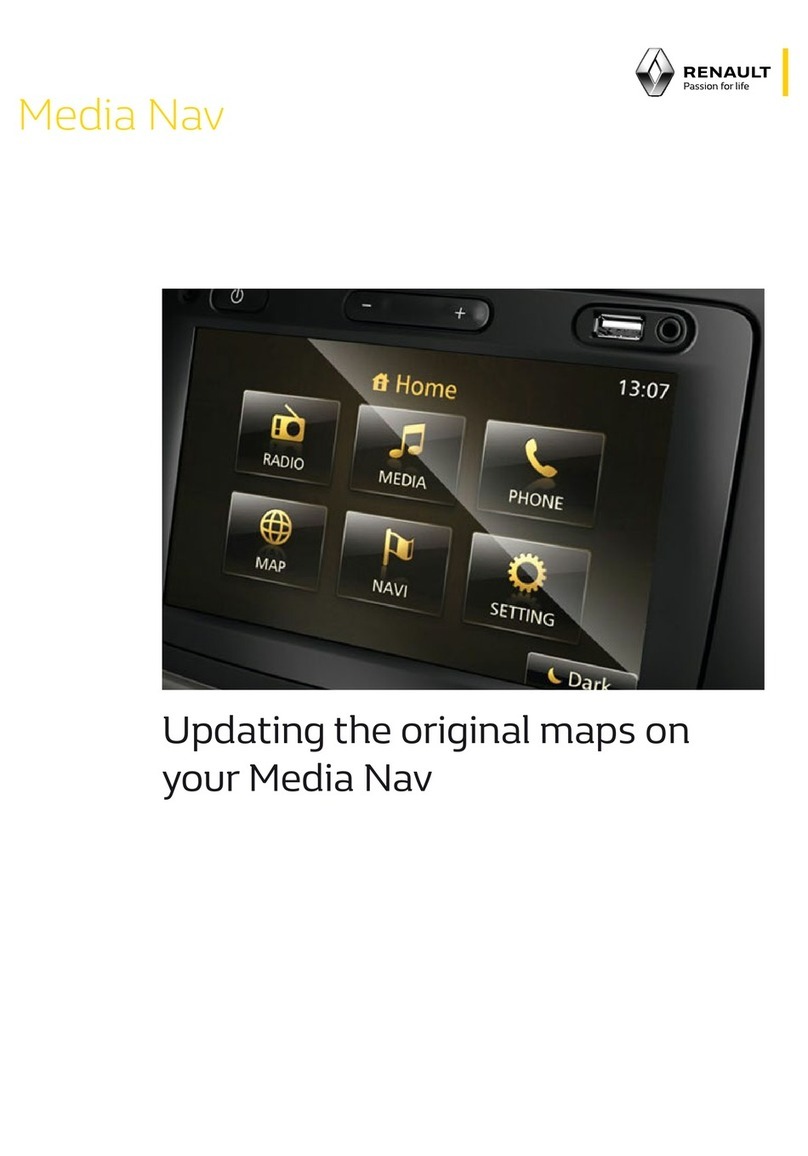
Renault Media Nav User manual

Instruction Manual
RENAULT MEDIA NAV for RENAULT

GU Electronic
INDEX
Specifications
1. Main Spec --------------------------------------------
2. Diagram ----------------------------------------------
3. Components -----------------------------------------
4. Exterior -----------------------------------------------
Settings
1. Dip Switch --------------------------------------------
2. How to distinguish “MEDIA NAV” and “R-LINK”-----
3. Touch control -----------------------------------------
4. Key board ---------------------------------------------
5. OSD Menu --------------------------------------------
Installation
1. Diagram -----------------------------------------------
2. FFC Cable Connection --------------------------------
3. Caution ------------------------------------------------
2
3
4
5
6
7
8
9
12
12
20
21
22

GU Electronic 3
Specification
1-1 Input Spec. (MULTI VIDEO INTERFACE)
- 1 x HDMI Input
- 2 x A/V Input (External video source).
- 1 x CVBS(REAR CAMERA) Input. (Rear camera source)
- 1 x CVBS(FRONT CAMERA) Input. (Front camera source)
- 1 x Analog RGB Input (Navigation System output)
1-2 Output Spec.
- 1 x LCD Output (LCD Operation)
- 1 x Resistive Touch
1-3 Power Spec.
- Input Power : 8VDC ~ 24VDC
- Consumption Power : 12Watt, Max
1-4 Switch Input mode
- Possible to switch input mode through “HOME” button on screen
1. Main spec.
2. Features
- Possible to register IR code of DVD/DTV
- Possible to control DVD/ DTV by touch
- Easy installation with plug & play LVDS cable

GU Electronic 4
Specification
INTERFACE
2. Diagram
Scaler
(PIP)
MCU
LVDS
TX
CAR
COMMAND
SYSTEM
LVDS
CAN
EEPROM
CAN
RECEIVER
LVDS
TX
CAR
TFT-LCD
LVDS
RX
RELAY
REAR CAMERA
POWER
COMPOSITE
RGB
NAVIGATION
SYSTEM
CVBS1
CVBS2
FRONT CAMERA
MUX
REAR CAMERA

GU Electronic
Specification
3. Components
5
RGB NAVI Cable(7pin) 1EA
LVDS Cable (800mm) 1 EA
OSD Board 1EA
Touch Cable(KD-900) 1EA
A/V Cable 1EA
Sub Board 1EA
+ steel plate 1EA
FFC Cable 1EA
(50 * 50 * 0.5 * P6)
FFC Cable 1EA
(40 * 50 * 0.5 * P6)
Mode S/W 1EA
Power Cable 1EA

Specification
4. Exterior
171 mm
22 mm
6
93 mm
GU Electronic
*NAVI Connect
① R DATA (Red)
② G DATA (Green)
③ B DATA (Blue)
④ SYNC (White)
⑤ GND (Black)
⑥ DMB IR (TX)(Green)
⑦ DVD IR (RX) (Orange)
①②③④⑤⑥⑦
Touch Connect
1. Y-
2. X-
3. Y+
4. X+
① ② ③ ④
*POWER Connect
1. ACC (Red)
2. N.C
3. Rear-DET (Brown)
4. Front-DET (Blue)
5. N.C
6. N.C
7. N.C
8. N.C
1 15
2 16
9. N.C
10. N.C
11. N.C
12. Rear-VCC (
Red)
13. Front-VCC (Red)
14. Mode (Green)
15. GND (Black)
16. GND (Black)

Settings
1. Dip Switch
* ON : DOWN , OFF : UP
NO. Function Selection
1 NAVI ON : Skipping NAVI
OFF : Display
2 AV1 (DVB-T) ON : Skipping AV1 (DVB-T)
OFF : Display
3 AV2 (DVD) ON : Skipping AV2 (DVD)
OFF : Display
4 HDMI ON : Skipping HDMI
OFF : Display
5 N.C
6
Car Model
OFF : Media NAV 7” Model
7 OFF : Media NAV 7” Model
8 OFF : Media NAV 7” Model
* Example
7
Media NAV 7” Model
GU Electronic
OEM TOUCH : OFF
(Blocking OEM touch in external screen
- For reverse CAM, HDMI)
OEM TOUCH : ON
(For using OEM touch in external screen
– Control NAV, DTV, DVD by OEM touch)
* OEM TOUCH ON / OFF SETTING

Settings
2. How to distinguish “MEDIA NAV” and “R-
LINK” ?
※ Check the shape of the buttons on the right
8
GU Electronic
MEDIA NAV
R-LINK

9
Touch OEM screen in any mode more than
7sec. For calibration
(This function can be activated only one time
after switching mode)
Touch the “+” correctly
Settings
GU Electronic
3. Touch screen – Touch calibration
1. OEM Screen Setting
2. OSD Setting
Touch the “+” correctly
OSD메뉴에서 그림과 같이 설정한다.
(OSD Menu – Utility – Calibrate – Execute)

10
[Type -1] [Type -2]
•DVD
[POWER][SCAN] [Ch+] [Ch-]
[POEWER][MENU]
[RETURN][USB]
[stop]
[Play/Pause]
[Audio]
•DTV (Select the type of I-con)
[FR]
[FF]
[Ch+]
[Ch-]
[Right]
[Left]
[POWER]
[DISC UP]
[DISC DOWN]
[Play next
chapter]
[Play previous
chapter]
GU Electronic
※ To use this function, It is necessary to offer the remote IR code to manufacturer
or resister IR code on your own (P. 19)
Settings
3. Touch screen - DVB-T, DVD Menu

11
※ It is needed to select “Assist UI-ON” in Option menu to activate HOME
button
Press “HOME” button to activate OSD for mode change
Press long : Switching to OEM
directly
Press short : Activating OSD menu
※ The position of Home button can be moved by dragging
Assist UI – “ON”
OSD Menu for switching
input mode
GU Electronic
Settings
3. Touch screen – Switching mode

Settings
4. OSD Key board
5. OSD Menu
※Press “MENU” button on Key board
12
GU Electronic
① MENU :Activating OSD Menu
② SEL :Selection
③ Up :Moving upward (Increasing value)
④ Down :Moving downward (Decreasing value)
MENU SEL UP DOWN
①②③ ④
Config - NAVI-RGB : Setup for the type of RGB
Config - DVB-T(DMB) : Setup for the type of DVB-T(DMB)
Config - DVD : Setup for the type of DVD
Config - HDMI : Setup for the type of HDMI
Reset : Reset all value

13
Settings
5. OSD Menu
※Press “MENU” button on Key board
Option
•RearCam-Type : Setup for rear camera
ExtDevice - External rear camera
OEM - Original camera
•RearCam-Power : Setup for Rear VCC wire in power cable
ON - +12V out always (current consumption : 200mA)
AUTO - +12V out in rear mode only (200mA)
OFF - Power OFF
•RearCam-Det : Setup for Rear detection
WIRE - by rear cam detect wire
OFF - Rear detection OFF
•AV Mode : Change “Rear” input as Video input
ON – Video input (Rearcam TYPE in OSD menu should be “OEM”)
OFF – Rear input
•FrontCam-Type : Setup for front camera
ExtDevice - External rear camera
OEM - Original camera
GU Electronic
Wire

14
Settings
5. OSD Menu
※Press “MENU” button on Key board
Option
•FrontCam-Power : Setup for Front VCC wire in power cable
ON - +12V out always (current consumption : 200mA)
AUTO - +12V out in rear mode only (200mA)
OFF - Power OFF
•FrontCam-Det : Setup for front detection
ExtDevice - External rear camera
OEM - Original camera
•Assist UI : Setup for a use of HOME button
ON – Activating HOME button
OFF – Disappearing HOME button
•FrontCam-RcvOpt : Selecting time of displaying Front camera before switching to
RGB, DVD, OEM from Rear
•AV out : Setup for the external AV out in OEM screen
AV1 : AV1’s Audio comes out in OEM screen
AV2 : AV2’s Audio comes out in OEM screen
USER : select one of Audio out
OEM
NAVI
AV1(DVB-T)
AV2(DVD)
REAR FRONT
OEM
NAVI
AV1(DVB-T)
AV2(DVD)
Select time of display
1~30 second
GU Electronic

15
Settings
4. OSD Menu
※Press “MENU” button on Key board
Option
•UI DVB-T(DMB) : Setting UI ICON - ON or OFF
•UI DVD : Setting UI ICON - ON or OFF
•Reset : Reset all value
GU Electronic

16
MENU IMAGE NAVI
Config
Option
Image
Screen
Parking
Brightness
Contrast
Color- RED
Color- GREEN
Color- BLUE
50
50
50
50
25
MENU Screen NAVI
Config
Option
Image
Screen
Parking
Horizontal
Vertical
Scale X Up
Scale X Down
Scale X Up
50
50
50
50
50
MENU IMAGE Rear
Config
Option
Image
Screen
Parking
Brightness
Contrast
Saturation
Hue
Sharpness
50
50
50
50
25
- NAVI(RGB) Image / Screen
- DVD, DVBT, NAVI-AV, REAR, FRONT Image
Settings
GU Electronic
5. OSD Menu
※Press “MENU” button on Key board
Image
Screen
Image

Settings
- Parking guide line ON/OFF
Selecting a use of packing guide line (N.C)
(OSD Menu – Parking – Line display – ON
or OFF)
17
Parking line “ON”
(OPS function N.C)
MENU SEL UP DOWN
Left Right Down
UP
- Adjust the position of Parking guide line
Possible to adjust the position of line
by Keypad in Horizontal / Vertical menu
※ Pressing this Horizontal / Vertical menu,
The OSD screen automatically disappears.
Please adjust from the parking line Screen.
- Warning Language for rear screen
Selecting a type of language (OSD Menu – Parking – Warning Lang)
4. OSD Menu
※Press “MENU” button on Key board
GU Electronic

18
- OSD
- Utility
•Utilityy– INTERFACE SOFTWARE
•OSD – Horizontal
•OSD – Vertical
•OSD – Display : Setting time for displaying OSD menu
•OSD – Transparency
•OSD – Language : Setting language of OSD menu
GU Electronic
Settings
4. OSD Menu
※Press “MENU” button on Key board
- IR – Ctrl (p.19)

① Select IR Ctrl àDVB/DVD/DVR
àLearn to register IR code
※ Caution
•Delete :
ALL Clear – Delete all value
Clr – Delete one button’s Value
•Play/Pause:
To use button, Please register
the IR code in power / Pause menu
separately
19
- IR Ctrl
MENU DVB-T(DMB) DVD
OSD
IR-Ctrl
Utility
DVB - T
DVD
Sel Learn Cancel
User
Sys
MENU DVB-T(DMB) DVD
OSD
IR-Ctrl
Utility
ALL - Clear
POWER
SCAN
CH+
CH-
____ _____
____ _____
____ _____
____ _____
MENU DVB-T(DMB) DVD
OSD
IR-Ctrl
Utility
New Code :
Cfm Code :
____ _____
____ _____
Save Clr Cancel
① ②
③
② All Clear : Remove all value of
Remote control registered before
Select one of the buttons registering
to move on to next step
③ Press a button on the remote control
of DVD/DTV then the IR code will be
appeared on “New code” menu. Press the
same button one more time to confirm
the IR code. (Cfm code = confirm code)
GU Electronic
Settings
4. OSD Menu– Register IR code
※Press “MENU” button on Key board
DVB - T
IR-Ctrl IR-Ctrl
IR-Ctrl

20
Installation
1. Installation Diagram
GU Electronic
Touch cable for KD900
Apple TV
BACKSIDE OF MONITOR
Offered LCD cable
Offered Power cable
Other manuals for Media Nav
2
Table of contents
Other Renault Car Navigation System manuals
Renault
Renault R-Link User manual

Renault
Renault MEDIA-NAV EVOLUTION User manual

Renault
Renault Carminat TomTom User manual
Renault
Renault Carminat User manual

Renault
Renault Media Nav User manual

Renault
Renault Carminat TomTom User manual

Renault
Renault R-LINK2 User manual

Renault
Renault MEDIA-NAV EVOLUTION User manual

Renault
Renault LAN5200WR1 User manual

Renault
Renault Media Nav Evolution User manual