RADIO FACE QUICK START GUIDE
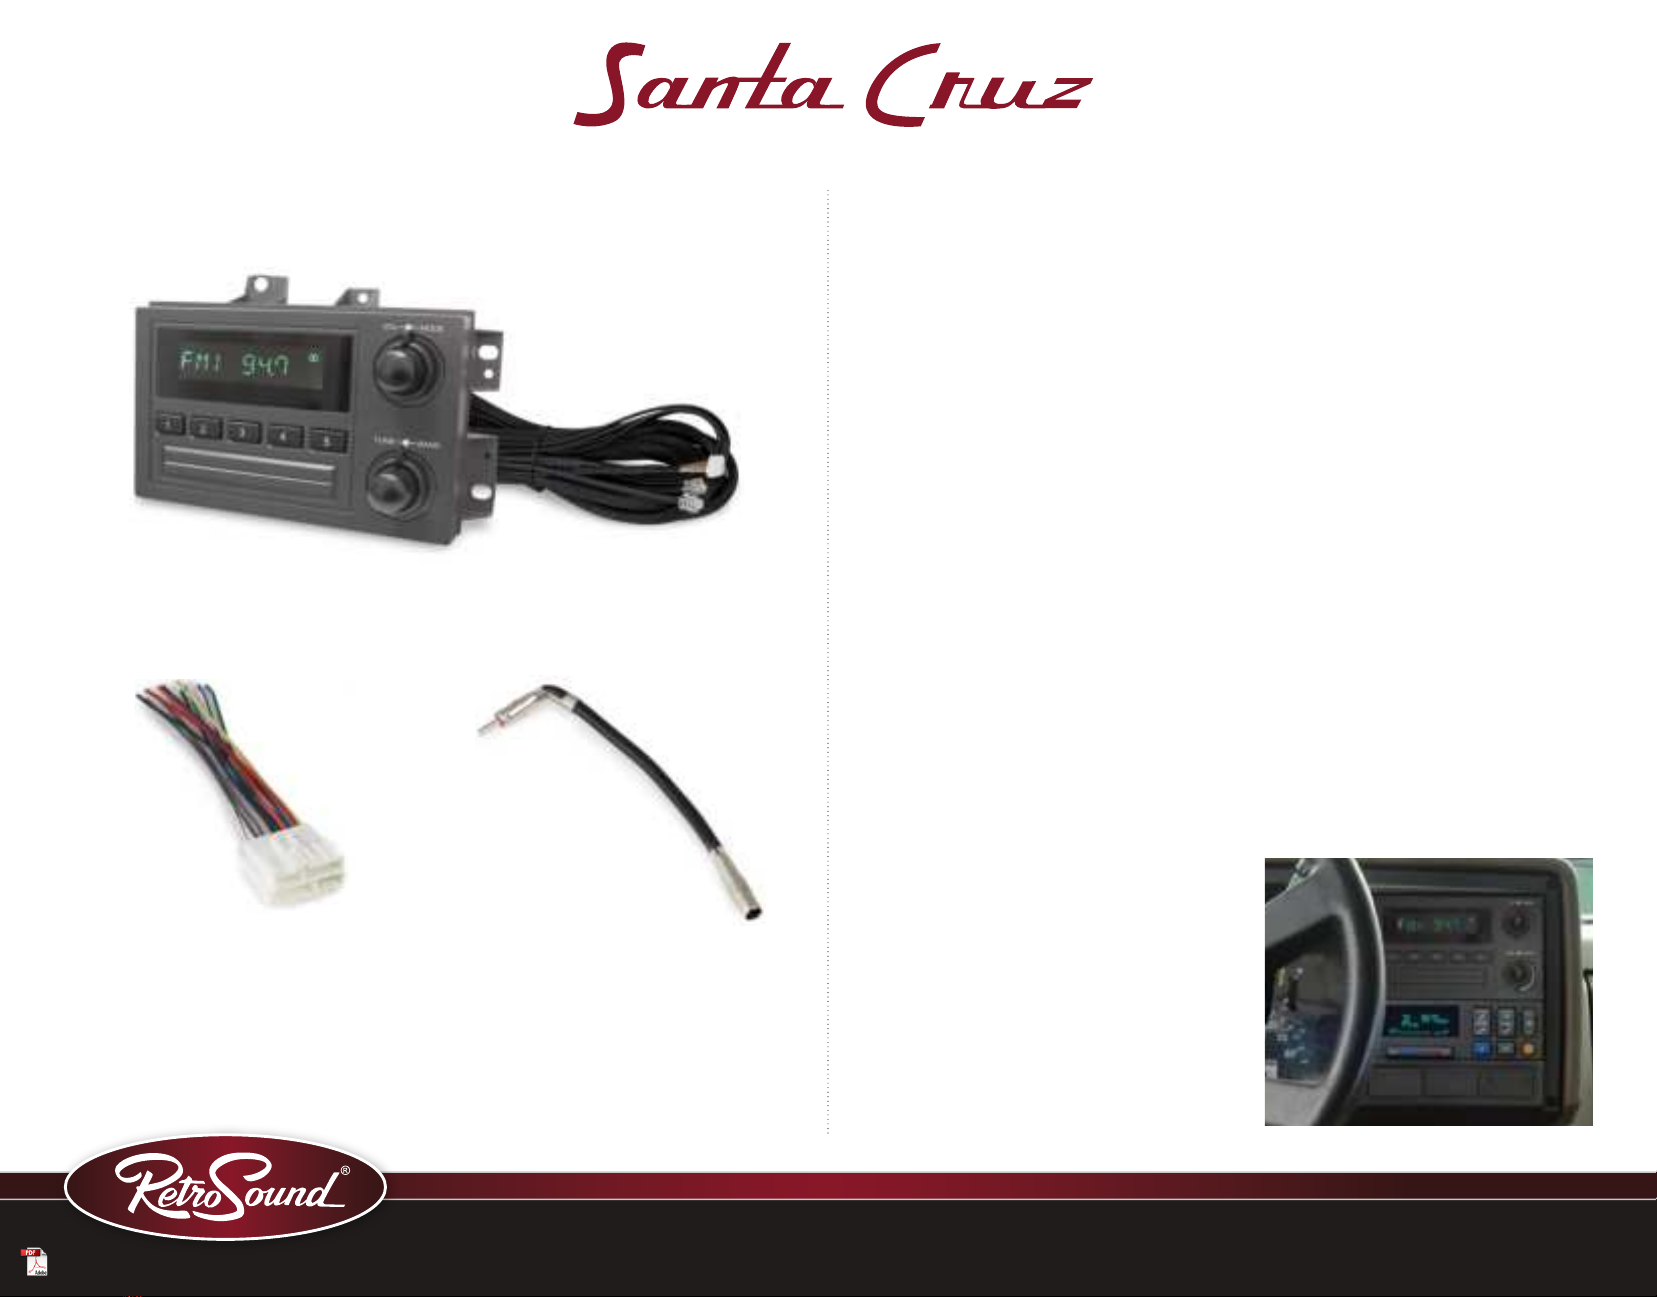
Santa Cruz Radio Face
661 GM Adapter Harness 662 Antenna Adapter
Completed Santa Cruz RetroRadio™ Installation
1. To install the Santa Cruz RetroRadio™:
Before installing, disconnect the vehicle’s
negative battery terminal. Access the radio
receiver box by removing the panel just below
the steering column. Remove the two screws
located at the bottom corners of the panel,
then remove the panel.
2. Locate the receiver box just above the gas
pedal. A mounting bracket located on the
bottom side, holds the receiver box in place.
Remove the three screws holding the receiver
box in place. Unplug the radio controller,
EQ/cassette unit and main harnesses.
Remove the antenna plug, and remove
the receiver box.
3. Next, the controller in the dashboard (located
to the upper right of the instrument panel)
must be removed. Remove the four screws
holding the trim bezel, and carefully remove it
from around the gauges. Carefully remove
the four screws holding the controller in place,
then remove the controller from the dash.
4. Route the Face to Body Cable connected to
the Santa Cruz Radio Face from the controller
location to the receiver box location through
the opening in the dash.
5. Next, connect the Santa Cruz Radio Face to
the RetroSound
®
radio body (Motor). Plug in
the Face to Body Cable by connecting the
ribbon cable to the front of the radio body
and the shaft plugs to the sides of the radio
body.
The factory radio in this vehicle is a two or three-part system consisting of: a radio controller
mounted in the upper-right side of the dash, an optional EQ or tape player located in the center of
the lower dash and the radio receiver box located under the dash just above the gas pedal area.
The 661 GM Adapter Harness and 662 Antenna Adapter are provided to connect Santa Cruz
to your vehicle’s factory wiring harness and antenna. Refer to the Installation and Assembly
Manual on our website for wiring instructions.
What’s in the Box Installation Instructions
MODERN SOUND FOR YOUR CLASSIC
While looking down at the radio body with the
cables coming out the back, the imprinted
“RetroSound” will be on the top of the radio
body chassis. The cable marked “R” plugs into
the input to the right of “RetroSound” on the
radio body, and the cable marked “L” plugs
into the left side.
6. Connect the GM Adapter Harness and
Antenna Adapter.
Refer to the Installation
and Assembly Manual on our website for
wiring instructions.
7. Using the backstrap, mount your radio body
into the receiver box location above the
gas pedal.
8. Mount the Santa Cruz Radio Face into the
controller location. Reconnect your battery,
and test your system to make sure everything
works before continuing.
9. Finally if everything works, replace the trim
bezel and lower dash panel.
Face to Body Cable
help.retromanufacturing.com
RADIO FACE QUICK START GUIDE


