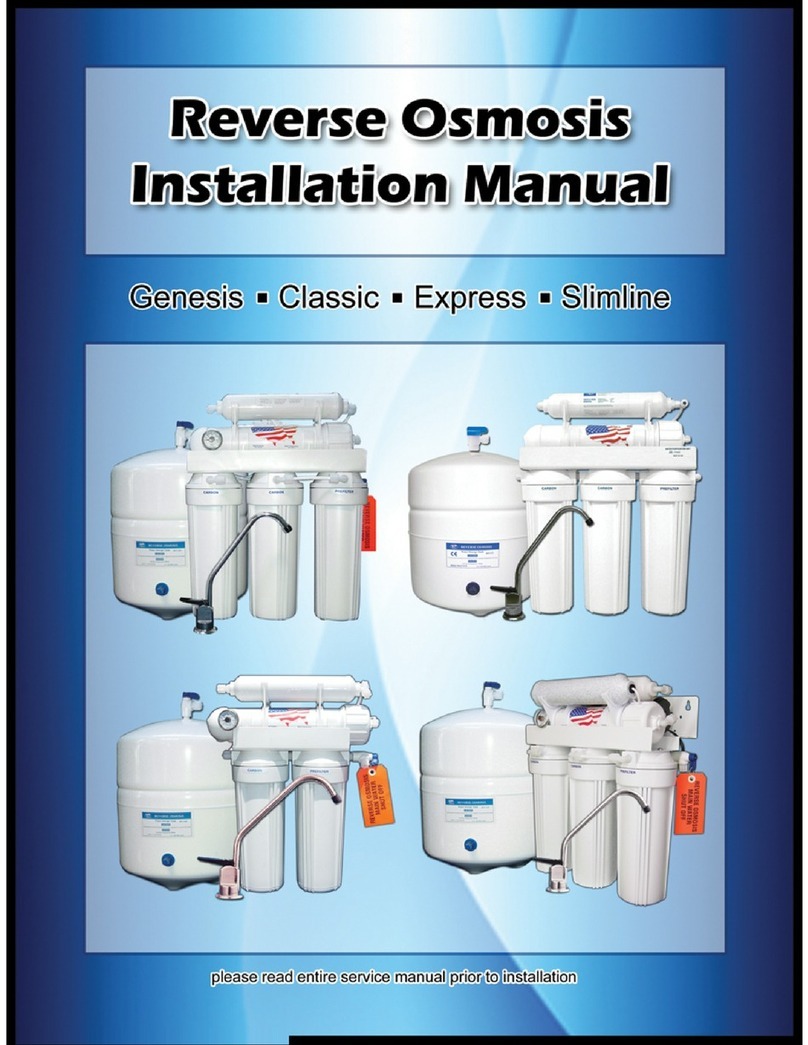
Reverse Osmosis BlueClear-RO-50 User manual

Household Reverse Osmosis Water Cleaner
Installation and User Manual
BlueClear-RO-50
BlueClear-RO-50-P
BlueClear-RO-75
BlueClear-RO-75-P
BlueClear-RO-100
BlueClear-RO-100-P
Please read these instructions completely before operating the unit.

- 1 -
INSTALLATION INATRUCTIONS
PREPARATION FOR INSTALLATION:
■ Feed water cannot be hot. It damages the RO membrane.
■ The perfect range of feed water pressure is between 5-25 psi.
If the feed water pressure is higher than 3.0Kg/cm2/40 psi, install the reduced pressure valve or take
off the booster pump. Otherwise the high water pressure may reduce in the leakage or break down.
If the feed water pressure is lower than 0-0.3Kg/ cm2/0-5psi, you have to wider the tube or shorten
the length of the pipe to the help the pump run normally. Otherwise, it may result in the reduction of
the production rate & percent rejection, the pump to deliver water.
■ Avoiding to install the purifier at the place where is damp, low temperature (<4℃) of the system or
high temperature (>40℃)
■ The storage tank can be place on its side without affecting the performance of the system. If there is
insufficient room under the sink, the tank may be located in an adjacent cupboard.
INSTALLATION OF WATER SUUPLY CONNECTION:
A. Water Supply Connector 1/2” FIP (L:36m/m) (FWC-0808)
B. Deliver-Ball Valve 1/4”MIP x1/4”OD1/4” (BV-0404)
Assemble the water supply connector by inserting the Deliver-ball valve. Screw the deliver-ball valve
into the side of the water supply connector using 3 to 4 wraps of Teflon tape.
Disconnect the water supply line from the feed
water faucet underneath sink. Attach and tighten
water supply connector assembly being careful not
to pinch or crimp any tubing or water supply line
while tightening.
FAUCET INSTALLATION
■Using the 1/4”drill bit, drill a 1/4”hole through the base metal. Operate
the drill slowly and carefully, especially when the drill is about to
penetrate the metal. If necessary use two drops of oil in the hole.
■Repeat step 1. Using the 1/2”drill bit. Mount the faucet in the hole and
using an adjustable wrench (or hand) to hold the faucet, tighten the
9/16”nut.
*** If it is not available to drill a hole, you may use a faucet-bracket instead. ***

- 2 -
STORAGE TANK INSALLATION:
Wrap 4 to 5 winds of Teflon tape around metal tank threads.
■Hand tighten plastic ball valve to tank. (Firm but not too tight.)
■Tank should be coming form the factory with 8 to 4 lbs/PSI of air when measured empty.
CONNECTING THE TUBING:
A. feed water in.
B. sink top faucet.
C. drain clamp.
D. storage tank.
START UP PROCEDURE:
With everything connected, turn on the water for leak checking.
1. Make sure the storage tank shut-off valve is ‘OFF’. Open the sink top faucet.
2. Within a few minutes (up to 15) the water will start to run from the faucet slowly.
3. Let the water run for at least 30 minutes. This flushes the carbon filters on the first time use.
4. After initial flushing, open the shut-off valve on the tank and close the sink top faucet.
5. Tank will now fill with water purified (Usually 2 to 3 hours). After the tank has full (you will hear no
water running to the tank), open the sink top faucet and drain all the water until the storage tank is
empty and there is only a small flow from the sink top faucet.
Do not drink the water from the first tank produced by your newly purchased system or newly
replaced membrane. If the system is only used infrequently, drain the tank at least a week.
6. Check for leaks dally for the first week and periodically thereafter.
7. Close the sink top faucet. The system is now ready to serve.
Suggest:
Please do it’s the steps under if you do not use it one week or more days.
1. Turn off the feeding switch.
2. Remove the plug of power.
3. Turn on the switch of feeding after coming back, then insert the plug of power, and turn on the
faucet, after the water in the water tank draining away, then the purifier will start purifying the water,
and the water can be drank (Please change the filter if the purifier didn’t use so long).

- 3 -
TROUBLESHOOTING
Low or slow water production
This might be caused by low water pressure, crimps in tubing, clogged pre-filters, or a fouled
membrane.
If the water pressure is above 50psi, first try re-tapping the tap supply line by tightening the
self-piercing valve clockwise unit it is fully seated, then turn it counterclockwise unit it stops. This
should open enough space in the line for proper water flow.
If there are crimps in the tubing, straighten or repair them as necessary.
If the pre-filters are clogged, they will need to be replaced.
If the membrane is fouled, it will need to be replaced.
Milk colored water
This is caused by air in the system. This is a normal occurrence with the start-up of a Reverse Osmosis
System. The milky look will disappear with normal use during the first 1-2 weeks. This condition can
also happen after filter changes, but can usually be solved by draining the tank 1 or 2 times.
Leaks from unit or filter housings
Leaks can be caused by loose fittings, a missing, damaged, or improperly seated o-ring, or an
improperly inserted plastic ferrule on the brass fitting.
If the fittings are not tightened, then carefully re-tighten the fittings.
If the o-ring is missing or damaged then contact a dealer for a replacement.
If the o-ring is out of round, make sure the o-ring is properly lubricated and inserted into its housing
before replacing the housing.
If the plastic ferrules are inserted backwards, remove and re-orient them, making sure the tapered
end points toward the valve.
Annual sanitization procedure
Yearly sanitation is recommended on all of our RO systems. The best time to do this is when you are
changing your filters. Drain the system, including the tank, then, disconnect the tubing from the shut-off
valve to the tank. Put approximately 1/4 to 1/2 teaspoon of Hydrogen Peroxide or common household
bleach into this tube. If you use an eyedropper, this will be easier. Reconnect the tube to the shut-off
valve and follow normal start-up procedures, including the tank.

- 4 -
FILTER CHANGING
Before starting, shut off “feed water in”, lift the handle on the R.O faucet to drain out the storage tank
completely and allow the system to stand for 10 minutes in order to fully decompress the tank. Some of
the R.O. water should be saved in a pitcher or clean bucket for cleaning and rinsing.
<1>. FILTER CHANGE PROCEDURE
◆Remove pre-filter housing by twisting and them left, or counterclockwise. If the housing us too tight,
a filter wrench may be necessary.
◆Side out used filters and discard, but save o-rings for re-use.
◆Wash out inside of all housings with a mid soap solution and then rinse with R.O water.
◆Lube o-ring with a water-soluble lubricant and replace in groove in filter housing.
◆Insert new filters into appropriate housings.
◆Follow the normal start-up procedures.
<2>. MEMBRANE CHANGE PROCEDURE
◆Disconnect the tube from membrane housing.
◆Unscrew the large end of the membrane housing.
◆Slide out the used membrane and discard.
◆Clean and flush out the inside of the membrane housing using R.O water.
◆Insert new membrane, making sure it is fully seated into the bottom end.
◆Screw cap back onto the housing, making sure o-ring is in place.
The r-ring may need to be lubricated with a water-soluble.
◆Re-connect the tube.
◆ORIGINAL PACKAGE IS TO PREVENT MEMBRANE DAMAGED DURING TRANSIT

- 5 -
FILTER FUNCTION DESCRIPTION&CHANGED SUGGESTION
Filter Stage
Function Description & Time Limit
1st Pre-filter
●5UM,Spun Sediment Filter from 100% Melt Blown Polypropylene.
●Sediment, Sand, Silt, Dirt, Dust particles removal.
●Operation Pressure/Temp:120psi/60℃(140F).
●Use only for Water without microbiologically and adequately.
●Please remove plastic wrap before use.
●Flush 5 minutes at least prior to use.
●Suggested usage life 3 months.
2nd Carbon
●Coconut shell Granular Activated Carbon.
●Chlorine, Taste, Odor reduction.
●No release of carbon fines.
●Material conforms FDA grade.
●Operation Pressure/Temp:120psi/60℃(140F).
●First place to appropriate filter housing.
●Flush 5 minutes prior to use.
●Suggested usage life 6 months.
3rd
Sediment Filter
●1UM,Spun Sediment Filter from 100% Melt Blown Polypropylene.
●Sediment, Sand, Silt, Dirt, Dust particles removal.
●Operation Pressure/Temp:120psi/60℃(140F).
●Use only for Water without microbiologically and adequately.
●Please remove plastic wrap before use.
●Flush 5 minutes at least prior to use.
●Suggested usage life 6 months.
Carbon block
●1UM nominal filtration rating.
●Performance tested & verified by independent laboratory testing.
●Chlorine, Taste, Odor reduction.
●No release of carbon fines.
●Flush 5 minute prior to use.
●Use only without microbiologically and adequately infected water to
lengthen & ensure life span for carbon block.
●Suggested usage life 6 months.
4th R.O. membrane
(0.0001U)
●It is high technology, So the bad articles like bacteria, virus, lime, heavy
metal, pesticide chemical impurity, etc. Separate from RO membrane all
drain out clean.
●Clean and sweet H2O and mineral good for health, from RO membrane
pure water to get it.
●Suggested usage life 1-3 years.

- 6 -
Filter Stage
Function Description & Time Limit
5th Post Carbon Filter
●100% Coconut shell Activated Carbon.
●Taste improvement, Chlorine, Odor removal.
●No release of carbon fines.
●Operation Pressure/Temp:125psi/60℃.
●Maximum Flow: 0.75 GPM.
●Note the flow direction marked on filter housing.
●First place to appropriate filter housing.
●Flush 5 minutes prior to use.
●Suggested usage life 1 year.
6th
Post Bio Ceramic
●Bio Ceramic is the product which is made from various kinds of ceramic mixed with mineral oxides
like Silica Oxide (SiO2), Aluminum Oxide (Al2O2) etc.. The mixture of these materials will emit FIR
(Far-Infrared rays)
●Bio-Ceramic is made from 26 kinds of ceramic with various mineral oxides and heated over 1600
degrees Celsius and left to cool down. After it has cooled down, this Bio-Ceramic will be capable of
emitting FIR (Far-Infrared Rays)
●Far-Infrared Rays is part of the sunlight spectrum which is invisible to the naked eye. It is also known
as Biogenetic . Rays (Between 6 and 14 microns). Biogenetic Rays has been proven by scientists to
promote the growth and health of living cells especially in plants, animals and human beings. Bio
Ceramic has the capability of submitting these Infrared Rays. If you implement this into your water
filtering system you will get water of very high quality. This ultra pure water is very good for your
health and seeing that 70% of your body mass is water, you know that your water intake will benefit
your health.
●FIR cause resonance with water molecules. It ionizes and activates water molecules in our cells and
blood thus improving our blood circulation and health conditions. The human body contains more
than 70% water (H2O) by weight.
●Far Infrared Rays activates water molecules in our body. Improve oxygen level in our body. Warming
and eliminating fats, chemicals and toxins from our blood and thus smoothening the flow of blood.
Elimination of other waste from the body Reducing the acidic level in our body. The Bio Ceramic
Water purification system will improve your nervous system.
●A Bio Ceramic Water Purifier has a list of other useful benefits to your health and it includes an
improved perspiration system, prevention of bacterial growth. Such a water softening system will also
soften hard water. Apart from just purification of water benefits further include relieving of pain in your
body and the elimination of bad odors in your water. A Good quality water purifier will also purify the
oxygen in the water and you will see if you leave a glass of purified water for a while that the oxygen
bubbles will collect on the inside of the glass.
●Suggested usage life 1 year.

- 7 -
Filter Stage
Function Description & Time Limit
Post Mineralized
●100% nature minerals.
●Human healthy development plus from mineral intake.
●Cautions contained in effluent filtered water with Calcium(Ca2+),
Magnesium(Mg+), Sodium(Na+) Potassium(K2+).
●Operation Pressure/Temp:125psi/60℃.
●Maximum Flow: 0.75 GPM.
●Note the flow direction marked on filter prior to installation.
●Suggested usage life 1 year.
P.S. More people use or bad water quality have to shorten time to change filter Water pressure and
water quality exceed limit, please call distributor to set up and increase the life time of machine.
This manual suits for next models
5
Table of contents
Other Reverse Osmosis Water Filtration System manuals
Popular Water Filtration System manuals by other brands

FLOTIDE
FLOTIDE Filter Max Series manual

Bühler technologies
Bühler technologies BKF Installation and operation instructions

Wasserhaus
Wasserhaus QuaRO Series Installation and user manual

Cuckoo
Cuckoo CP-XN501HW user guide

Bartscher
Bartscher 109881 instruction manual

Paragon
Paragon PW1250UF Installation & operation manual