User Manual
Issue No: 14 | 2015
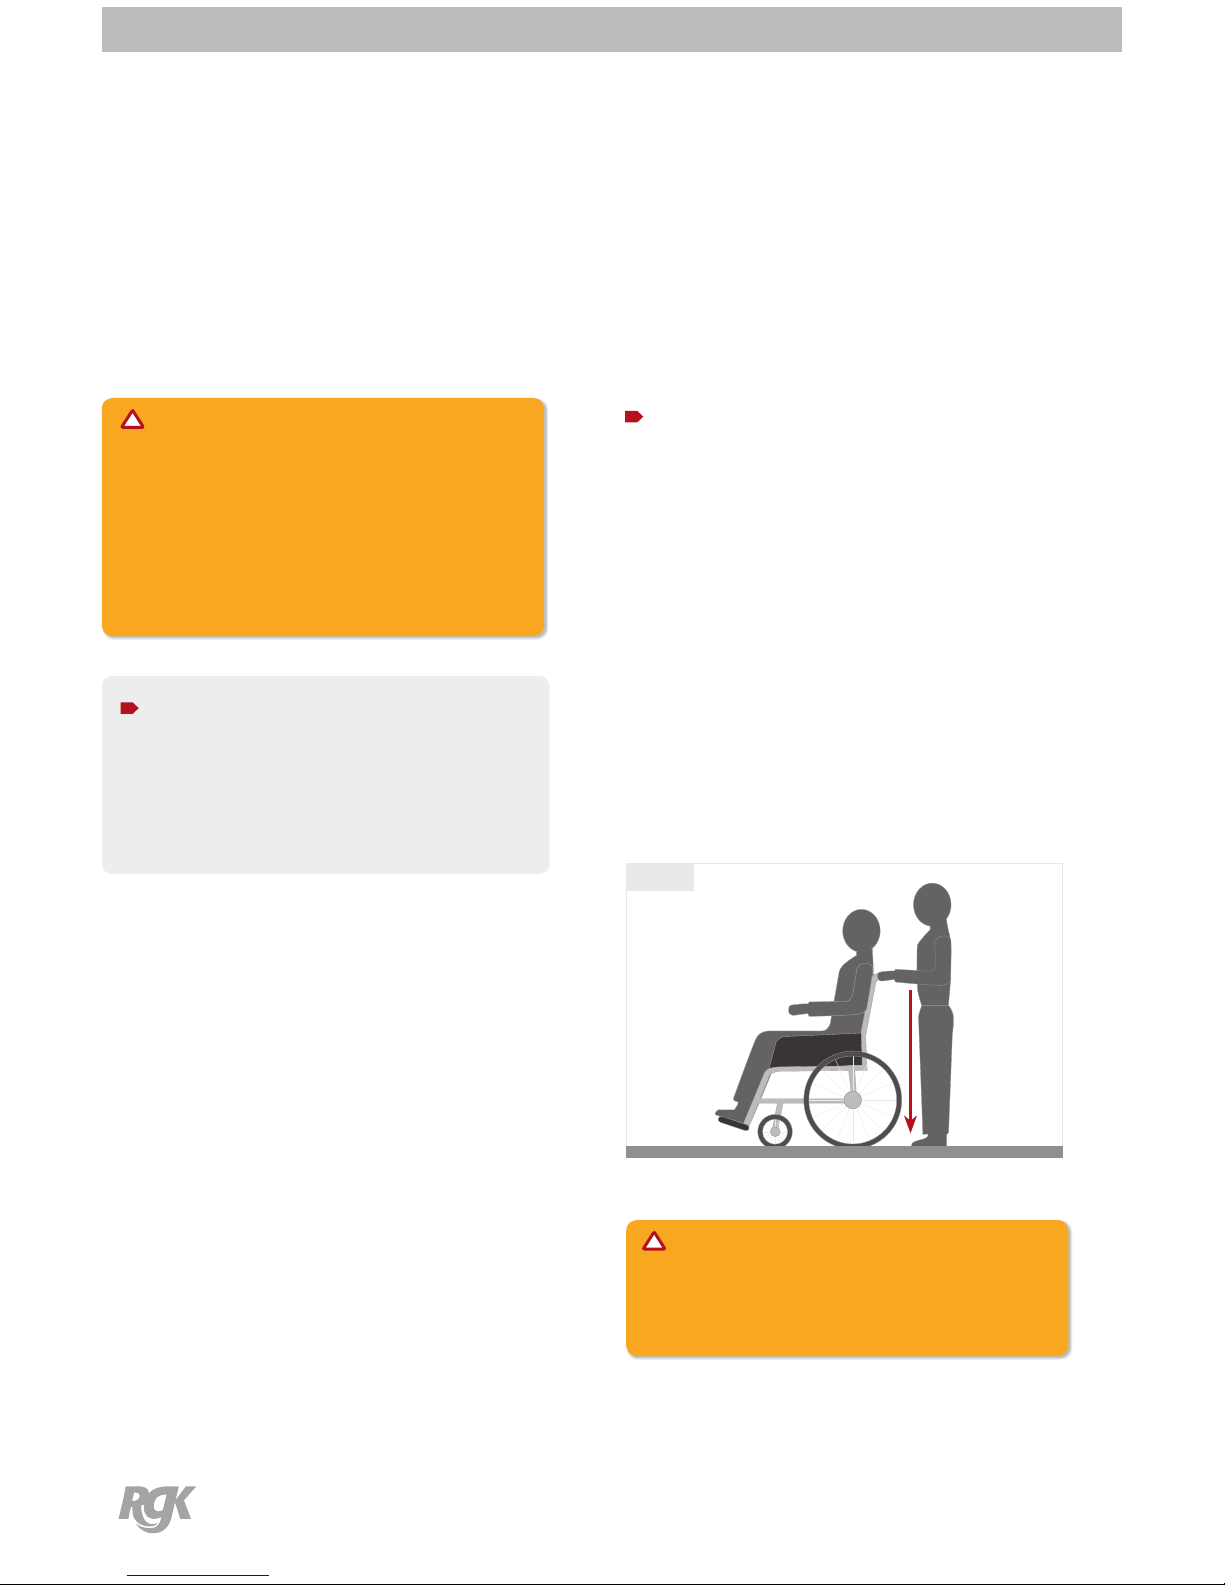
User Manual | Product Description
07
Product Description
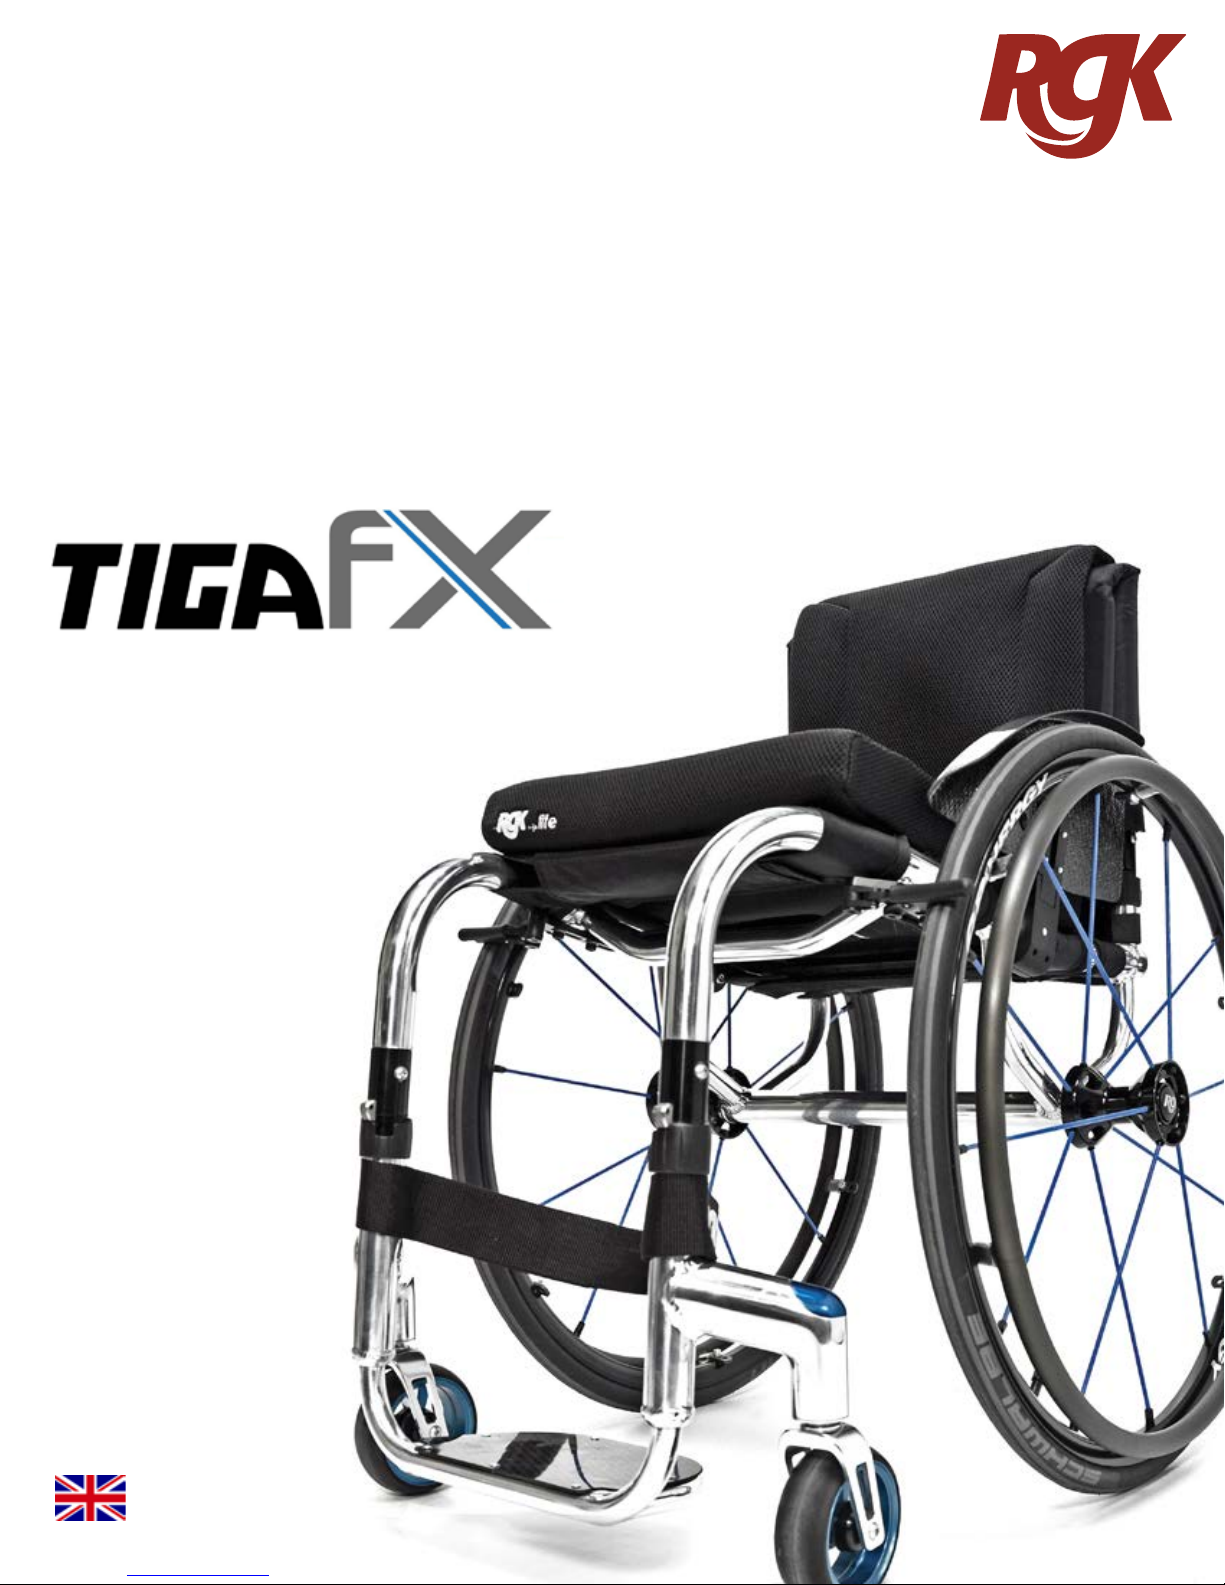
The TIGA fx is a manually propelled wheelchair which
is suitable for a wide range of users whose mobility has
been reduced or removed by a disability or chronic
illness. The TIGA fx is hand built from aerospace grade
aluminium. Two frame design options are available,
either an open frame or a closed frame design,
delivering a lightweight and versatile wheelchair. The
design incorporates an aluminium frame, with either
an integrated aluminium camber bar and footrest
suited to the more experienced users looking for the
lightest option, or can be prescribed with an adjustable
aluminium camber bar and adjustable height footrest,
scissor or push to lock brakes, adjustable tension seat
sling, backrest and calf strap all as standard, with further
options available.
The design accommodates a wide range of disabilities
for all ages of user up to a maximum user weight of
125kg.
Suitability is dependent upon the degree and nature of
disability and must be determined through a thorough
client risk assessment carried out by a qualied medical
professional or RGK personnel. This wheelchair is
suitable for a means of transfer from one location to
another where physical mobility is impaired or reduced
and is not designed for any other purpose.
Consideration must be given at point of prescription
to required usage with regard to the capabilities of the
user and the environment and terrain on which the
product will be used.
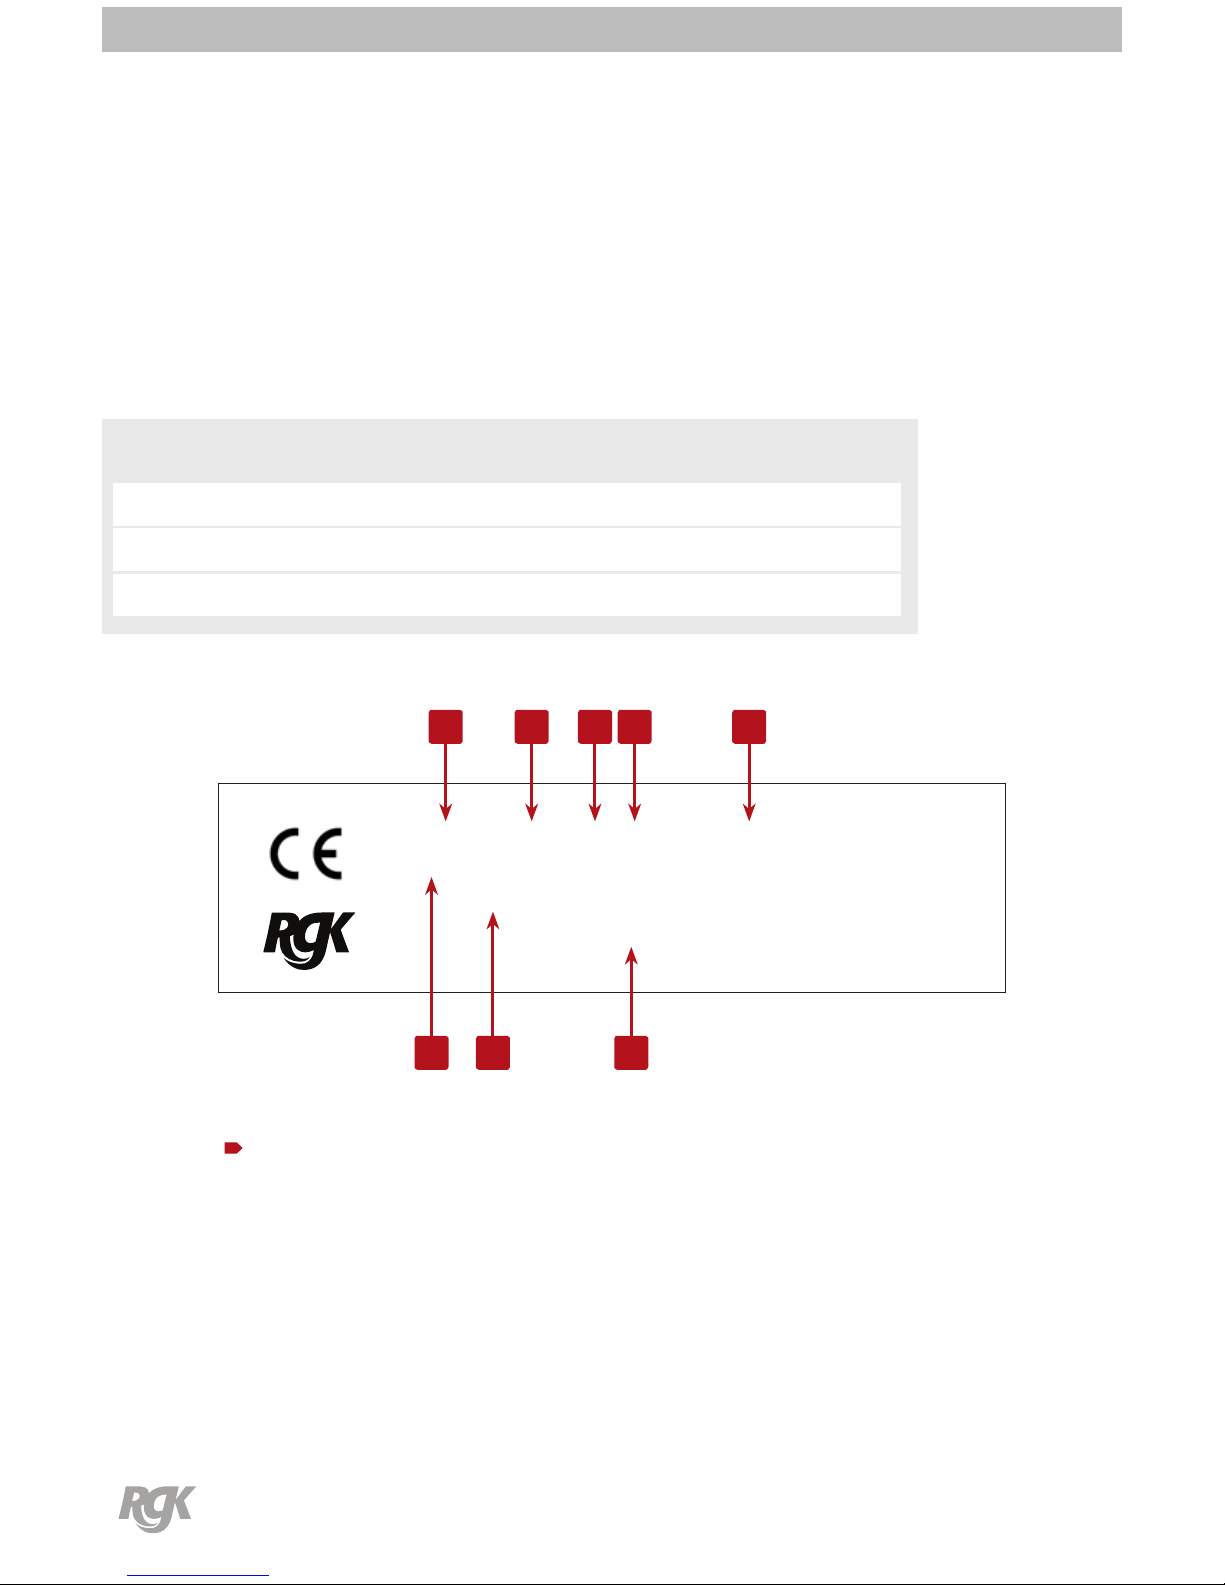
The TIGA fx, manufactured by RGK Wheelchairs Ltd, is
CE marked as a Class 1 Medical Device and complies
with the Essential Requirements of the Medical Device
Directive 93/42/EEC.
By denition all wheelchairs are marketed as a medical
device where a“medical device”* means an instrument,
apparatus, appliance, material or other article, whether
used alone or in combination, together with any
software necessary for its proper application, which-
(a) is intended by the manufacturer to be used for
human beings for the purpose of-
(i) diagnosis, prevention, monitoring, treatment or
alleviation of disease,
(ii) diagnosis, monitoring, treatment, alleviation of or
compensation for an injury or handicap,
(iii) investigation, replacement or modication of the
anatomy or of a physiological process, or
(iv) control of conception; and
(b) does not achieve its principal intended action
in or on the human body by pharmacological,
immunological or metabolic means, even if it is assisted
in its function by such means.
* denition taken from the Medical Devices Directive
93/42/EEC
RGKTIGA FX Manual
Propelled Wheelchair